|
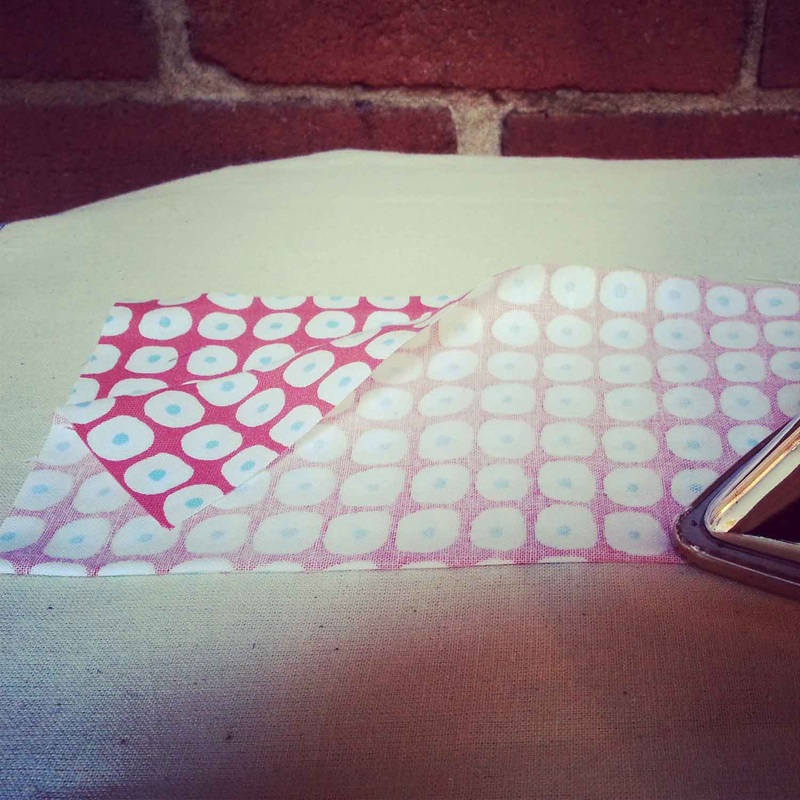
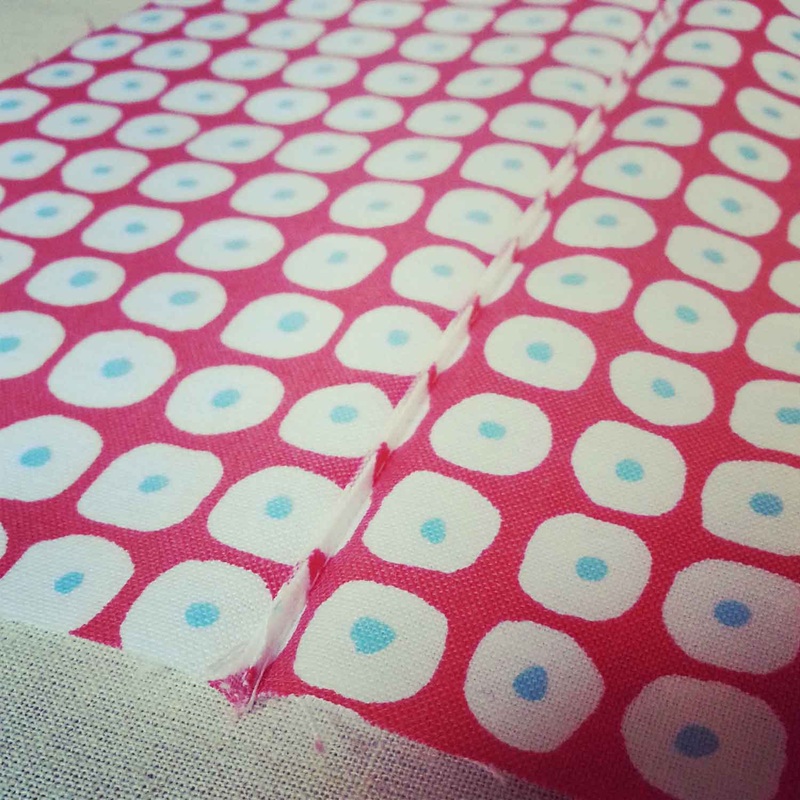
There are a few variations of a French seam: regular, narrow and faux. This tutorial is for a regular French seam. Watch out for the other 2 in the next few weeks. A French seam fully encases any raw edges and is fantastic for fabric that has high fray rate. It is best used for straight or slightly curved seams. Any seams with too much of a curve will be a nightmare to sew and also not lay flat against the garment. Step 1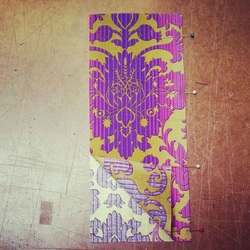 Wrong sides of fabric facing, line up your seam, pin, and sew at 1/4" seam allowance. Please take note that a total of 1/2" seam allowance has been allocated for this pattern. Step 2 Trim seam allowance down to 1/8" seam allowance. Step 3Press seam flat to look like a book spine. Right sides of fabric should be facing each other.
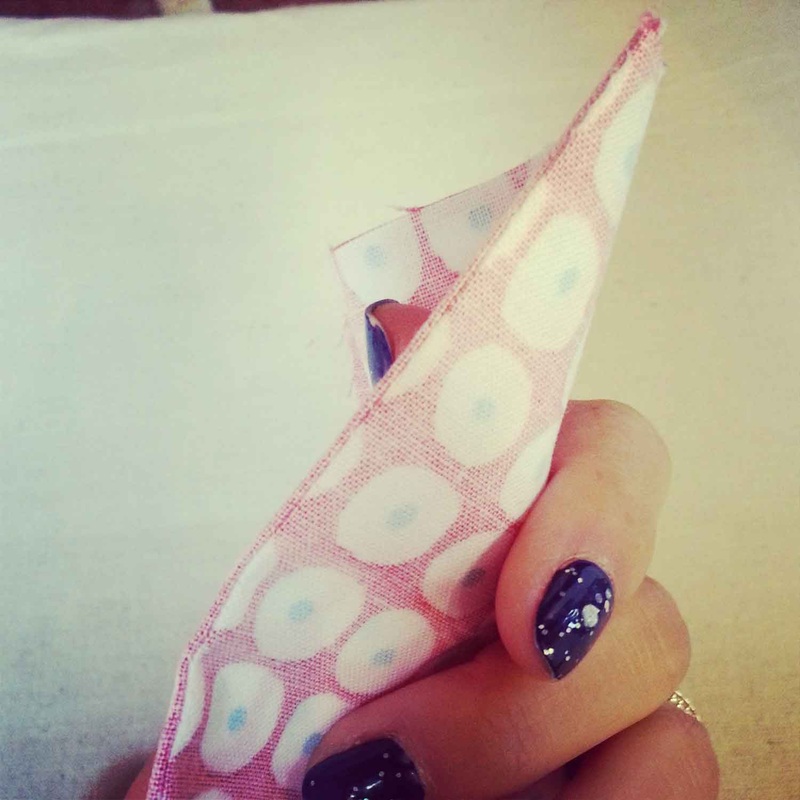
Step 4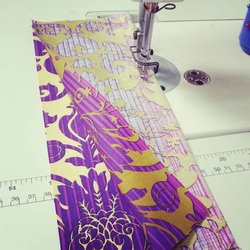 Right sides of fabric facing, sew at 1/4" seam allowance from book spine edge. This step fully encloses your raw edge. Step 5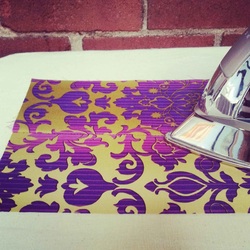 Pressing from the right side of your garment, press all seam allowances to one side. Pressing from the right side will allow the iron to naturally open your seam flat. Check out my Pressing Tips here. Finished SeamVoilà! You are done a regular French seam. From the right side of the garment, it should look like a regular sewn seam. From the wrong side of the garment, it should look like clean encased seam allowance.
Remember to check back for future tutorials on how to sew a Narrow and a Faux French seam.
Happy Sewing! Photographed and written by Sheila Wong Studios
1 Comment
Part 2 of a 3 part series in sewing French seams, say hello to the narrow French seam. Please click HERE if you would like to view Part 1: How to Sew a Regular French Seam. The construction steps are very similar to the regular French seam except for certain seam allowances have changed to accommodate a narrow completed seam. A narrow French seam should be used for thin or sheer fabrics with medium to high fray rates. A narrow finished seam allowance will allow the seam to almost disappear in the garment. Remember, French seams are best used on straight to slightly curve seams. They will not lay flat for seams that are extremely curved. Step 1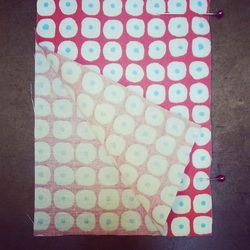 Wrong sides of fabric facing, line up your seam, pin, and sew at 3/8" seam allowance. Please take note that a total of 1/2" seam allowance has been allocated for this pattern. Step 2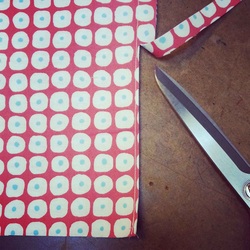 Trim seam allowance down to 1/16" seam allowance. Step 3Press seam flat to look like a book spine. Right sides of fabric should be facing each other.
Step 4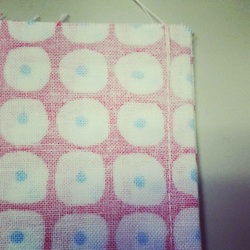 Right sides of fabric facing, sew at 1/8" seam allowance from book spine edge. This step fully encloses your raw edge. Step 5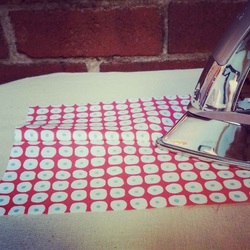 Pressing from the right side of your garment, press all seam allowances to one side. Pressing from the right side will allow the iron to naturally open your seam flat. Check out my Pressing Tips here. 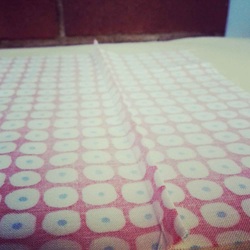 Your finished seam allowance inside your garment should look like this photo with a seam allowance of 1/8". Check back for Part 3: How to Sew a Faux French Seam.
Happy Sewing! Photographed and written by Sheila Wong Studios Welcome to part 3 of how to sew a French Seam. This tutorial will show you how to sew a Faux French Seam, also known as a False French Seam. Click HERE if you would like to start with the Regular French Seam and HERE for the Narrow French Seam. Why a Faux French Seam? The end product looks the same as a Regular French Seam, but the process is completely different and involves both machine and hand sewing. You would use this technique when working with extremely delicate fabrics like fine lace, which have no place near a machine. Step 1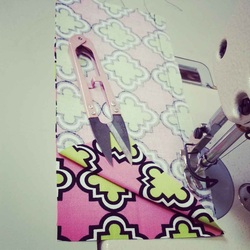 Right sides of the fabric facing either hand sew or machine sew at 1/2" seam allowance. I have used black thread so you can see it in photos. Ideally you should be using matching thread. 1/2" total seam allowance as been allocated for this example. Regular seam allowance ranges from 3/8-5/8". Step 2Separately, press seam allowances in half, folding raw edge in. Line up raw edge beside sewn line in Step 1. See video below for detailed instructions. Step 3Slip Stitch closed your seam allowance on the fold. See video below for detailed instructions. Step 4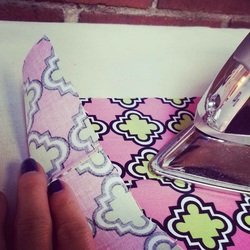 Pressing from the right side of your garment, press all seam allowances to one side. Pressing from the right side will allow the iron to naturally open your seam flat. Check out my Pressing Tips here. Happy Sewing!
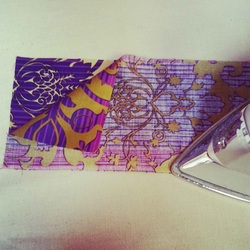
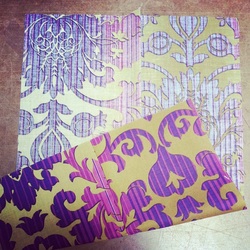
Photographed and written by Sheila Wong Studios In the midst of bridal season one of my good friends and artist Andrew Briggs asked me to sew a few pocket squares for his upcoming wedding. Naturally, I said yes! Enjoy this three step tutorial. 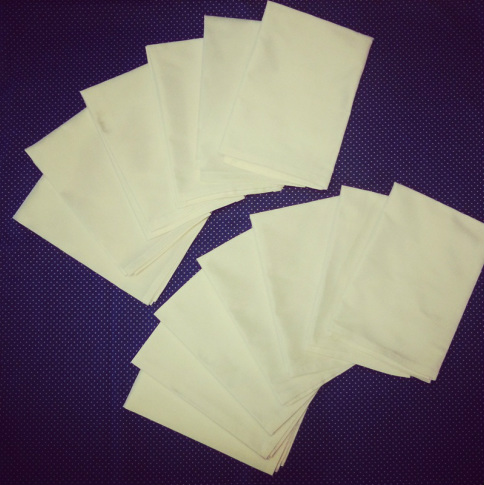 Materials
Step 1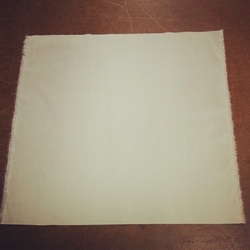 Cut out a square piece of fabric in the dimensions 16 inches x 16 inches. Total 1 inch seam allowance all around is already included. One edge needs to run along the lengthwise grain and the other on the crosswise grain. This will make sure your square stays like a square and does not warp. Step 2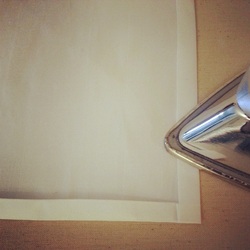 With a 1 inch seam allowance in our pattern, fold and press each edge twice at 1/2 inch each time. Step 3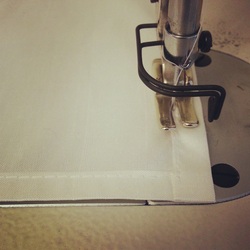 With matching thread sew folded edges down at an equal distance from pocket square border in a complete square. Happy Sewing!
Designed, photographed and written by Sheila Wong Studios |
Archives
November 2022
|

 RSS Feed
|
|
Copyright © 2024 Sheila Wong Fashion Design Studio Ltd. All rights reserved.