|
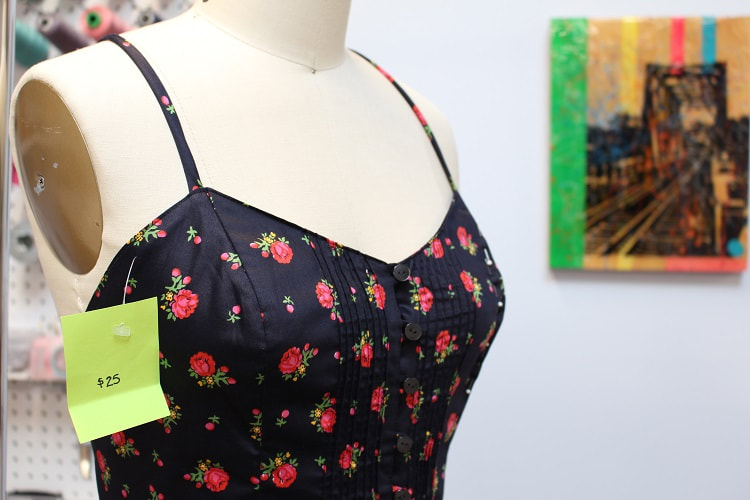
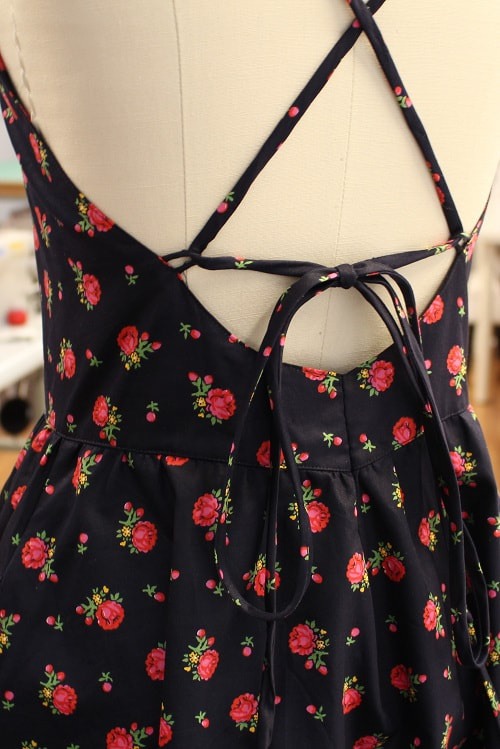
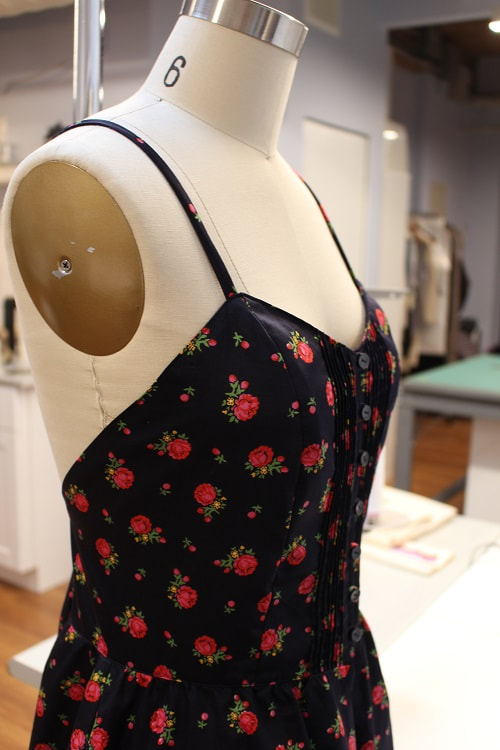
When I am not designing clothes, I am a huge supporter of buying second hand. Often time, second hand can mean mending or altering the garment to fit you correctly. Manipulating an already made garment is an art form on its own. This blog post will show you how we made this 1950's inspired vintage dress fit perfectly through a variety of hand and machine sewn manipulation techniques. Below are the major adjustments required on this dress.
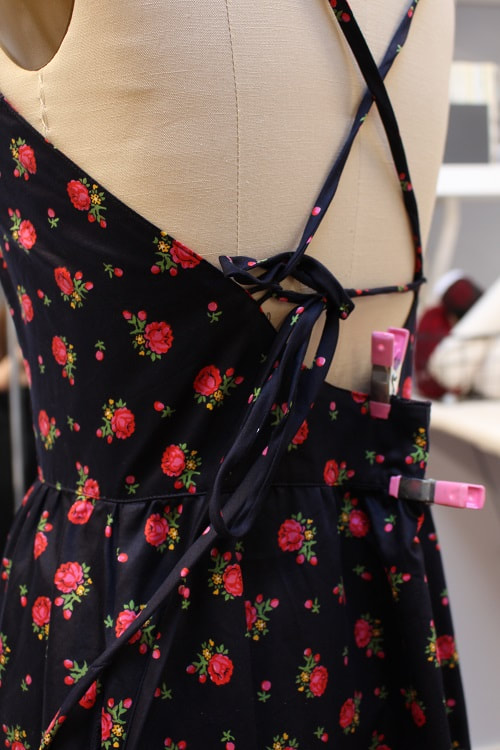
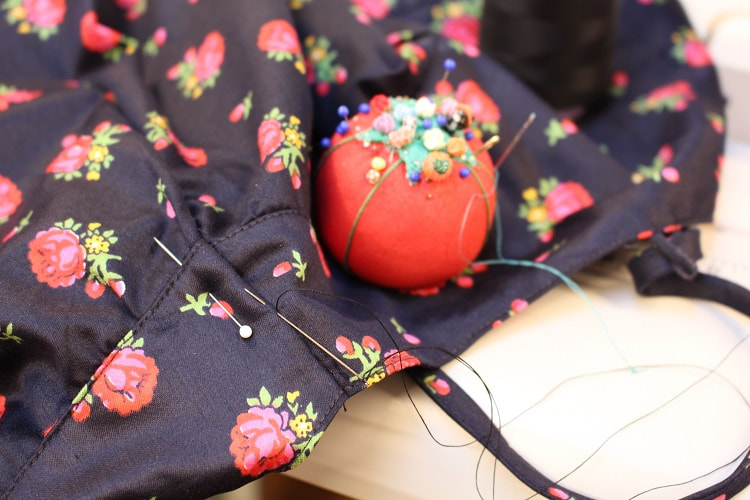
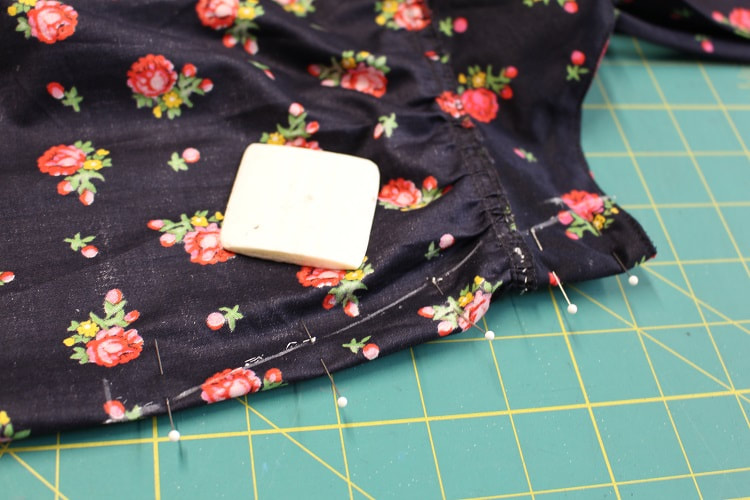
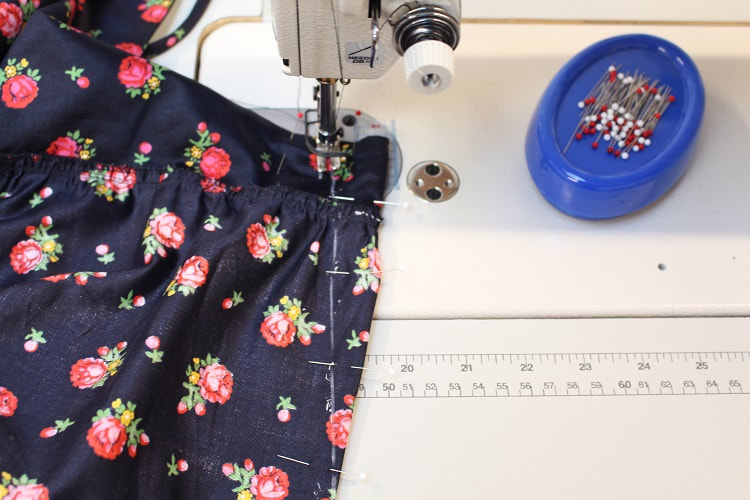
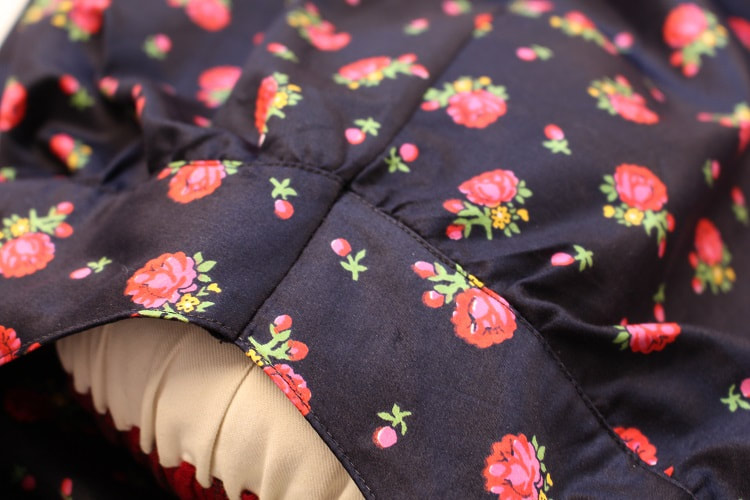
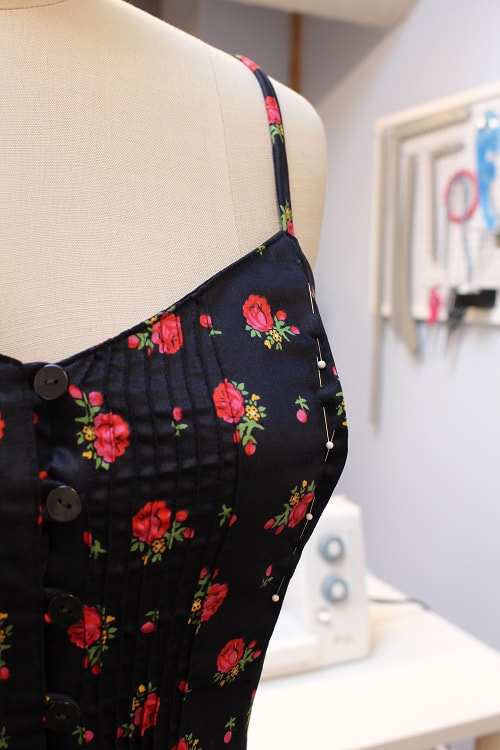
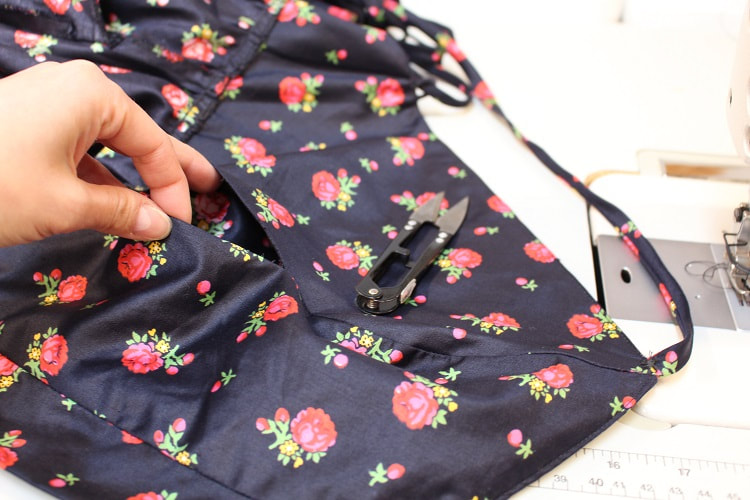
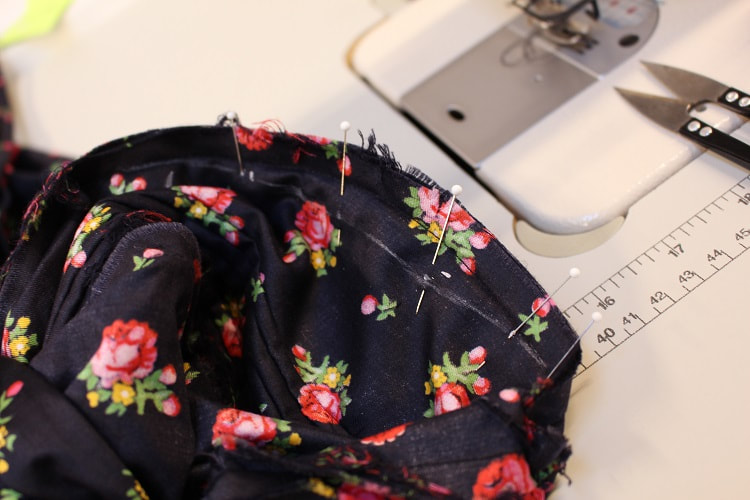
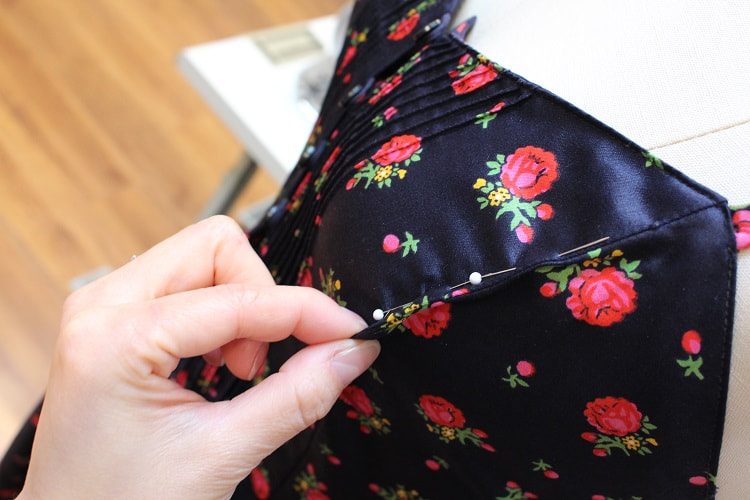
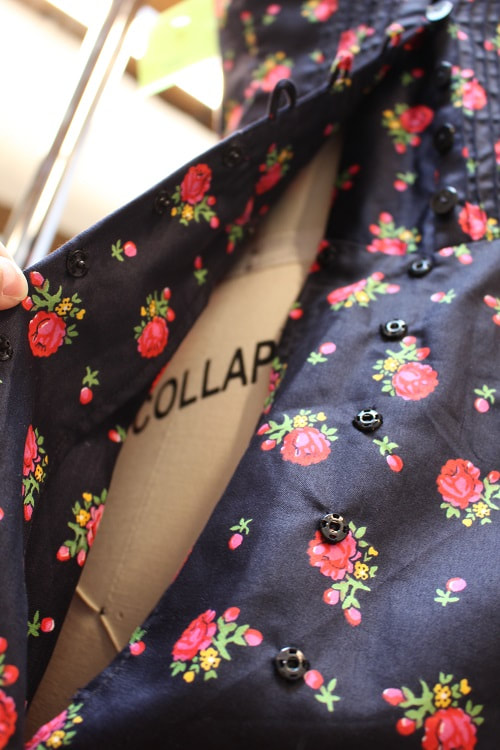
Center Back DartAdjusting an already made garment flawlessly takes skill! A major adjustment to this thrifted dress was taking in the center back. It was huge! One of the easiest ways to take in a garment without taking away from the lovely silhouette, is to create a dart. To take in excess bulk along the back of a garment, create a dart starting at the waist. Reducing Excess BulkHands up for small boobies! A common adjustment for small cups is to remove excess along the bust seams. In this case, we need to remove 1/2" at the height of the princess line and taper to zero at the top and bottom of the seam. To gain access to the seam allowances of the exterior bodice princess seam, we had to open up a 4" opening along the lining bodice princess seam. From there, we could mark a new seam to stitch. We removed excess SA then flipped the bodice back out to press. To close up the 'incision' area, we draw-stitched the lining back together. Sewing Tip: To transfer the exact stitch line from one seam to the opposite, chalk along the new stitch line and place that on top of the opposite seam that has to be also taken in, then apply heavy pressure by slapping the layers together. Voila! The new stitch line is transferred and now balanced in the garment. Front Snap ClosuresFinal adjustment to this vintage dress was adding snaps to the front opening from the waist down to the hip line. For some reason, this area was fully open access!! Can anyone explain why?! We can think of a few but they are super naughty! This dress was picked up at True Value Vintage Clothing on Main Street. Happy Sewing!
Mended, photographed and written by Sheila Wong Studios
0 Comments
|
Archives
November 2022
|
Copyright © 2024 Sheila Wong Fashion Design Studio Ltd. All rights reserved.

 RSS Feed
