|
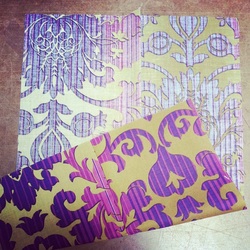
There are a few variations of a French seam: regular, narrow and faux. This tutorial is for a regular French seam. Watch out for the other 2 in the next few weeks. A French seam fully encases any raw edges and is fantastic for fabric that has high fray rate. It is best used for straight or slightly curved seams. Any seams with too much of a curve will be a nightmare to sew and also not lay flat against the garment. Step 1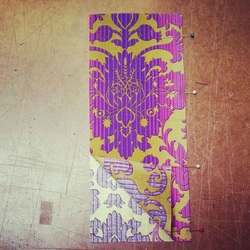 Wrong sides of fabric facing, line up your seam, pin, and sew at 1/4" seam allowance. Please take note that a total of 1/2" seam allowance has been allocated for this pattern. Step 2 Trim seam allowance down to 1/8" seam allowance. Step 3Press seam flat to look like a book spine. Right sides of fabric should be facing each other.
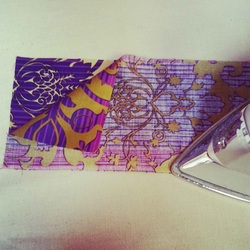
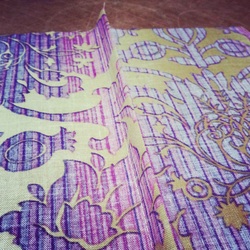
Step 4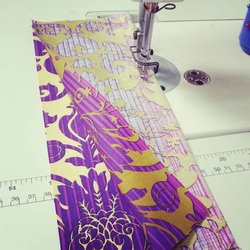 Right sides of fabric facing, sew at 1/4" seam allowance from book spine edge. This step fully encloses your raw edge. Step 5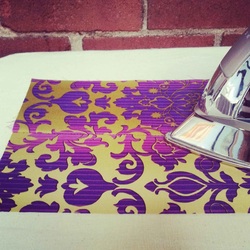 Pressing from the right side of your garment, press all seam allowances to one side. Pressing from the right side will allow the iron to naturally open your seam flat. Check out my Pressing Tips here. Finished SeamVoilà! You are done a regular French seam. From the right side of the garment, it should look like a regular sewn seam. From the wrong side of the garment, it should look like clean encased seam allowance.
Remember to check back for future tutorials on how to sew a Narrow and a Faux French seam.
Happy Sewing! Photographed and written by Sheila Wong Studios
1 Comment
12/28/2023 02:32:37 am
I wanted to express my gratitude for your insightful and engaging article. Your writing is clear and easy to follow, and I appreciated the way you presented your ideas in a thoughtful and organized manner. Your analysis was both thought-provoking and well-researched, and I enjoyed the real-life examples you used to illustrate your points. Your article has provided me with a fresh perspective on the subject matter and has inspired me to think more deeply about this topic. Leave a Reply. |
Archives
November 2022
|

 RSS Feed
|
|
Copyright © 2024 Sheila Wong Fashion Design Studio Ltd. All rights reserved.