|
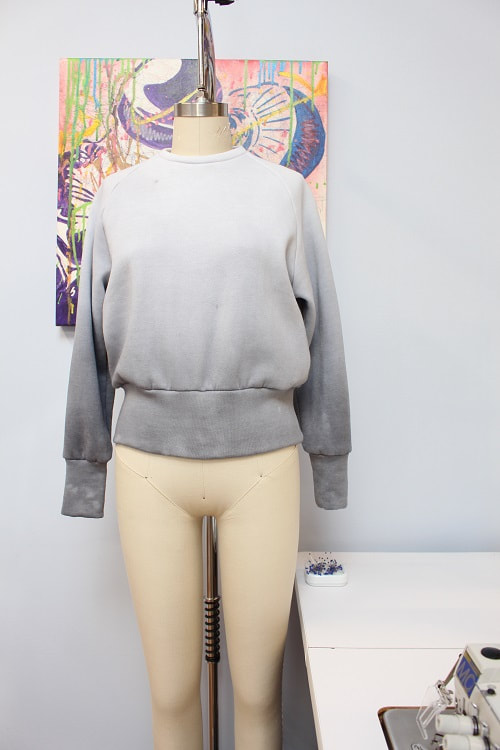
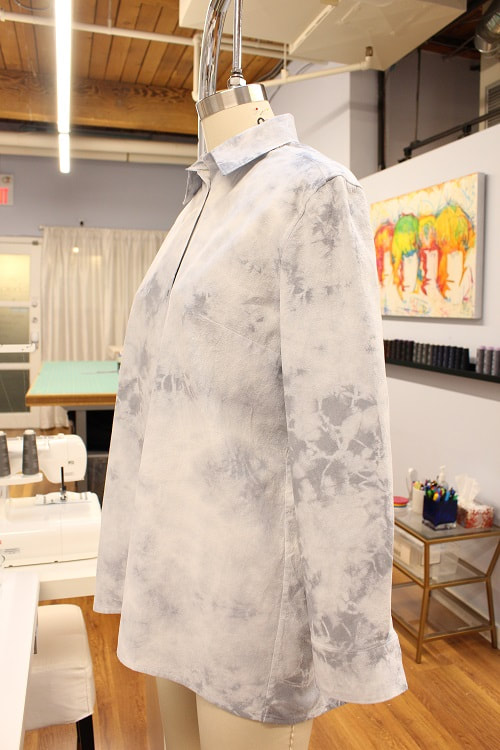
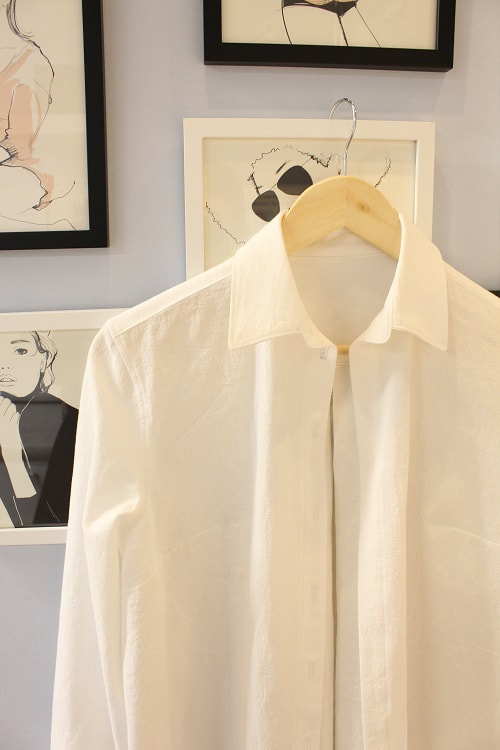
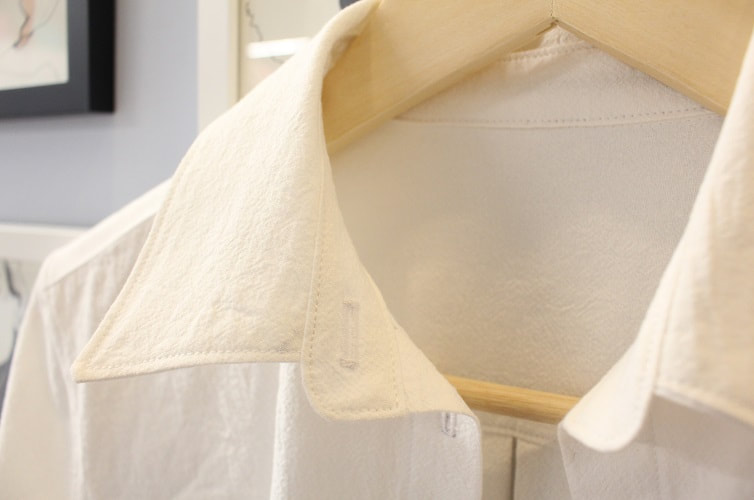
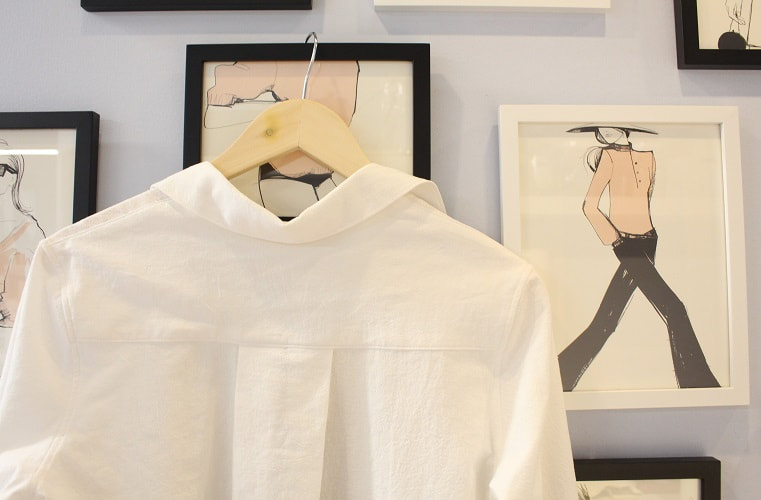
I have absolutely no recollection of tie-dyeing anything as a youth. I started sewing at a very early age. From the get-go, I was in awe of the variety of fabrics one could design with. It was my mission to feel, cut, sew, and understand the nature of textiles and how they could be manipulated into a 3D form. It is only in the past few years, I have slowly started taking an interest in using paint or dye to manipulate textiles. 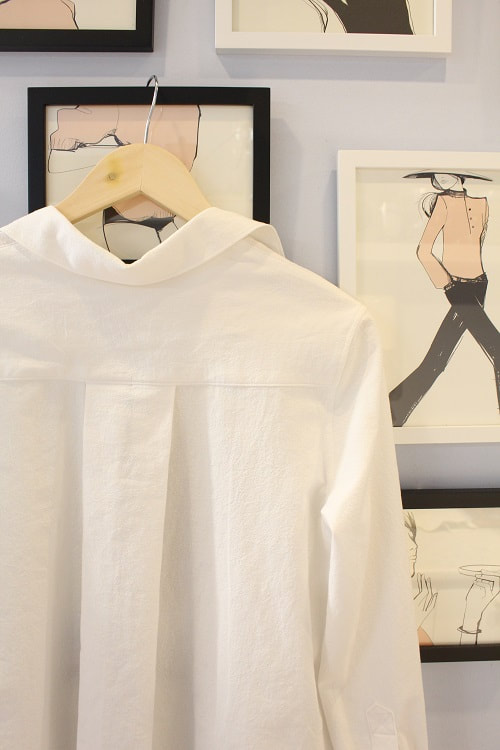 I have always wanted to stitch up a complex design and chuck it in a dye bath. So let's do it! I had some leftover black stock solution from my Ciba Washfast Acid Dye. Obviously, I am not going all tie-dye rainbow colors on you. I’m sticking to more subtle colors, or in this case, lack of color. Read on to learn more about my inspiration, tie-dye process, before and after shots, and what I will be dyeing or painting next. InspirationThis tailored shirt design comes full circle for a number of reasons. First, the pattern/silhouette is the same as our Rainbow Faces Tailored Shirt. I love the way that the original shirt sits when worn, but the colors were too much for me to wear often. 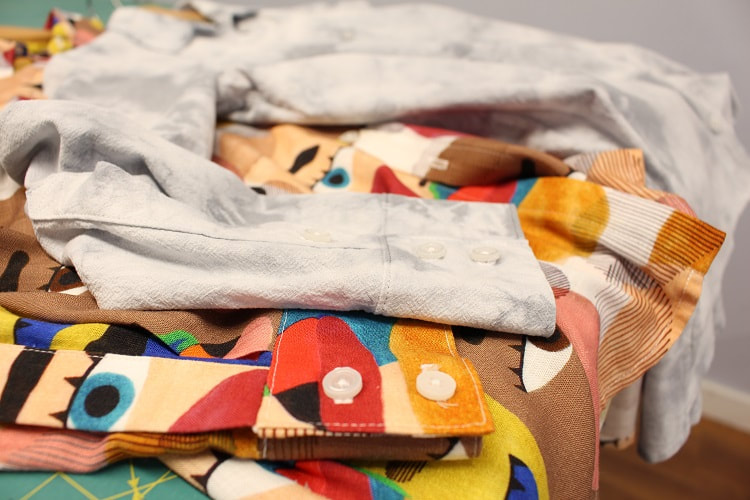 The white and grey vibes may feel familiar to you because back in October 2020, our team experimented with a White Sweatshirt Dye Project. My sweater was inspired by rainy days in Vancouver. That sweater was very time consuming to achieve the ombre dye. As I mentioned earlier, I am all about chucking this tailored shirt into a dye bath. So if the Rainbow Faces Tailored Shirt and the Rainy Day Sweatshirt had a baby...VOILA! I present the baby.
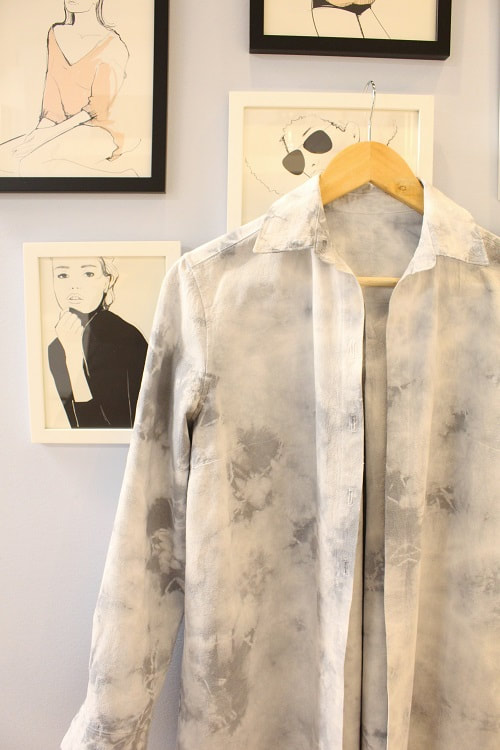
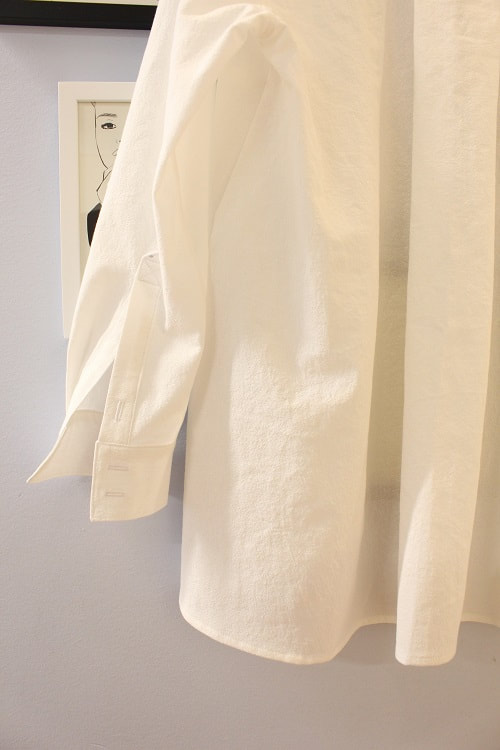
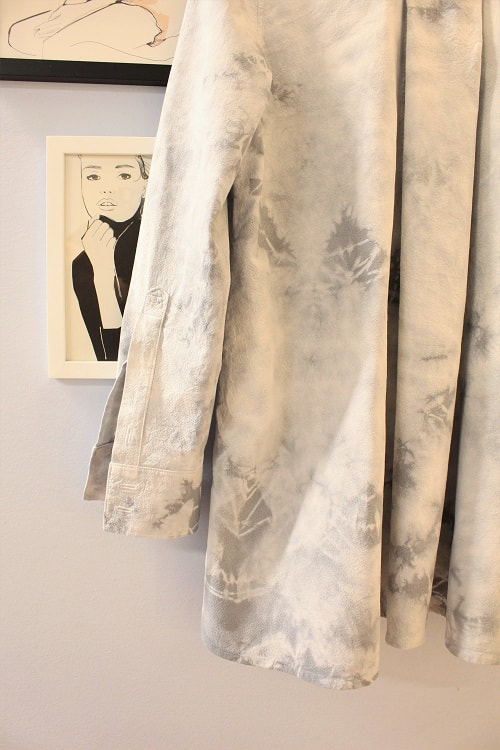
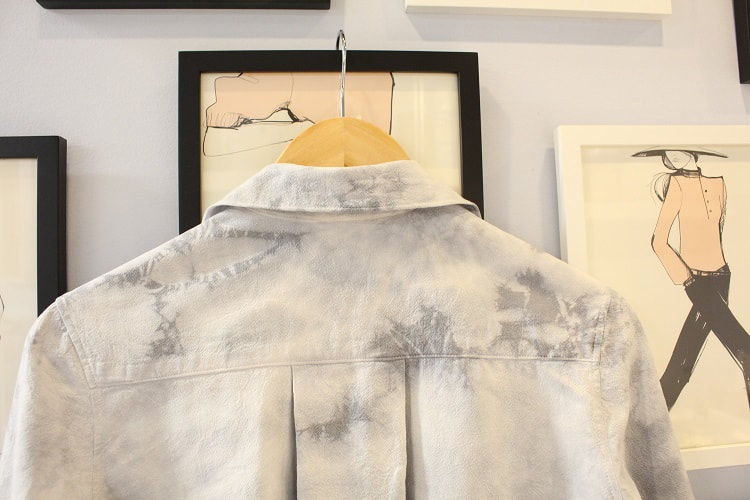
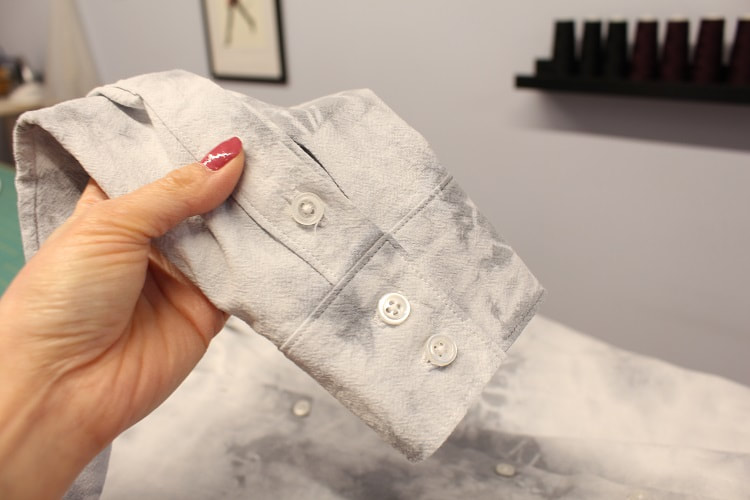
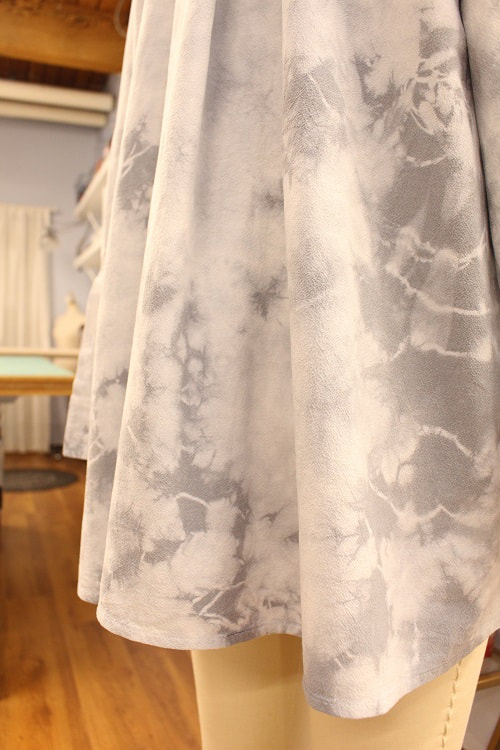
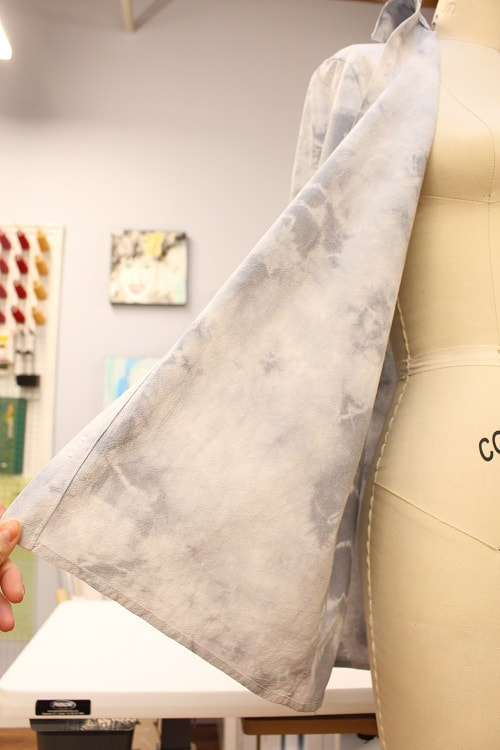
Tie-Dye ProcessMy experience with resist dyeing is limited to shibori. Shibori is the art of folding, clamping, or manipulating fabric in either a calculated or organic way to resist dye. The outcome of shibori is beautiful. Check out Ombre Slip Top Post to see the outcome of my shibori dyed slip dress. 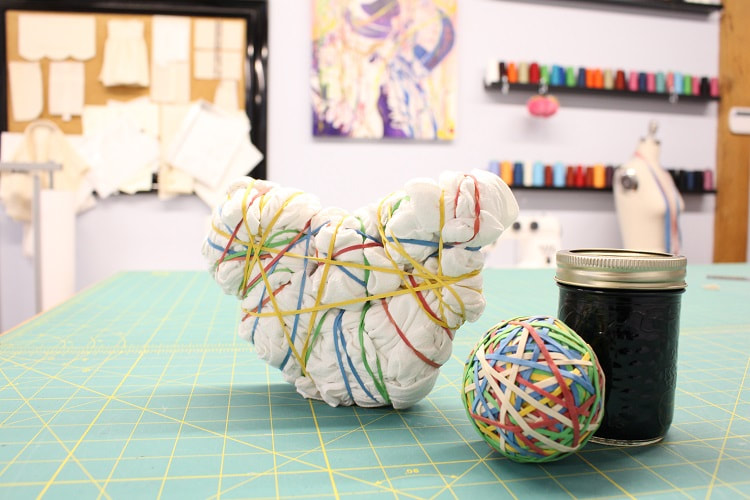 The only thing I had in the studio to create dye resistance on the fabric was a ball of elastics. So tie-dye it had to be! I had no rhyme or reason when wrapping this white tailored shirt with elastics. I started scrunching up the sleeves tightly, then slowly worked towards the middle of the garment and up to the collar. I wanted the collar to be darker if possible, so I left this area last so it could potentially have the most exposure in the dye pot. 27 elastics were used to tie this shirt. Unexpected was the heart shape created in the end. The tops of the heart were made by the sleeves being tied in. Perhaps this was a gentle reminder that beauty can be found anywhere. After approximately 1 hour in the dye pot with my black Ciba Washfast Acid Dye from Maiwa, what emerged was a very subtle tie-dye result. Here are some before and after shots for you.
Project Stats
Final Thoughts I still have one more jar of the black stock solution. I know that this particular type of dye (Ciba Washfast Acid) works best on wool and silk. So, I am thinking the next project will need to be a wool cropped coat, a silk dress, or a silk skirt. I will continue with the tie-dye technique. Let me know your thoughts below.
Want to keep up to date on how our dye projects evolve? Sign up for our Insider Newsletter.
Happy Sewing! Designed, photographed, and written by Sheila Wong Studios.
2 Comments
For any designer, 2020 has been a year of sewing countless face masks. I have waited to post anything about face masks for a number of reasons. Digitally, we are bombarded with a variety of how-to-sew, what-to-buy, and how-to-wear face masks. Furthermore, our health officials have evolved the necessities when it comes to protective materials for face masks. So after months of observation, research, experimentation, and wearing masks for long hours every day while in the studio- here is my blog post on face masks. I will cover the following.
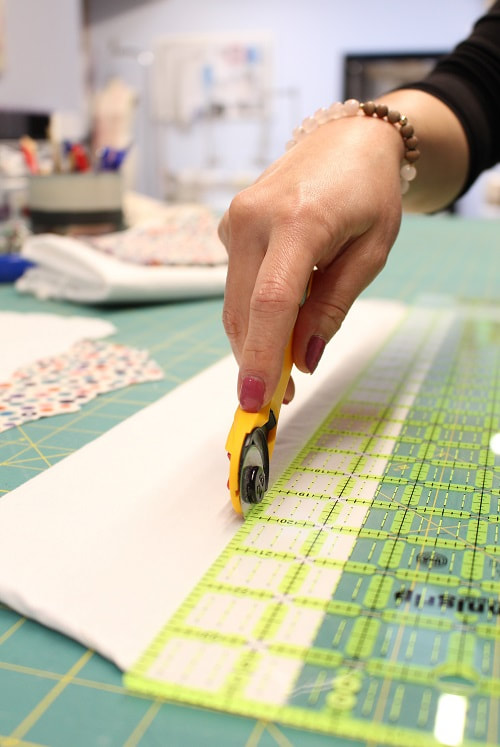
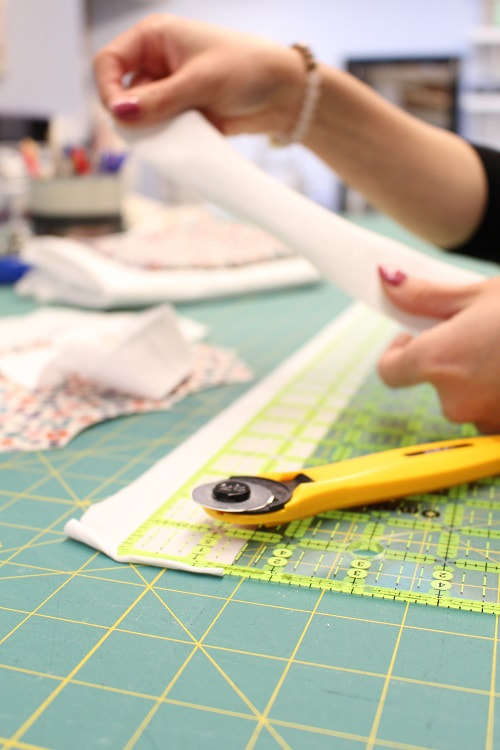
 Comfy DIY Ear Elastic for Face MasksIf you have ever worn a face mask for a full day, you know the importance of a very comfortable ear elastic. I absolutely despised using the ¼” elastic trim everyone was stitching into their masks, so I dug into my large pile of knit jersey leftovers to create my own ear elastics. I really like to use bamboo knit jerseys for added softness but any jersey knits will work well. You can even cut up old t-shirts! Just remember to pre-wash your fabric prior to cutting as knits shrink dramatically. 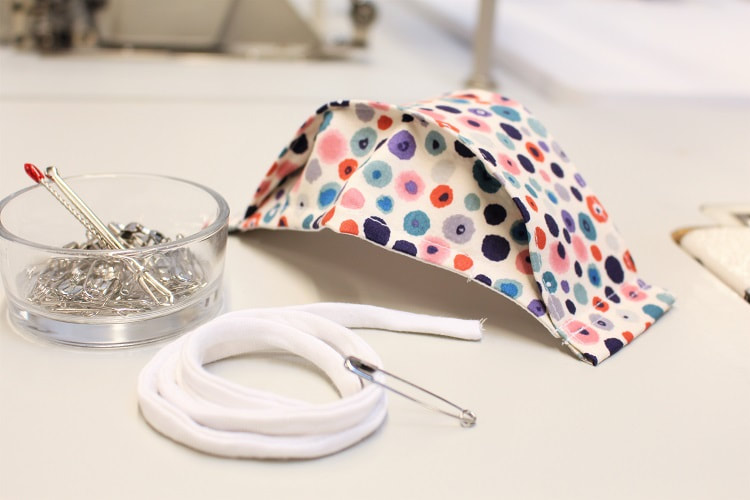 Here is a step by step tutorial on how to create your own comfy ear elastics for face masks. Video and photo options available below. Step 1Cut out 1 ½” width strip of fabric on the crossgrain or stretchiest part of the knit fabric. If you are cutting out of a 2 way knit then you can cut on grain or crossgrain. No need to cut on bias. Best to work with a long strip so you can create multiple ear elastics at once. So the full width of the fabric from selvage edge to edge will work well.
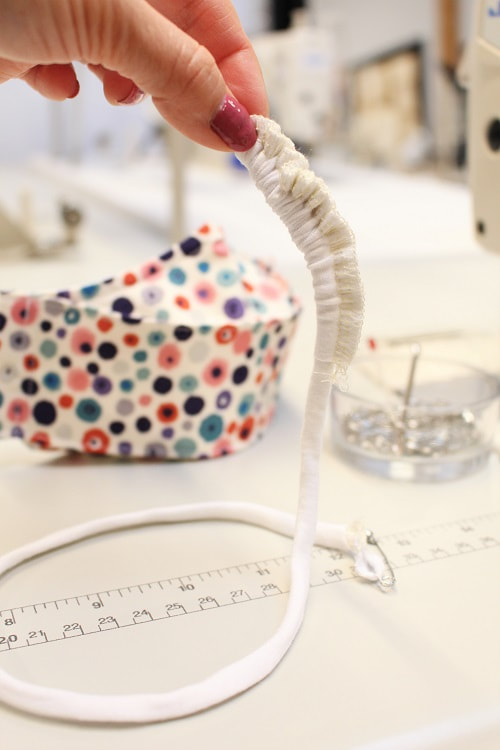
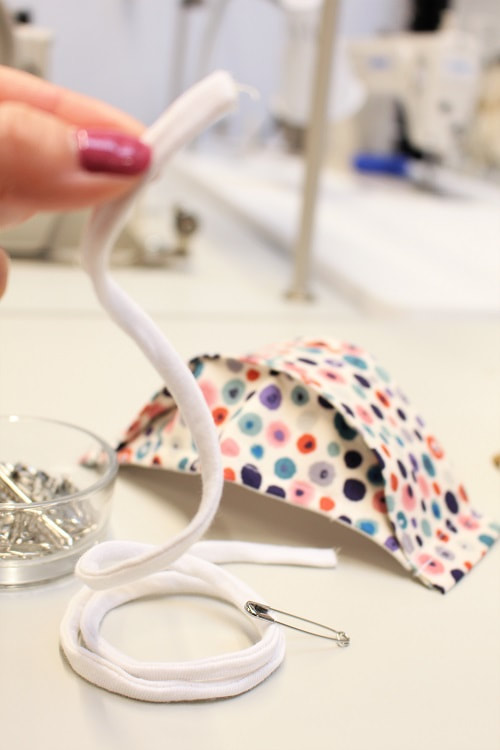
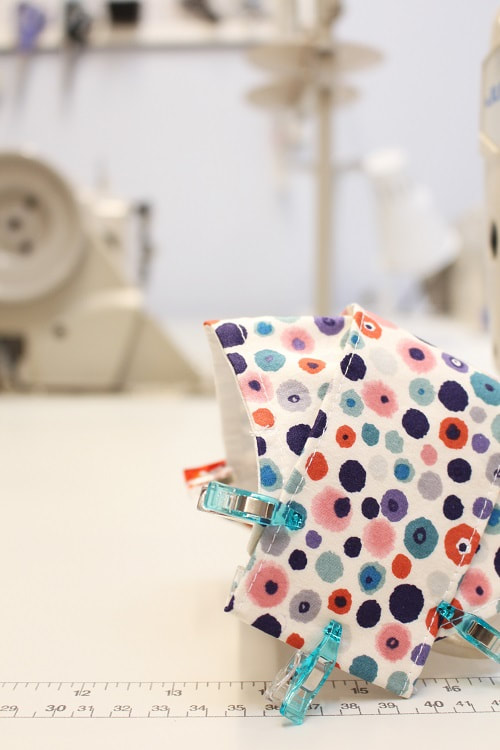
Step 2Fold right sides of the fabric facing each other along the long edge, line up the raw edges, and pin/clip in place. 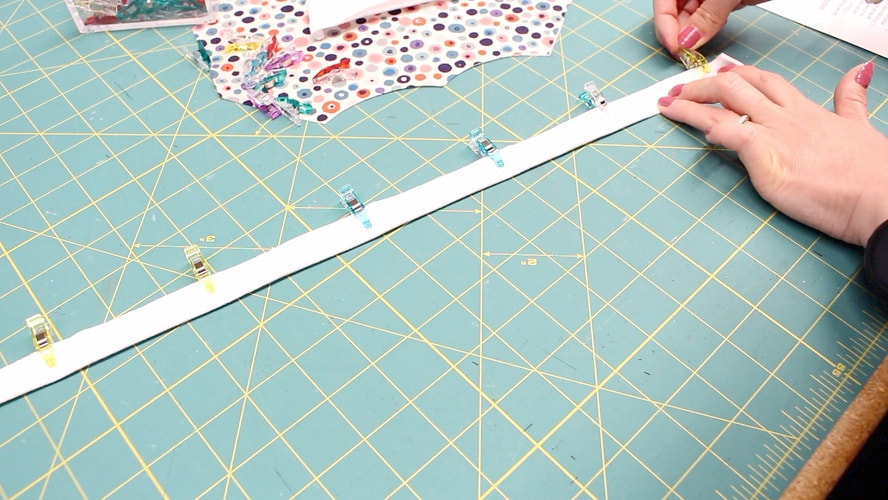 Step 3Overlock between ¼” to ⅜” in from the folded edge. There is some fabric being cut off during this process. If you do not have an overlock sewing machine, just use a medium width zigzag stitch and trim away excess seam allowance. 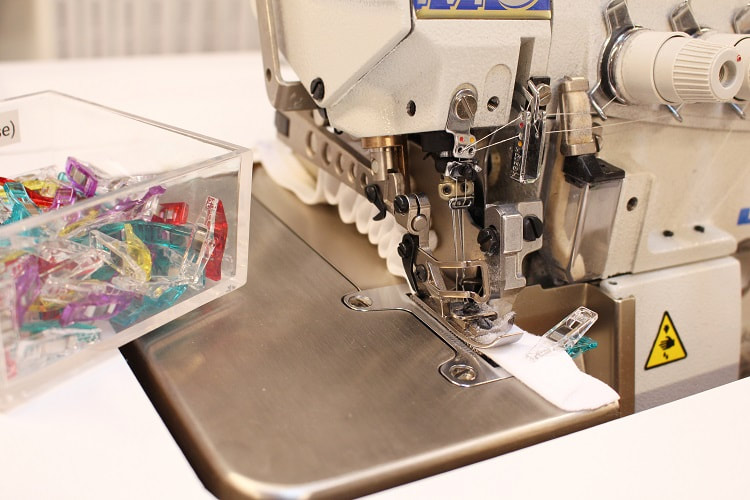 Step 4Approximately ½” in from the end of one strip, cut into the fold, creating a hole. Attach a safety pin around the fabric loop you just created. 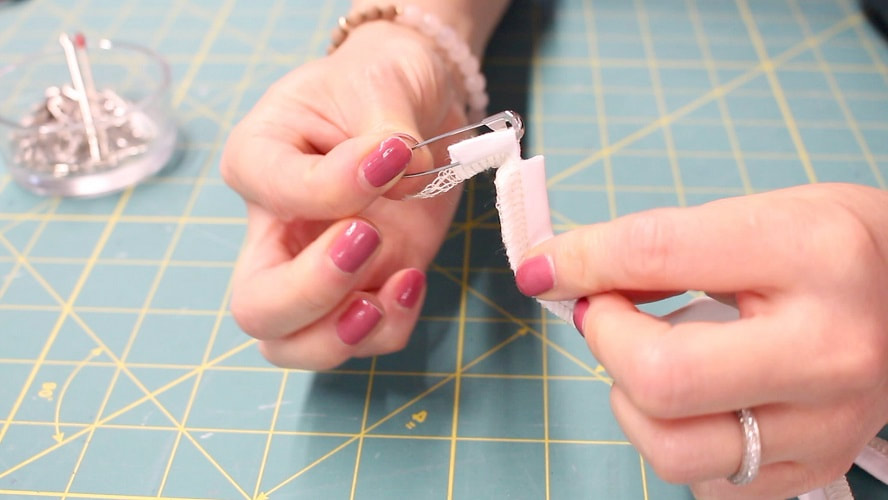 Step 5Feed the safety pin into the tube to help flip it inside out.
To finish, cut elastic according to the length you require. Strap lengths are approximately 7-9” for adults and 6” for children. But you will need to fit accordingly, as each knit fabric will have a different stretch capacity. Feed the elastic through the mask tunnel, stitch the elastic ends together then turn the elastic into the mask tunnel to hide connecting stitches.
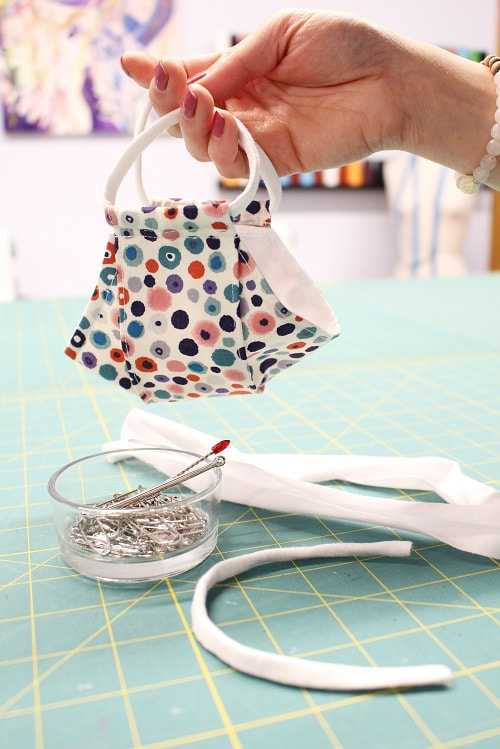
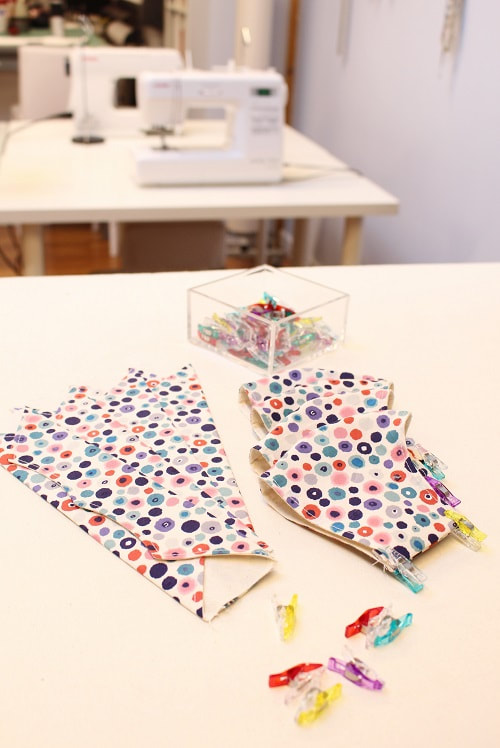
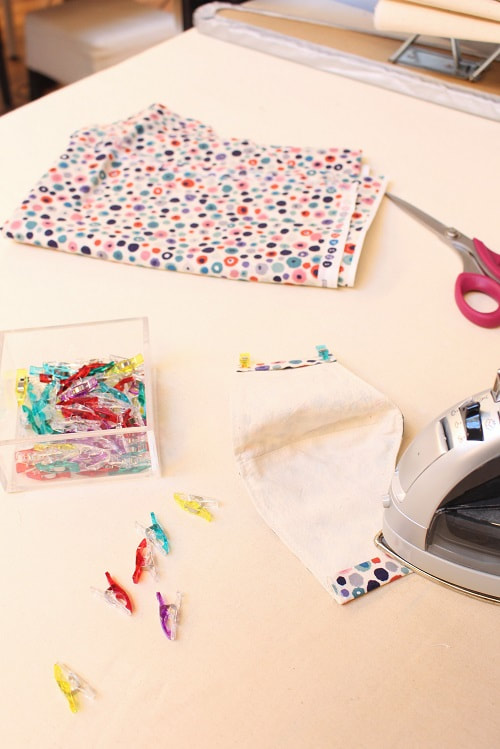
Mask Style RecommendationsI have stitched up a variety of mask silhouettes to find the best shape. I have experimented with 2D and 3D shapes, with vertical and horizontal pleating. I even considered gathers at one point to create structure. My key factors- the masks must provide little to no exposure, I could breathe in them, and be stylish. Be sure to read on for material and trim recommendations, as picking out the right fabric to match a silhouette is just as important!
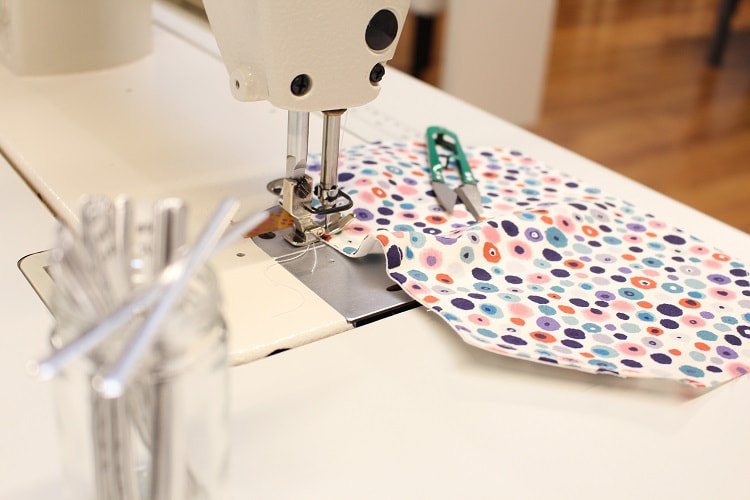
My first favorite shape is a 2D center front seam mask I found on Craft Passion. After my first toile, I made the following pattern adjustments and design changes to better suit my face shape and improve construction.
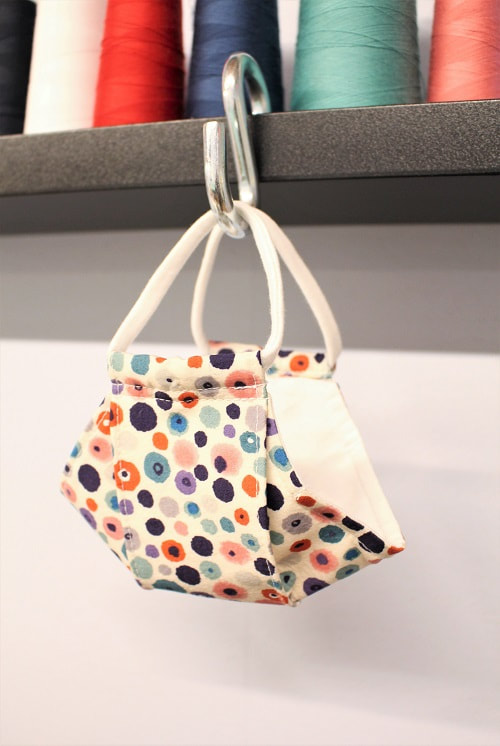
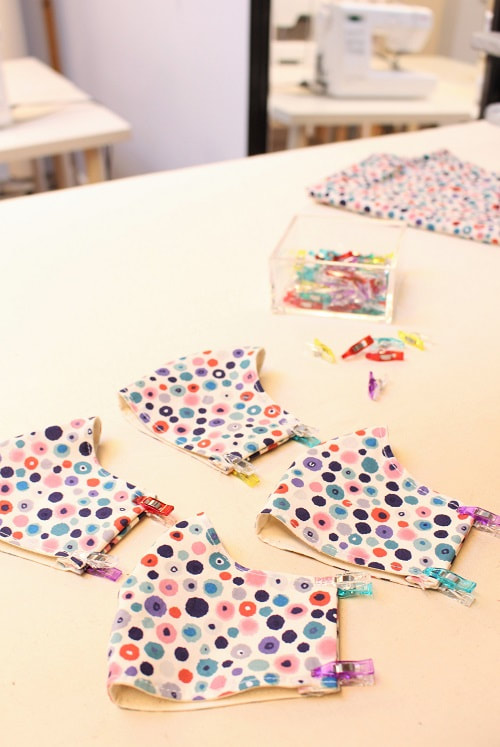
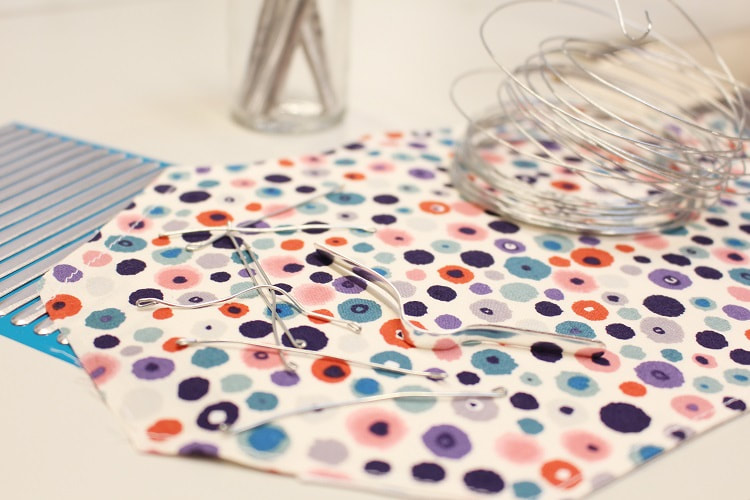
My second favorite mask shape is a 3D horizontal seamed mask I found on Japanese Sewing Books. This is probably one of my favorite silhouettes so far as it provides space inside the face for you to breathe yet seals the edges along your face, so you feel safe! 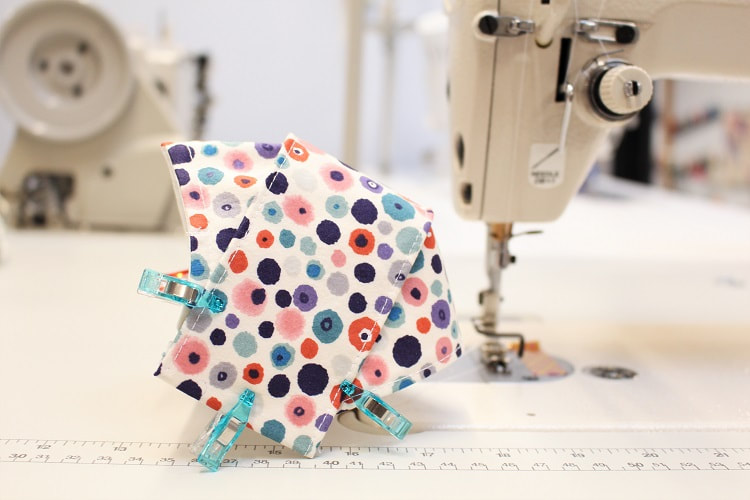 As usual, after my first toile, I made some adjustments to the 3D pattern. Just like the 2D pattern, I lengthened the back edge by ½” to make it easier to sew the ear elastic tunnel and insert in the elastic with ease. 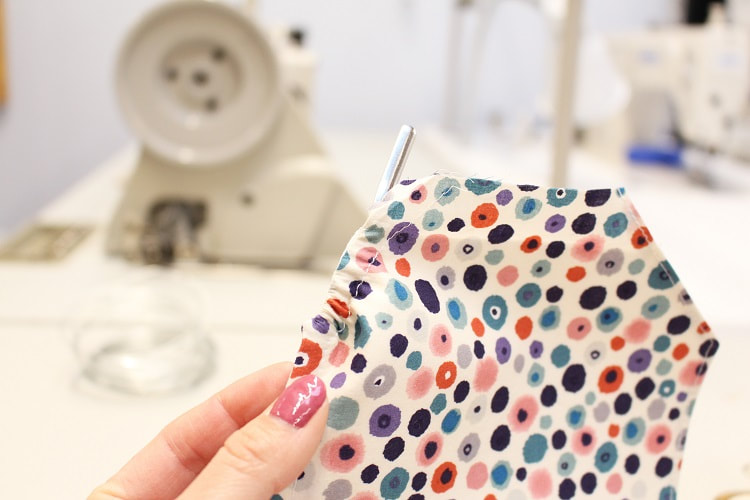 To allow space for a nose wire, I topstitched the upper edge at ¼” instead of the recommended edgestitch (1/16” - ⅛”). I have tried two different kinds of moldable nose wires. One is a thin galvanized free molding wire from Canadian Tire. I used 24 gauge and cut them at 2 ½” in length. I then used pliers to carefully twist back the raw edge of the wire.
The other is a flat 5mm moldable bridge you can purchase from several online shops. A simple Google search will yield a hundred sites for you to pick from. It was important for me to perfect the art of the nose wire, as many of my loved ones wear glasses and need to wear masks for long periods of time. Their favorite combo so far is the 3D mask with the flat nose wire.
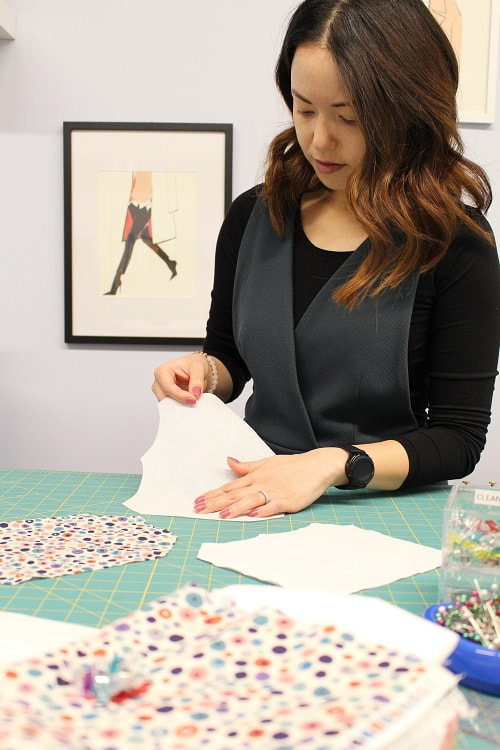
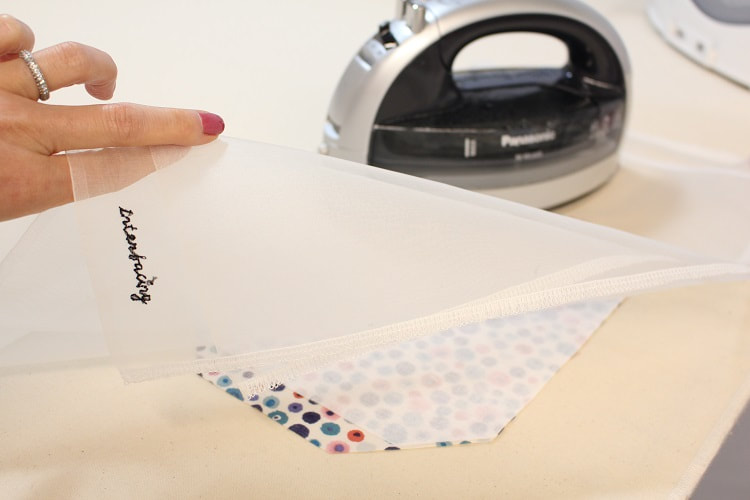
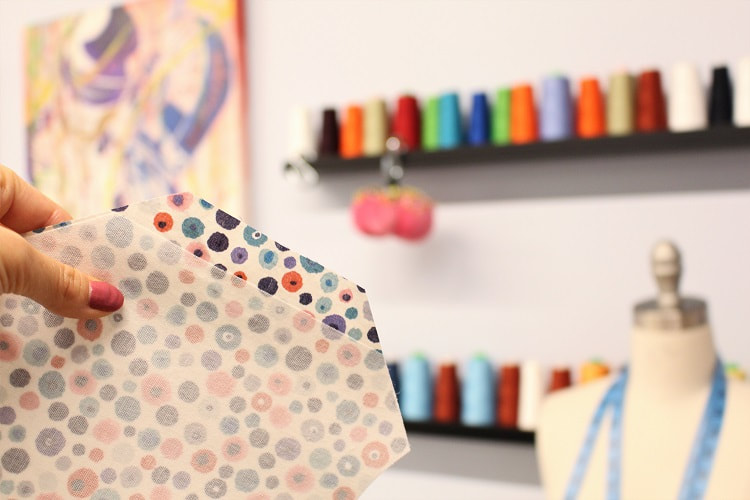
Recommendations for Mask Materials To maintain a 3D shape, the fabric choice is so important. The more structured your fabric, the easier it will be to wear. You want to avoid sucking in fabric with each breath. I've found that a cotton canvas fabric works the best, as it is tightly woven and provides structure. If you just want to use lightweight 100% cotton, that is fine, but try to back it with a fusible non woven interfacing to provide structure and decrease particle penetration. 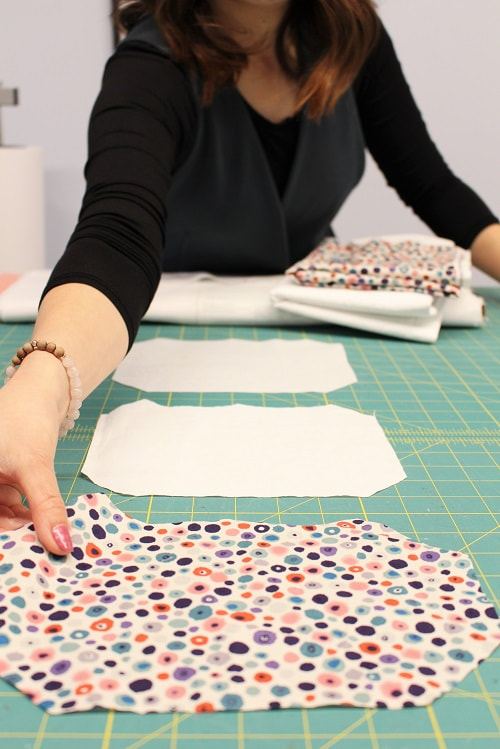
Final ThoughtsWearing a mask is not going to be forever. I support mask wearing and feel we should do our part by using our creative skills to keep our community safe. I will continue to improve on the fit and comfort of face masks and share when possible. A reminder that all the face masks shown in this post are non medical grade. If you love the printed cotton fabric shown, it can be found at Fabricana. 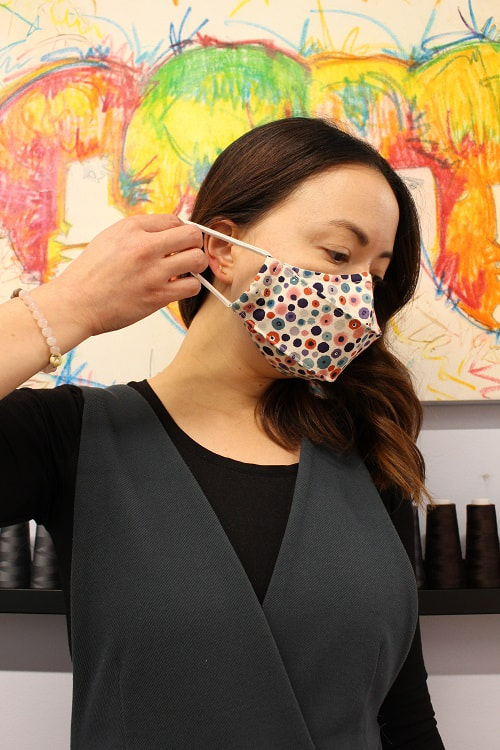 Let us know of any sewing tips, pattern modifications or material recommendations in the comments below, and be sure to sign up for our Insider Newsletter to keep up to date with our designs.
Stay safe and happy sewing! Designed, photographed and written by Sheila Wong Studios. |
Archives
November 2022
|


 RSS Feed
|
|
Copyright © 2024 Sheila Wong Fashion Design Studio Ltd. All rights reserved.