|
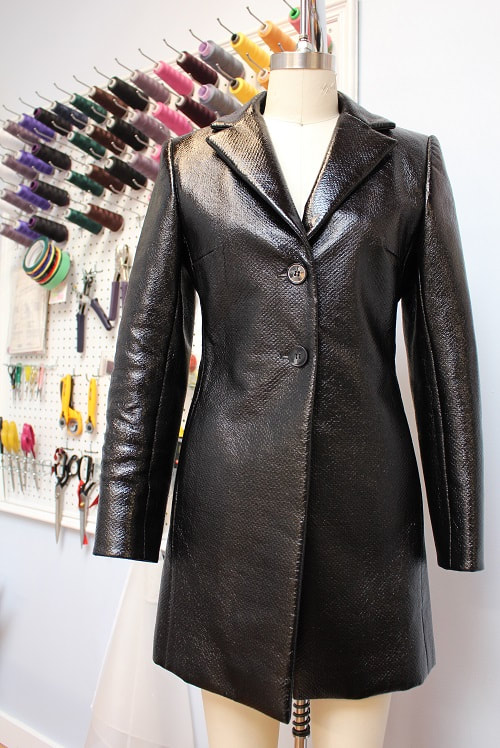
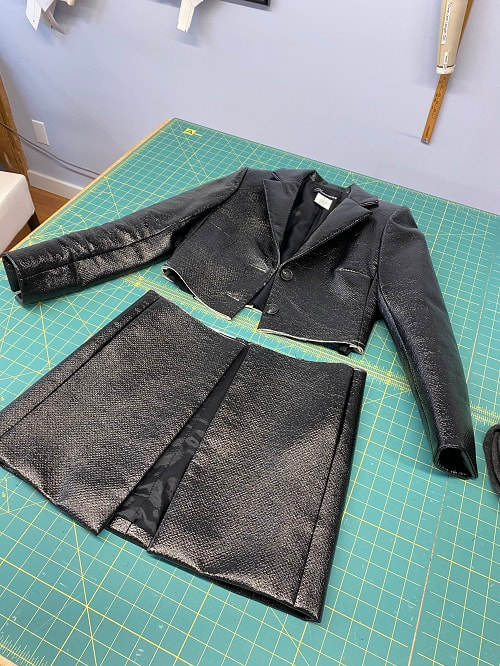
Pivoting our design process to include a variety of sustainable practices is imperative as we go forward. Traditionally, we have a fabric in mind already during the conceptualization process. However, we must give the fabric we already have in our stash a chance to be used first. Non-traditional fabric like drapes, bed sheets, already worn garments, or second-hand fabric from thrift shops can all serve as fabric for a new or upgraded design. Additionally, many of us also have garments in our wardrobe that sadly never see the light of day. We wish we could wear these items, but we do not, and for some reason, continue hanging on to them. So think about how you could either refashion your current wardrobe into a new wearable garment, take apart an item to use for fabric or parts, or simply pass it along to a loved one who will wear it.  InspirationOur latest upcycled design is a two-piece jacket and skirt set that was dreamt-up by our marketing coordinator, Natasha. During her down-time, Natasha does freelance styling for local Vancouver models and photographers. Back in 2018, she picked up this awesome shiny pleather jacket (pictured below) from a consignment shop to use for a photoshoot. Unfortunately, it just wasn’t what the creatives were looking for, so it sat in her closet unloved for quite some time.
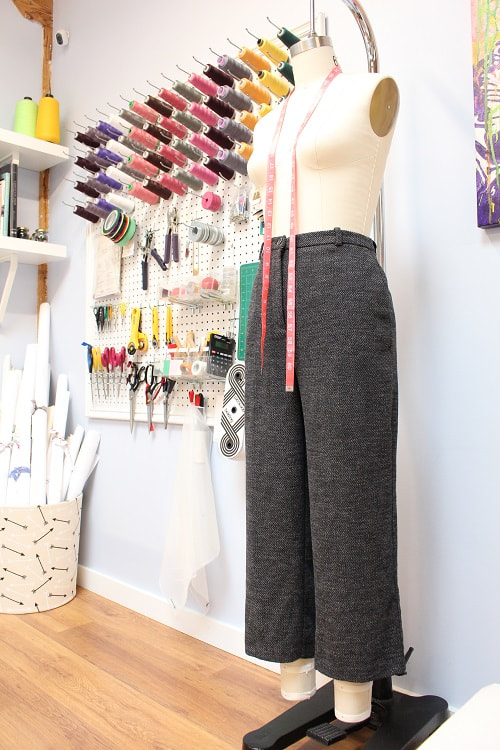
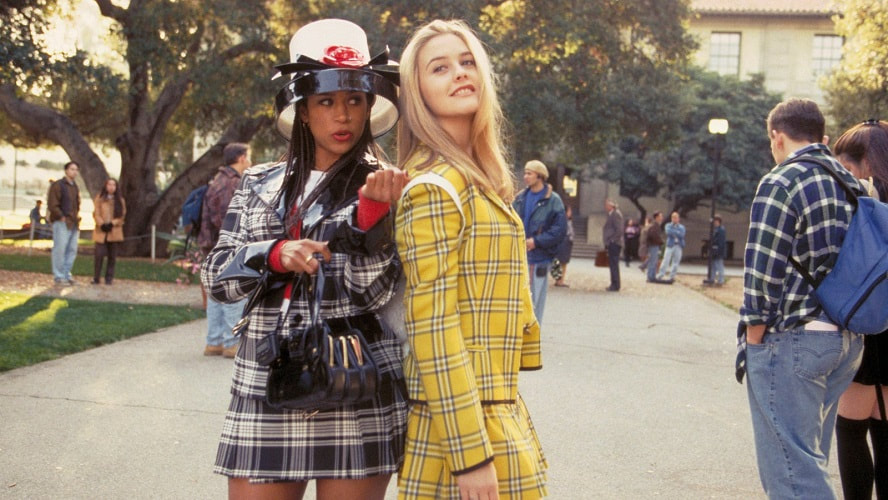
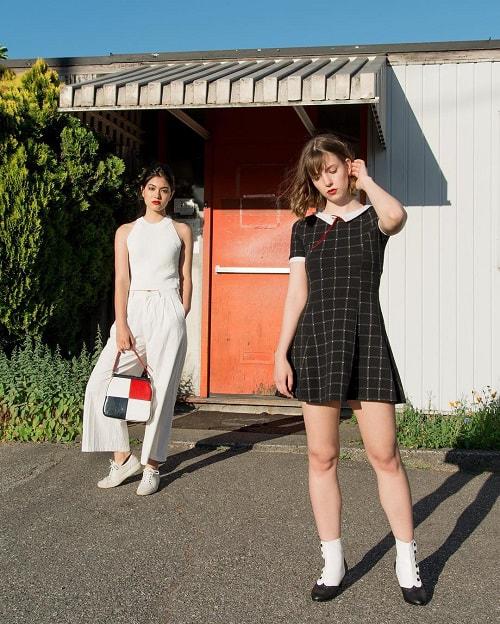
One October night, Natasha had a 90’s movie marathon in which she watched “Clueless” and “The Craft” back-to-back. This inspired her idea to merge two very different 90’s aesthetics- preppy and grunge. She took to her closet to find something that could potentially fit her upcycle criteria and ultimately landed on this wicked jacket plus an old pair of thrifted wool pants.
For those of you that love to shop second-hand, Natasha recommends the below thrift and consignment stores.
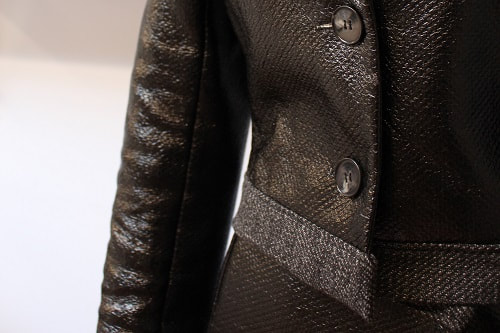
Upcycle Construction ProcessUpcycling is all about working with and around what you already have to create a new perspective. Here is Natasha's step-by-step experimental process of preserving and creating certain design elements. Step 1: Determining WaistlineNatasha wanted to maintain certain design elements on the original jacket, so she halved the garment by cutting just below the second button and just above the side seam pockets. This sat at the natural waistline. If she had cropped the jacket any higher or any lower, she would have had to sacrifice either the second button or both pockets, but this way, she could keep them!
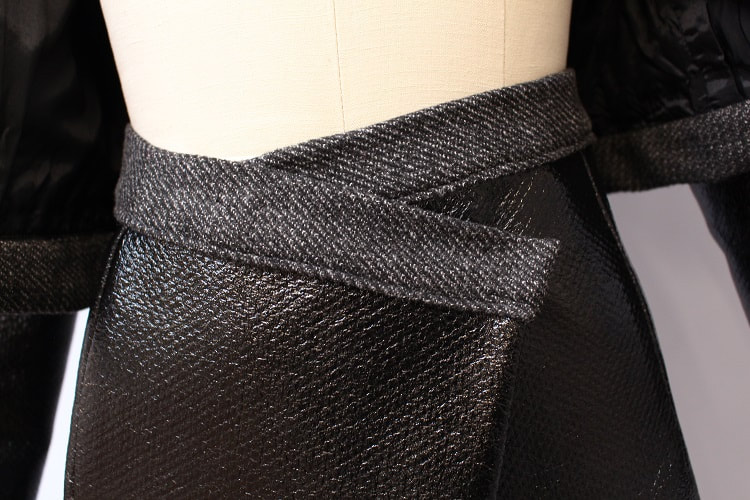
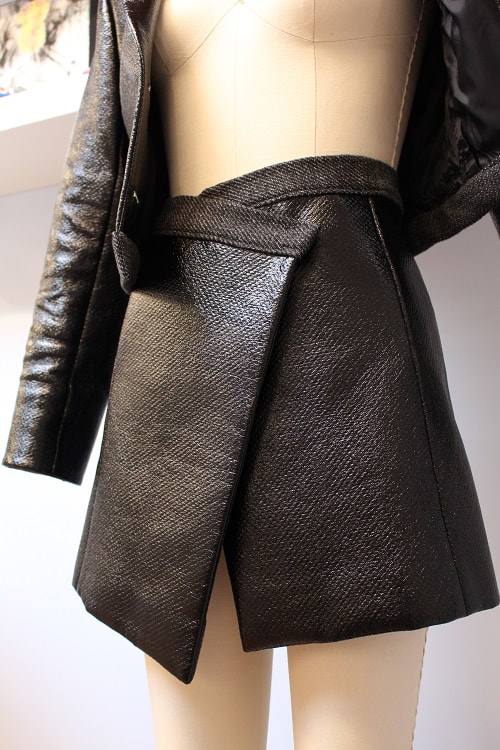
The garment is fully-lined, so once cut in half, Natasha stay-stitched the rayon lining to the pleather fabric on both the upper jacket and lower skirt. She found that these two fabric types were a little trickier to work with together than usual. The lining was slippery, while the pleather was very thick. Good thing for industrial sewing machines— thank you, Juki industrial machine! Step 2: Finishing the WaistTo help define the waist of both the jacket and the skirt, Natasha brought in another thrifted garment to assist and add texture to the overall outfit. Finishing off the waist with a non-shiny fabric really grounds the two new garments created. This also allowed the garments to lengthen slightly by 2”. During the upcycling process, you can lose length easily, so this change was very helpful! Now the skirt was a tad more wearable.
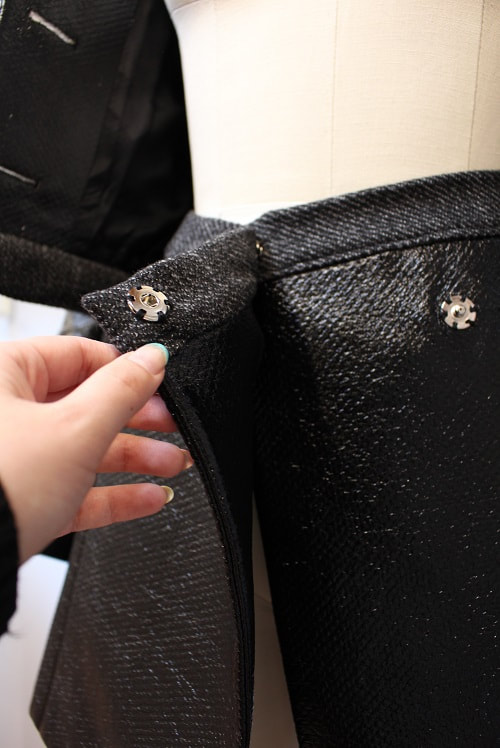
Natasha was able to use one pant leg's worth of fabric to create both waist finishings. One for the jacket and one for the skirt. Any suggestions on what she should do with the other pant leg? Step 3: Choosing a Skirt-Closure Snap snap snaps! The pleather fabric proved to be too thick for buttonhole installation on our sewing machines, so snaps it was to close up this skirt. This also allowed Natasha to play around with the drape of the skirt. In placing the skirt slightly asymmetrical, a new flared silhouette took shape.
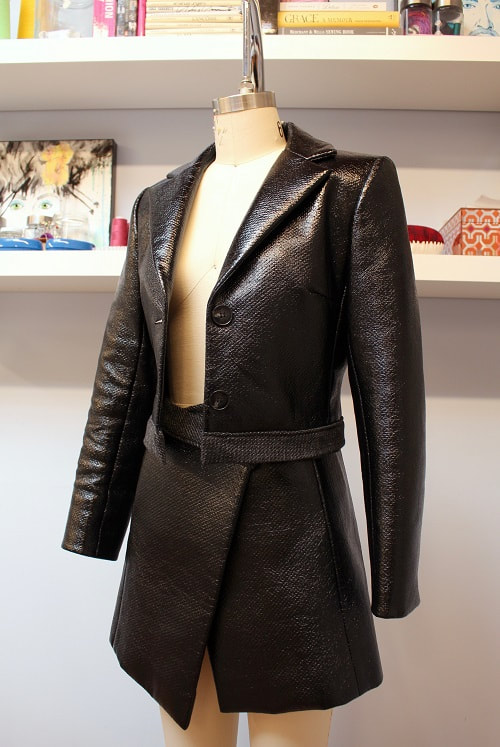
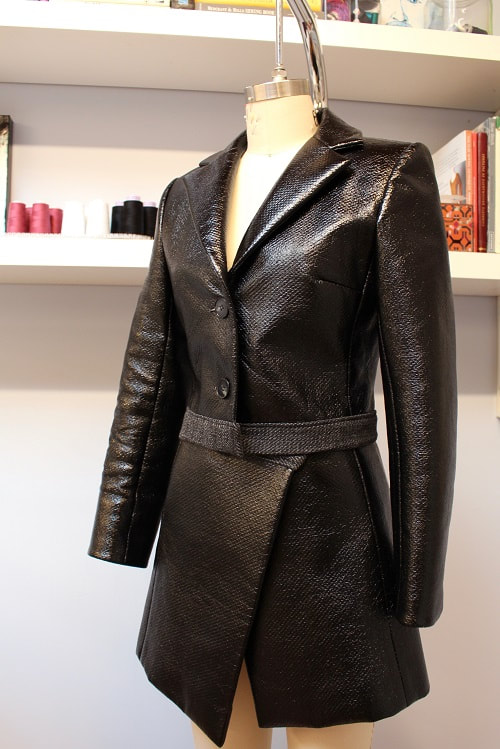
Final ThoughtsPresto, 90’s makeover complete! We love how Natasha's upcycled retro blazer set turned out. Natasha gifted this set to her little sister, and it was a perfect fit! Great to know this design will finally get some love after so many years.
Upcycling gives new life to forgotten garments and prevents you from adding to a world that is already overwhelmed with material items. Furthermore, it challenges you creatively by forcing you to think outside the box. For more upcycling inspiration, check-out our blog post, Latest Design: Retro Upcycled T-Shirt. Do you like to upcycle? Let us know what garments you’ve re-worked in the comments below, and be sure to sign up for our Insider Newsletter to keep up to date with our designs. Happy Sewing!
Designed, photographed and written by Sheila Wong Studios.
1 Comment
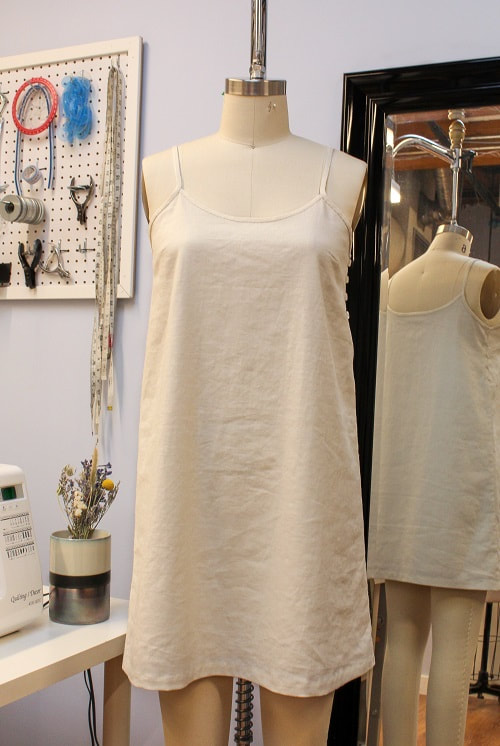
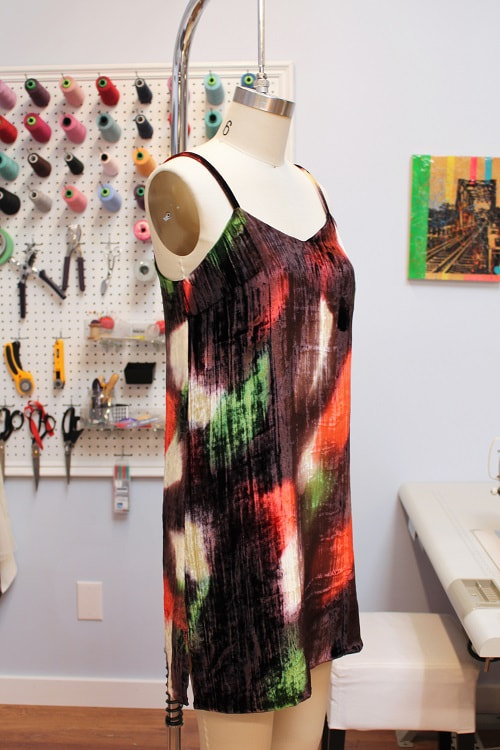
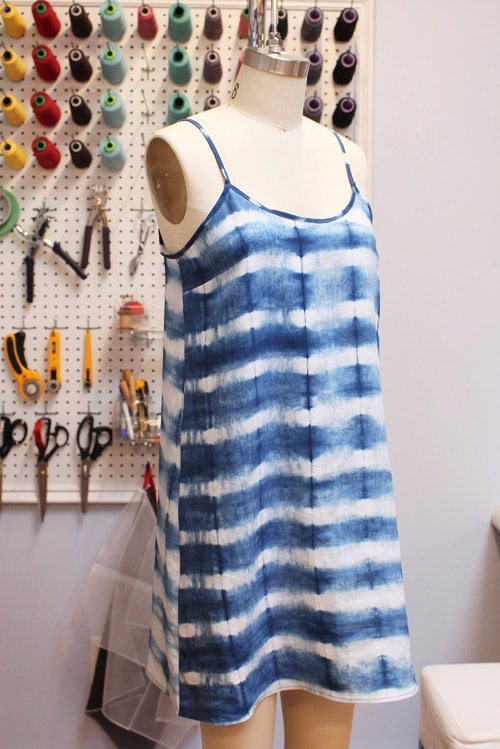
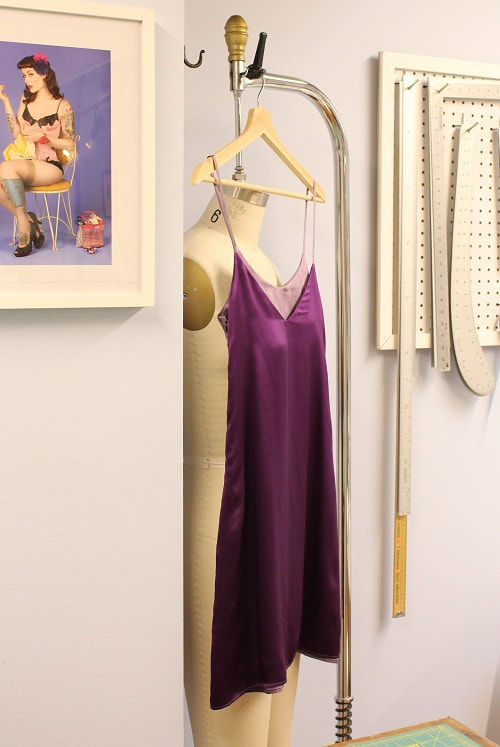
In early 2018, a simple slip silhouette dress pattern was drafted to allow me to demonstrate couture sewing techniques in my hand sewing intensive course at Maiwa School of Textiles. Since then, I have made four variations of the dress silhouette showcasing different fabrics, seam finishes, and surface manipulations. Having a simple silhouette to showcase a variety of machine and hand sewing techniques is ideal while teaching our clients.
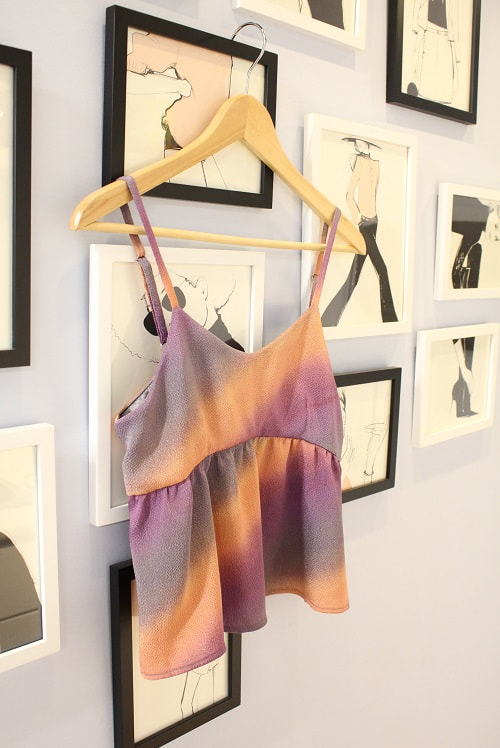
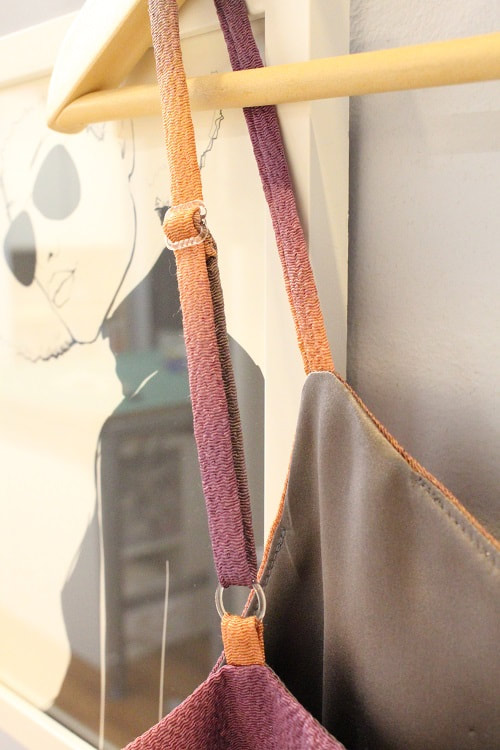
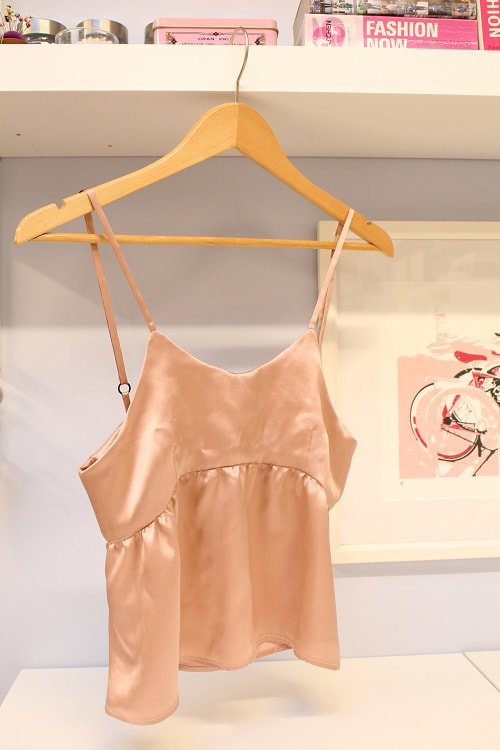
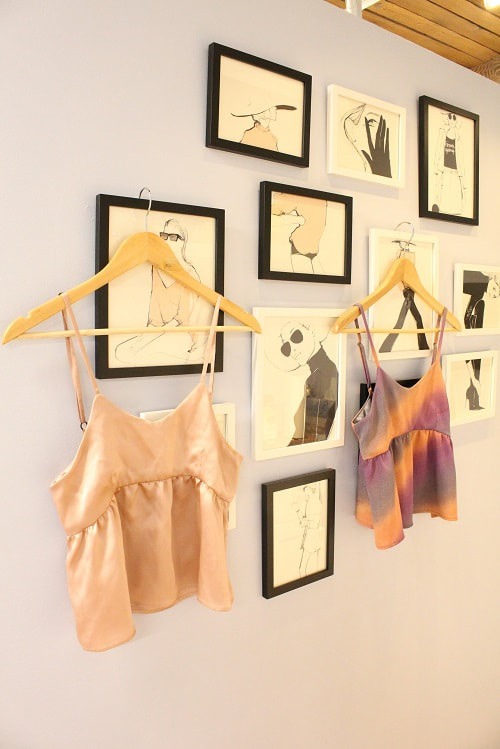
Earlier this year, we cropped the dress pattern to become an easy-to-wear slip top. In doing so, this allowed me to continue to demonstrate with clients but with less fabric waste. Pictured below, you can see the variety of slip tops we have made to date, with the most recent changing up the design elements the most. 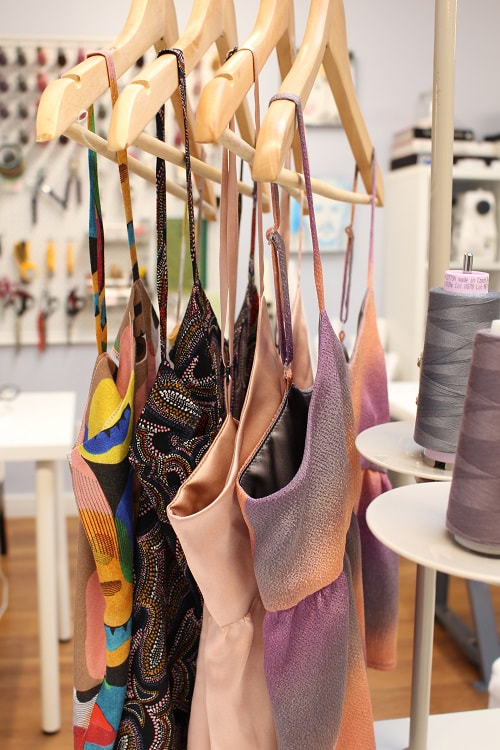 Our latest slip top variation was created as a demo garment while instructing our client Anita. I had initially taught her how to draft a simple slip top for her daughter, using the original slip top pattern. Anita wanted to take this slip top even further by introducing darts, gathers, convertible straps, and an empire seam. So voila, a gathered slip top was born!
Project Specs
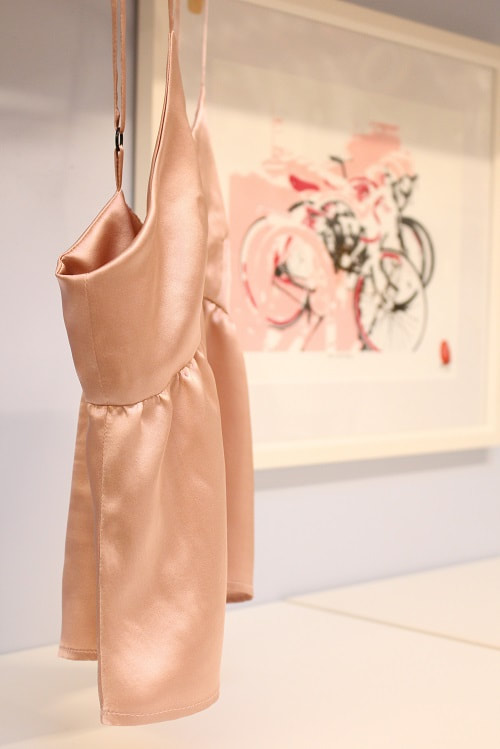
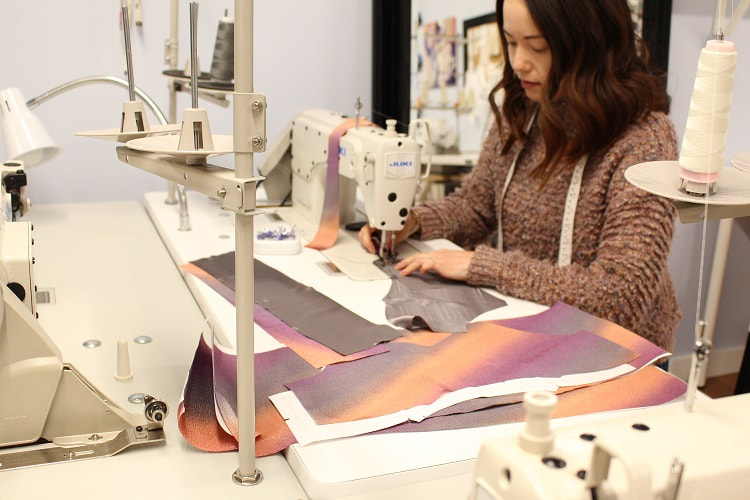
Creating a Toile (Fit Sample)Before cutting into our intended fabric (ombre silk), we created a toile (fit sample) to test out the gathers, bust dart, convertible straps, and strap width and length. All of which were changes from the original slip top. Creating a toile is extremely important in the design process. It helps a designer test out their concept, pattern draft, and correct fit requirements. Not only that, but it also assists the designer in understanding the best sequence of construction. Typically a toile is made out of muslin fabric. But when the final intended fabric for use does not move like muslin, you can choose to make your toile out of a similar but cheaper fabric than your final fabric. We used silk charmeuse. Not exactly cheaper, but it is what we had on hand, not to mention it best resembled the drape of our final ombre fabric. Silk charmeuse fabric is from Atex Designer Fabrics.
After fitting the toile, the following adjustments were made to the pattern.
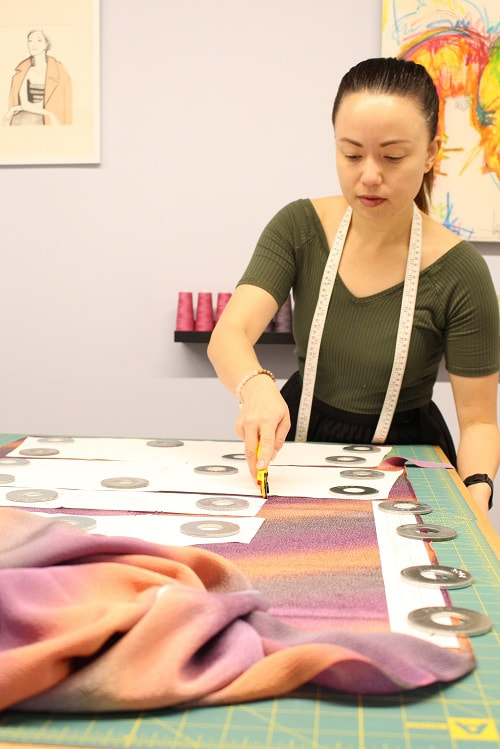
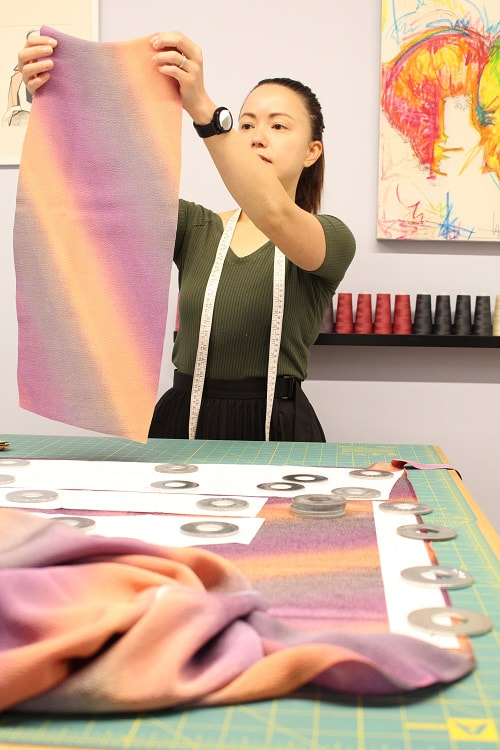
Ombre FabricIn 2017, I picked up ombre textured silk fabric from Nagato Fabrics in Nippori Textile Town in Tokyo, Japan. It was the last of the bolt with only 2 m left... so I bought it all! The fabric is 25” wide, which is more narrow than typical fabrics. I was informed that this type of fabric is meant for kimonos, hence the narrow width. Nagato Fabrics is one of my favorite textile shops in Japan as they have three shops within one block of each other to experience. For more information on Nagato Fabrics, check out our blog post: Latest Design: Couture Striped Jacket.
The upper bodice is lined with a grey silk charmeuse fabric, purchased from Atex Designer Fabrics.
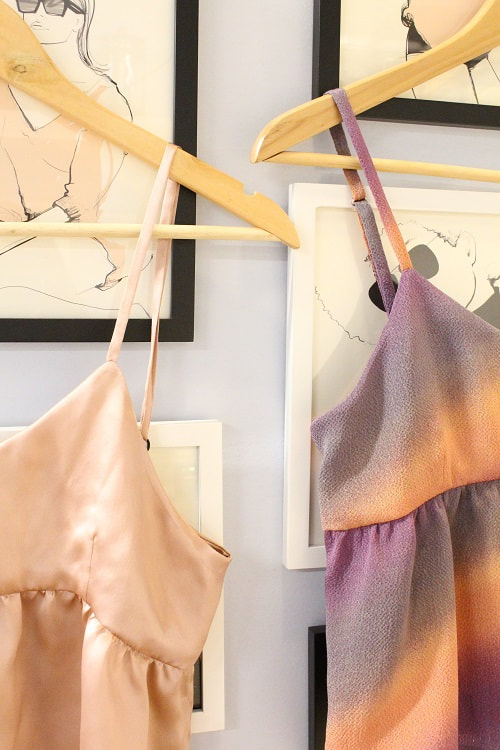
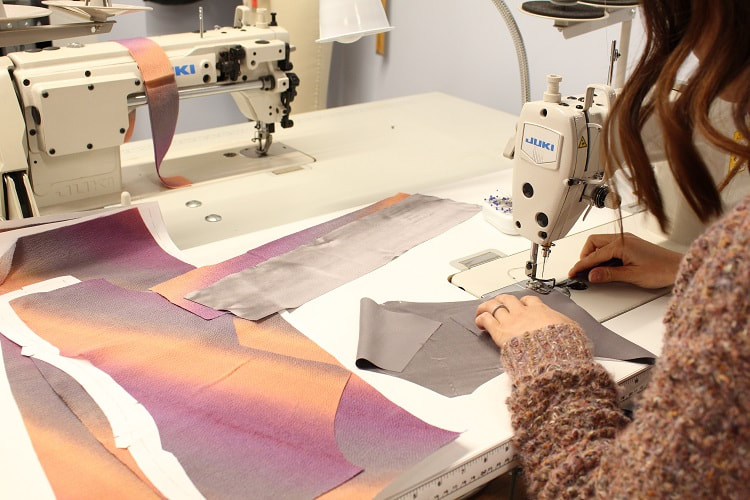
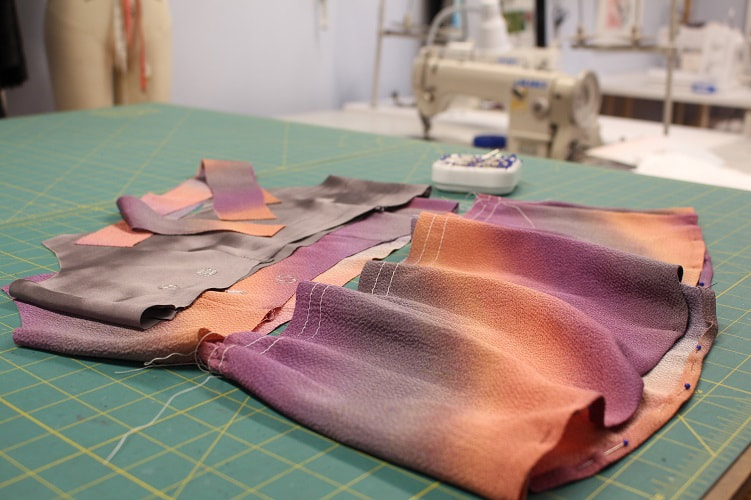
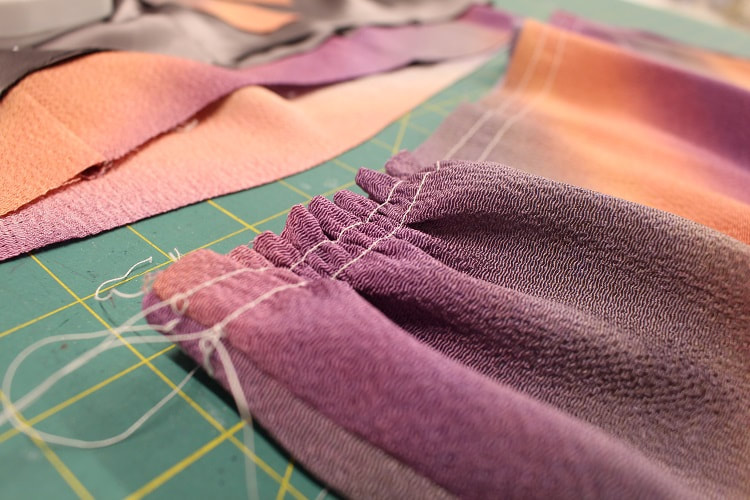
Gathering TechniquesOur slip top might look simple in nature, but as per usual, there are a ton of elements hidden within this design. While our top features French side seams, a topstitched tailored hem, an empire waist, front bust darts, convertible straps, and a lined upper bodice, I want to focus our attention on our designs' most visual element— gathers. 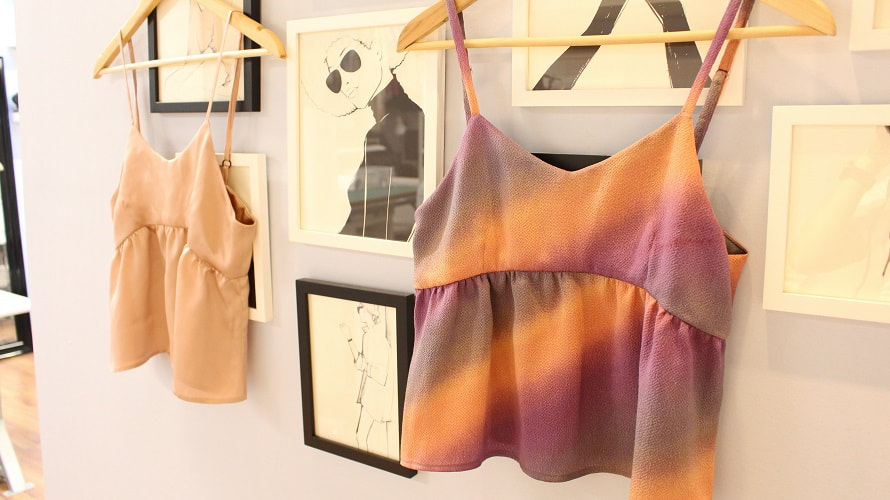  Gathering Sewing Tips:
Final ThoughtsCreating variations of a basic silhouette is the best way to explore a pattern to its fullest. There are other elements we could potentially add to future versions of this slip top such as pleats, round neckline, color blocking, double straps (2 per side instead of 1), cross over straps, pintucks, lace overlays, and the list goes on! What design elements would you like to see on the next variation of this silhouette? Let us know in the comments below.  Want to watch this slip top transform and progress? Sign up for our Insider Newsletter to keep up to date with all our latest designs.
Happy Sewing! Designed, photographed, and written by Sheila Wong Studios. |
Archives
November 2022
|


 RSS Feed
|
|
Copyright © 2024 Sheila Wong Fashion Design Studio Ltd. All rights reserved.