|
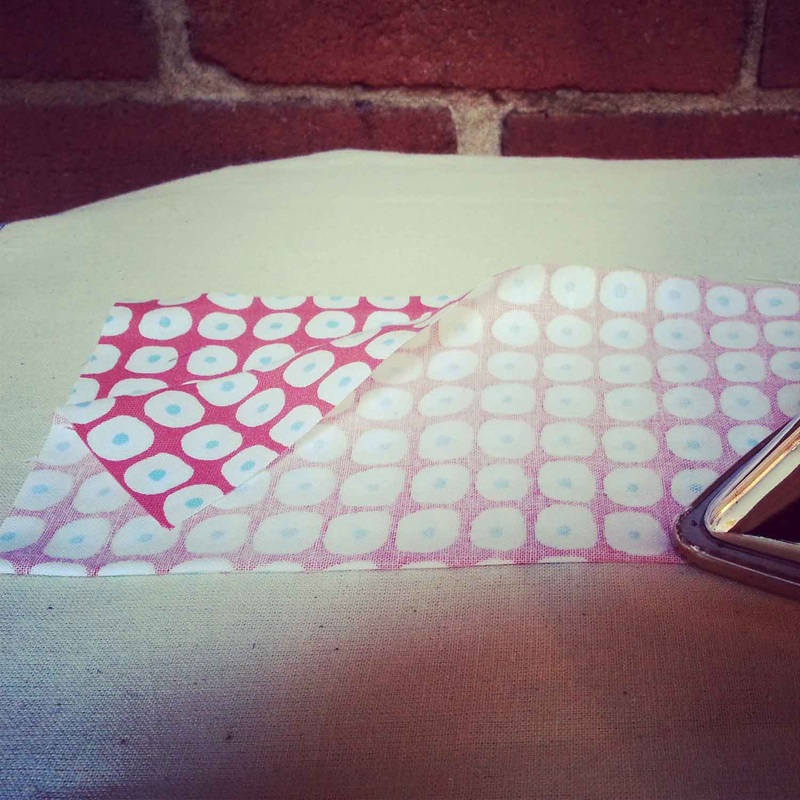
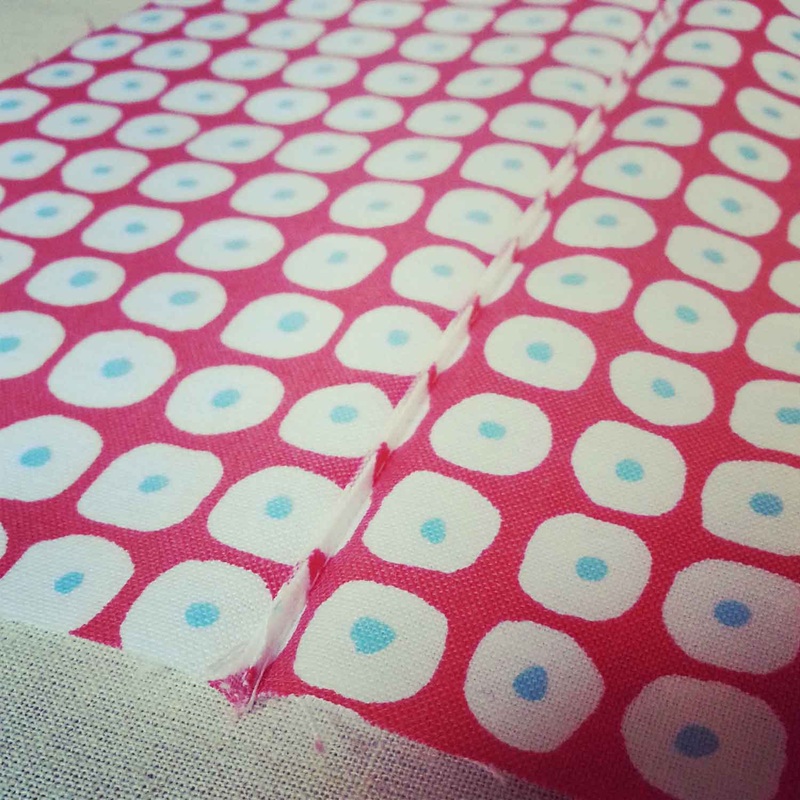
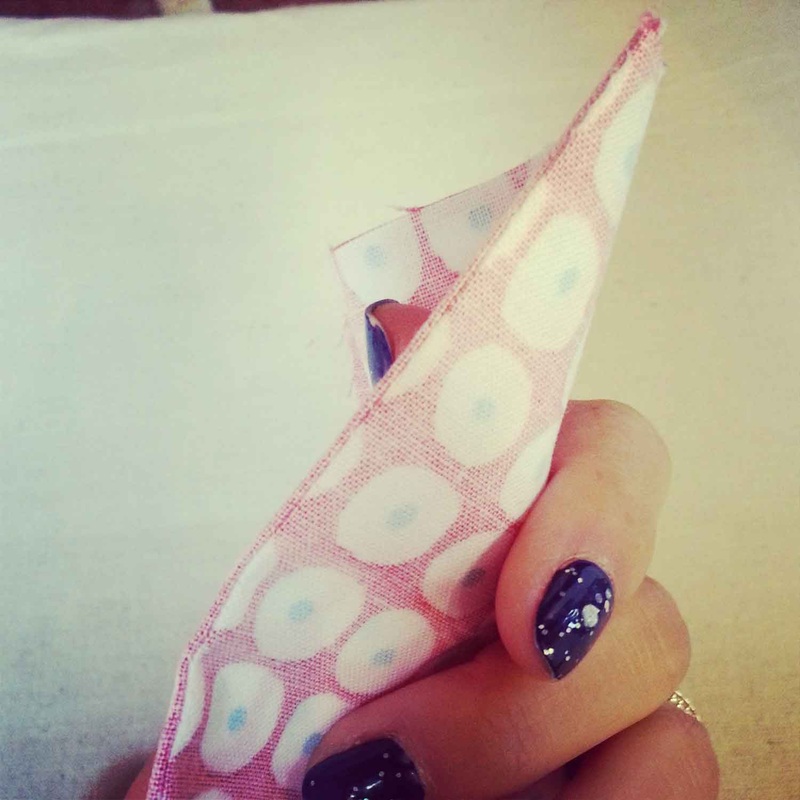
Part 2 of a 3 part series in sewing French seams, say hello to the narrow French seam. Please click HERE if you would like to view Part 1: How to Sew a Regular French Seam. The construction steps are very similar to the regular French seam except for certain seam allowances have changed to accommodate a narrow completed seam. A narrow French seam should be used for thin or sheer fabrics with medium to high fray rates. A narrow finished seam allowance will allow the seam to almost disappear in the garment. Remember, French seams are best used on straight to slightly curve seams. They will not lay flat for seams that are extremely curved. Step 1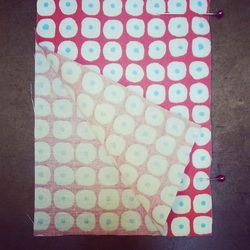 Wrong sides of fabric facing, line up your seam, pin, and sew at 3/8" seam allowance. Please take note that a total of 1/2" seam allowance has been allocated for this pattern. Step 2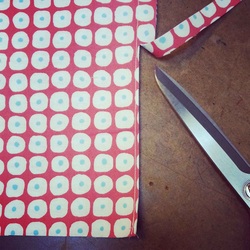 Trim seam allowance down to 1/16" seam allowance. Step 3Press seam flat to look like a book spine. Right sides of fabric should be facing each other. Step 4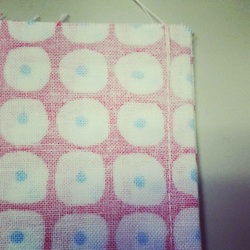 Right sides of fabric facing, sew at 1/8" seam allowance from book spine edge. This step fully encloses your raw edge. Step 5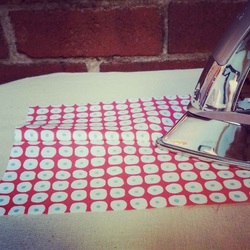 Pressing from the right side of your garment, press all seam allowances to one side. Pressing from the right side will allow the iron to naturally open your seam flat. Check out my Pressing Tips here. 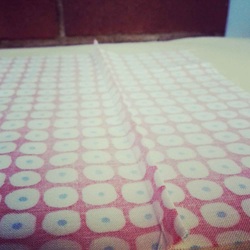 Your finished seam allowance inside your garment should look like this photo with a seam allowance of 1/8". Check back for Part 3: How to Sew a Faux French Seam.
Happy Sewing! Photographed and written by Sheila Wong Studios
0 Comments
Leave a Reply. |
Archives
November 2022
|
Copyright © 2024 Sheila Wong Fashion Design Studio Ltd. All rights reserved.

 RSS Feed
