|
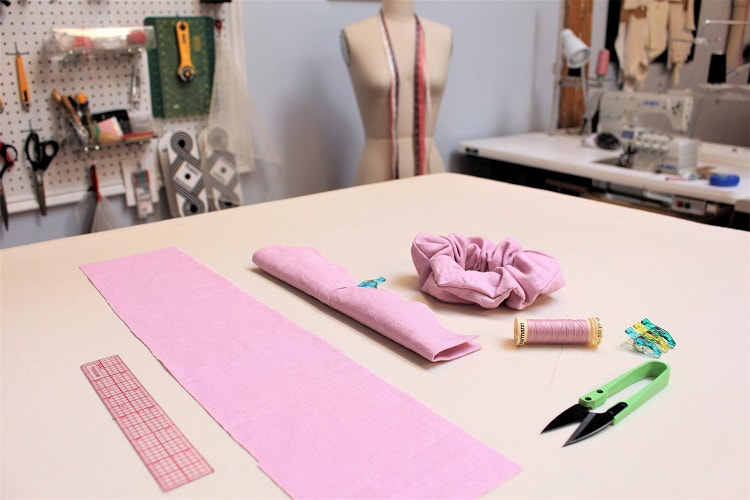
Feeling extra 90's with this week’s tutorial!💕The scrunchie trend has proven time and time again that its here to last. Not only is it the cutest of hair accessories, but its also a great way to recycle excess fabric and reduce waste. This sew-a-long will take you through the step-by-step process for creating your own scrunchie. Materials
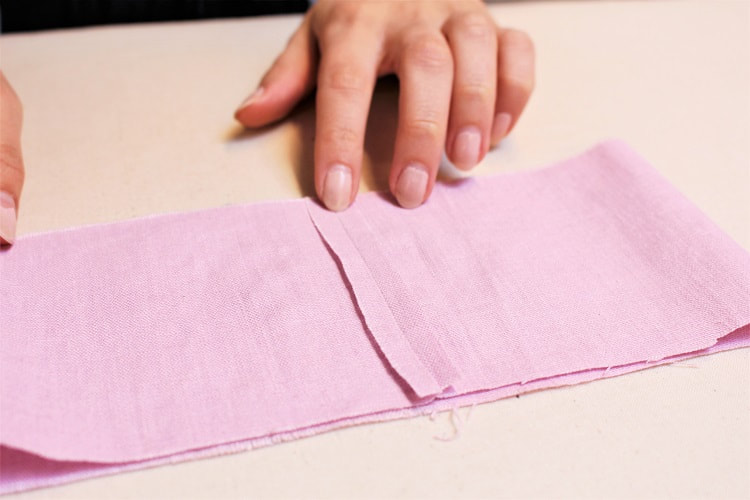
Step 1With right sides facing, fold your fabric in half lining up the shorter edges of the fabric together. Pin and stitch at a 1/4" seam allowance. Back stitch at the beginning and end. 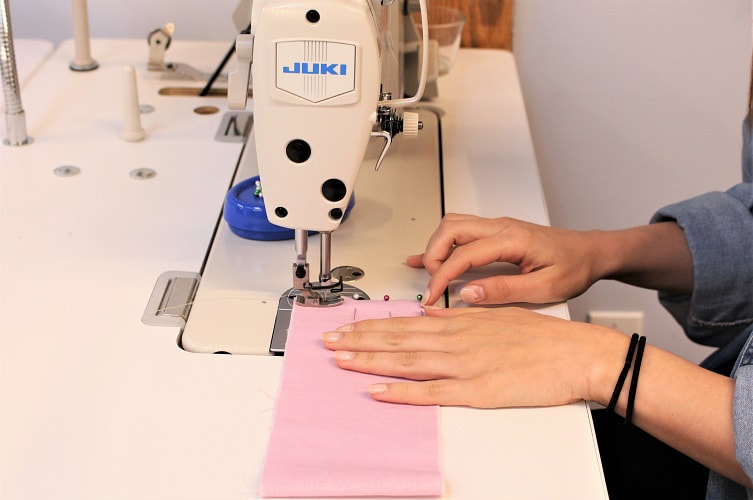 Step 2Press open seam allowance. Use a seam roll if you have one to open up with ease.
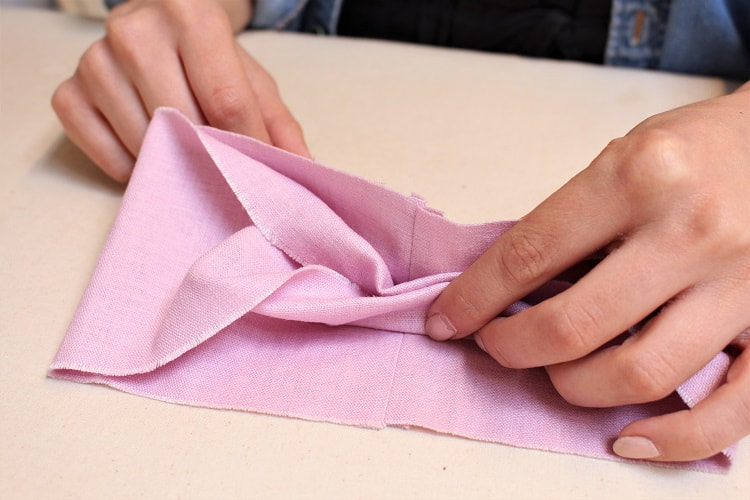
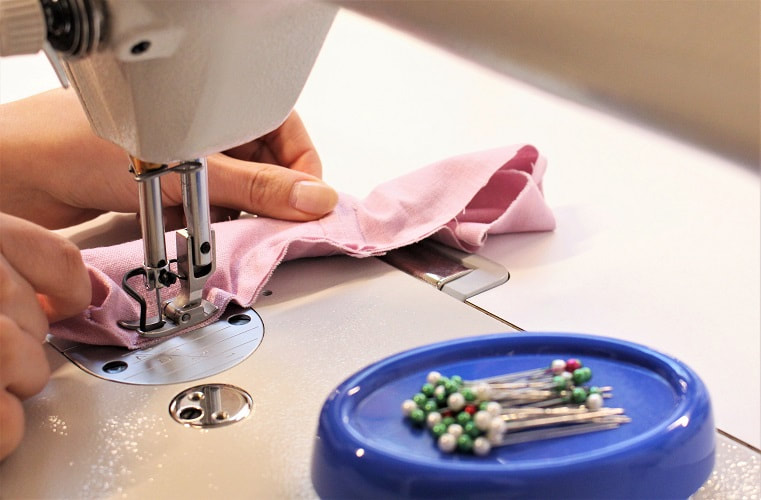
Step 3Place the fabric so the wrong side is facing out (or facing the table). Fold the raw edges in on the upper layer of the circle, enough so that the bottom layer raw edges can fully encase that upper section with room to sew at a 1/4" seam allowance. Pin lower raw edges together avoiding capturing the inside layers of fabric. Your fabric should now resemble a shape similar to a tube- hence "scrunchie tube". Tomorrow we sew the tube. 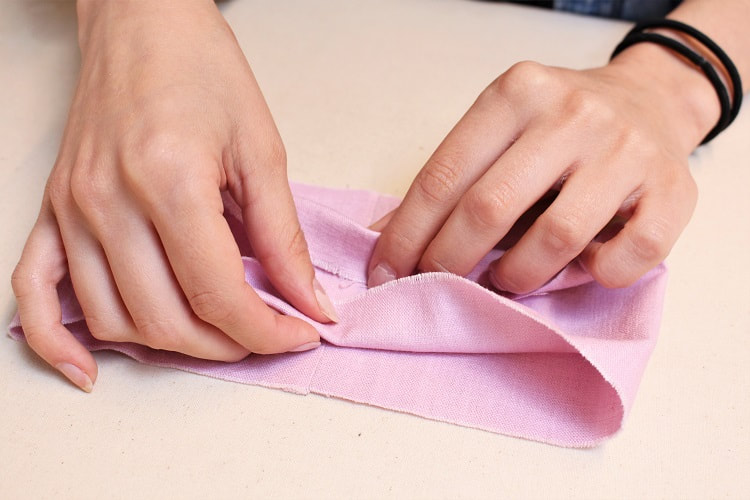
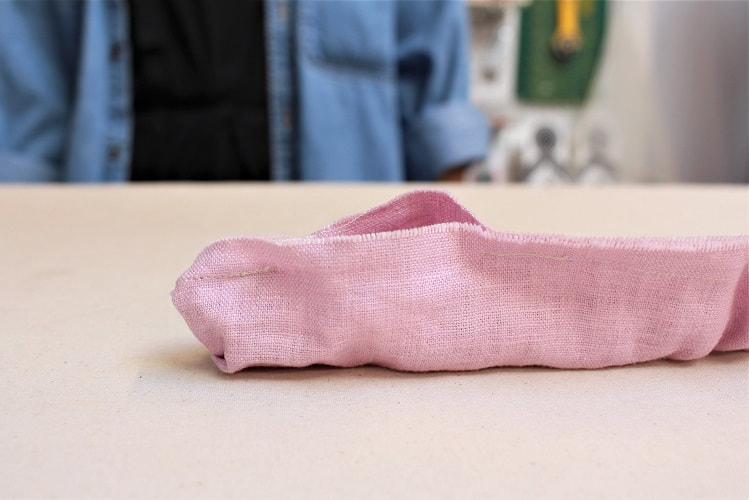
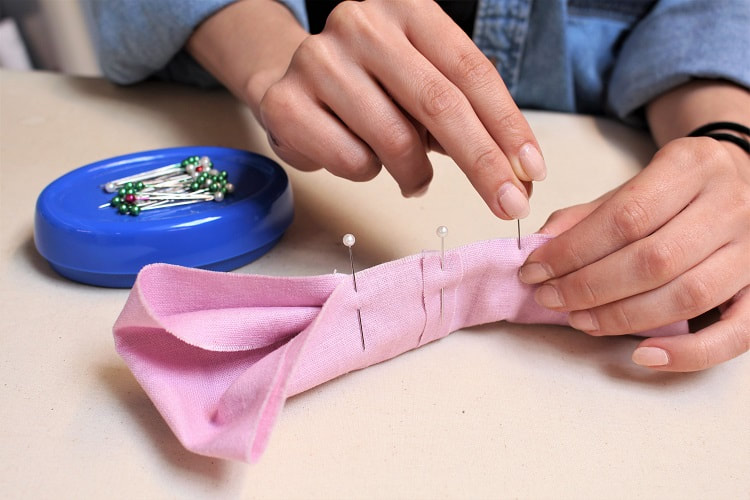
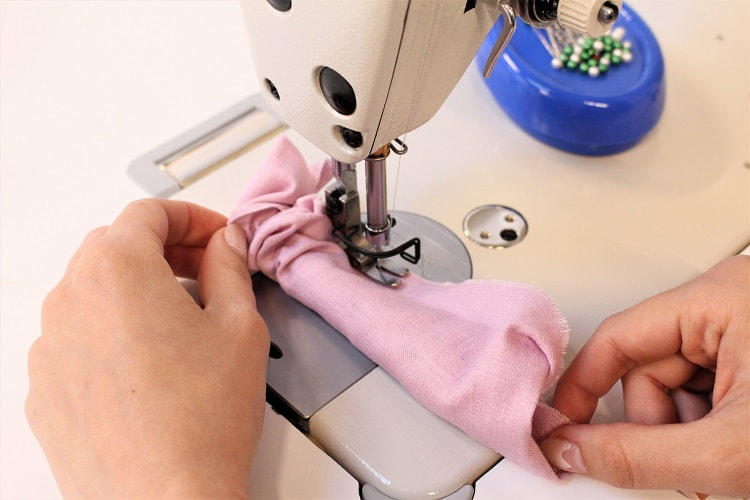
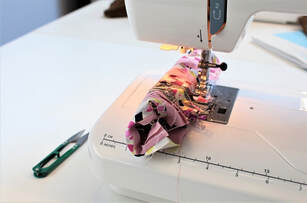
Step 4Stitch your pinned edges at a 1/4" seam allowance. Back stitch at the beginning and end. Continue sewing down the line while periodically pulling the inner layers of fabric out through the bottom opening of the tube. Make sure the inner layers of fabric are away from the presser foot so that you don’t accidentally sew them together…it happens. Keep sewing and pulling until your initial back stitch is visible. Do not sew the full circle! Leave an approx 2" opening to allow for us to flip and insert elastic.
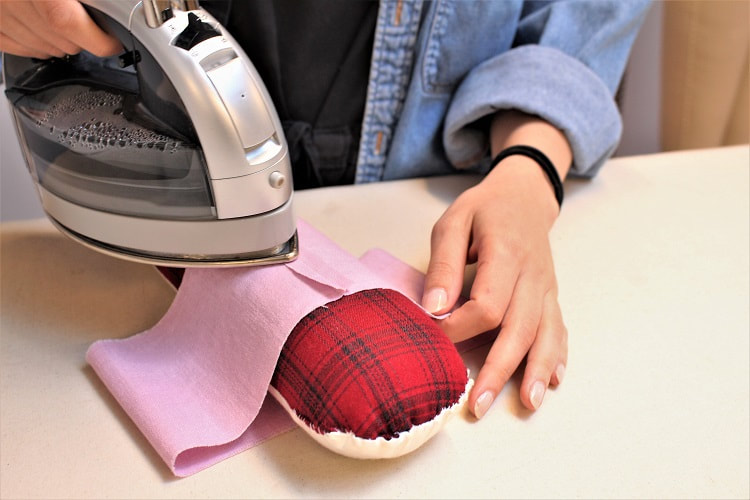
 Step 5Pull the right side of the fabric through the 2” opening you created in your circle. Press seam flat. PS- How many times do you think we can get away with saying scrunchie??
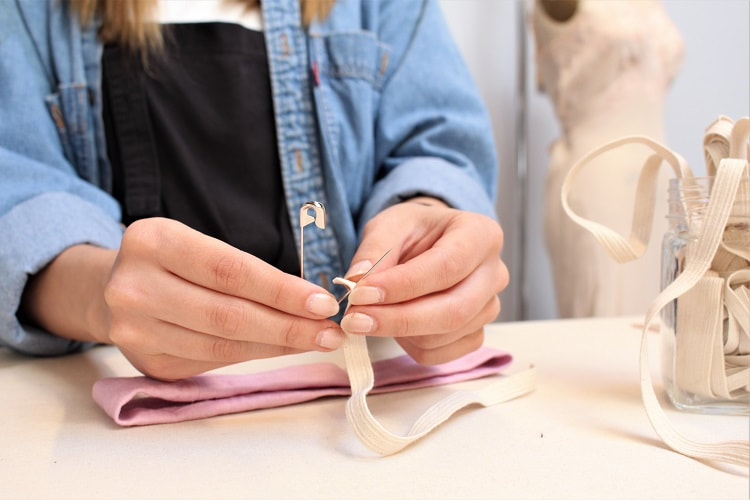
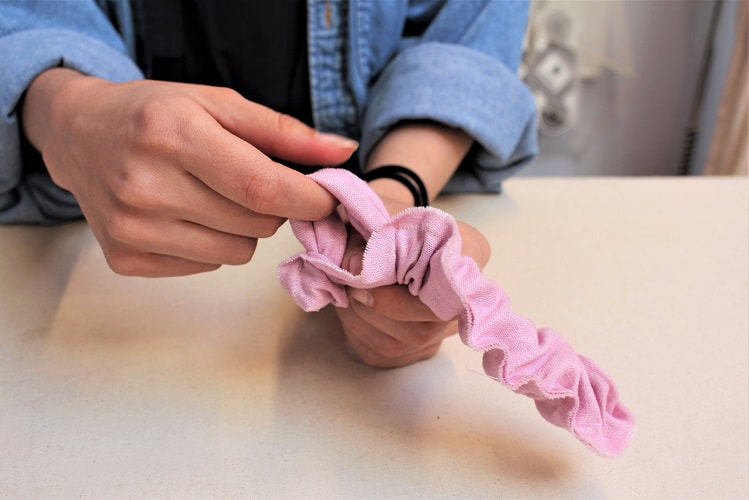
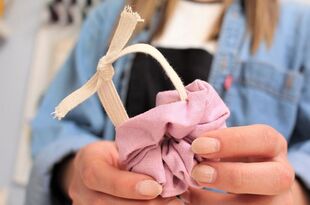
Step 6Cut 10”-11” of elastic. Attach a safety pin to one end of the elastic and feed it through the opening in your “scrunchie circle”. We recommend attaching a larger clip to the opposite end of the elastic, to ensure it doesn’t get sucked into the hole by accident. Slide the safety pin end through the fabric until it reaches the opposite end of the hole. You should see the “scrunch” forming as you go. Tie a knot with both ends and cut away any excess elastic. Give the scrunchie a final pull to hide the knot in the fabric. Alternatively, to reduce bulk you could zigzag the ends of the elastic together. 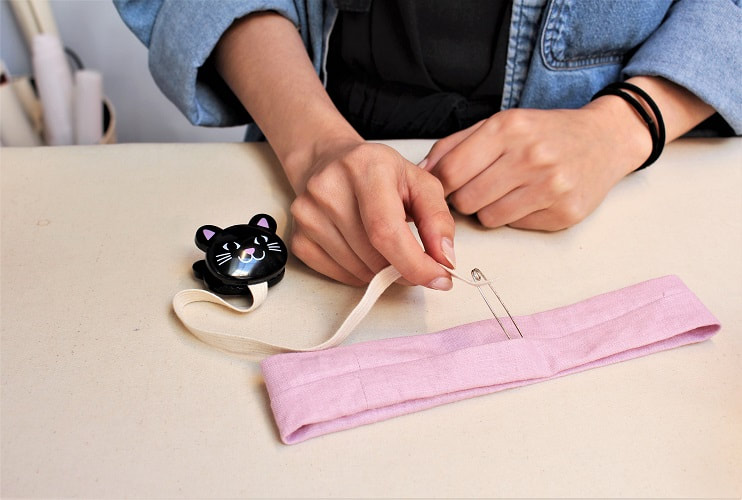
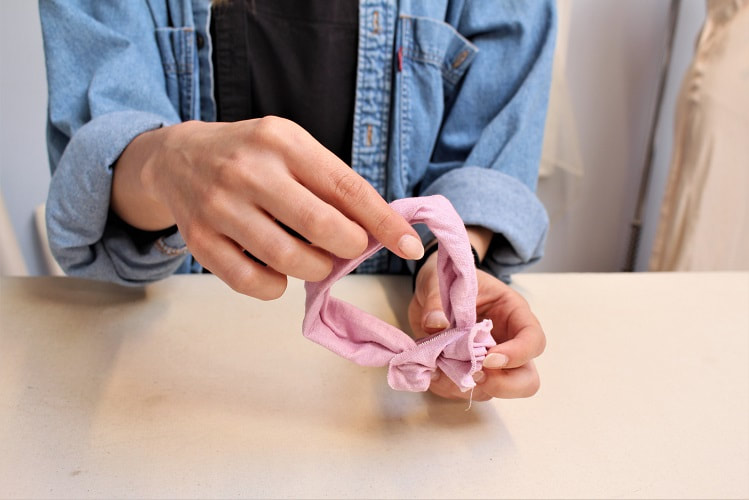
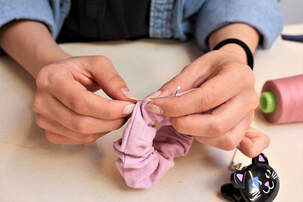
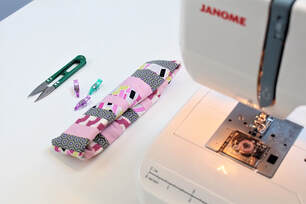
Step 7Draw stitch the opening. A draw stitch is used when you want to sew two folds of fabric and “draw” (bring) them together. Tie a knot to complete this sew-a-long!
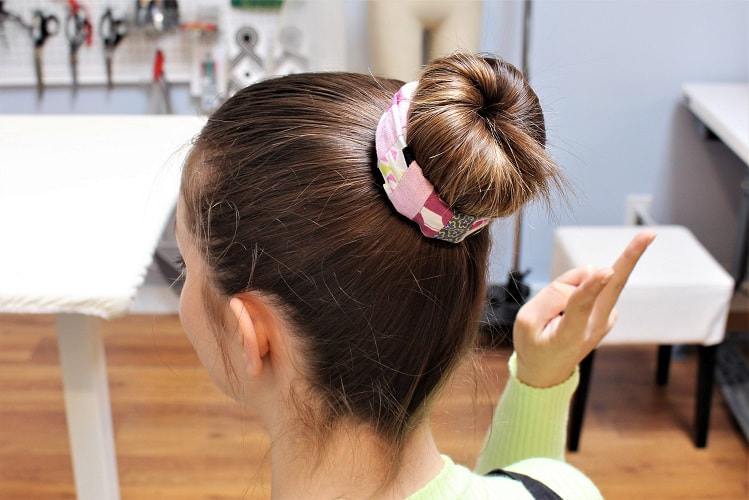
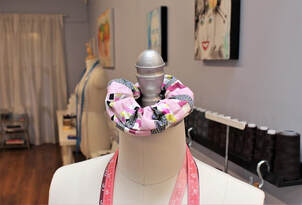
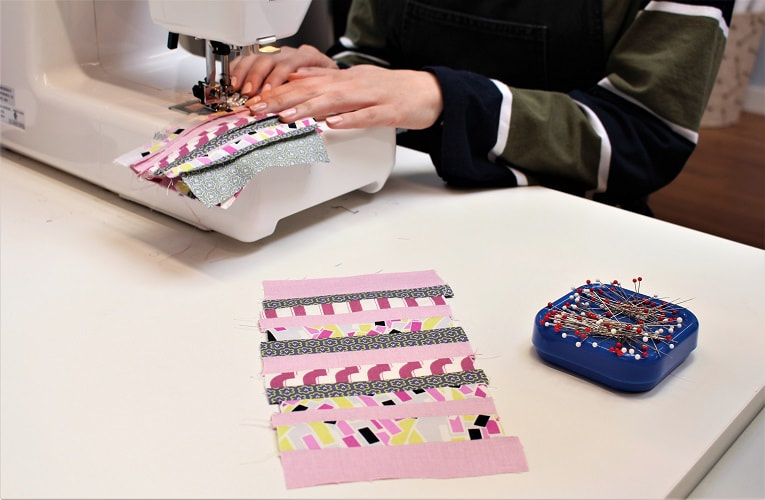
Complete ScrunchieVoila, you just made a scrunchie! Give it the hair test to see how these dimensions worked for you. Your scrunchie should be able to wrap 2-3 times around your hair. 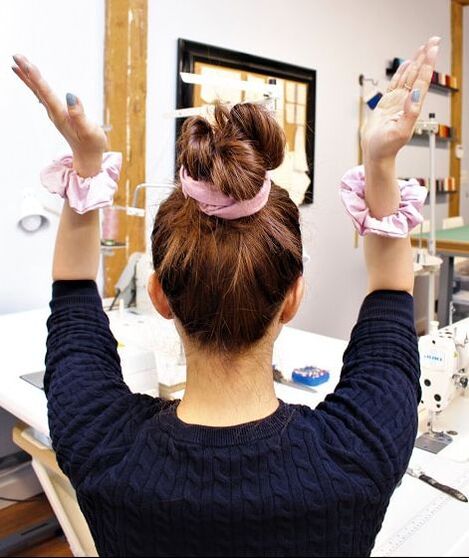 Bonus: Patchwork ScrunchieIf you have smaller leftover scraps of fabric, you can make good use of these by creating a patchwork scrunchie! This is done by sewing different strips of fabric together first to create your initial scrunchie pattern piece (19.7" L x 4.7" W).
Once you have the strips sewn together, you can continue with the steps previously shared in this sew-a-long series.
 Happy Sewing!
Designed, photographed and written by Sheila Wong Studios
1 Comment
|
Archives
November 2022
|


 RSS Feed
|
|
Copyright © 2024 Sheila Wong Fashion Design Studio Ltd. All rights reserved.