|
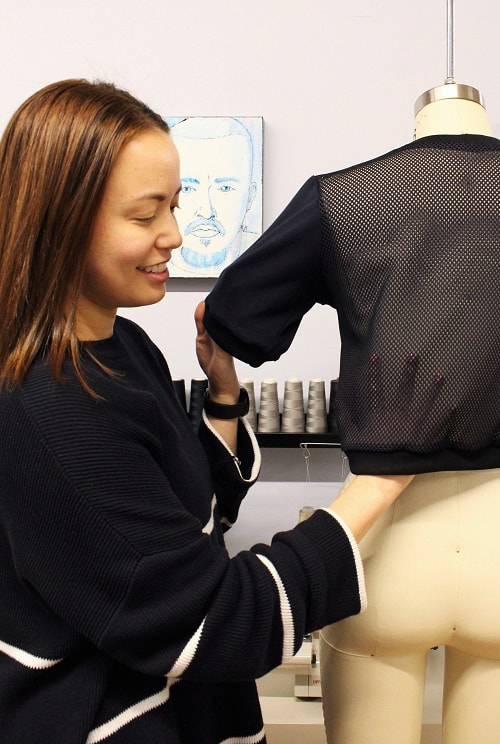
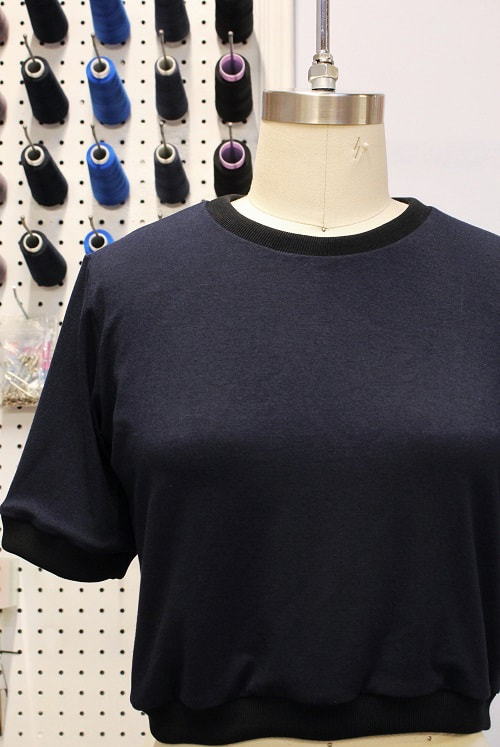
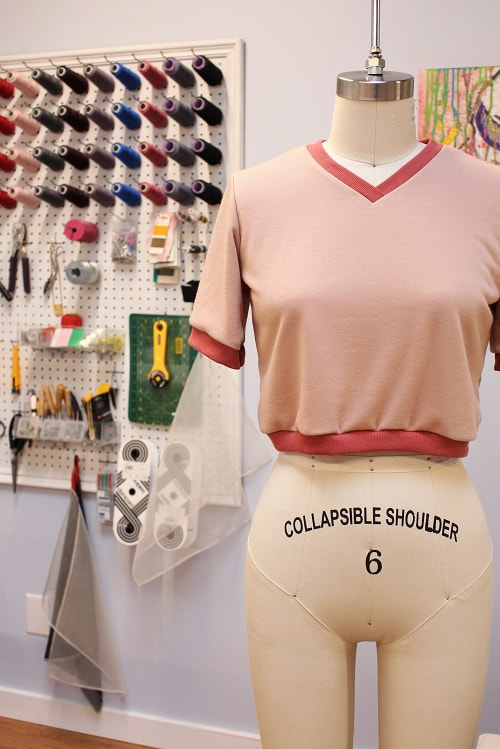
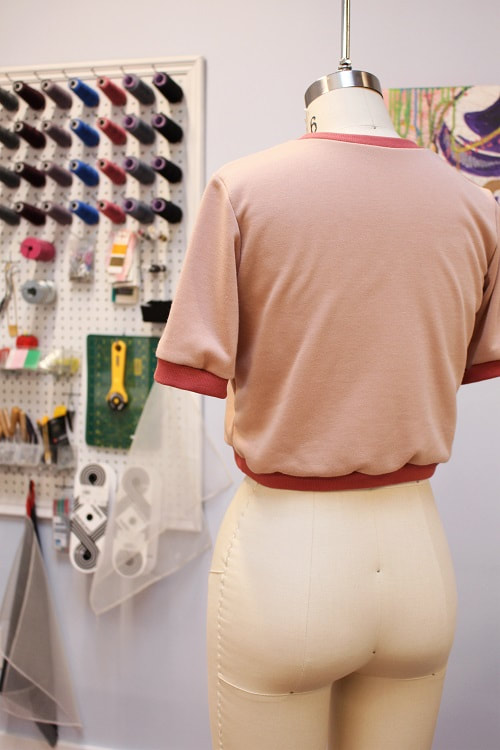
Basic t-shirts are just that- basic! So we decided to change a few elements to our basic t-shirt pattern. Now, its not so basic. In this blog post, we will share our insights into the make up of our V-Neck Crop Top and several things to keep in mind. 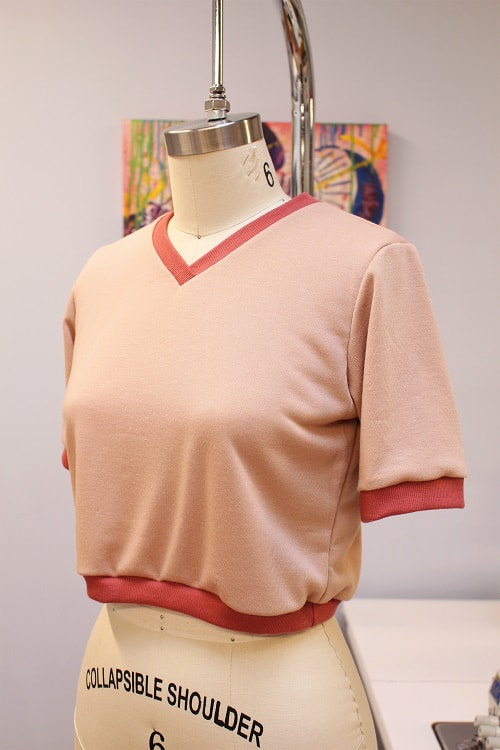 Project SpecsDesign ElementsOur not so basic t-shirt has several fun design elements including a cropped silhouette, a retro inspired rib hem finish, mid length sleeves and a V neckline. What is your favorite element? V-NecklineThis design was inspired by a knit t-shirt pattern we drafted in the past. This time, we took the plunge by swapping out the neckline to help while instructing how to install a V-neckline. 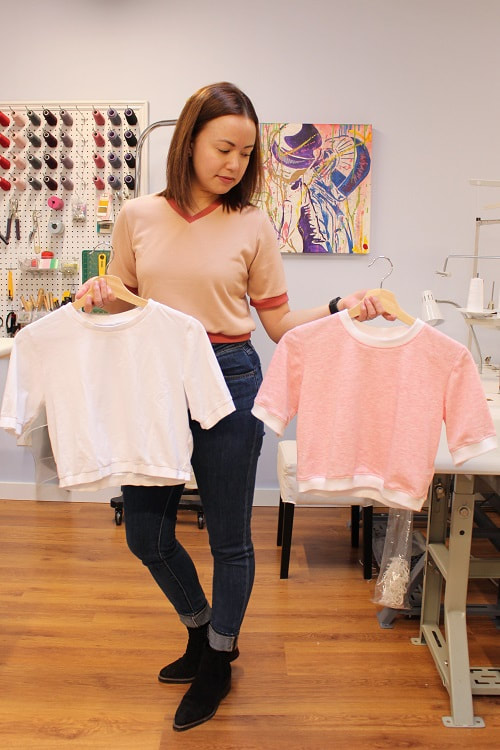 Achieving a perfect V-neckline takes practice. Here are the sequence of sewing steps to achieve your next perfect V. Please note a 1/2" SA was applied to neckline seam. A regular sewing machine and an over-lock sewing machine are required: 1. With wrong sides of the fabric facing each other, over-lock the raw edges of the neckline ribbing together, do not cut anything off. This stitch will act as a stay-stitch. Overlap the CF ends of the Ribbing when sewing to create the V. 2. On the Front Shirt stitch a security stitch using 1.5mm approximately 2" out from V pivot point. This will mark the V for you to follow and strengthen the area when we clip into SA. 3. Carefully clip the SA towards the pivot point stopping 1/16" away. This will allow you to pivot easily when attaching Ribbing. 4. Mark pivot point on Ribbing, and extend markings 2" out from pivot point along SA. 5. Pin and sew Ribbing onto Front Shirt starting 2" out, pivot at V point. Note- you will only be able to pin one side of V, other side will get pinned after pivoting at the machine. 6. Pin the remainder of the Ribbing to Front Shirt and over-lock at your allotted SA. Make it a point to line up over lock stitch to the straight stitch. If you're interested in a more detailed tutorial on how to sew a V-neckline, let us know below. 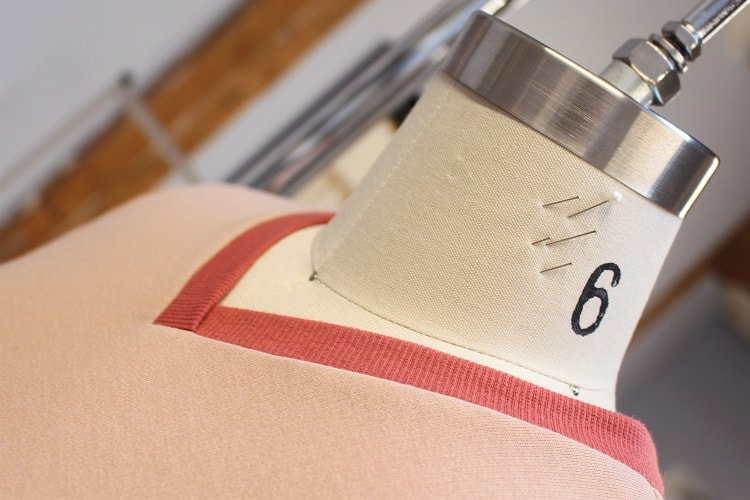 Cropped FitCropped and Cuddly. This design features a cropped fit with a slight cinched waist. Crop tops are typically on the tighter side. We didn't want this, so we gave ourselves extra room with extra ease, creating a semi over-sized silhouette. The perfect combination of cute and comfy!  We're big fans of this silhouette and it shows in our designs. This is actually the fourth time we've made this crop top! Previous designs that have used this pattern are shown below. 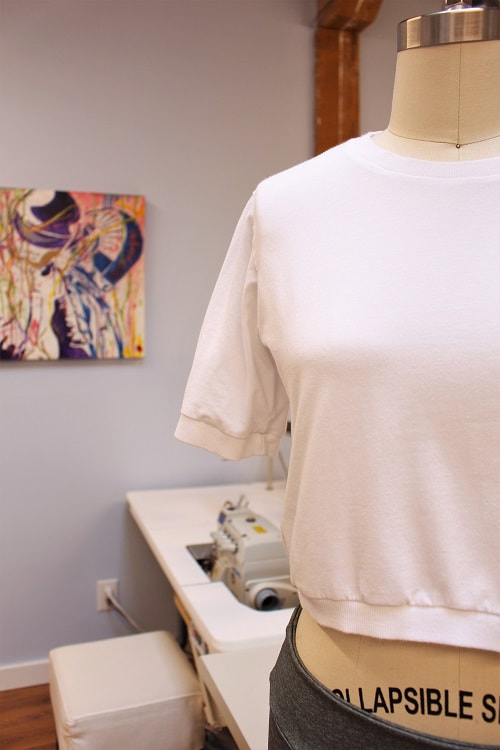
 RibbingIf you do not own a cover stitch machine, ribbing or self bound hem finishes are the best! This type of finish is also great for lengthening a garment that is too short. 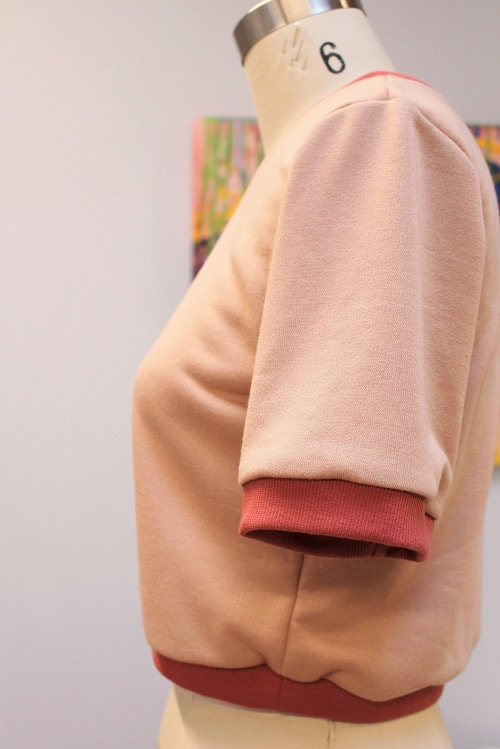 Final DesignIn between lengthy and complex designs, it's fun to sew up an easier design to provide you with motivation. Easier designs include accessories, basic knit tops (like this one!), 2D tops, etc. Check out our Blog Archive HERE for stress-free sewing tutorials!
Learning how to sew a basic T-shirt design like this can be easy and fun! If you want to learn how to achieve a perfect V-neckline, contact us to BOOK lessons. Happy Sewing!
Designed, photographed and written by Sheila Wong Studios.
1 Comment
This design might look sneakingly familiar! WHY? Well it is because we combined two designs into this hybrid dress. Remember the tailored tear-away jumpsuit and the plaid button up skirt? We combined the bodice of the jumpsuit and the skirt to make this dress. The only drafting involved was adjusting the front opening of the skirt to be aligned with the surplice bodice opening. This created an asymmetrical front opening on the dress. A super hack for those who pattern draft their own designs, is to use what you have. There is no need to draft from scratch for every design. Look at your past drafting and see if you can modify a design to create a whole new look or a variation of an already drafted design. Many apparel manufacturers do this to decrease development costs, why can't you! 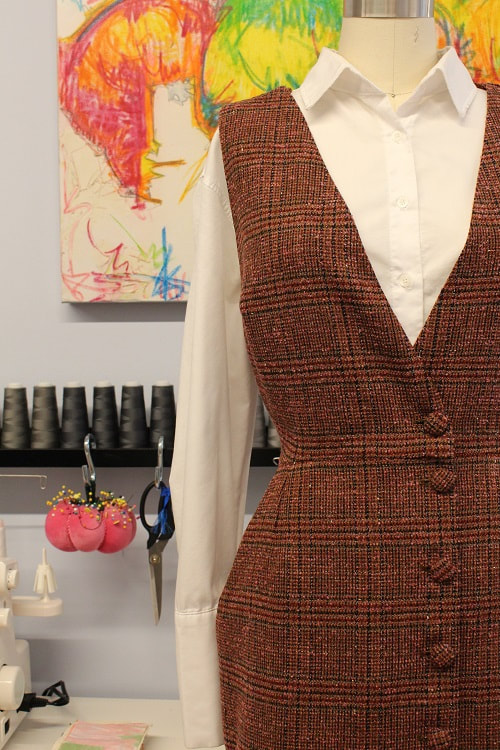 Did you know? This type of dress can also be called a jumper? A jumper is technically a dress that you throw over another piece of clothing like a blouse or shirt. Also, you can jump around in this dress! Project Specs
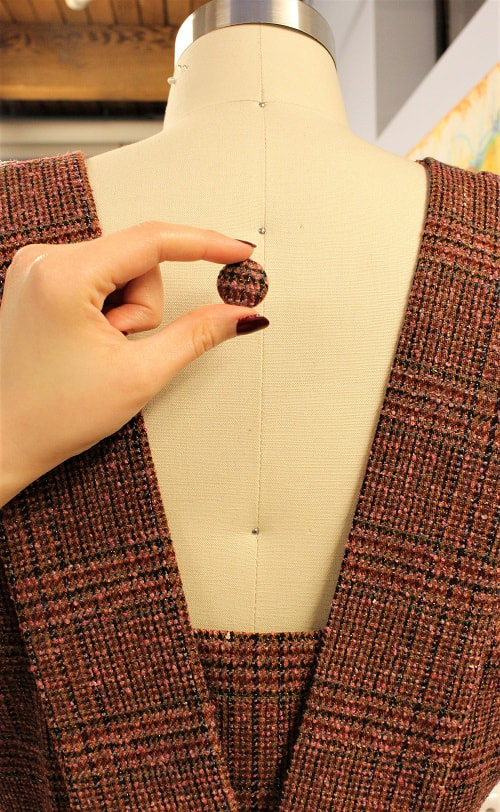 Design ElementsAsymmetrical Front Opening As mentioned above, the only drafting involved in this design was adjusting the front opening of the skirt to be aligned with the surplice bodice opening. This created an asymmetrical front opening on the dress. 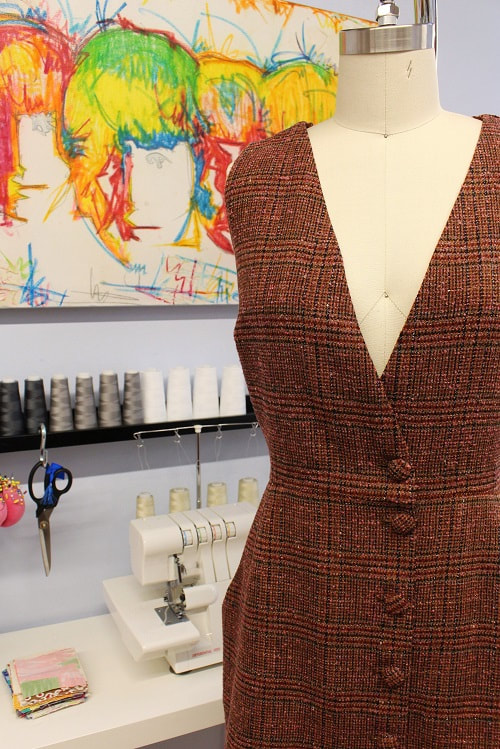 Superhero Shoulder StrapsWe can’t get enough of the superhero shoulder straps—Two long shoulder straps that button-up at the shoulder seam and drape down the back of the garment. This visual element is a personal fave that makes this dress so special!
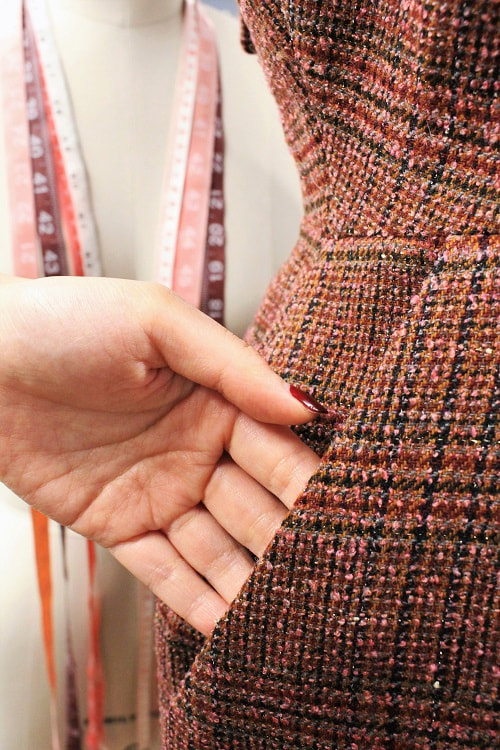
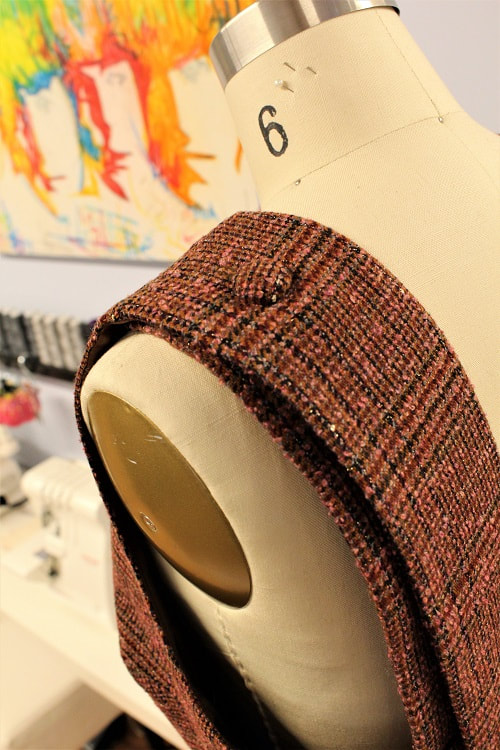
Plaid MatchingHere we go again with our recent plaid obsession. We graciously thank Atex Designer Fabrics for killing it in their plaid choices as of late. This plaid has a much looser weave than we normally work with. While sewing the seams, we hand wheeled over pin matched plaid seams to ensure the lines would line up from piece to piece. 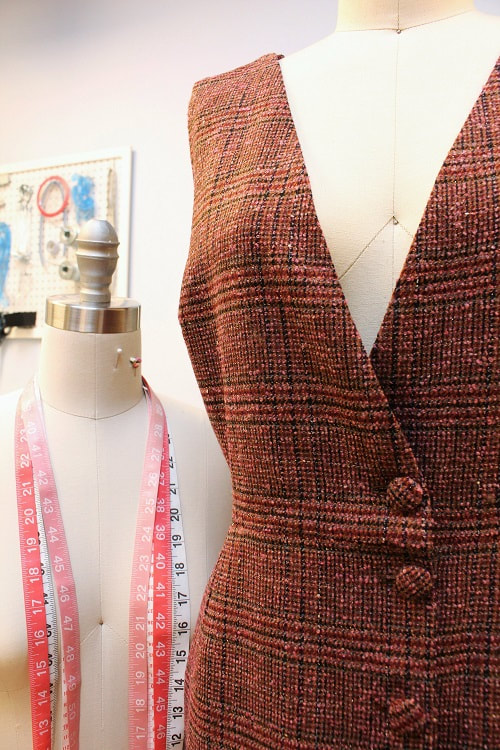 Do you notice the slash pocket? As usual, we matched the plaid from front skirt panel into the pocket facing. To achieve this perfect match follow these steps.
 Fully LinedYou may have noticed we love to line our wool designs with silk. In particular silk charmeuse. Pairing natural fibers together will lend to the garment aging in a similar fashion. What are your go-to lining fabrics? Let us know in the comments below. 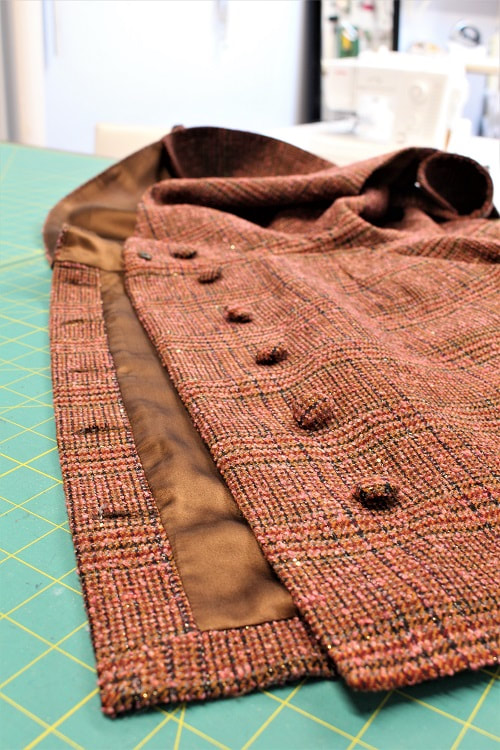 Final DesignThis jumper is definitely cute and wearable. Wearable being key here. We loved the surplice bodice of the tailored tear-away jumpsuit, but despised the time it took to button and unbutton to go to the restroom. This dress solved all our problems. 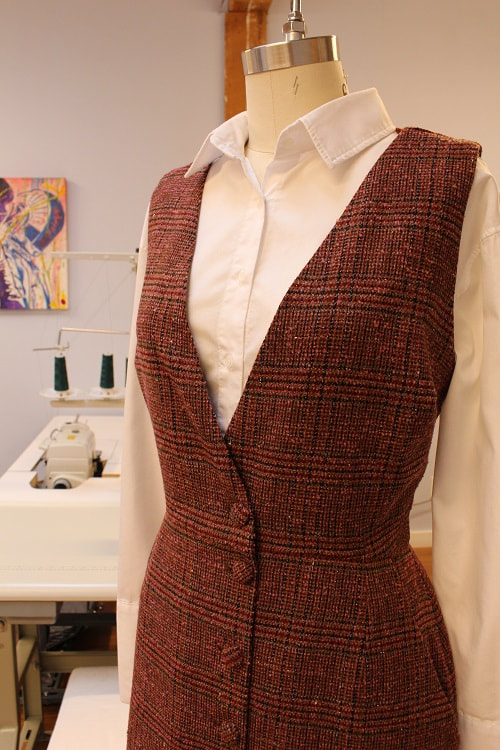 Learning how to pattern draft for your body is empowering and fun! If you want to learn how to pattern draft a dress, contact us to BOOK lessons.
Happy Sewing! Designed, photographed and written by Sheila Wong Studios. |
Archives
November 2022
|

 RSS Feed
|
|
Copyright © 2024 Sheila Wong Fashion Design Studio Ltd. All rights reserved.