|
Here is my version of a top Winter 2014 trend- a long waistcoat. A waistcoat can be defined as a sleeveless garment covering the top half of a body with a center front opening. My take on this Winter 2014 trend is futuristic and void of any unnecessary bits like closures, top-stitching, darts, etc. PS- Waistcoat is just a formal way of referring to a vest. 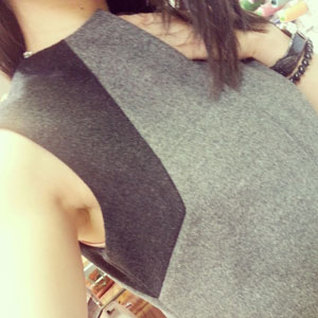 Project Specs
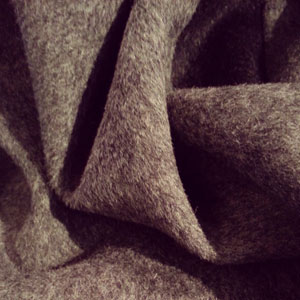
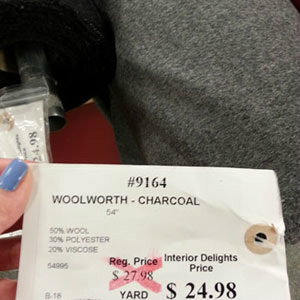
FabricI fell madly in love with this fabric the moment I touched it! It is so extremely soft and warm to the touch. I initially thought of a cropped vest, but one year later it evolved to a long waistcoat. I found this fabric at Fabricana in Richmond in the Interior Delights section which is upstairs. Interior Delights is actually a separate company from Fabricana. Did you know that? Don't be afraid to explore home décor fabrics. Some of my favorite fabric finds are from the home décor section.
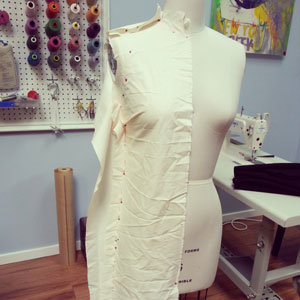
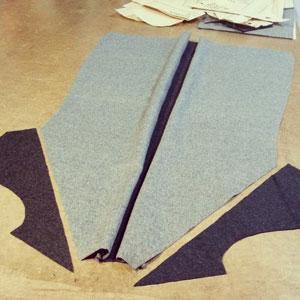
I purchased the light grey and dark grey color-ways. I initially used a small portion of the dark grey on a dress for the bodice. I had just enough left-over to create this waistcoat. 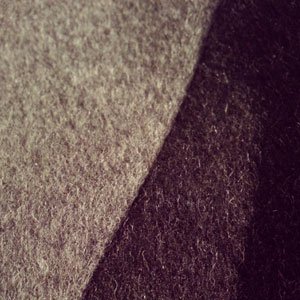 Draping/ Pattern DraftingFor those of you who know me, I am not a fan of illustration. I tend to already have the design in my mind and go straight into draping what I in vision. I wanted to keep this garment as fitted, sleek and clean as possible. Meaning clean lines, no darts and no top stitching. I was able to remove the front dart by creating a style line coming from neckline to side seam. I mirrored the same idea on the back, to give the waistcoat a balanced look.
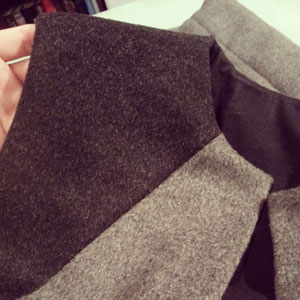
Construction DetailsBeing able to bring together two different colors in identical fabrics in one garment is what I think really adds to the appeal of this waistcoat. It gives it that futuristic vibe that a lot of my designs already posses.
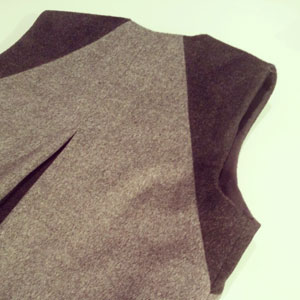
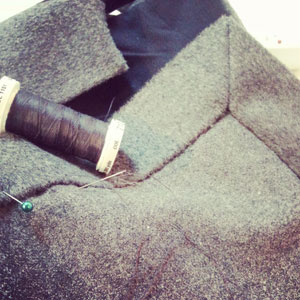
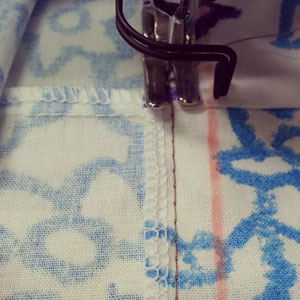
Sewing the front dark grey piece to the front light grey piece along the style line was a tad tricky. I had to ensure I found the exact pivot point so the front would lay smooth over the bust. I just chalked out the pivot area on the wrong side of the garment prior to sewing. It was important that the side seams lined up perfectly too. It would be obvious with the contrasting fabric if the style lines did not match up. Pinning this point was essential prior to sewing the side seam.
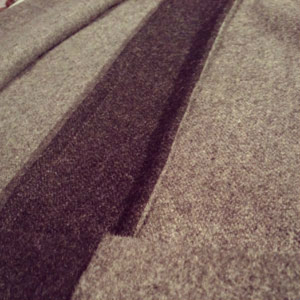
Inverted Box PleatAn inverted box pleat was not in my original design, but I felt the garment needed more dark grey too add to the overall interest. A 2" panel was sewn into the center back seam using a French seam finish. Learn How to Sew a French Seam HERE. I wanted the pleat to be a subtle addition to the back, so I sewed down approximately 8 inches from neckline down the back.
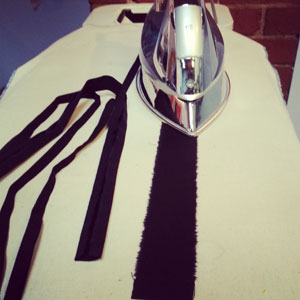
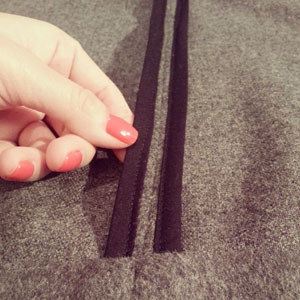
Bound Side Seam FinishI do not believe in leaving raw edges exposed in a garment. I like to take the time to neaten any exposed edges. I applied hand made binding strips to the side seams to create a bound seam finish. Learn How to Sew Bound Seam Finish HERE.
LiningI particularly enjoy garments that are not lined, but only if the seams are neatly finished. I needed to either add a facing to neckline, armhole and center front or just line the garment entirely. I opted for lining the bodice area only. That way I would not add to the weight of complete garment, especially going into spring weather.
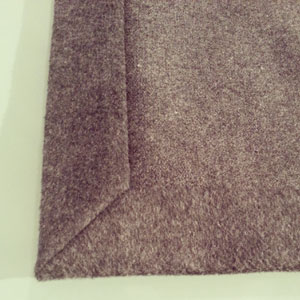
The hem of the lining was slip-stitched closed and the neckline was edge-stitched to secure lining to the interior of the garment. Hidden to the eye, I applied tack-stitches to the sides seams and center back at pleat to hold the lining in place. Mitered CornerKeeping with the clean line aesthetic I wanted for this design, I finished the center front corners at the hem with a mitered corner. Learn How to Sew a Mitered Corner HERE.
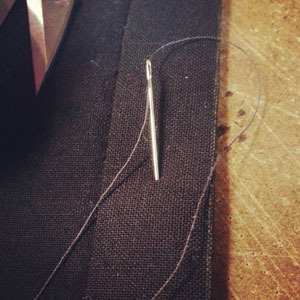
Hand SewingTop-stitching was not allowed for this garment. To complete the garment, blind slip-stitching was sewn along the center front opening and hem. 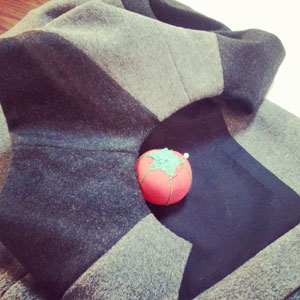 Completed WaistcoatThis is how I styled my waistcoat. Kept it simple with a Club Monaco blush pink tank, Rachel Roy denim and white Cole Haan leather shoes. 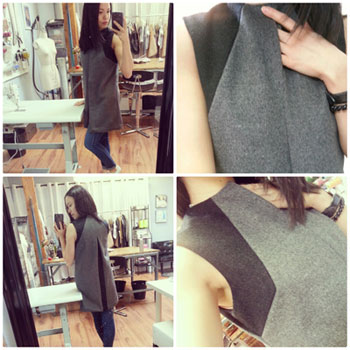 Happy Sewing!
Designed, photographed and written by Sheila Wong Studios
7 Comments
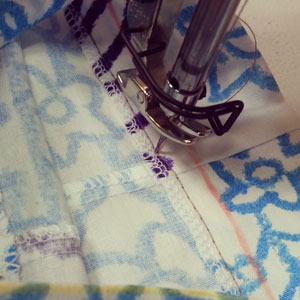
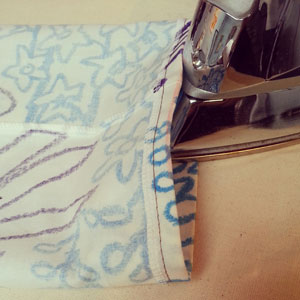
Rolled up pants are everywhere right now. For a more permanent and tailored version, create your own cuffed hem. In this tutorial, learn step by step how to draft a pattern to a cuffed hem and how to sew it. 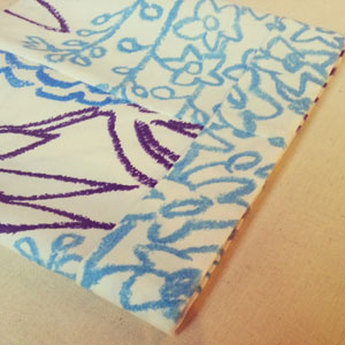 Step 1Prior to cutting out fabric, you need to take into consideration that you are making a cuffed hem during the pattern drafting stage. Here is a diagram on the measurements required to create a cuffed hem. First, you will need to decide the height of your cuff. In this example, I have used 1.5" as the final height of the cuff. This is average height for a pant/short cuffed hem. 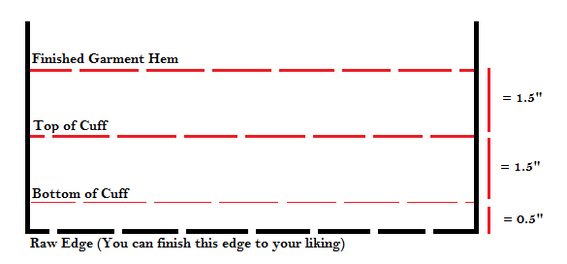 The Finished Garment Hem line is the final length of your complete garment. We must add length to create a cuffed hem. I want my cuff height to be 1.5" thus I add 1.5" twice, as the cuff needs to be folded up to create a front and back. You will also need to include a seam allowance for the raw edge to be hidden away inside the garment. I added a 4/8" seam allowance. I suggest finishing off the raw edge accordingly to your fabric choice and garment. In this example, I have applied a serged edge. Step 2Now onto the sewing part of a cuffed hem. A hem is completed at the very end of the construction process. Sew the side seams first. 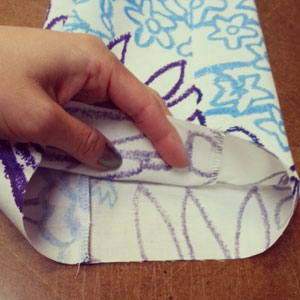 Step 3Take the time now to finish off the raw edge at the bottom. I have applied a serged edge. 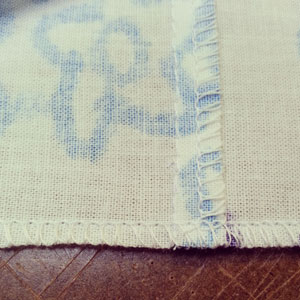 Step 4On the right side of your garment, mark the above lines as per Step 1. Mark all the way around the hem to ensure a balanced cuff. 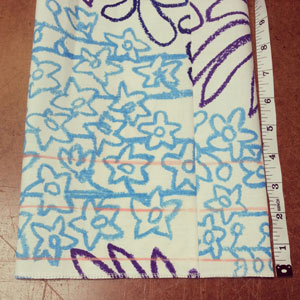 Step 5Press hem in at Top of Cuff line. Please refer to Step 1 to see lines. 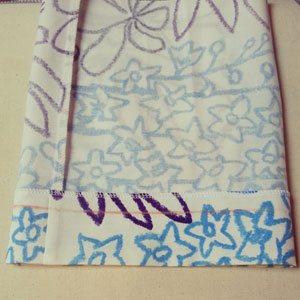 Step 6To keep bottom of hem clean and upright, sew a line 1/4" away from raw edge (serged edge in this example).
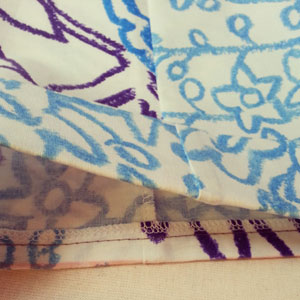
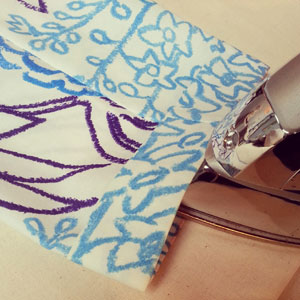
Step 7Press cuff up at Bottom of Cuff line. Once pressed, the hem will start to resemble a cuffed hem.
 Step 8To finish, at the seams, tack the body of the garment to the cuff. Tacking is a hand-sewing technique used to keep two areas of a garment attached/secure without any visible stitching on the exterior of the garment. Each tack is approximately 3-5 stitches is one small area, just enough to hold the two areas tight. 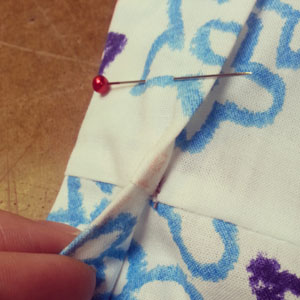 Completed Cuffed Hem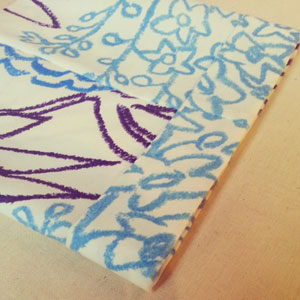 Please note for the purpose of instruction and clear photos, I have used a contrasting thread color. You will want to use a matching thread color.
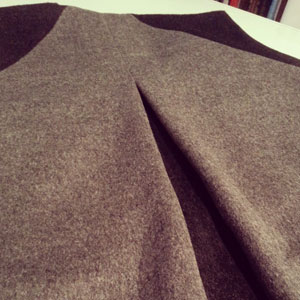
Happy Sewing! Photographed and written by Sheila Wong Studios I have been waiting for the perfect fabric to design a skater skirt. So the moment I found a thick boiled wool fabric, it was time. A skater skirt is a high waisted skirt that has dramatic flare. The term 'skater skirt' originates from what a female figure skater would wear. When a figure skater did their spins, their skirt would flow around them beautifully, hence the term skater skirt. I wanted to design my version of the skater skirt with as much flare as possible. Check out highlights from my design process below. 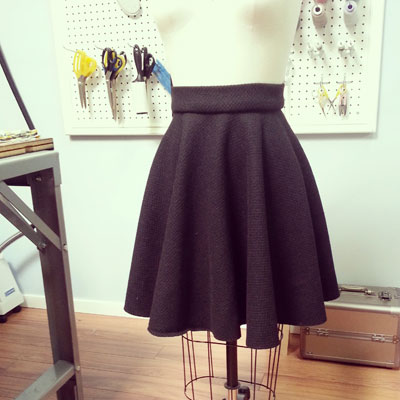 Project Specs
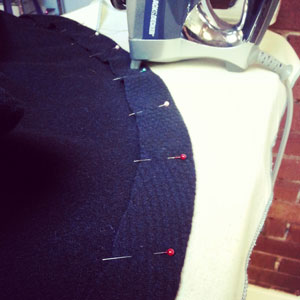
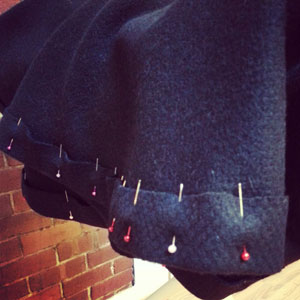
FabricI used a thick black boiled wool fabric. It is fantastic for the winter, but looking back it was not fun hand sewing the waistband due to the thick seam allowances it was creating. Regardless, it was worth it! I purchased the fabric from Fabricland on Marine Drive.  Boiling wool dates back to the Middle Ages. It is the process of taking already weaved or knitted fibers, which makes fabric, then boiling and agitating it in hot water. This process shrinks the fabric resulting in a really tight and dense fabric. This create the heavy weight you feel. I am fairly sure my skater skirt weighs at least 2 pounds. Pattern DraftingI wanted as much flare as possible in this skirt with out having to add any gathers or pleats. So, I drafting a complete circle with enough space in the middle to fit my waist. A waistband was also drafted (sorry not shown) that fit right around my natural waist. Seams are only on the side seams. Ideally, it would have been nice to only have a center back seam to decrease the weight with the boiled wool. 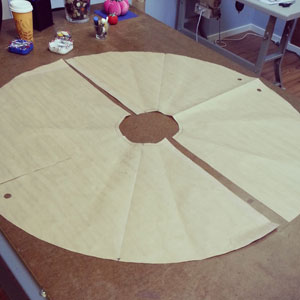 Another term for this style of skirt is a circle skirt. Any guesses why it would be called this? Just have a look at the pattern! Construction DetailsThis skirt was almost fully hand sewn with the exception of the side seams, the zipper and the initial attachment of the waistband to the skirt. Normally hook and eyes are used to accompany a zipper closure, but I opted for snaps as I find the larger snaps much more secure and discreet. 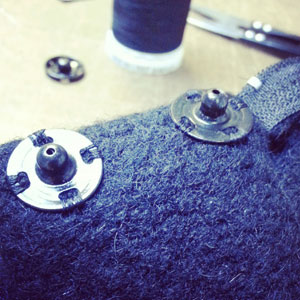 The majority of my time was spent preparing and hand sewing the hem. The length of the entire hem all the way around is 145 inches, so you can only imagine how long that would take to hand sew. I applied a blind slip stitch to finish the hem. A helpful characteristic of boiled wool is that when pressed or steamed the fabric will mold to the shape you require. This made pressing the hem into place really easy with out any excess fabric in the hem seam allowance.
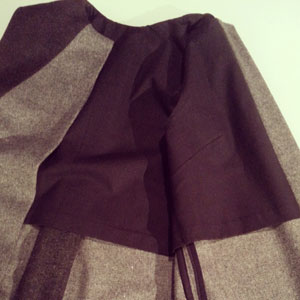
I thought I would include an inside view of the skirt for you. How cool does it look laying flat? Makes me want to twirl around to show off the flare. 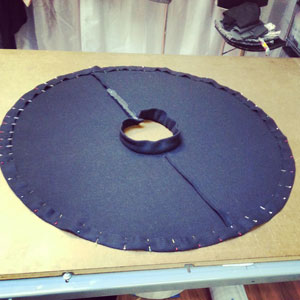 Final DesignLearn how to make your own skater skirt by booking yourself in for a sewing lesson with me. This is how I wore my skater skirt. Now its time to twirl!  Happy Sewing!
Designed, photographed and written by Sheila Wong Studios |
Archives
November 2022
|


 RSS Feed
|
|
Copyright © 2024 Sheila Wong Fashion Design Studio Ltd. All rights reserved.