|
The basic white t-shirt is an iconic and essential garment in almost everyone's wardrobe. We played around with designing the perfect white t-shirt. Project Specs
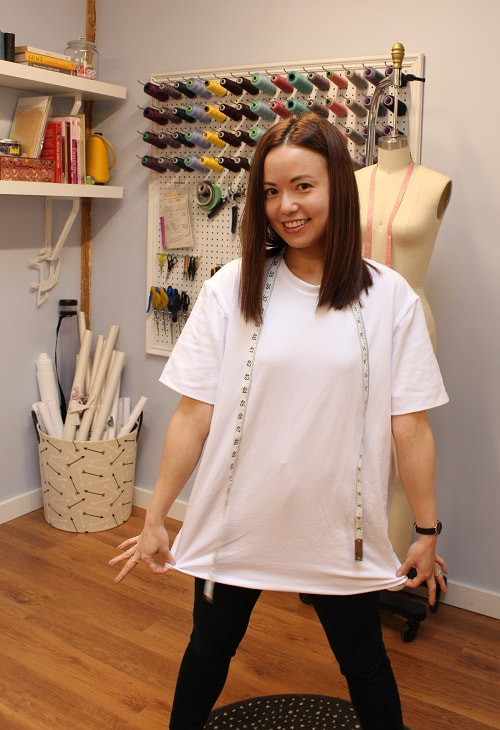
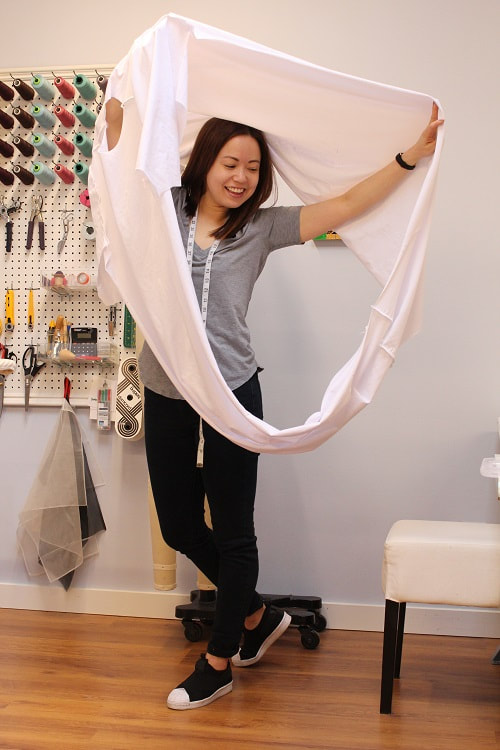
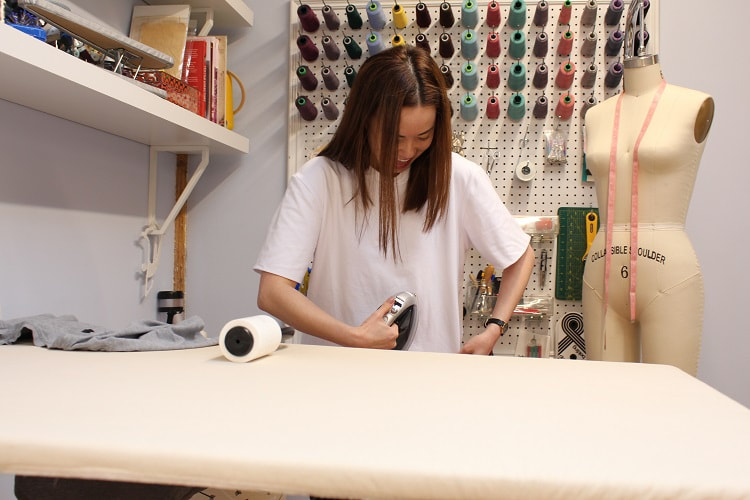
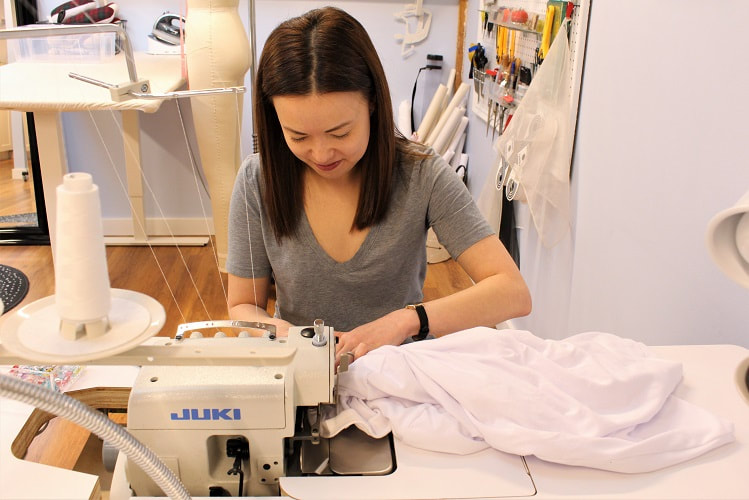
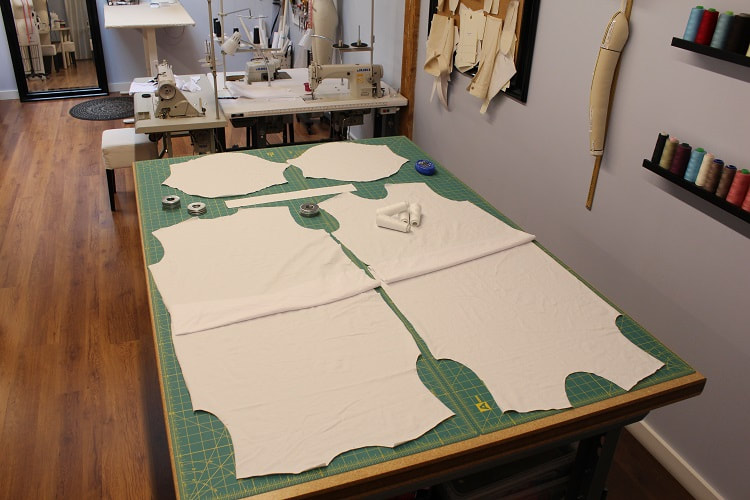
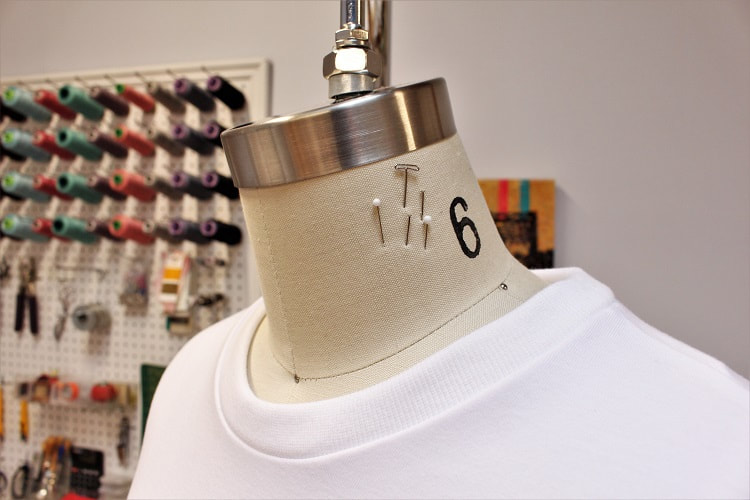
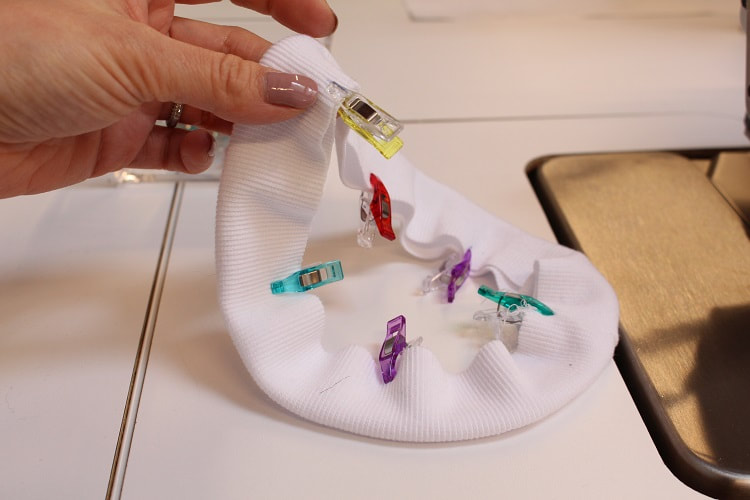
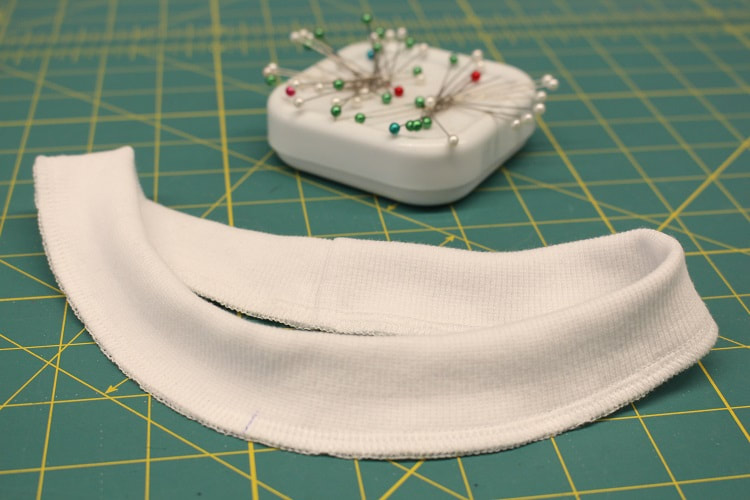
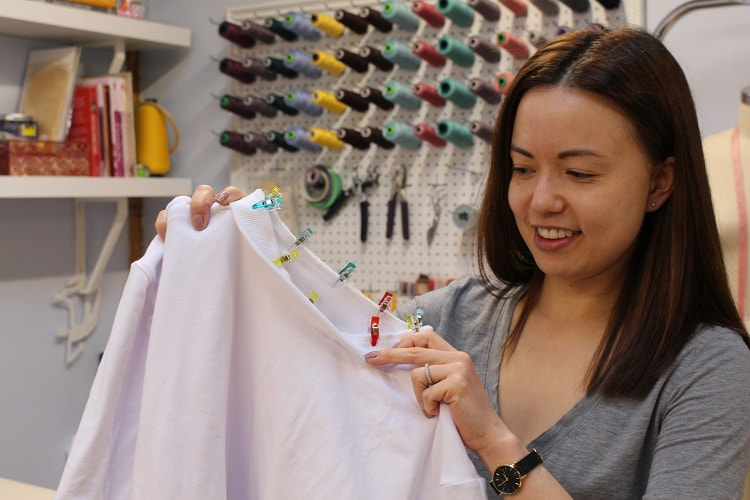
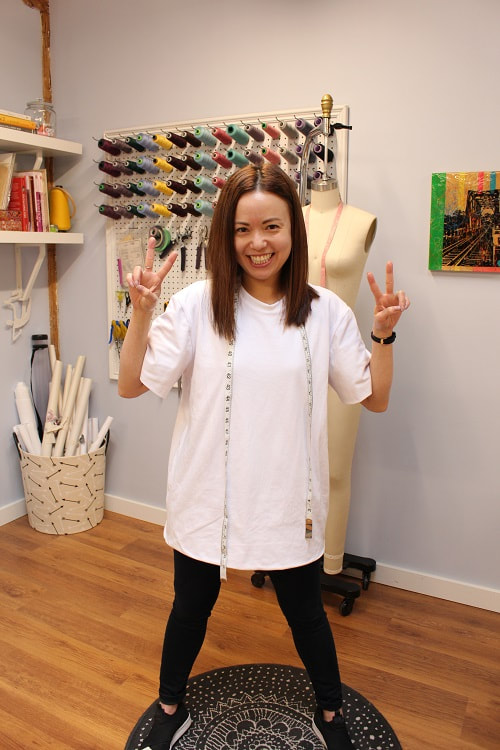
FabricFor the past few years, my husband has been on the hunt for the perfect white knit fabric. We have looked all over Vancouver and even traveled to Tokyo to check out the massive offerings of knit fabric in Nippori Textile Town. By far, this is the BEST white knit fabric we have found to date. What makes it the best? Well it is soft, does not have high spandex content (less than 5% is ideal), and offers the most opaque white possible. My husband has one thing on his mind when looking for white fabric- it cannot be see-through. This fabric was purchased from one of my fabric supply shops in Vancouver- Maiwa Supply Shop on Granville Island. Design ElementsA basic white T-shirt does not have many design elements involved. But, leave it to us to make this basic design complex. Read on to learn about how to fully line a t-shirt. Fully LinedFully lining a t-shirt can be beneficial for many reasons. It can add warmth, it can provide structure, and you can avoid the possible see-through look when working with lighter colored fabrics. I hate seeing male nips in public, unless I am at the beach. You can modify your basic t-shirt pattern easily for a fully lined version. It will take up double the amount of fabric but that is the nature of this design. Fold the fabric on the cross-grain, lining up your hem of the main bodice pieces and the sleeve hem. Essentially, you are creating a mirror image. Sequence of sewing steps is a bit more complex. And YES! I did scratch my head a bit as I stitched this one up. First you lay right sides of your front and back bodice pieces together, then stitch up the shoulders (4 of them!). It looks like a big circle at this point. Next you stitch the sleeve caps onto one shirt (either exterior or interior). Once those are attached, you can attache their mirror imaged sleeve caps to the opposite shirt. Last big seams to sew are the side seams combo with the underarm seams. Everything then gets flipped so wrong sides of the fabric are facing each other. While sewing, try not to twist the layers! Ribbed NecklineIt all came together at the neckline. Literally! It was the last seam to be stitched up. The only visible seam on the inside of the garment is the neckline. If you wanted to make this t-shirt fully reversible, simply leave a 3-4" opening along one of the side seams. Use that opening to enter in to stitch the neckline ribbing (sandwiching the exterior and interior shirt necklines). Then hand sew the opening closed. A draw-stitch would work well to bring the folds together. When working with knits, you will notice that we like to work with clips instead of pins. When using pins, you may experience issues penetrating through the spandex or elastic strands and could potentially break the strands. Also, clips are kind to your wrists! Final DesignWhat We Learned!I can live in basic white t-shirts! This was the first time we designed a fully lined knit t-shirt, so going forward this is what we need to change and/or keep in mind. I hope you get the chance to try out a fully lined version of your favorite t-shirt.
Happy Sewing!
Designed, photographed and written by Sheila Wong Studios
2 Comments
|
Archives
November 2022
|
Copyright © 2024 Sheila Wong Fashion Design Studio Ltd. All rights reserved.

 RSS Feed
