|
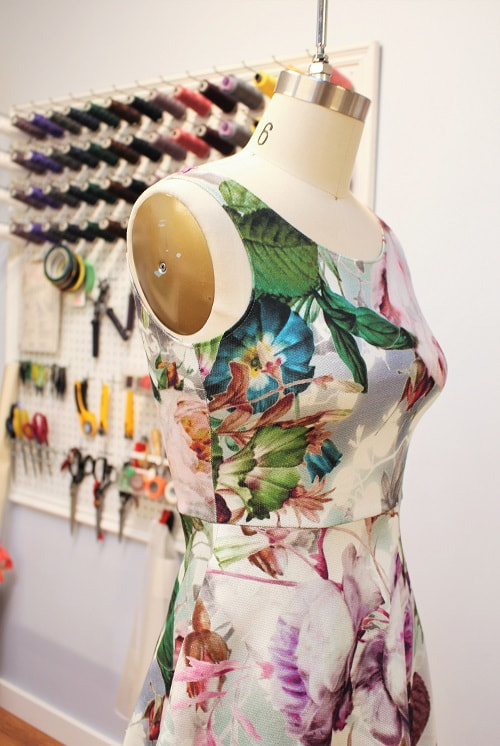
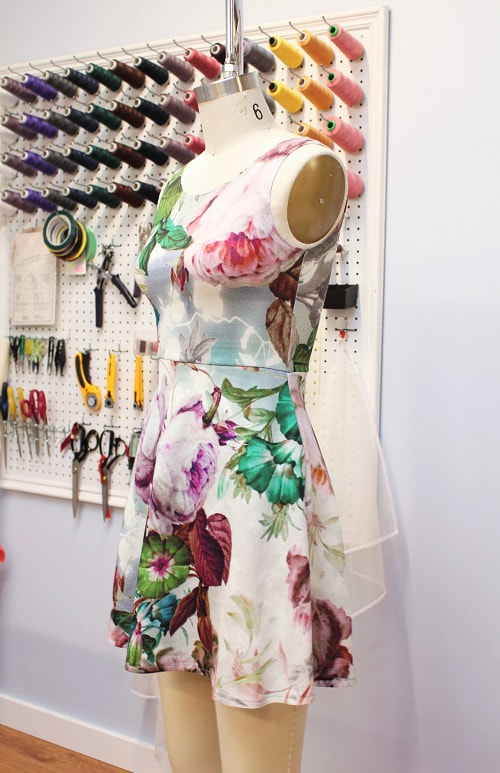
Inspiring others to push their creative boundaries has always been a driving core value in our studio. If you know me well, I frequently say "Why not?!". If you want to push your design techniques further, learning how to pattern draft is essential. Reverse pattern drafting is a good place to begin. For those of you new to the term reverse pattern drafting, it is the technique of taking an already made garment and extracting out the 2D shapes to create a paper pattern. It sounds quite simplistic but the basics of pattern drafting and understanding how fabric can be manipulated is still very important. Our latest design was reverse drafted from a black dress I borrowed from a dear friend Alisa. Typically black is my go-to color of choice, but my heart gravitated towards floral right now. 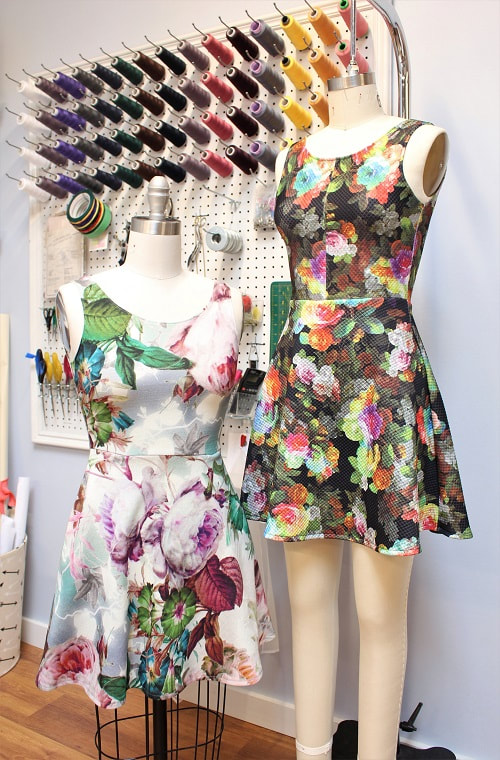 Four pattern pieces make up this dress. The front and back bodice are almost identical with exception of the neckline. The front and back skirt are identical so the exact same pattern piece could be used to cut out front and back. The original garment had no side seam in-seam pockets, but of course we made ours have pockets!
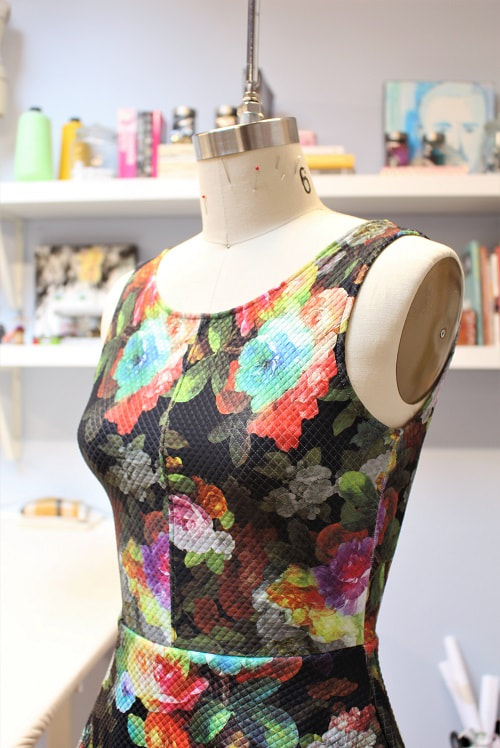
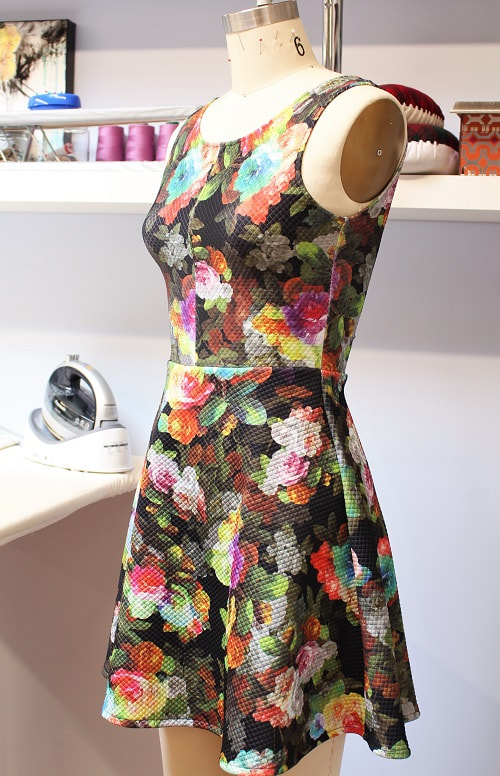
FabricThe day time floral print was purchased from Fabricland, enough to make a sleeveless top and this dress! The nightshade floral print fabric was picked up from Fabricana several years back for a completely different dress design. In both cases there was just-enough fabric left-over to make two versions of this dress. You may notice a center front seam in the front bodice of the night shade version. This is because there was not enough fabric to cut out the front bodice in full. I know we have all been there where we have to "make it work" to get it done. I liked the simplicity of this sleeveless dress so much, so we made 2 versions! Which one would you wear? The day time or nightshade floral version. As you can see, I was really feeling the floral and fauna! 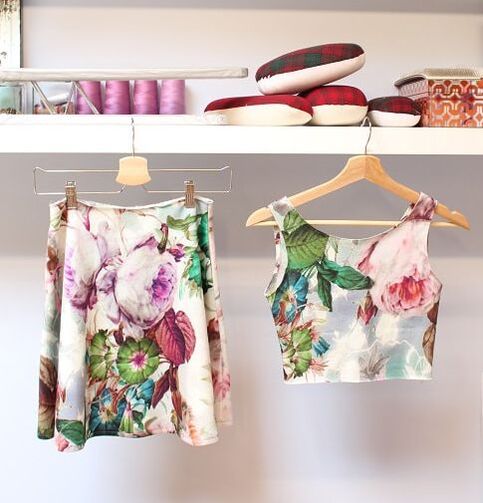 Project Specs
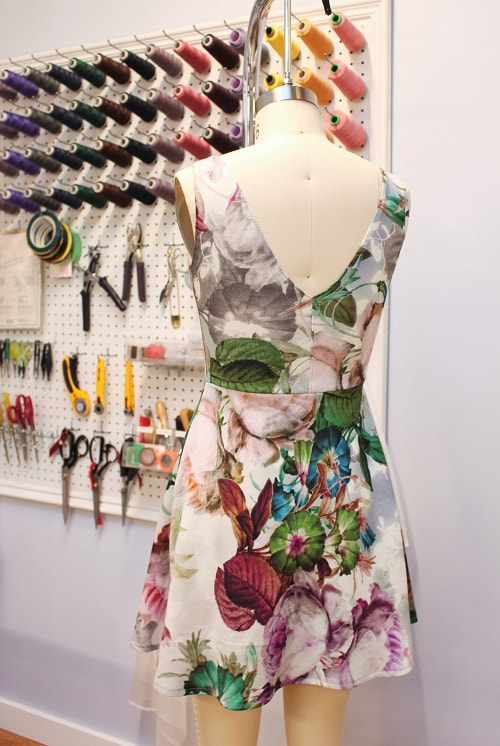
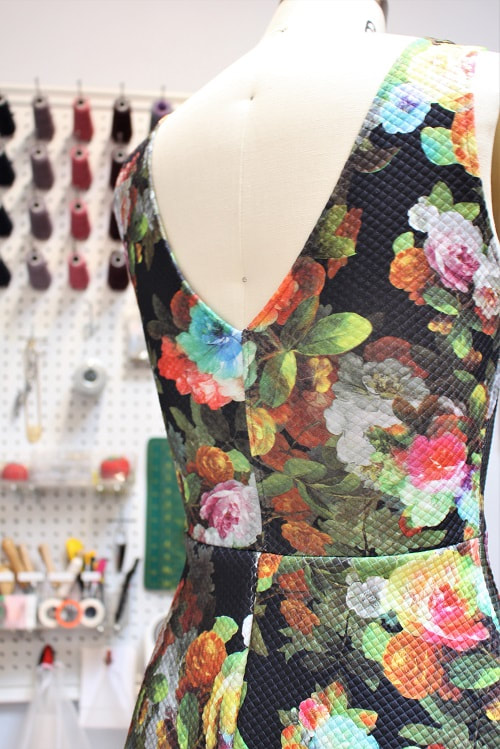
 Sewing Tip: Thread ColorPicking out matching thread color on solids is fairly straight forward. Main goal is to ensure the thread color disappears with its corresponding fabric. Back in 2017, I even wrote a post and created a YouTube video all about Picking the Right Thread Color. When picking out matching thread for an all over print with mixed colors, it is always best to match with the background color. If there is no distinct background color, medium grey is a magical color. Medium grey even works well as the constant thread color in your serger that goes with multiple fabric colors when you are too lazy to change up the color. 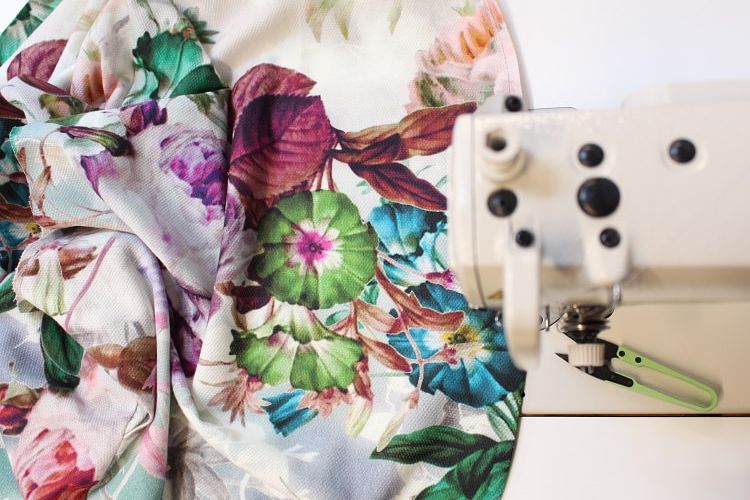 Design ElementsI have always felt creating balance within a design is essential. When designing with a loud print (in this case the colorful floral print), it is important to let the fabric shine. Too many design elements would take away from the floral print. If you have been hesitant to design with prints, begin with designing something simple like a sleeveless top or pairing the print with a solid fabric as a panel in garment. Two in One NecklinesSometimes you just cannot decide what kind of neckline you want. Round or V neck. Which one do you prefer? In this case, the front is subtle with a scoop round neckline and the back add more drama with a deep V neckline. If you felt brave enough you could wear this design with the deep V in the front.
In Seam PocketsYou know what a pocket is, you love it as much as us. As mentioned, the original garment we reverse drafted from did not have an in-seam pocket. We have to take the liberty to put one in. There are two different sequence of construction steps in installing an in-seam pocket. A modern version vs a more traditional version. Below I describe both. Which one do you use? I am in the traditional camp. A modern version involves sewing a pocket bag to the front side seam and another pocket bag to the back side seam, essentially creating ears. In one full go, you stitch the front to back together along the side seam, pivoting at the top of the pocket bag, then around the bag, pivoting once again once you hit the side seam, then head down to the hem to finish. Anyone can achieve an in-seam pocket with this version. A traditional version of installing an inseam pocket rather has the two pocket bags stitched to the front panel opening with a series of intricate steps that involve pivoting, edge stitching, pressing, clipping and stay- stitching. At the very end, the side seam is sewn in one straight seam, gently pulling away the pocket opening and carefully hitting the top and bottom opening of the pocket. This version involves more patience and technical skill, but in the end it sits so beautifully and all the raw edges inside can be cleaned up neatly unlike the modern version. 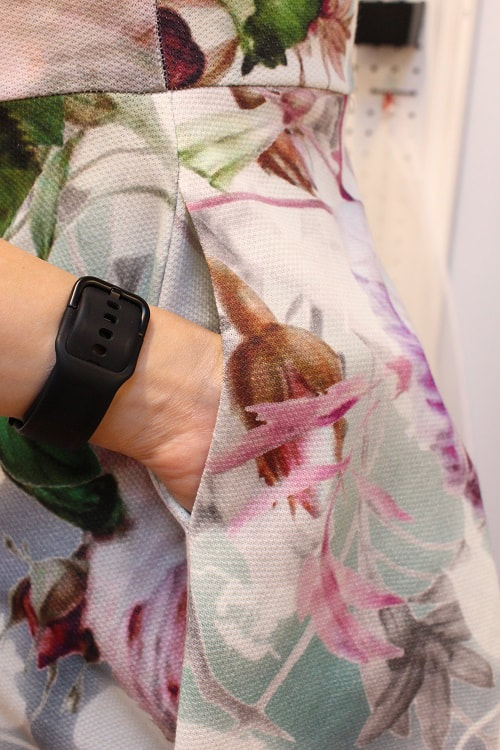 Top-StitchingYou need to look pretty close to see all of the top- stitching on these dresses. Top-stitching can be found along the neckline, armholes, center back seams of the bodice center front seam of the night shade version and the hems. 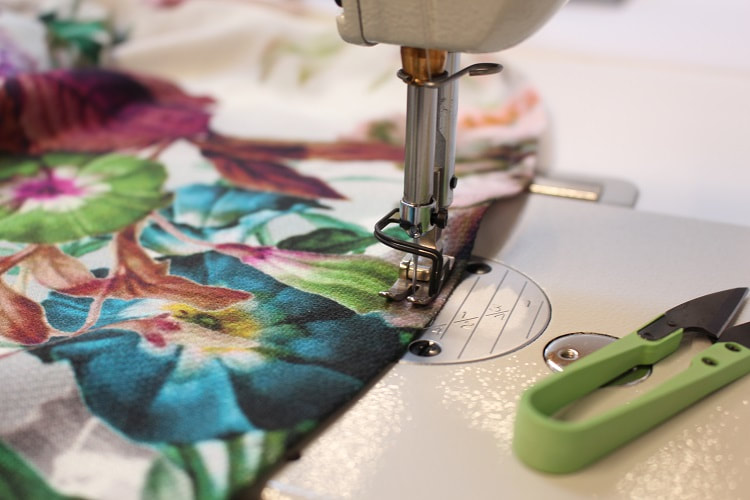 Final DesignWhich print do I prefer? I love the vintage vibe of the daytime version, but the night shade version is where my heart is. It probably helps the spandex content in the night shade is higher, thus making it more comfortable. A reminder that when you are reverse pattern drafting a knit (stretch) garment, the subsequent garments made using that pattern should have the same spandex content or else it will not fit the same. I recommend you take the original garment with you when fabric shopping to help 'feel' the stretch capability. You could also check the spandex percentage in the garment tag and match your fabric accordingly.
If you would like to learn how to reverse draft and sew your favorite garments, contact us to book private lessons.
Happy Sewing! Designed, photographed and written by Sheila Wong Studios.
1 Comment
Two for one for you! Original concept for this 'one' coat was let's make it long, let's play around with mixing similar prints like color blocking (print blocking), and create shape where possible with gathering. I did explore the original concepts and achieve them in the final long version design. But inspiration hit as the waist seam was about to get stitched on the longer version. The upper body (bodice) of the coat looked amazing on its own. What do I do?! Do I proceed with the long or do I make it cropped? Well why not both, cause I can and because I was curious. So here are both versions for you. 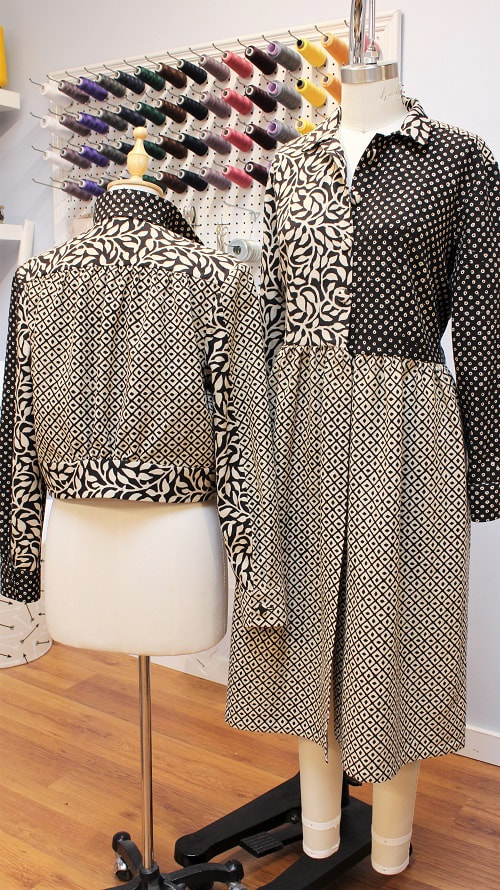 During this process, it reminded me that it is completely fine to let a design evolve. Being curious is a beautiful trait. Let yourself be curious in the creative process, it will yield new and exciting results. It could also yield a disaster, but then I just let myself learn from the new mistake. In this post, I go over some of my mistakes but I cannot wait to go forward and make the next versions even better!
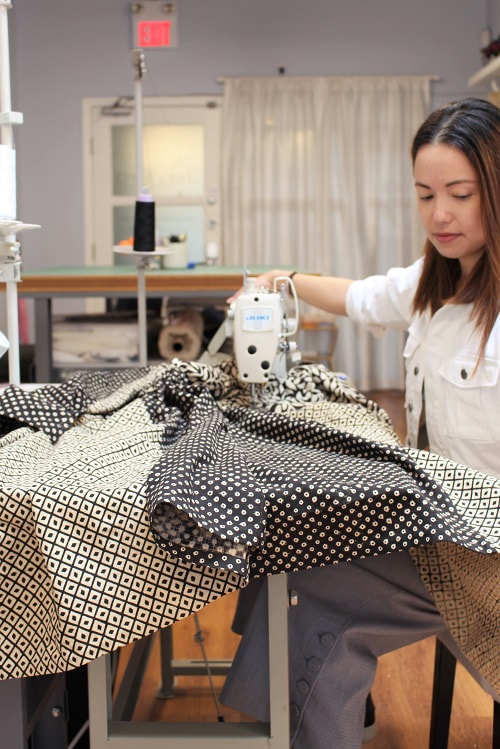
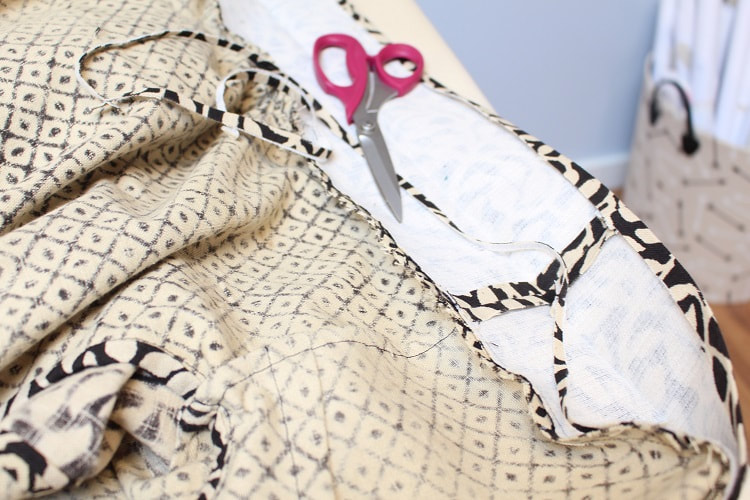
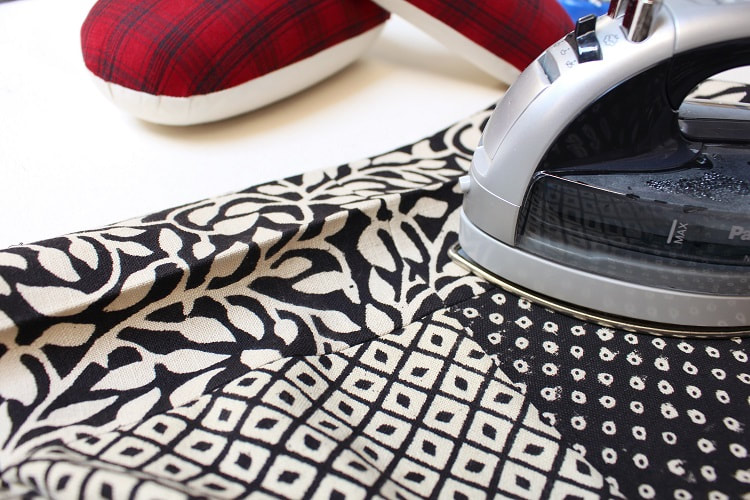
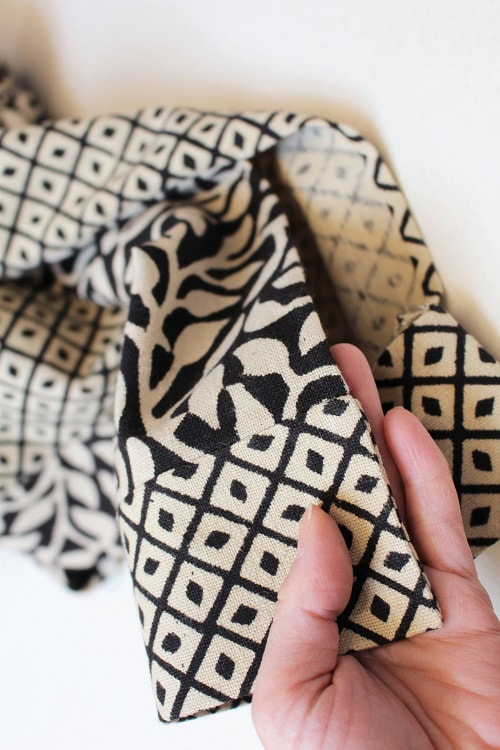
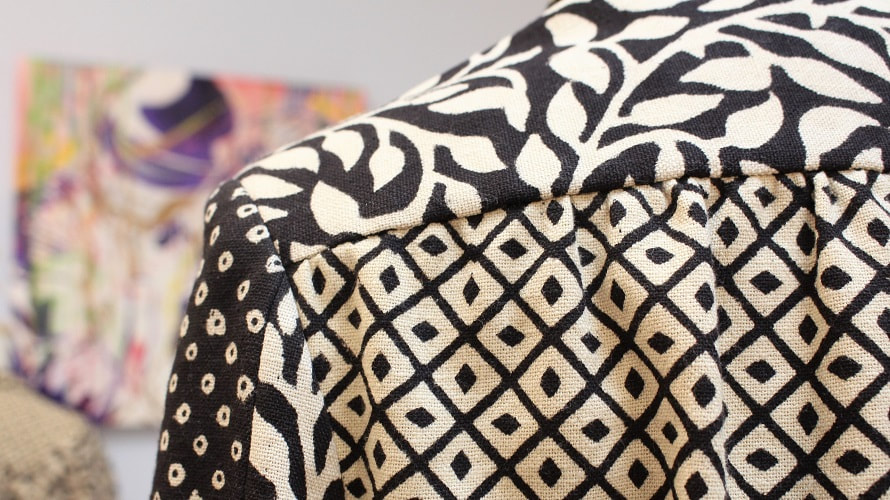
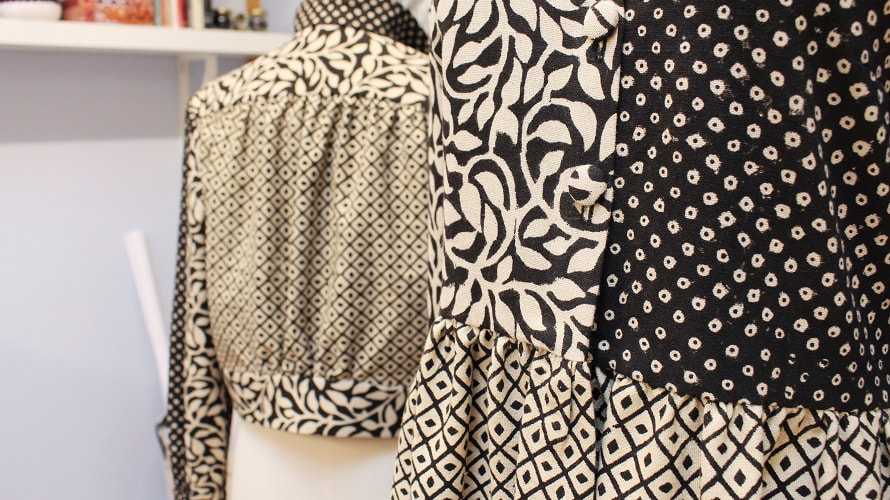
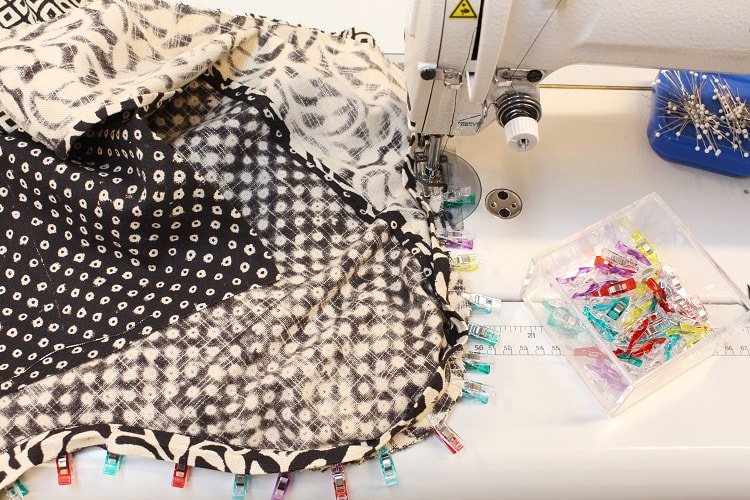
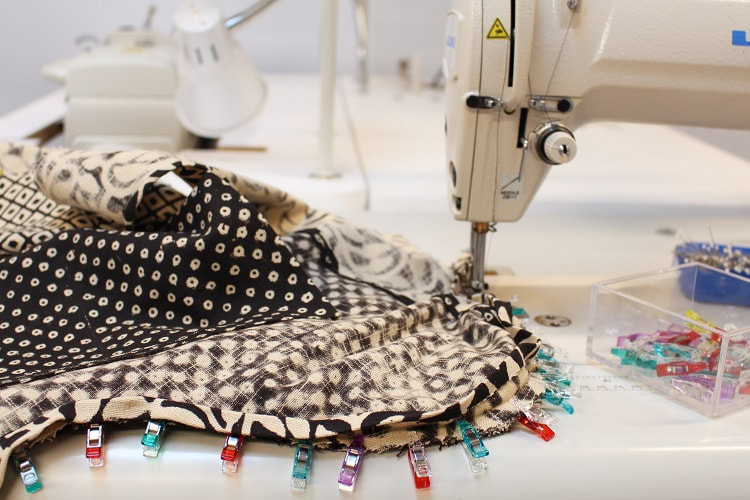
FabricIn late Feb, I visited Maiwa Supply Store on Granville Island, after having taught a workshop at their School of Textiles. While browsing the store, three separate black and ivory hand blocked fabrics caught my eye. Each was so different and yet they complimented each other well. I felt inspired to create something that combined these fun prints. So I did! If you’ve been following us, you might remember our Draft and Sew-a-Long series for the Tie Knot Bag. Well, we decided to take this lovely combo even further by creating matching coats! Hand block printing is the technique of imprinting a desired design onto fabric by means of wooden blocks and is one of the earliest known techniques for textile printing. A hand carved wooden block is dipped into color trays and then stamped onto fabric, thus leaving a permanent print design. This technique is applied by use of hands only. You will notice slight inconsistencies in the print, but I think this makes it more beautiful- just like life. 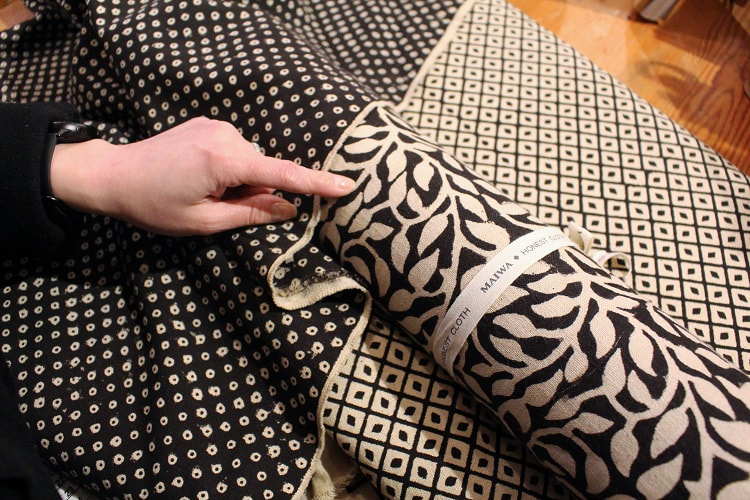 Project Specs
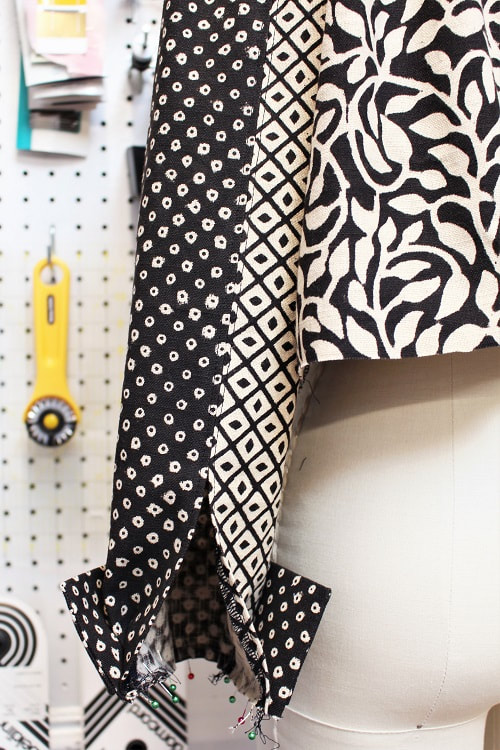
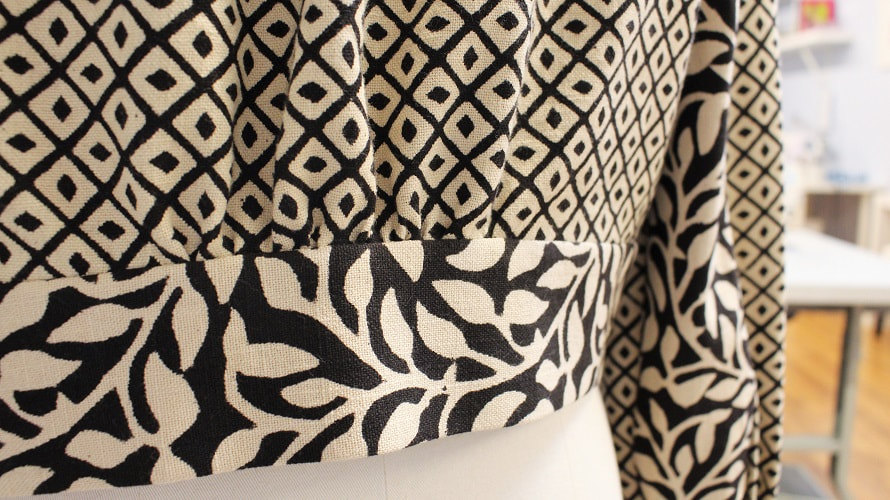
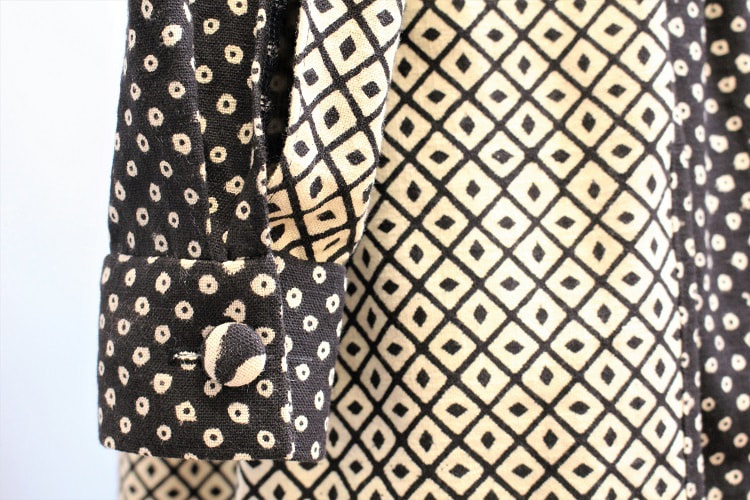
Design ElementsAs usual, there are a ton of design elements within these two coats, but I want to focus on the elements that I learned the most about and the elements you can learn from as well. Below, I chat about fake two piece sleeves, how to sew a clean seam finish, experimenting with gathering and how inspiration can hit you when you least expect it. Two Piece SleevesThe sleeve appears like it has an upper and a lower sleeve, but it's all an illusion. It still has an under arm seam but I placed a back seam to provide the visual of a two piece sleeve. This back seam runs right into the placket opening and cuff area. 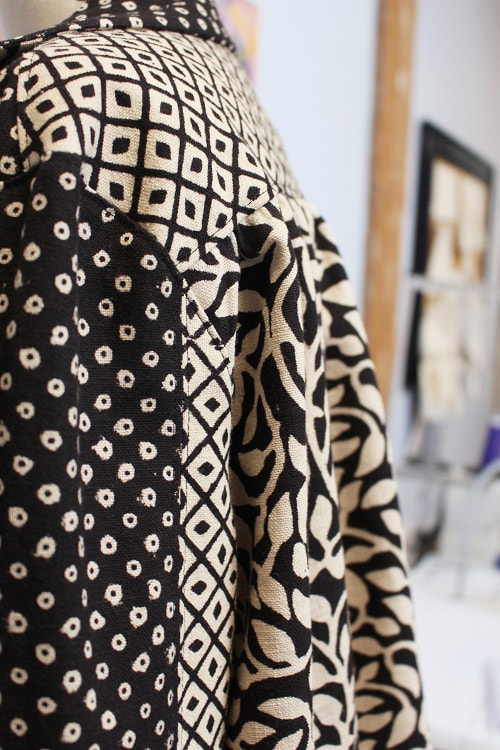 Typically a placket opening is finished with a tower or a bound seam finish. But because we have a seam running right into the placket we can simply apply a clean seam finish to the full length of the seam. Never heard of a clean seam finish? To me, it is like a mix between a hemming and a seam finish. It is the complete opposite to a French seam but just as clean and beautiful. To sew a clean seam finish, follow these steps. 1. With right sides of fabric facing each other stitch seam from top of sleeve cap down to placket opening notch. 2. Press seam open and continue pressing into placket area the width of the allocated seam allowance. 3. Turn raw edge in and under the pressed open seam allowance and press the entire length of seam from top of sleeve cap down to bottom of placket opening at wrist. 4. Edge stitch along folded edge or slip stitch down to garment.
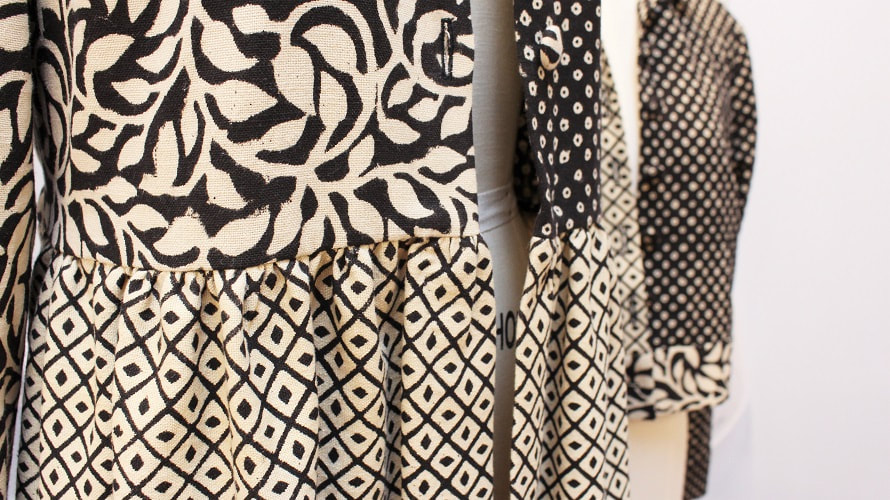
Gathering DetailsGathers can be found in many areas of both coats. I wanted to really explore the element of gathers in a variety of ways. In the short coat, gathers are evenly distributed along the upper back bodice towards the yoke, but at the bottom of the back bodice, I centered the gathers just at the center back above the hem facing. I think in the future it would be nicer to distribute the gathers evenly across the whole width of the back to create more of an architectural silhouette. There are no gathers in the front of the short coat. Going forward I want to put gathers at the bottom of the front bodice to create some shape there. I have worn this coat already and it’s a bit too flat in the front.
With the long coat, I went all out with the gathers. I wanted to see how two gathered pattern pieces would interact with each other. The gathering in the front skirt section worked lovely as it was stitched to a stable bodice with no gathers. BUT the back had gathers along the waist in both the bodice and the skirt. Obvious now, but at the time I thought the gathers would hold with a secure straight stitch while sewing the waist seam. NOPE! This was not the case. I had to secure the seam with a bound seam finish to ensure the gathers would not just fall out over time.
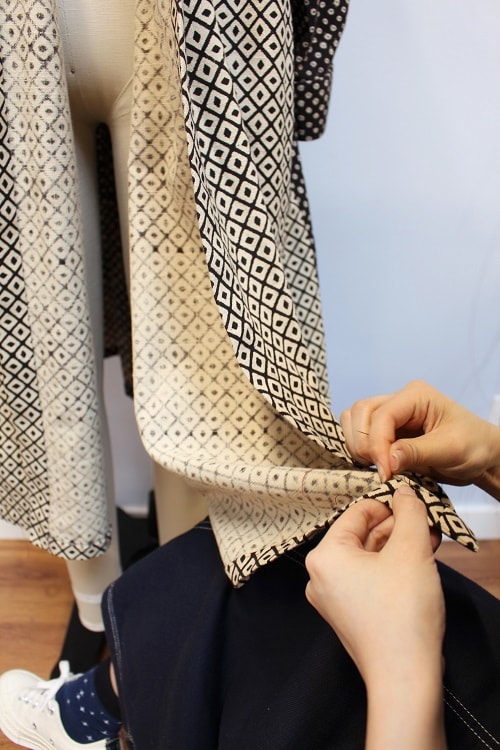
Another problem I ran into was along the front waist at front opening. I gathered the skirt all the way to the front opening. Do not do this if you have a fold back button/buttonhole extension. When it folds back there should be no gathers in that section to allow the area to lay flat. I still made it work by pressing just so, and hand sewing the back to gain full control over the fabric. Bound Seam FinishesIn both coats, bound seam finishes can be found along the waistline, armholes/sleeve cap and bottom of yoke seam. It is a great way to hide away the gathered edges of fabric. 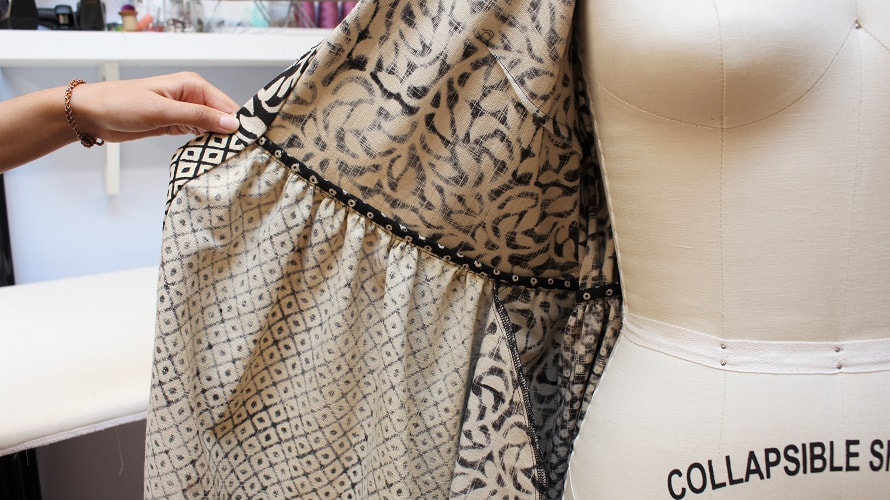 As mentioned above, this was done to secure the seam with a bound seam finish to ensure the gathers would not just fall out over time.
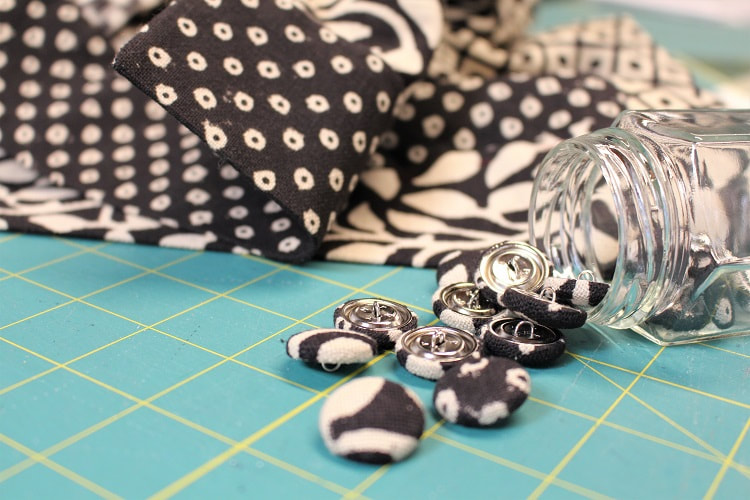
Fabric Covered ButtonsWe have an ongoing love for fabric-covered buttons here at the studio. Fabric-covered buttons can add a special touch to any design and are also a great way to use up fabric scraps! You can find a button-covering kit at most fabric and craft stores.
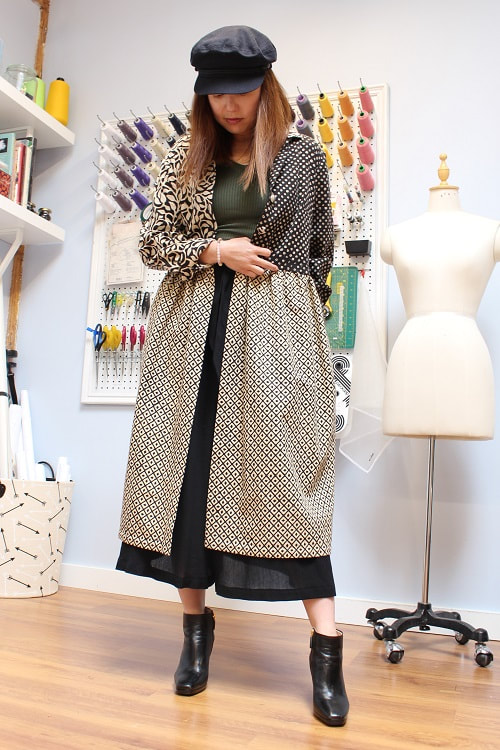
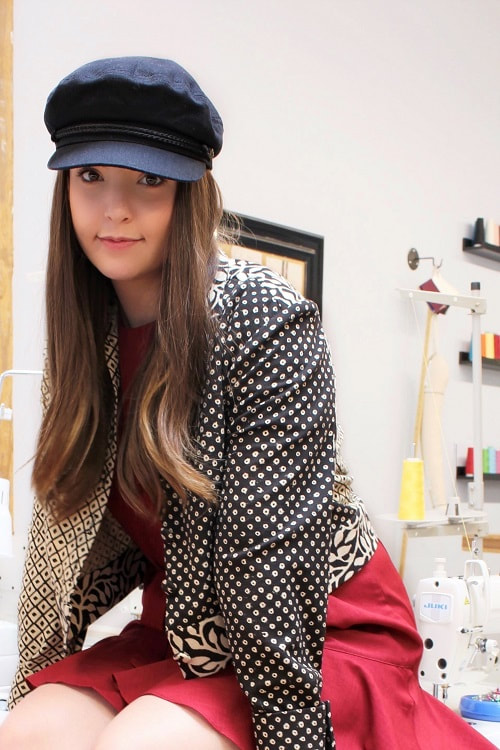
Optional SilhouettesSo...initially I was only designing the long version coat. BUT midway through the construction process, inspiration hit and I had to follow. The exact moment came right before I stitched the waist seam of the bodice to the skirt section. I placed the bodice with sleeves on the dress form and it just looked so good on its own that I immediately started drafting a hem facing for a shorter version to be made. I was lucky that I had just enough fabric to cut out a second coat. 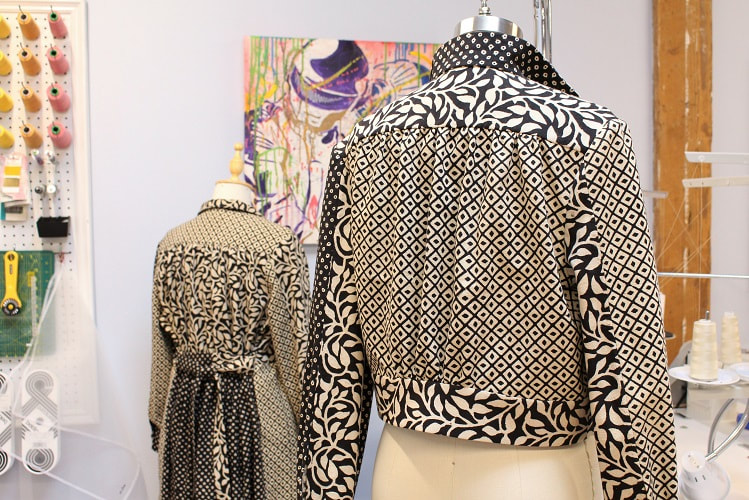 StylingAll dressed up with nowhere to go (due to self-isolation) but that hasn’t stopped us from brainstorming future fall outfits! The studio staff agree that fall is our favorite fashion season anyways, so why not plan ahead? The first look features Sheila wearing the long coat with a forest green shirt, black paper bag pants, and black heeled booties. Black pants balance out a statement piece like our block print coats. For a pop of color, Natasha chose a rose red dress to pair with the cropped coat. Both completed their looks with a black baker boy hat.
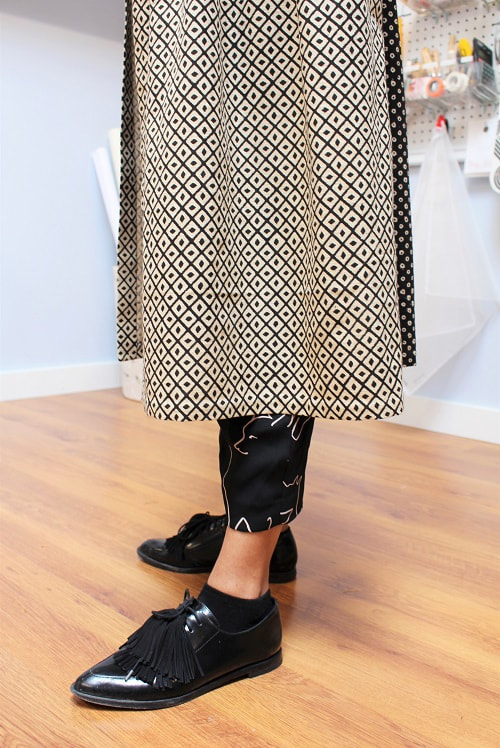
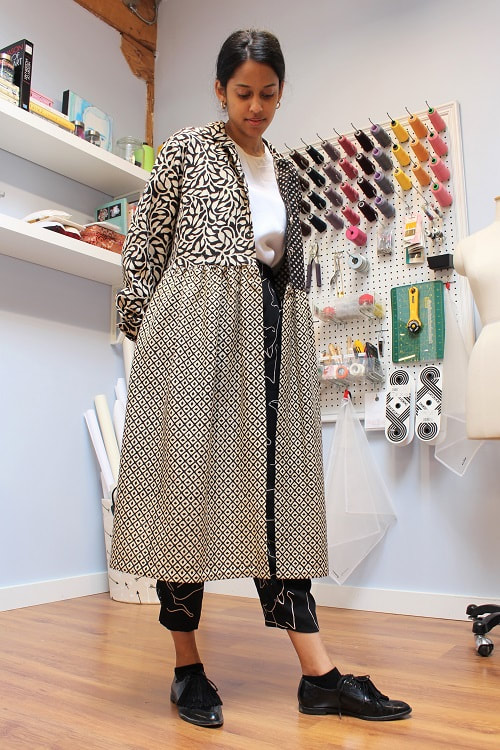
For our final look, Sujitha took the matchy matchy route and paired the long coat with a simple white tied t-shirt and black printed dress pants. At first glance, we wondered if introducing yet another print into the mix would overwhelm the eye but this was actually our favorite look overall!
Final Designs & What I LearnedI think it is very important to allow yourself to explore and make mistakes freely. This provides you with better insight into your design aesthetic and improves your technical skills in both drafting and constructing. With these two coats, I gained a better understanding about different types of gathering and collar dimensions. Gathering is essentially a very simple concept— excess fabric pulled together to create shape or volume around the body or in a specific area for movement (ease). As you read earlier, I experimented with different variations of gathers in different seams. Going forward, I would never place two gathered pieces together (ex: bodice and skirt) with a woven fabric. The straight stitch that connects the two does not control the gathers and the gathers will just fall out. You need to secure a gathered piece always into a solid pattern piece like a waist band or in my case; I improvised with binding the interior waist seam allowance to ensure the gathers did not fall out. 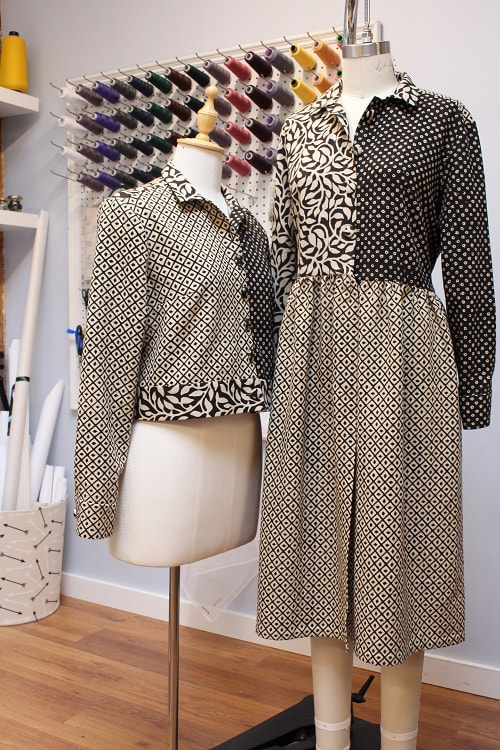 A small change I would make to the collar is the width. The collar is currently 2", which is a traditional width for a tailored shirt. However, due to the nature of the garment, a 3"+ width would sit nicer as it rolls away from the neckline. I may also experiment with adding slash lines in the collar to create a bit of flare around the collar. The wider a collar is made, the more flare is required to sit with ease around the neckline of the garment. 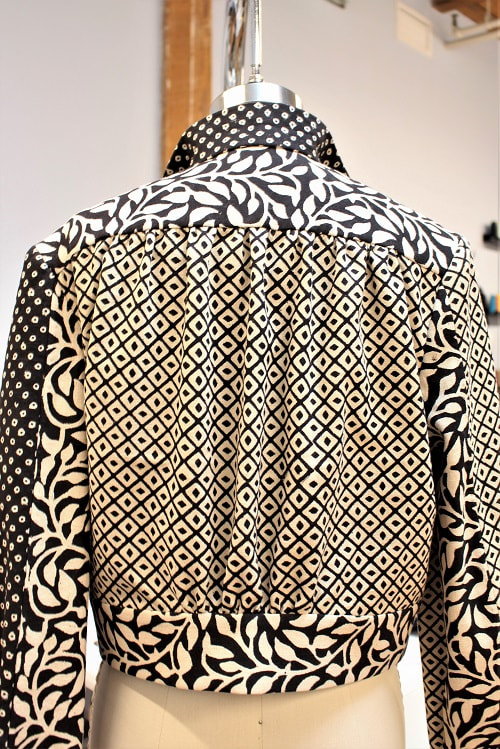 Designing your own wardrobe and wearing your personal creations is an empowering experience. If you would like to learn how to draft and construct outerwear, contact us to book lessons.
Happy Sewing! Designed, photographed and written by Sheila Wong Studios. |
Archives
November 2022
|
 RSS Feed
|
|
Copyright © 2024 Sheila Wong Fashion Design Studio Ltd. All rights reserved.