|
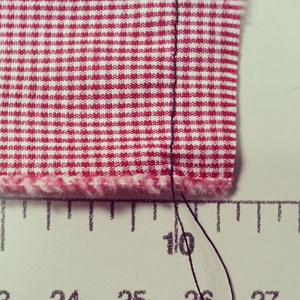
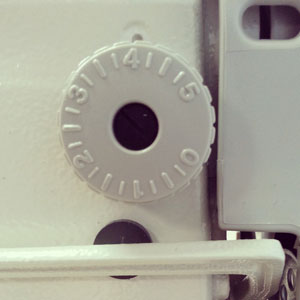
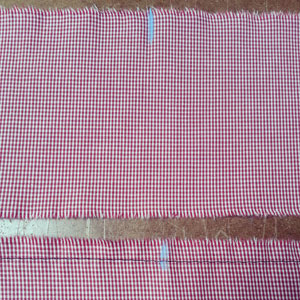
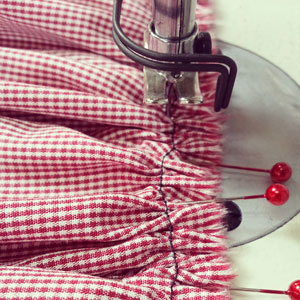
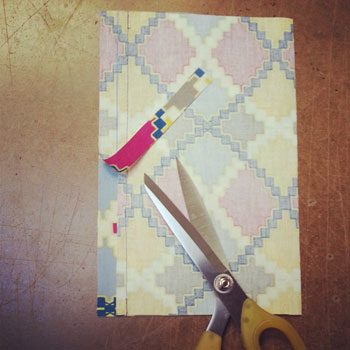
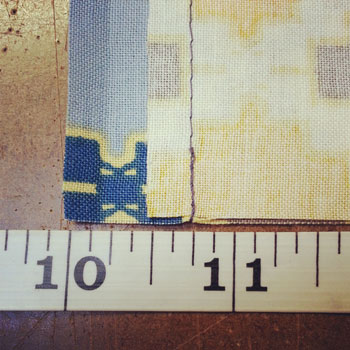
Excess fabric can be worked into different design elements such as darts, pleats and gathers. Gathering fabric is a simple way to remove excess fabric, and it adds to the style of a garment. Gathered skirts are easily in most of our wardrobes. 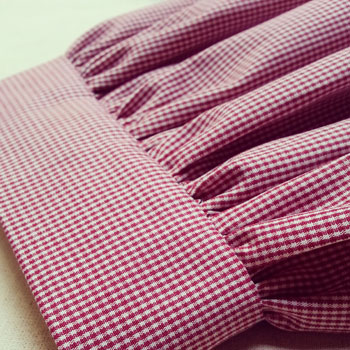 Gathers are typically sewn into another pattern piece. These can include waistbands, cuffs, collars and bodices. This tutorial will show you how to create gathers in one pattern piece to be attached onto another piece that does not require gathering. I will use a cuff example here. Step 1Consider your seam allowance first. My seam allowance is 3/8". Begin with sewing a basting stitch approximately 1/16-1/8" away from your final sew line, in the seam allowance area. Several sources have you sew your basting stitch in the middle of your seam allowance, but I find the closer you can get to your sew line, with out actually being on your sew line the better your gathers will sit in the end. A basting stitch is used to temporarily hold fabric together and is sewn using a wider stitch length. I use a 4mm stitch length. A basting stitch is also used to gather fabric. Do not back stitch and leave at least 3-4" tails of thread to pull later.
If the piece you are applying gathers to is really long, I would break it up into 4 equal sections with their own tails. You will thank me when you start pulling threads and one breaks mid way! 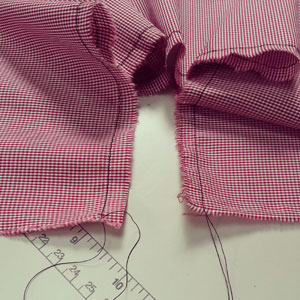 Step 2Before you start pulling the threads, I suggest marking the middle points on the gathering piece and the cuff (or whatever pattern piece you are attaching your gathering onto). Again, if you are applying gathering to a long area, separate into quarters to manage better. This will ensure the gathering is balanced when sewn into your garment.
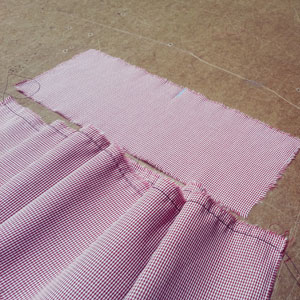
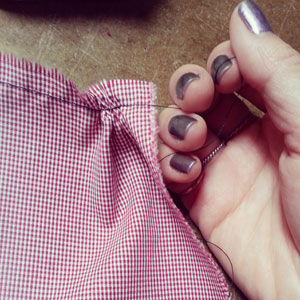
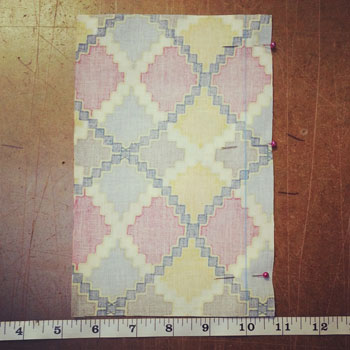
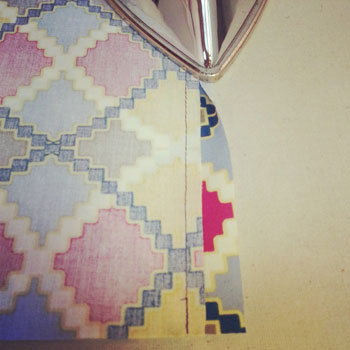
Right sides of fabric facing each other, pin marked middle points together. 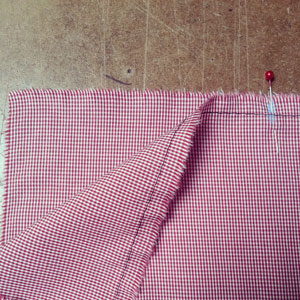 Step 3Starting on one end of your basting stitch, pull at one thread to begin creating gathers. Move gathers towards the middle. Pull until the gathered piece becomes the same length as the garment seam you are sewing it to. In this case, I will pull until my gathered sleeve becomes the same length as my cuff. Repeat thread pulling to create gathers on the other end.
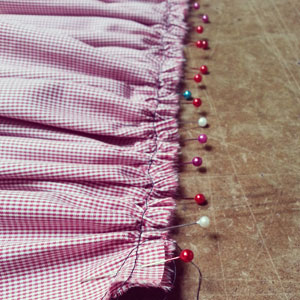
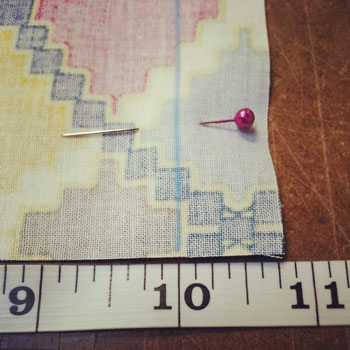
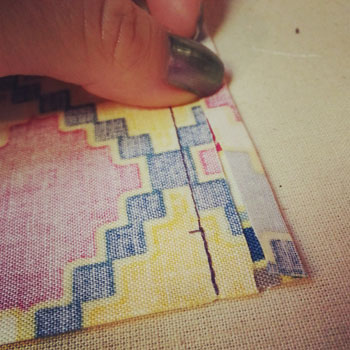
Pin layers together. As you pin, try to re-position each gather to be straight. If gathers are turning diagonal it will show in your finished garment.
Step 4Switch you stitch length back to 2.5mm, sew at 3/8" seam allowance. Your sew line should be just to the left of your basting stitch.
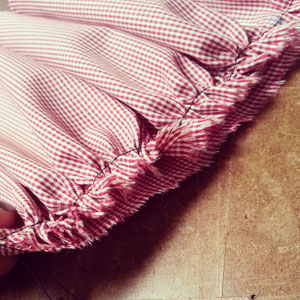
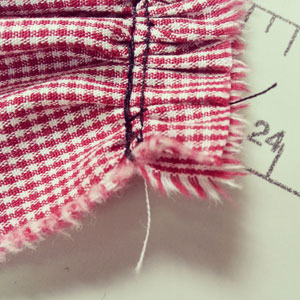
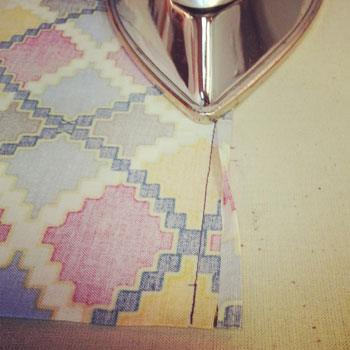
When finished, your gathering should look like below. 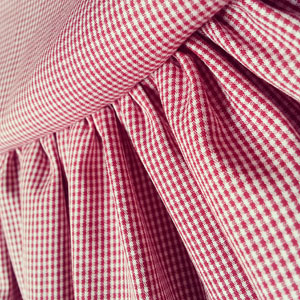 Step 5Press the non gathered side of the seam flat, using the edge of your iron. 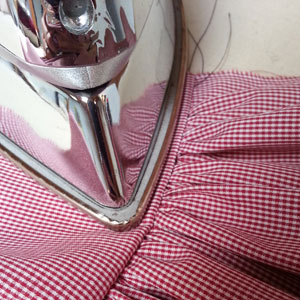 Gathering is complete! You can now continue sewing your garment.  Happy Sewing!
Photographed and written by Sheila Wong Studios
2 Comments
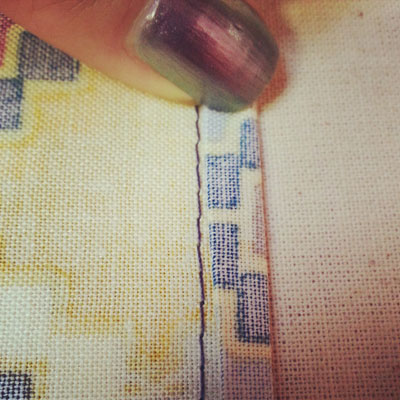
A self bound seam finish is a variation on a bound seam finish. But it does not require you to prepare an extra piece of bias/straight tape to enclose the raw edges of your seam allowance. Its best used when you want to bind both seam allowances together and for light to medium weight fabrics. Also works better on straight to slight curved seams only. For a step by step sewing tutorial on a bound seam finish click HERE. 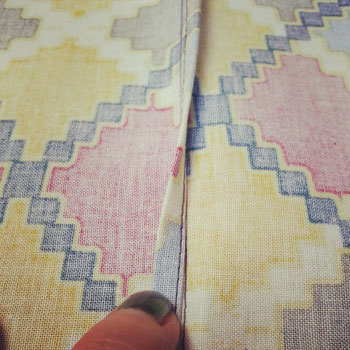 Step 1If you are familiar with a regular bound seam finish, you know that either bias or straight tape is used to bind the raw edges of the seam allowance. In a self bound seam finish we need to allow for extra seam allowance to self bind. A 3/4" seam allowance is required to have a 1/4" finished self bound seam. Sew at a 3/4" seam allowance.
Step 2Trim one of your seam allowances down to 1/4".
Step 3Press the raw edges of the longer seam allowance in to line up with the raw edge of the shorter one.
Step 4Press the folded edge in to meet up with the original sew line. Leave a 1/16" or smaller space in between the edge and the sew line to ensure the seam lays flat.
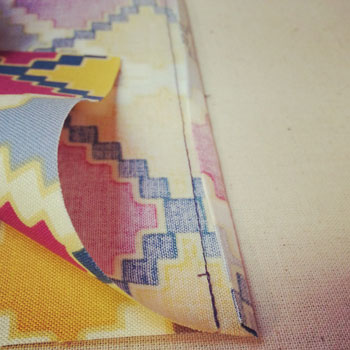
 Step 5Edge stitch down your pressed seam allowance as shown in photo above. Edge stitch is approximately 1/6" away from the folded edge. 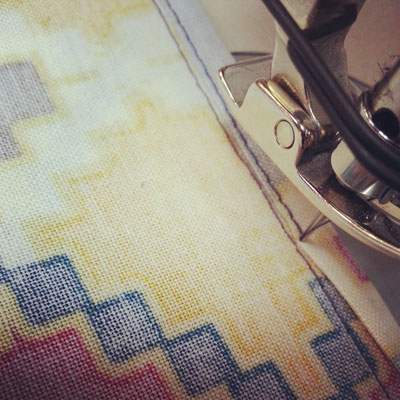 Step 6On the right side, press seam allowance to one side. 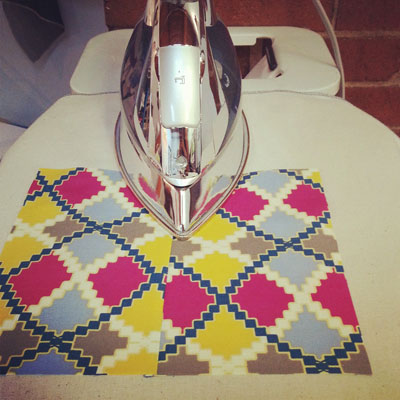 Completed Seam
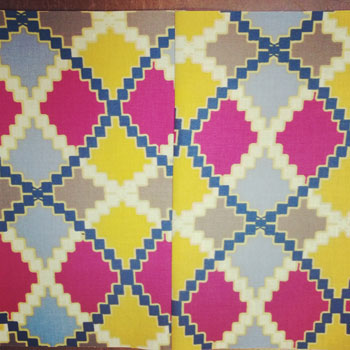
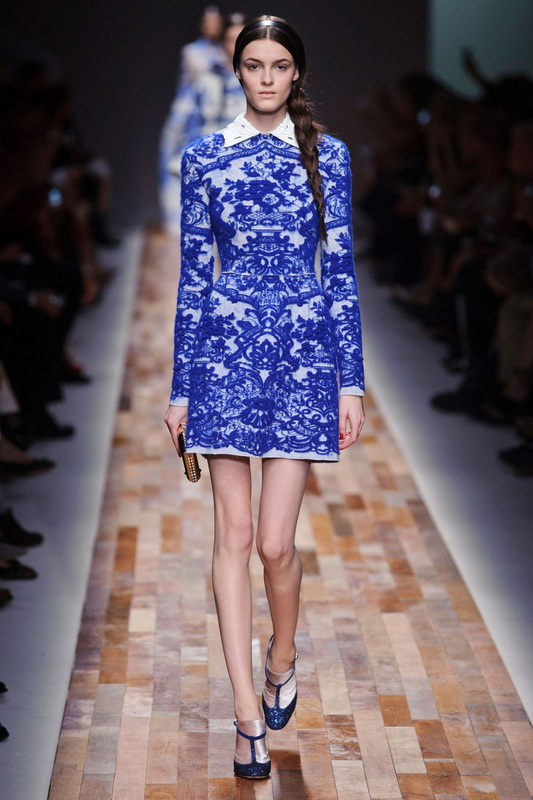
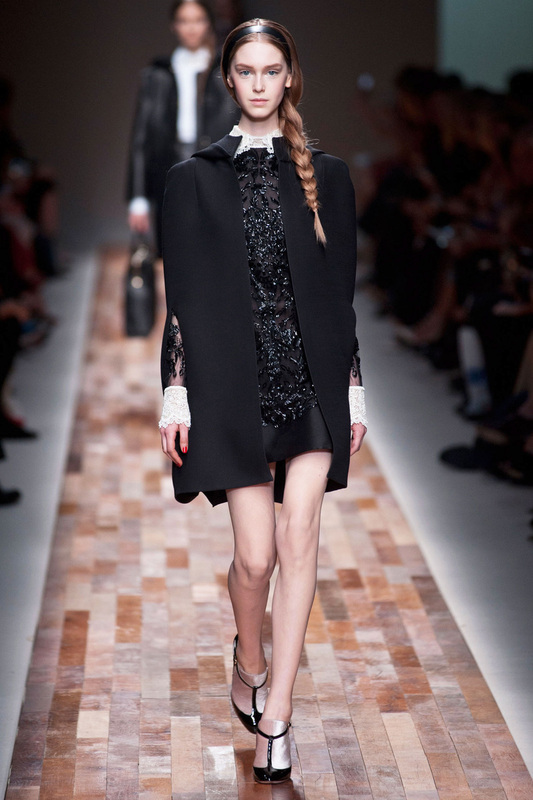
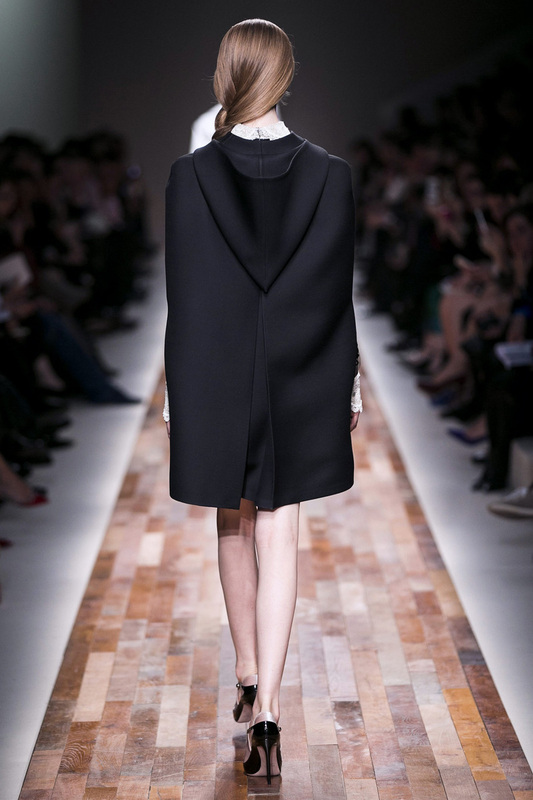
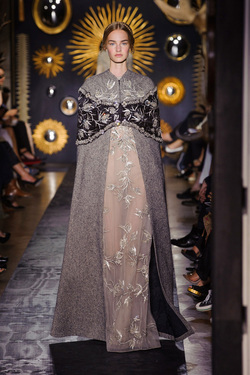
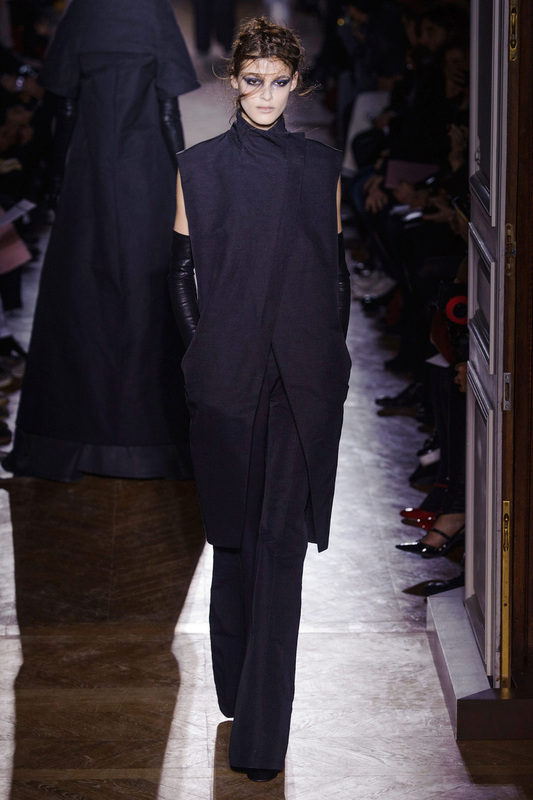
Happy Sewing! Photographed and written by Sheila Wong Studios Winter has technically arrived according to the calendar, even if snow decided to come earlier. As each new season approaches, I customarily peruse through designer collections to see what key fashion trends or pieces I need in my closet. I have had a bit of down time in between holiday feasts this season to organize what I feel are the top 3 key fashion pieces you can sew. And I am not promising anything, but I will try to sew these 3 fashion trends for you in the next few months. Basic Dress Made in Opulent FabricsThe title should be descriptive enough for you. I call it a basic dress as to describe the pattern drafting is rather basic in this one. Pattern pieces would consist of a basic set in sleeve, a front dress (probably cut on fold) and a back dress piece that probably has a zipper down the center back as closure. What makes this dress so coveted would be the opulent fabric choice. So I guess I am on the hunt for the perfect fabric! Minimalist CapesCapes come and go each season, but I am really loving the silhouette of these Winter 2014 capes. Its fairly boxy with clean lines. I have always found past capes with flare are a bit much and just remind me of Robin hood. Notice the hand/arm openings are rather streamlined. It is as if they do not exist or you could even wear the cape without having to use the openings. Made out of wool, this would be a perfect layering piece in Vancouver. Long Vest CoatBeen really feeling the longer top silhouette over pants recently. It has a very worldly feel about it. In our colder climate, you can see variations of this vest in the zip off sleeves option of a winter coat. Personally I don't want a coat with zip off sleeves. I feel the zipper teeth may snag a scarf. I will try to find a dark grey or indigo color to make this long vest coat. This will be perfect to wear closer to the end of winter. If you are going to be making this one, don't let the hem fall past your knees. It may shorten you. I know it is the last thing I want...being short and all. Happy Sewing!
Written by Sheila Wong Studios |
Archives
November 2022
|


 RSS Feed
|
|
Copyright © 2024 Sheila Wong Fashion Design Studio Ltd. All rights reserved.