|
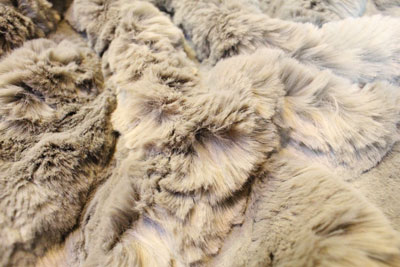
Designing a fur vest has been on my To Do list for over a year now. Well, I got cold enough to make it happen. So here is an insider look into the design elements and where my biggest challenges lay. Also, before anyone starts getting fired up, its faux fur. But it completely feels like a bunny. Now lets hop to it. Project Specs
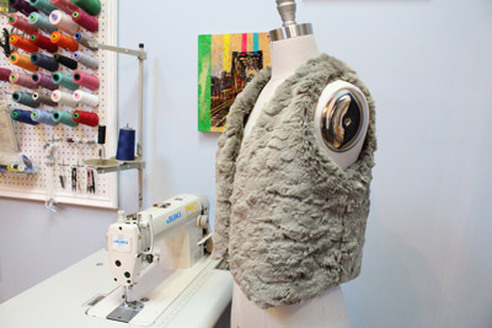
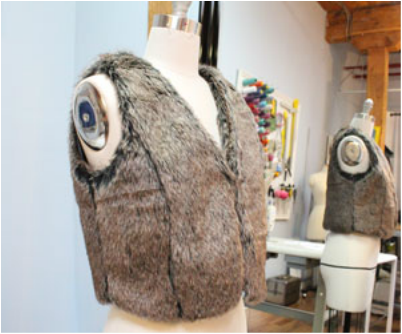
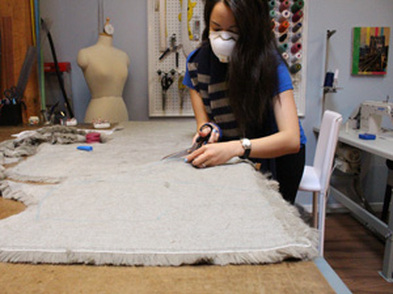
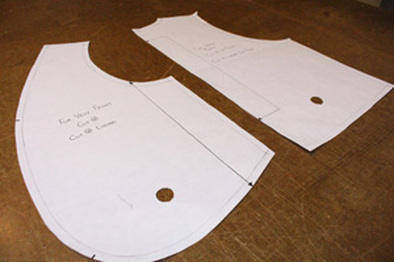
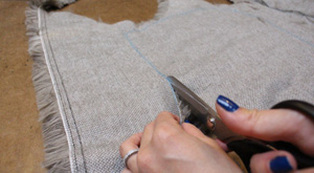
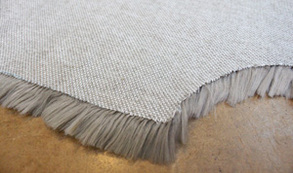
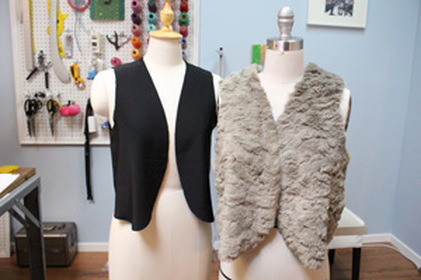
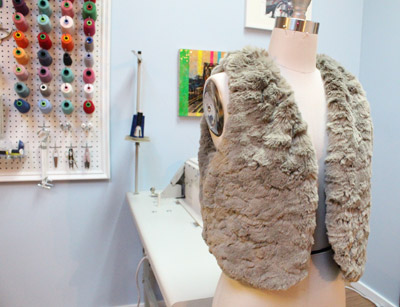
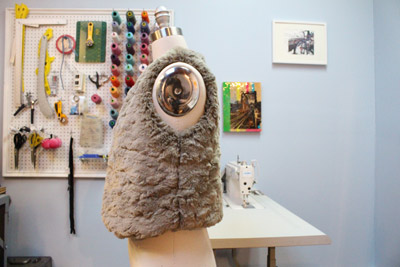
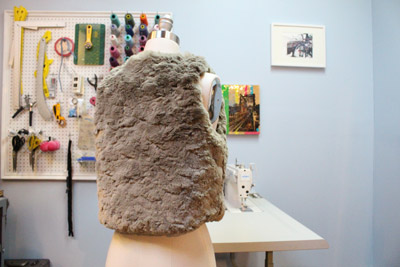
InspirationThe fur vest below was purchase from Winners about 5 years ago. I liked the fit and the fur was not at the time, ugly looking. Now, the fur color and feel is not to my taste. I knew I could at least use it to create a pattern so I kept it. FabricFor 2015, my goal is to use up all my fabric prior to purchasing any new fabric. So I dove into my faux fur bin. Yup! I totally have one. Who doesn't right? I had just enough of this pale grey faux fur to make a vest. For the lining, I used the wrong side of black silk charmeuse that I had already. If you are familiar with silk charmeuse, it is shiny on the right side. I wanted a matte look, so voilà I flipped the fabric. Some people may think its a waste of silk, but it still feels dreamy so no worries. An interesting fact about me- I am allergic to dust, feathers, variety of fibres, blah blah blah. Basically, I am allergic to my career. So behind the scenes, I can be found wearing a mask while cutting and sewing most fabrics. I would recommend this to any designers who are working with high pile fabrics as the tiny fibres can be detrimental to your lungs. I also take the time to vacuum after every piece is cut out. It increases the amount of time to make something, but I have learned with out your health you are useless. Pattern DraftingBased on the inspirational vest from my closet, I created the patterns by laying the vest as flat as possible on paper and tracing out. After ensuring seams all lined up, I added seam allowances, grain-lines, notches and titles. I found the vest was quite two dimensional, so it was simple to replicate. Construction DetailsUnlike most of my own designs, this one has very few design elements. It is fully lined and hand sewn shut at a small opening at the hem. But read on, I have some interesting things to share. Working with Faux FurDesigning with faux fur was an obsession early in my sewing life, so I learned a few tricks to manage the flying fur.
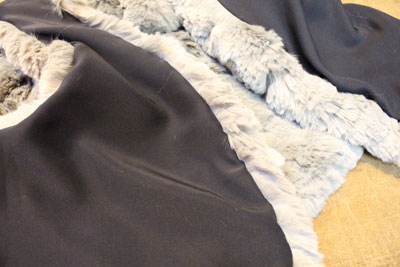
LiningThe lining was cut out of the same pattern as the fur. Thus creating a fully lined garment. A small opening at the hem was hand sewn shut. Complete GarmentAfter much coughing and vacuuming this week, I am glad to be done sewing this one. I may have to limit working with faux fur to once a year to save my lungs. I am super happy at the way this one turned out. Its extremely soft and the color will match easily with what is in my wardrobe. If you would like to learn how to make this vest or how to replicate your favourite items in your closet, just book lessons.
Happy Sewing! Written and created by Sheila Wong.
3 Comments
Fabric, thread, wax, a hand sewing needle, and my hands. These are items used to create my latest design. No machines used here! Get an insider look at the design elements and finishes on this fully hand sewn top. And no I did not sew by candle light on this one. Project Specs
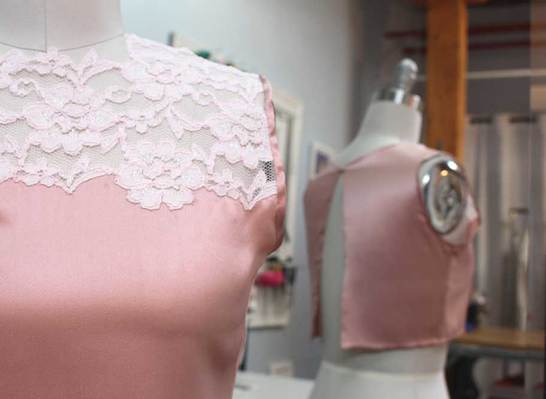
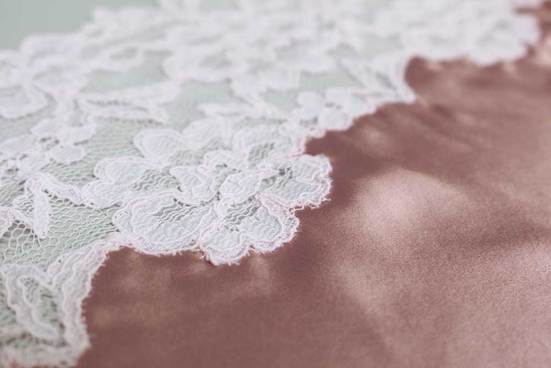
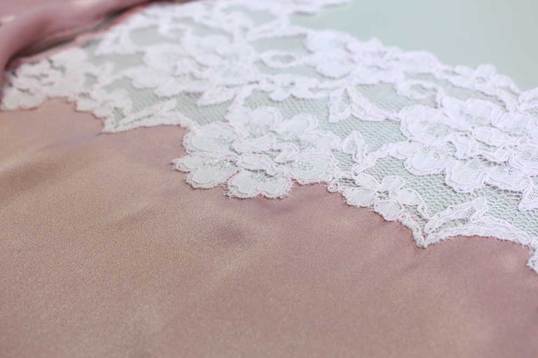
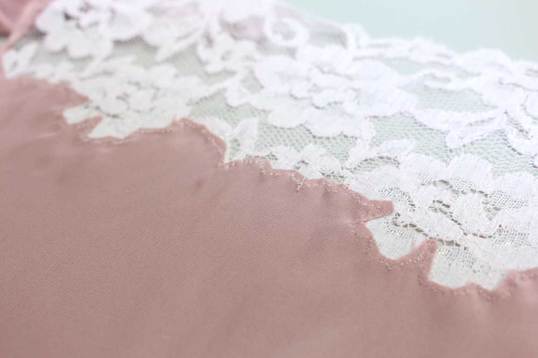
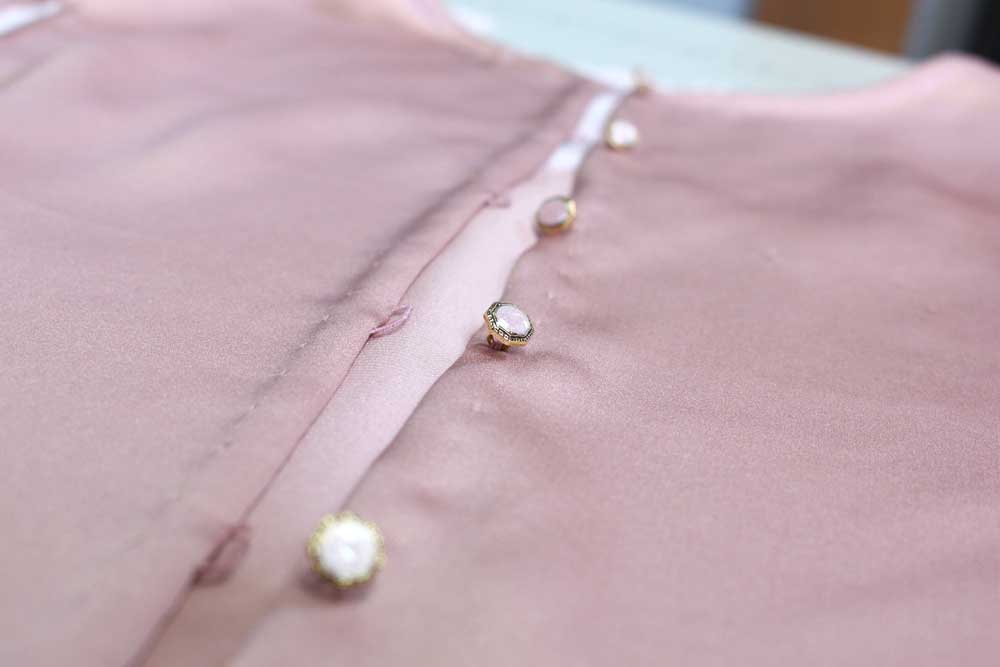
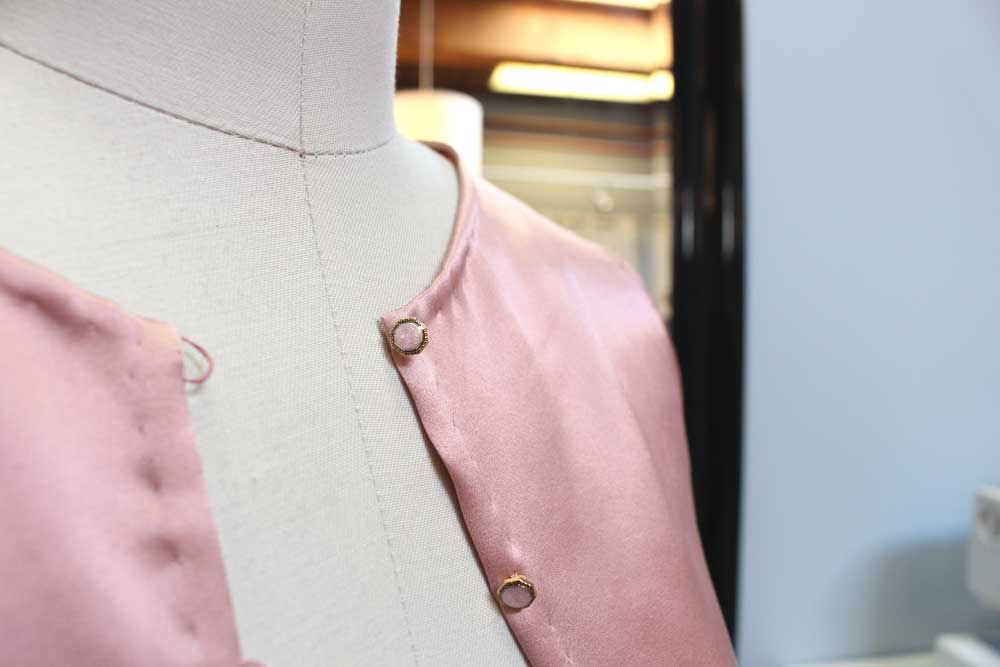
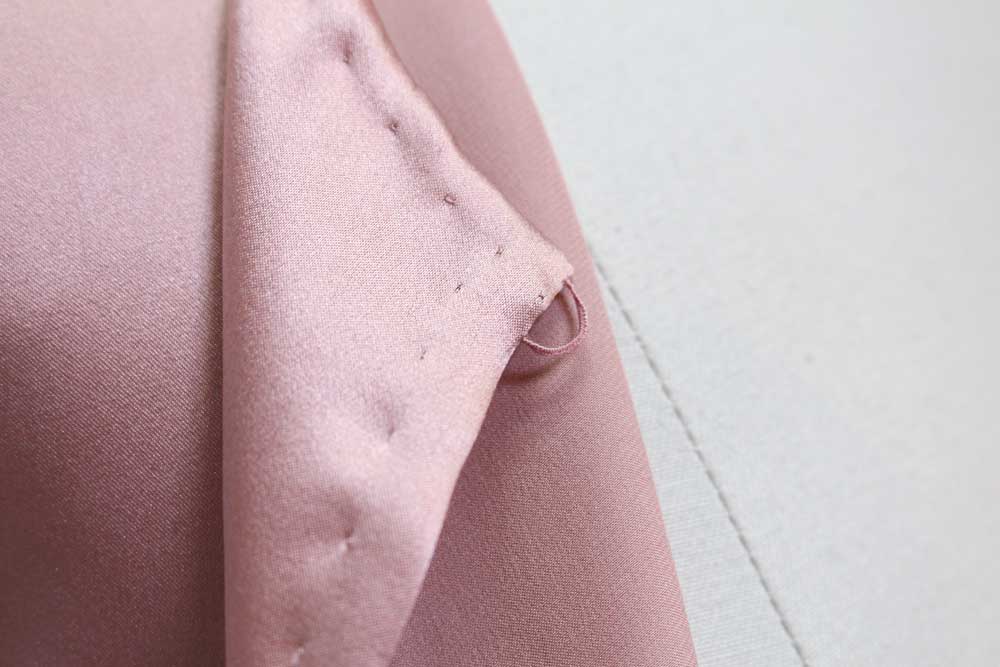
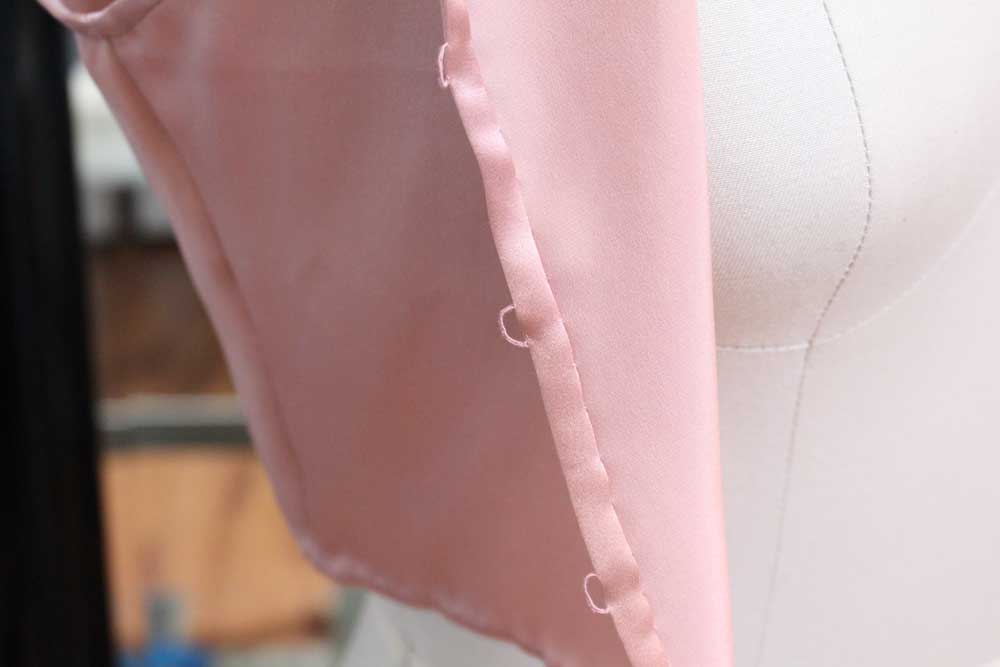
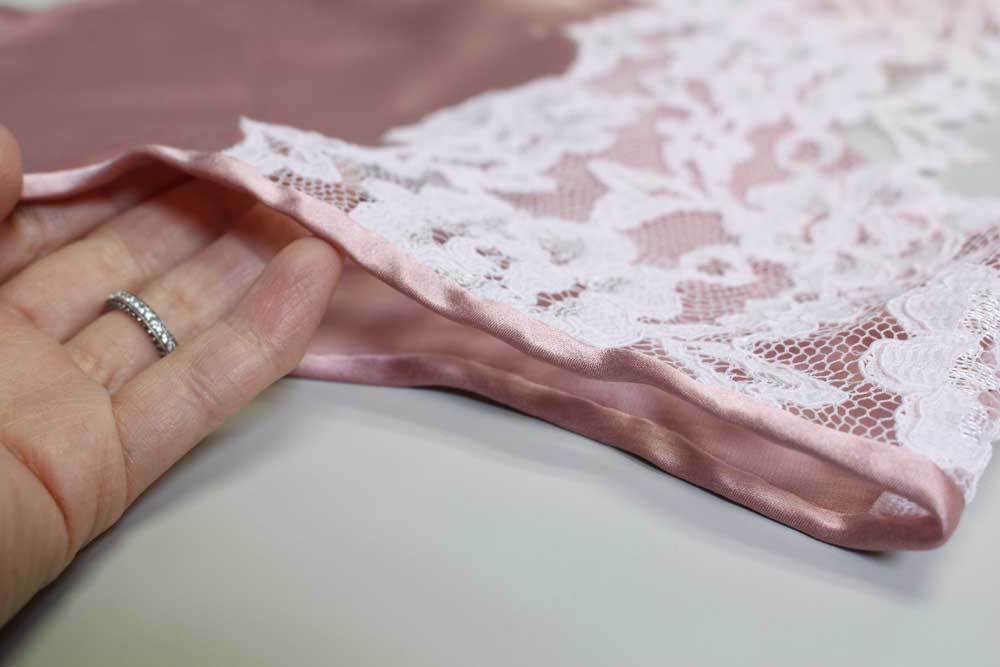
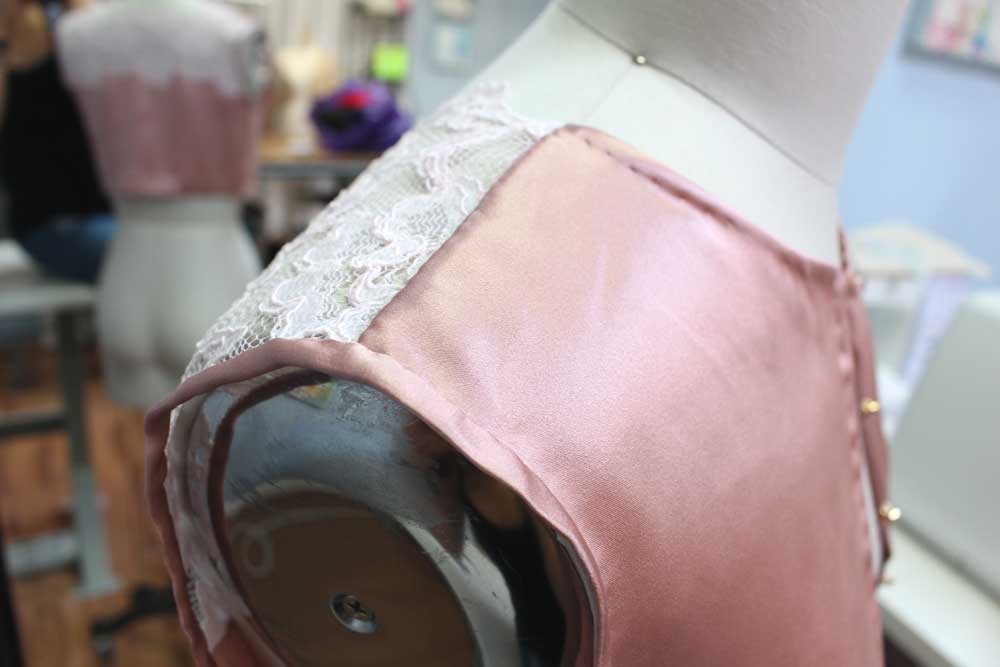
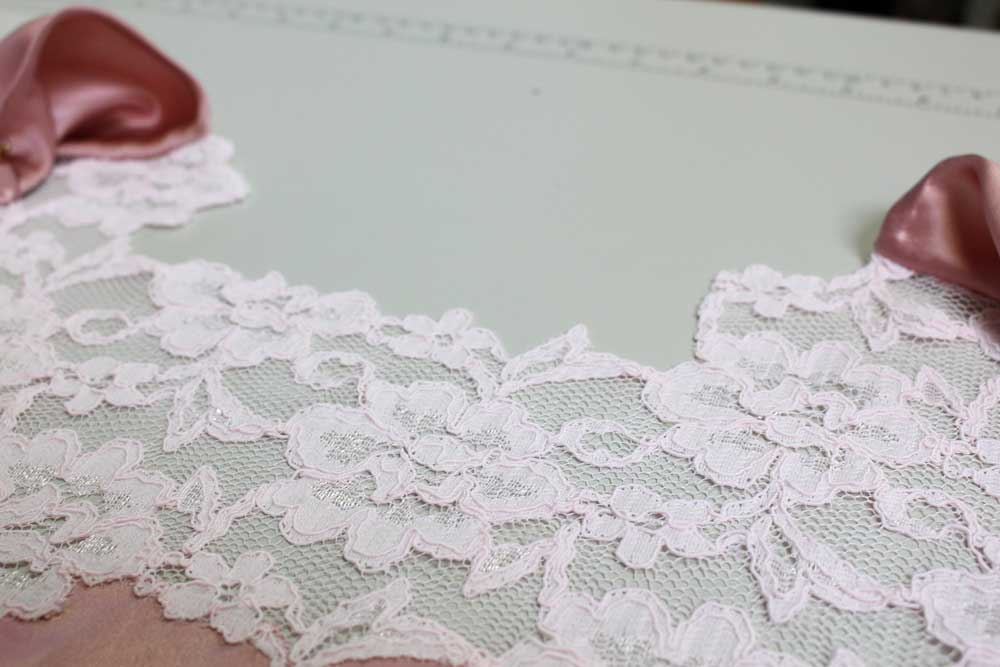
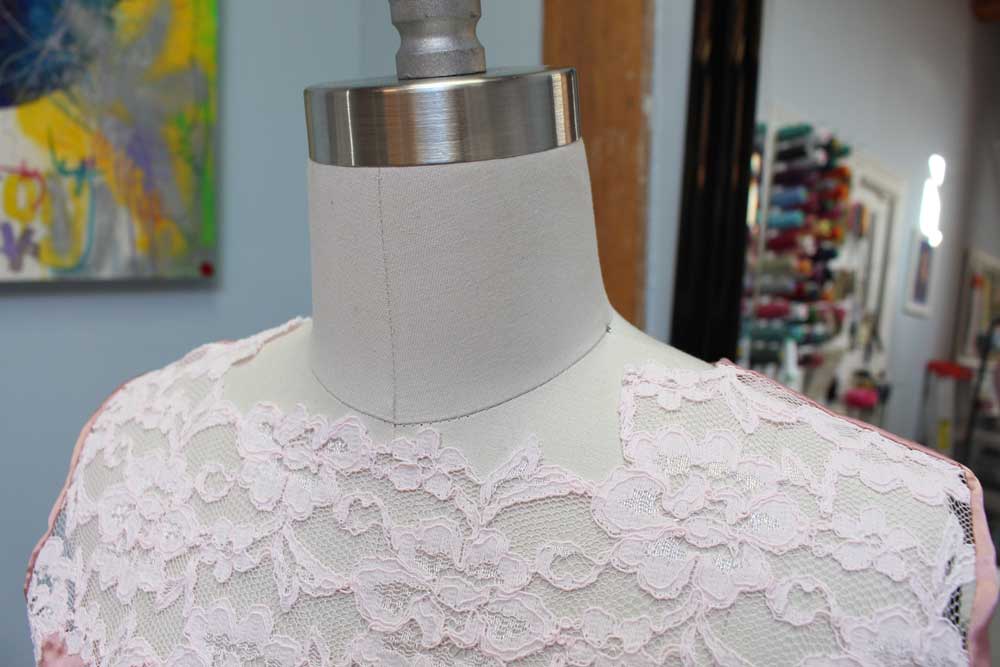
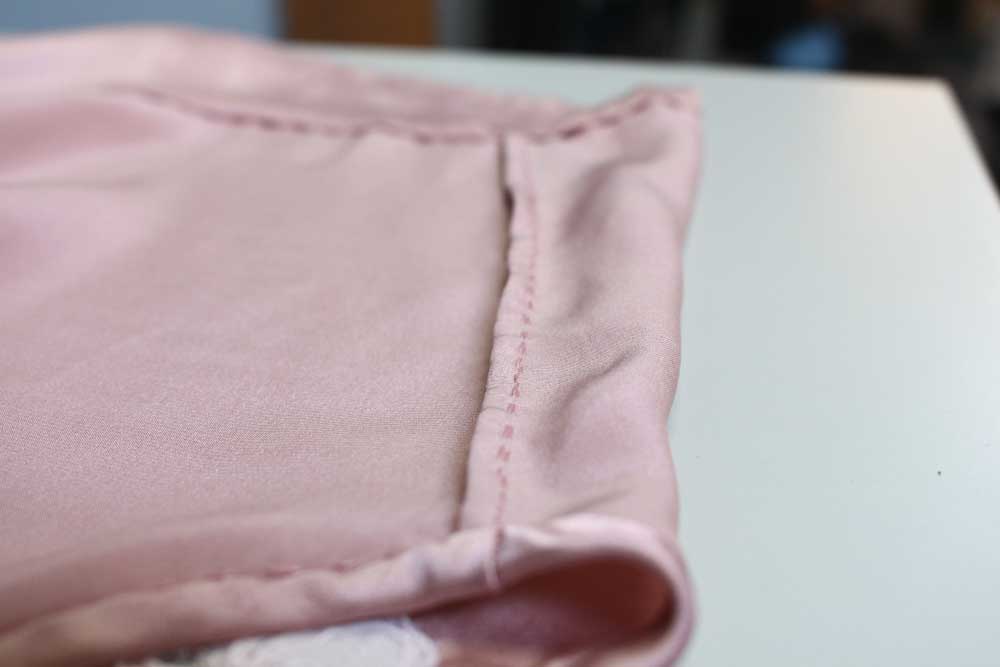
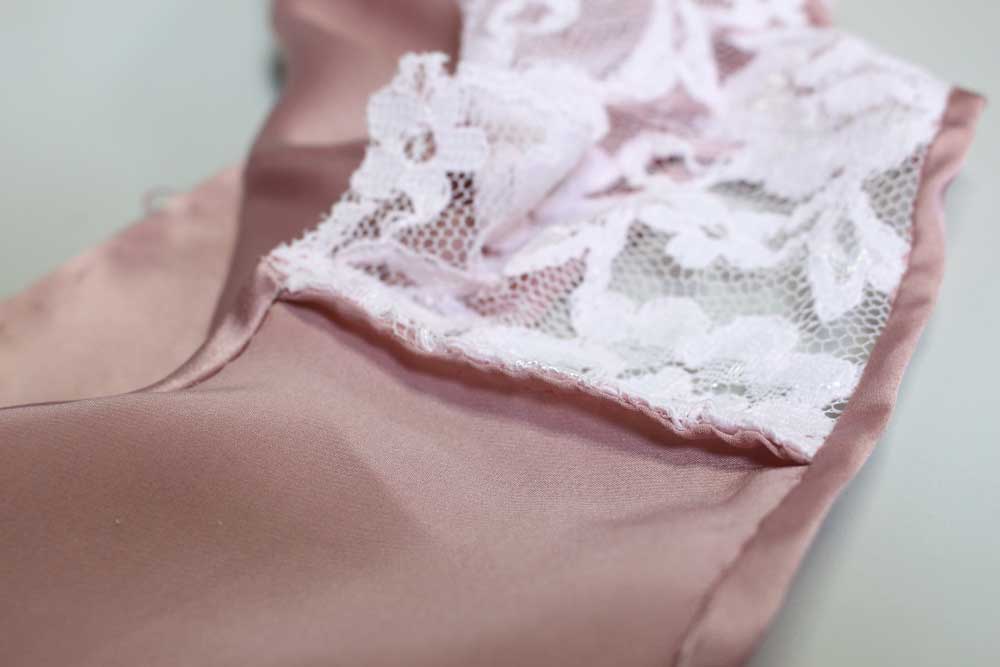
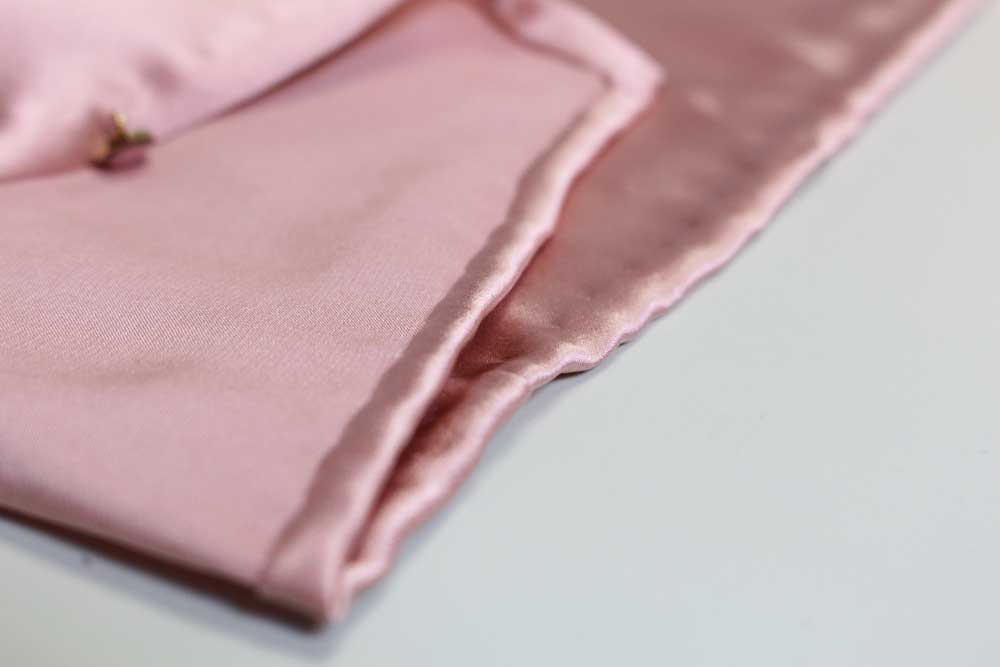
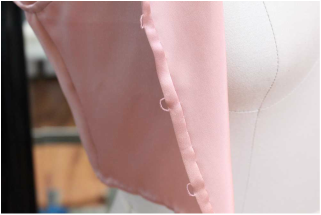
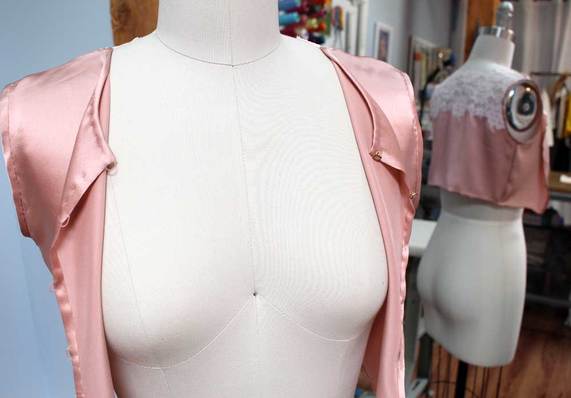
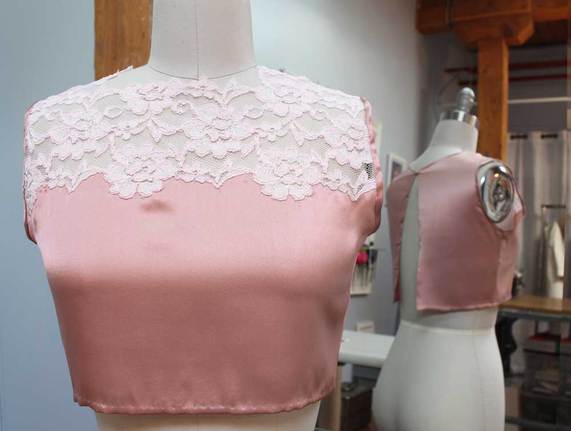
FabricI plucked the silk charmeuse and leftover lace right out of my fabric bins. This whole process started off as a lace demo for clients then I decided why not make it into a wearable top. Construction DetailsAs you already know from the introduction, this top is fully hand sewn- no machines involved. A basic no dart bodice front and back block where used to create the pattern pieces. Simplicity was key as all the attention was on the hand sewn details. Below I go through each integral design element that makes up this lace silk top. Attaching Lace to SilkAs I am writing this, I realize I need to do a tutorial on how to attached lace onto silk (or another form of fabric) flawlessly. This was an extremely time consuming part as tiny 1/16" stitches where sewn along a pathway in the lace. Peek below at the interior view. It gives you an idea of how many stitches are required to hold the lace in place. After sewn, any excess fabric from lace and silk are trimmed away ever so carefully. Exterior view Inside view Thread Bars & ButtonsSewing on the thread bars and buttons was the last step. First the buttons where placed evenly along the center back seam. The buttons reach far enough down the center back to cover my bra line. Once the buttons where secure, it was time to sew thread bars (threaded button loops). It is difficult to get a super macro shot of a thread bar, but you hand sew a ton of button hole stitches around a carefully placed loop. I lost count of how many button hole stitches it took to sew just one. My guess is around 60 per loop. Bound ArmholesBias (cut on 45 degree to grain) strips where pressed to a narrow 1/4" width bound tape. Then sewn onto armholes in a two step process. 1- Right sides facing sewn along a pressed line. 2- Wrap around armhole raw edge and slip stitch in place. Lace NecklineI was able to cut away the mesh part of lace just above the elastic cording to create a cut-out look following a path in the floral motif. How I love lace that has a solid pathway, so easy to finish! Narrow French SeamsWhen I think silk charmeuse, I think of narrow french seams. Side seams and shoulder seams where given a narrow french seam. HemFor the remaining exposed raw edges, I decided a simple fold twice in at 1/4" and slip stitch in place was the best finish for silk. I think a hand rolled hem would have been lovely too. Completed TopSomething really surprised me about this top when I was ready to try it on. You can wear it TWO ways! All of the sudden the endless hours spent on this top melted away. PS- My bust is smaller then the dress form, so the buttons 'button up', unlike the photo above.
Written & created by Sheila Wong. Happy Sewing! |
Archives
November 2022
|
Copyright © 2024 Sheila Wong Fashion Design Studio Ltd. All rights reserved.

 RSS Feed
