|
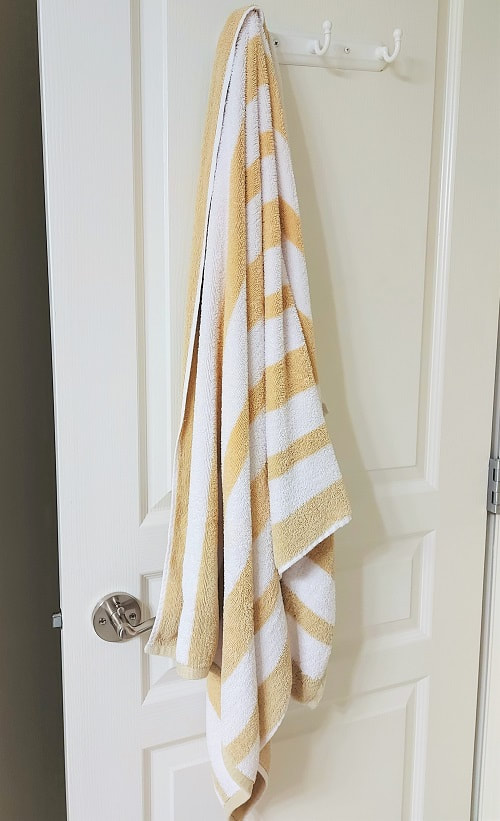
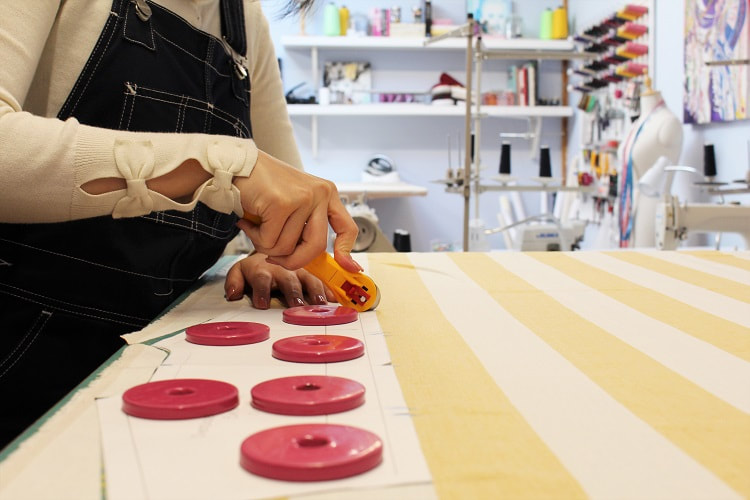
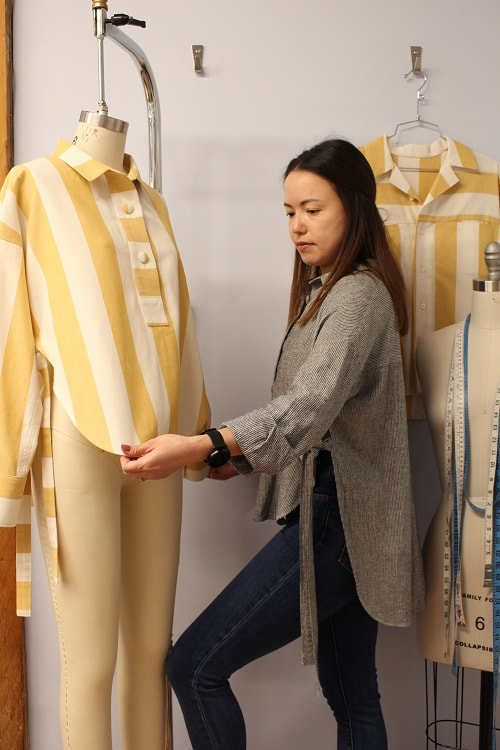
Our latest design received the named “Beach Vibes Tailored Shirt” and rightfully so since it was inspired by a beach towel! This summer striped shirt was created as a demo while instructing client Barb (@eyeofaneedle), in making oversized silhouette tailored shirts that reminded her of retro patterns from the 70’s and 80’s. Keep reading to learn about the design process and drafting tips! 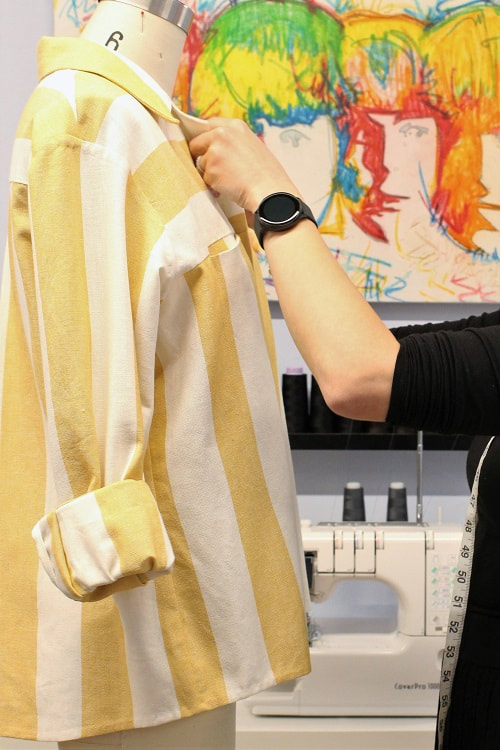 We have been working with stripes more recently here at the studio. For this design, we wanted to up the ante by inserting design elements based around stripe formation. In the end, we opted for contrasting stripes (horizontal vs vertical). This is not the first time we have done this! Check out our blog post “Latest Design: Couture Striped Coat” for more contrasting stripey goodness. FabricThe inspiration for this design came from a beach towel of all things! Back in June, I visited Fabricland on Marine Drive with our beginner instructor Sujitha. We were on the hunt for fabrics to use for client demos and sample making fabric for new concepts we have been brewing. While browsing the store, this yellow and ivory striped linen/cotton blend fabric caught my attention. It reminded me of a beach towel I own at home, so I decided to buy it. The great thing about inspiration is that it can come from anywhere, even the trivial things. That or I just miss travelling near water. 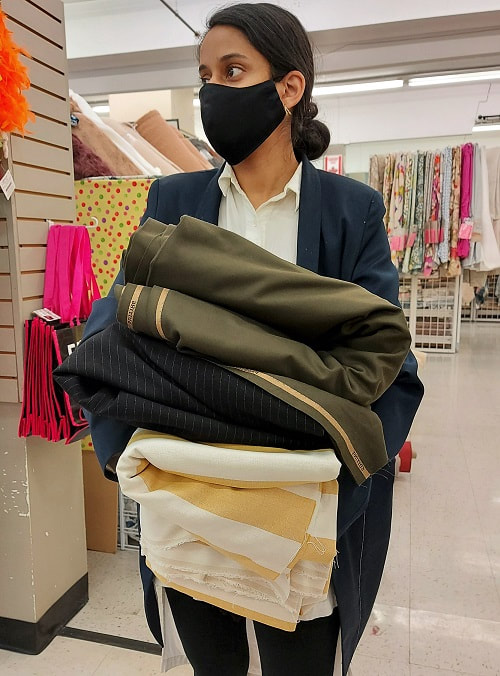
Project Specs
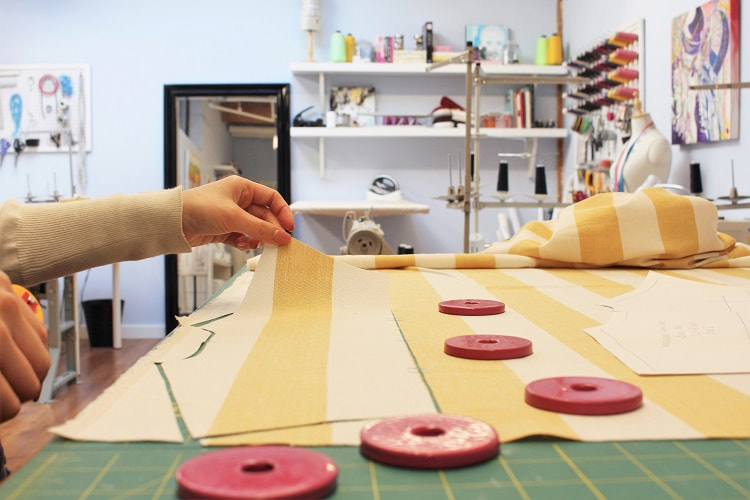
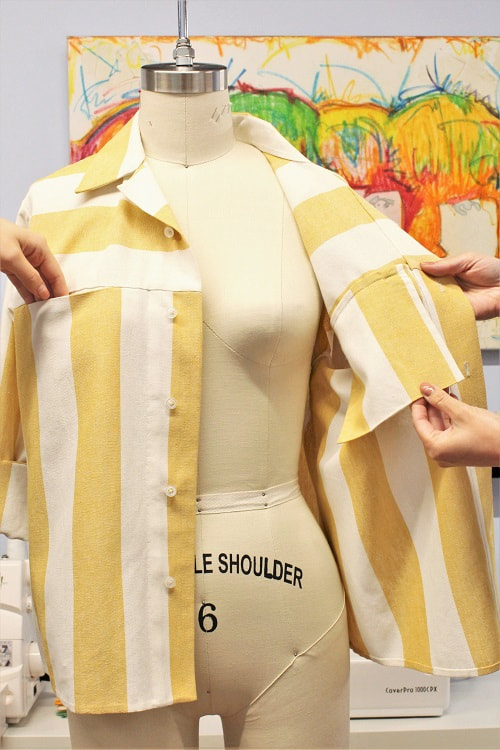
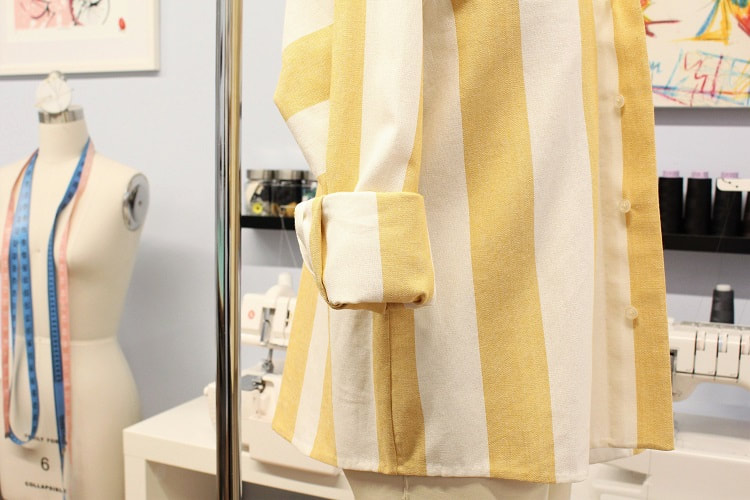
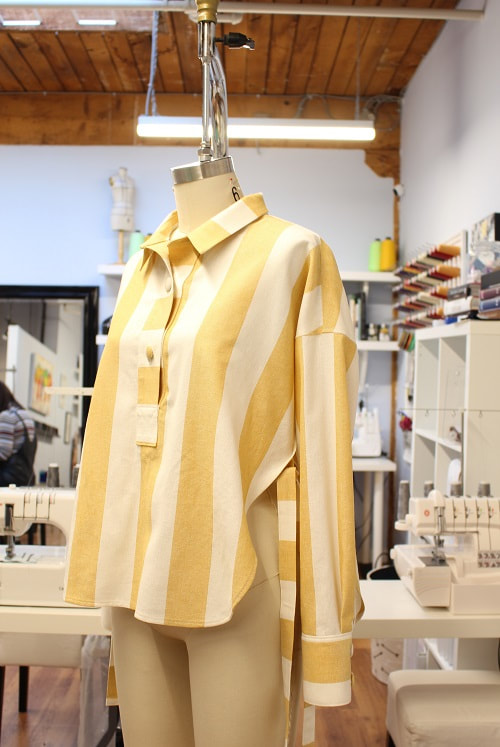
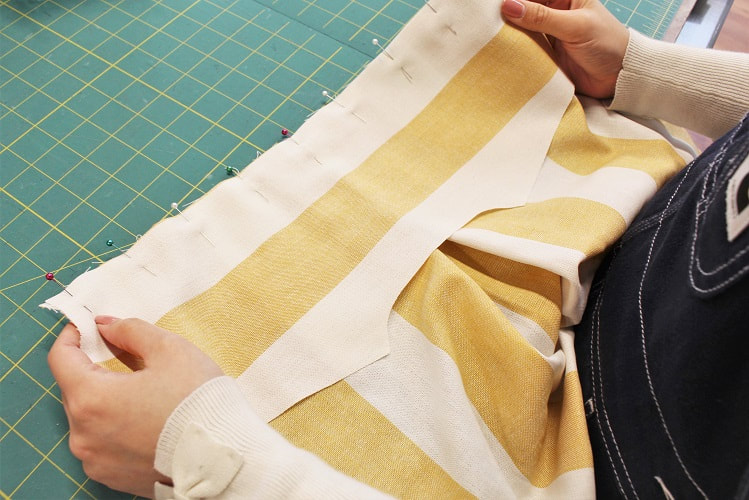 Design ElementsHere is some insight into our experimental process with the design elements. All major seams have a French seam finish with exception of the following seam finishes— hem, cuff closure, collar stand closure, flat felled armhole seam finish, clean seam finish along upper and lower sleeve seam. Horizontal In-Seam PocketTypically, an inseam pocket is vertical along a side seam of a garment…but since when are we typical? An inseam pocket CAN be placed along any seam that allows for space. If you are looking for extra pockets in a garment, this is the easiest pocket to draft.
By placing a seam horizontally like we did, it also allows for potential print blocking or in this case, contrasting the horizontal and vertical stripes.
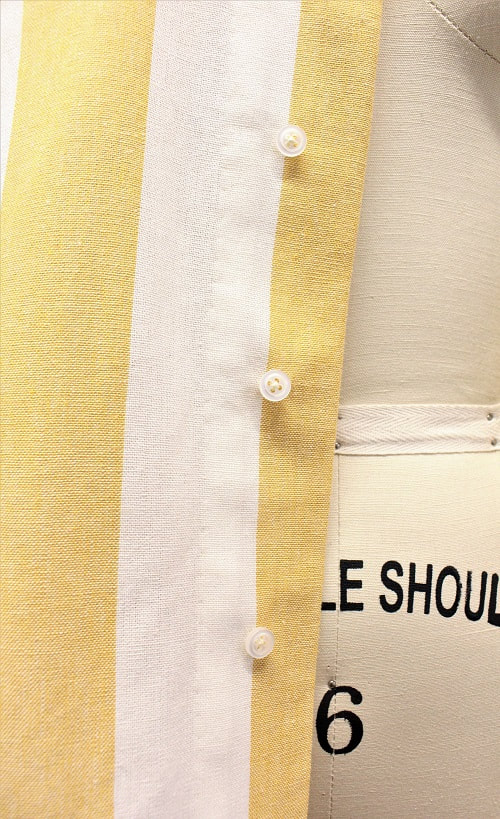
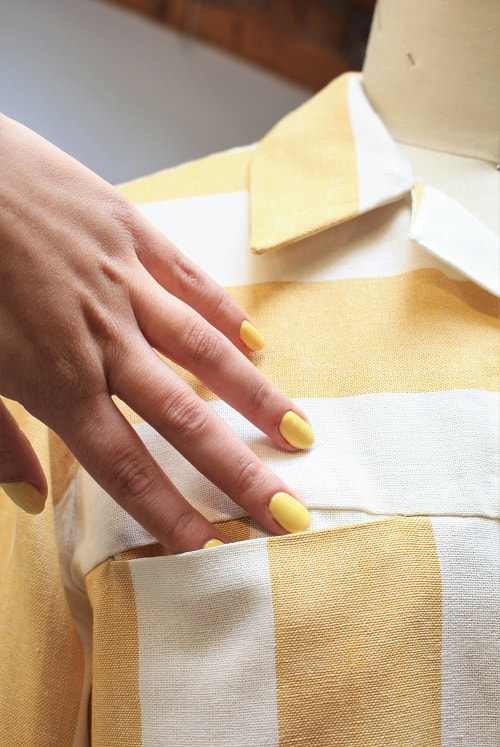
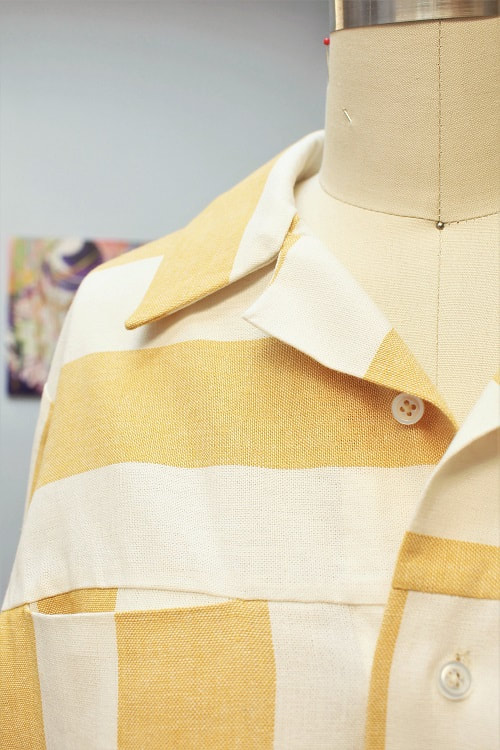
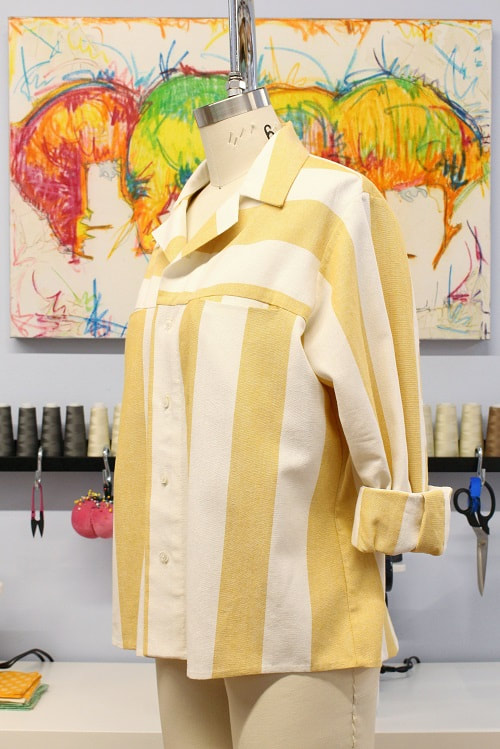
Extended Front Lapel & Wider CollarThe space along the neckline where the front opening begins and the front collar ends has been extended to allow for a more casual look. If the wearer wears the shirt with the top button unbuttoned, it will give an appearance of a lapel.
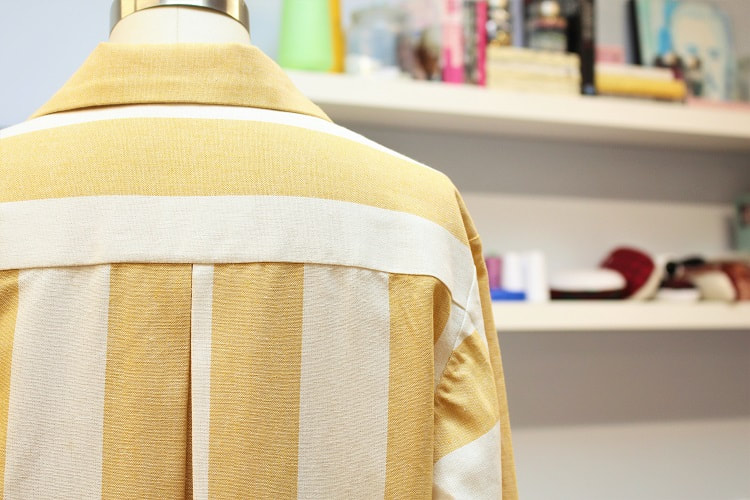
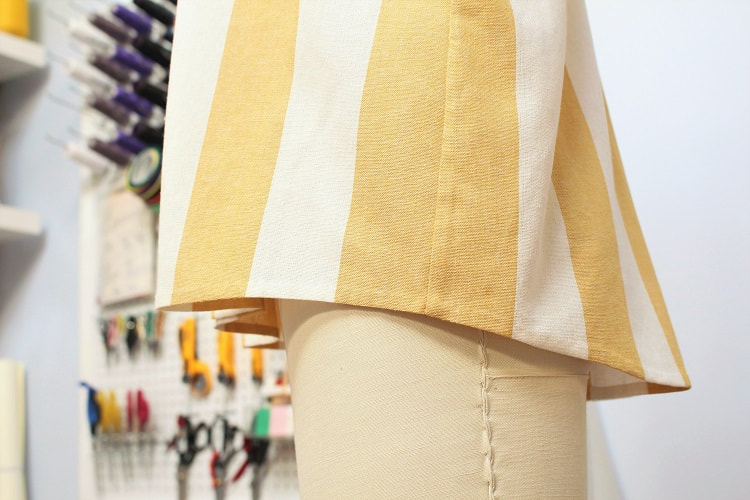
Because we did not include a collar stand which typically extends the width of the collar, we made the collar width larger. Drafted for a 3” width collar at the center back, and then tapering down to 2.5” near the front of the collar point. If you look closely, you can see the roll line of the collar in below photo. 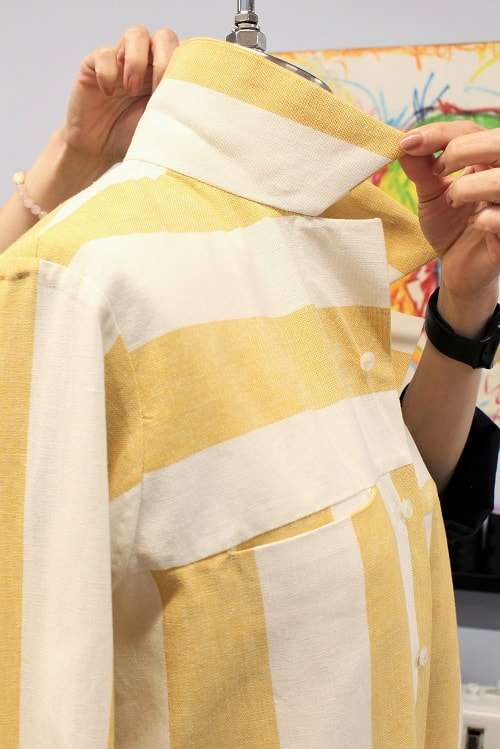 Gentle Curved HemTraditional tailored shirts have a slight curve up along the side seams of the garment, allowing a wearer to easily tuck in the front or back of the shirt with ease but avoid excess bulk along the sides. We made a very gentle curve, almost plateauing at the side seams. We do not intend on tucking this oversized shirt in though.
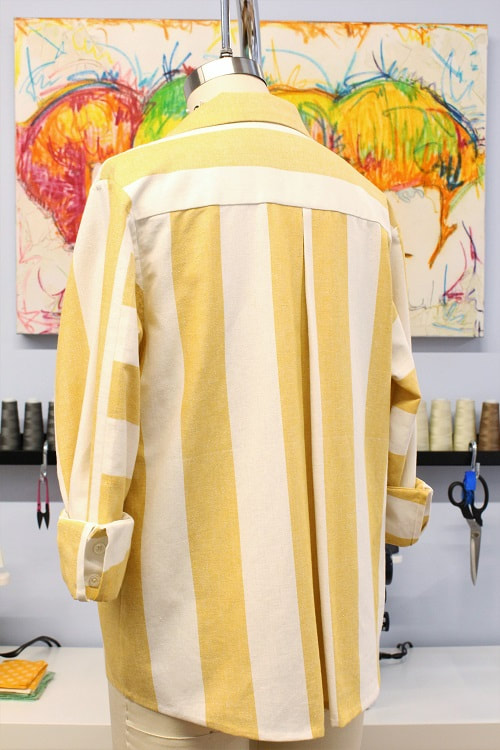
Drafting Tip: Remember, the more intense the curve you draft, the more challenging it will be to sew. I like to remind myself and my clients of this while drafting any pattern pieces involving potentially intense curves. Final ThoughtsThis design was used as an instructional garment for a client to understand the drafting and construction process. We started from bodice blocks, to basic shirt blocks, to a custom oversized shirt block. From there, we drafted the intricate details of the 2 piece sleeve, collar, collar stand, yoke, CB pleat, front button extension and tailored cuff. A fit sample out of muslin fabric was created to ensure the oversized ease amount was perfect. My client Barb has been creating clothing longer than many of us have. She mentioned this shirt was the best fit and beyond thrilled with the construction. Reminder! Great things take time. You can’t stop the waves, but you can learn to surf.
New Addition (Feb 2021)Beach vibes continue as we use up the rest of this stripe fabric from Fabricland. Many of our clients have been learning traditional tailoring techniques this year. Our Jellyfish Tailored Shirt design provides a modern way to learn these techniques. Check out Latest Design: Jellyfish Tailored Shirt blog post to read all about this design.
If you would like to learn how to draft and construct a tailored shirt, contact us to book private lessons. Happy Sewing!
Designed, photographed and written by Sheila Wong Studios.
1 Comment
Reverse pattern drafting is one of the BEST entry ways into understanding pattern drafting basics. It is the technique of extracting a pattern off an already made garment. The ability to alter the pattern of a beloved design to better fit your body and personality is empowering and fun. It’s exactly what I did for our latest dress design while teaching a client.
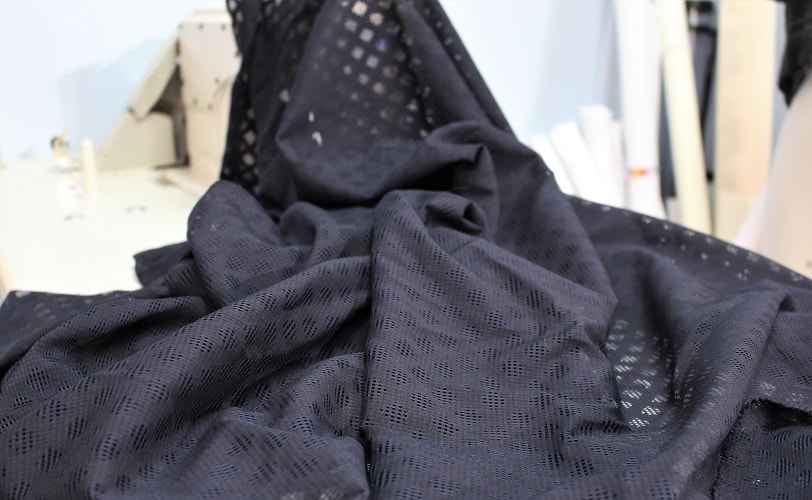
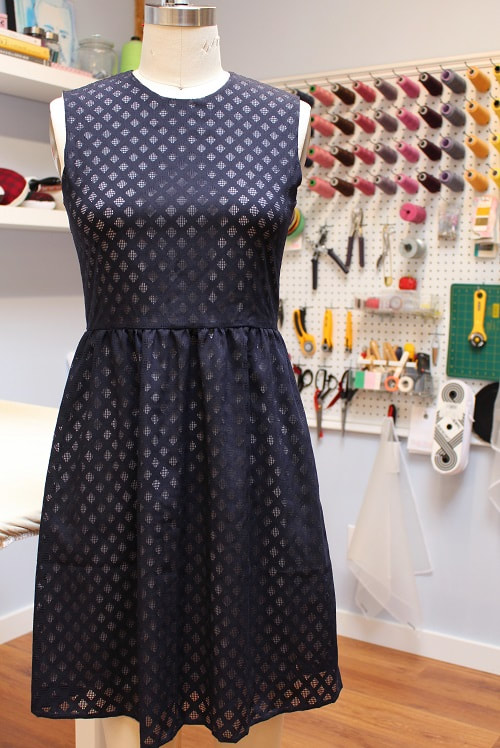
DraftingOur blue lace dress was created while teaching client Claire (@seassneptune), how to design a simple sleeveless dress through digital lessons. For those that are new to reverse pattern drafting, one of the best garments to begin with is a sleeveless top or a sheath (straight silhouette) dress. Below is a shot taken while teaching Claire this summer during her digital lessons. I am demonstrating the extraction process at this stage. Typically, I will demonstrate by using a garment from my own closet. I pulled a vintage dress I had purchased back in 2018 from Shimokitazawa in Tokyo, Japan to use with this client. If you are not familiar with the quaint area of Shimokitazawa, it is filled with well curated second hand clothing shops, little boutique coffee shops, and unique eats like curry pan and lasagna soufflé. 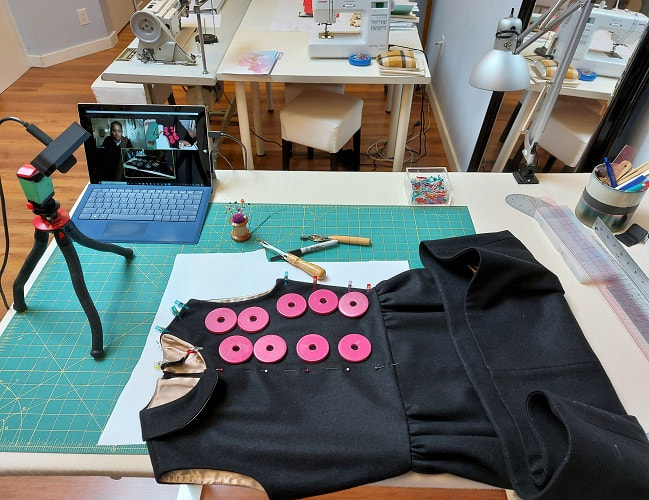 I opted out of the Peter Pan collar and the invisible side seam pockets. I added more gathering than the original thrifted dress. I also found the armhole was too high on the thrifted dress, so I dropped the armhole by ¾” on the new lace version. 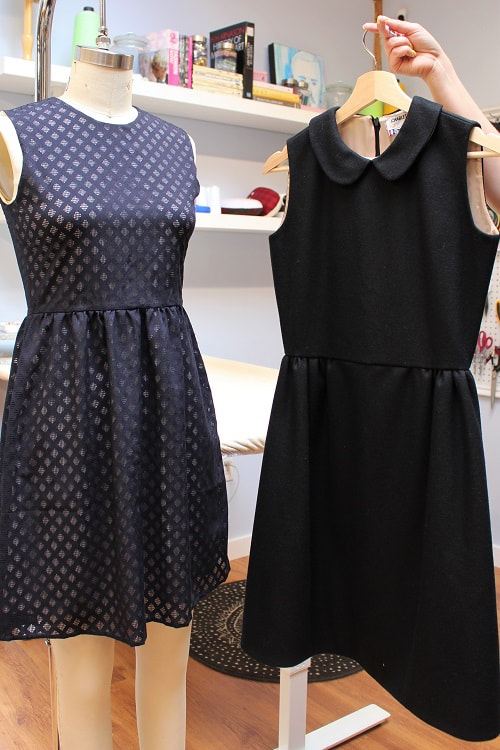 FabricBack in 2016, I picked cotton lace fabric from Nagato Fabrics in Nippori Textile Town in Tokyo, Japan. They’re one of my favorite textile shops in the world as they have 3 shops within one block of each other to enjoy. For more information on Nagato Fabrics, check out our blog post “Latest Design: Couture Striped Jacket”. For the lining, ivory stretch jersey fabric was purchased locally from Fabricana in Richmond. They are one of my go-to’s for fabric in the lower mainland! Project Specs
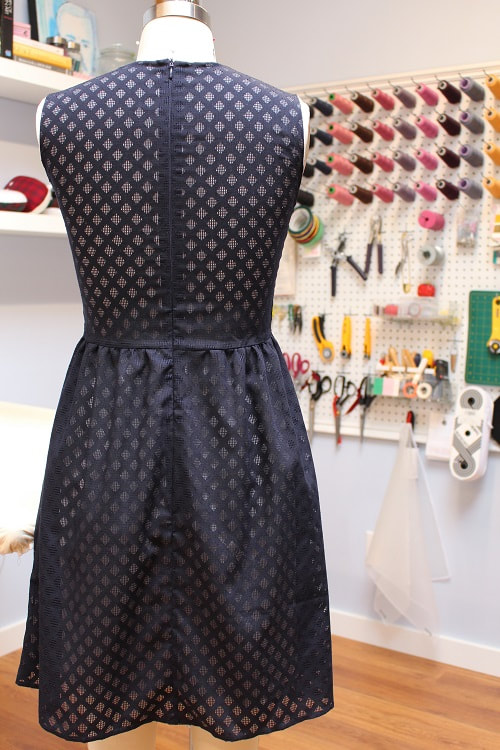
 Design ElementsThe silhouette of this dress is rather simple. Bodice is a sheath, no darts and the skirt has just enough 3D created through the gathers and slight amount of flare created during the pattern drafting process. Because the silhouette is simple, it made sense to really put all the focus on the fabric and the seam finishes. Below, I go in further detail about the geometric lace overlay and how I chose to construct it. Lace OverlayLace overlay is the star of this show, as it adds a touch of elegance to the design. The overlay has French seams applied to everywhere with a hand sewn narrow hem finish. My end goal was to create a garment that appeared like the lining did not exist. You can do this by matching the lining color to your skin color. Ivory fabric was used as the lining to provide an almost-naked look in a conservative way...a bit of an oxymoron I know! PS- My skin tone is more pink than ivory. 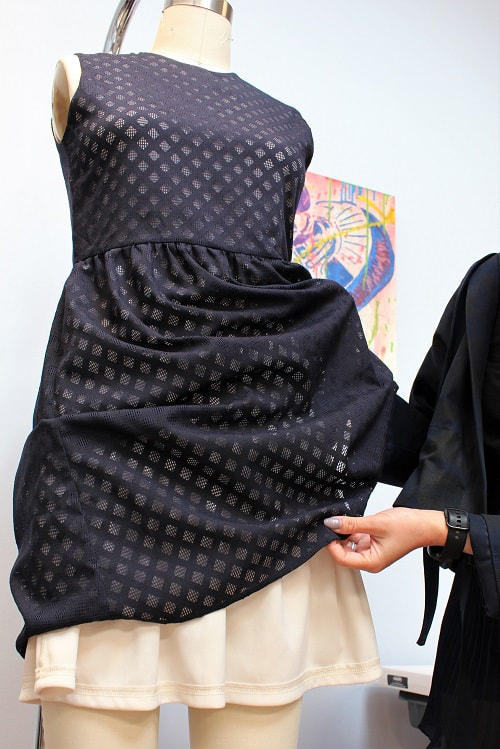 The bodice and skirt are fully lined because who wants to wear a see-through lace dress?! Well...maybe that depends on the circumstance har har, but I went with modesty for this design. Two dresses (exterior and lining) were made separately. They connect along the neckline, armholes and the back zipper opening area only. The jersey lining has overlock seam finishes applied to everywhere with a coverstitch hem finish and understitching was applied to the lining along the neckline and armholes. Understitching is an essential stitch that ensures the lining layer does not creep out. 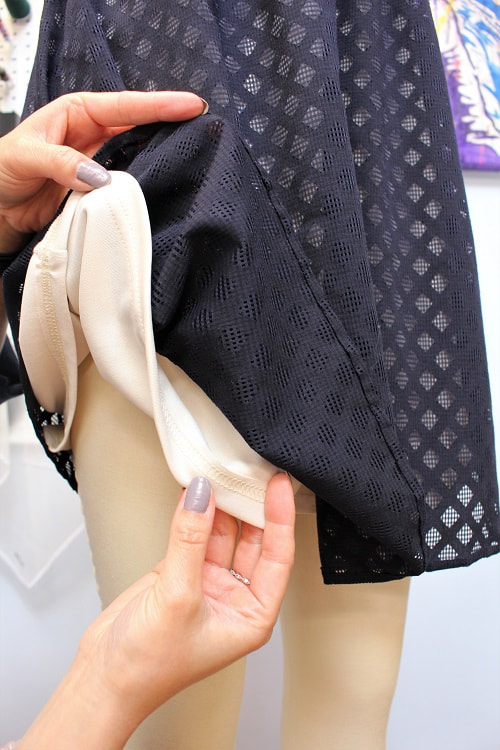 Pairing a woven and a knit fabric is normally not the best idea as the two move (dance) in very different ways but this was the only suitable ivory fabric I had in the studio. Here are some sewing tips when pairing a woven and a knit together:
Gathered WaistGathering along the waistline of the skirt area creates volume on the lower half of the body only. This allows for a more hourglass figure where it might naturally not occur! The thrifted dress had little gathering. I added a 1.5 : 1 gather ratio along the waistline. When deciding how much gathering to add, think about the weight of the fabric. Lighter and thinner fabric can have a higher 2 or 3 : 1 gathering ratio. While a heavy or thicker fabric will not allow for too much gathering so a 1.5 : 1 gathering ratio will work well. You can test out your calculations on scrap fabric to confirm the perfect gathering look for you. 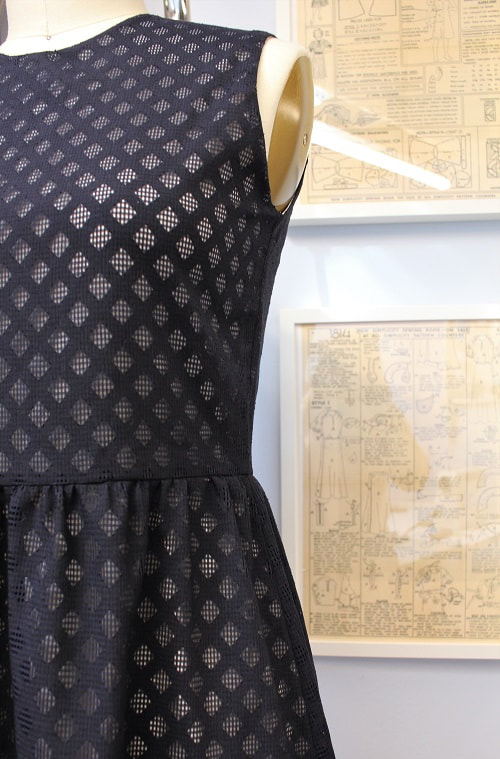 If you’re new to gathering and would like to learn more about it, check out our blog post— How to Gather Fabric: Sewing Tutorial for step-by-step sewing instructions. FinalPresto, lace dress complete! I demonstrate pattern drafting and construction for several full garments, to aid in the instruction with clients. This dress in particular, turned out beautifully and I was slightly surprised as I only used fabric from my slowly diminishing Japanese fabric stash. I had no initial intention of applying a lace overlay, but I know my client this time is very much into lace. I figured this would be a great way to demo. Again, I was reminded that some of the best designs come from last minute decisions. Embrace change right?! 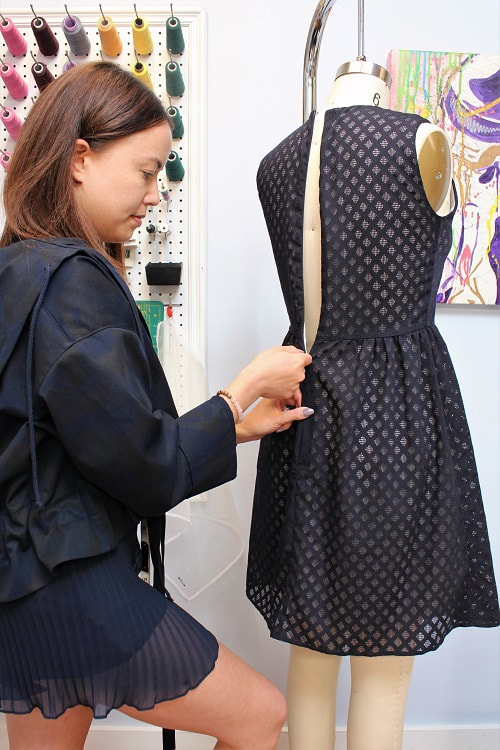 If you would like to learn how to reverse draft and sew your favorite garments, contact us to book private lessons. Happy Sewing!
Designed, photographed and written by Sheila Wong Studios. |
Archives
November 2022
|

 RSS Feed
|
|
Copyright © 2024 Sheila Wong Fashion Design Studio Ltd. All rights reserved.