|
It only took over a year to show you this insider view, but here it is! This top might look a bit familiar, because it is. A variation on a past design, we stepped it up with suede and added a curved hem. This original design was not easy to construct. Read on as I discuss my challenges. 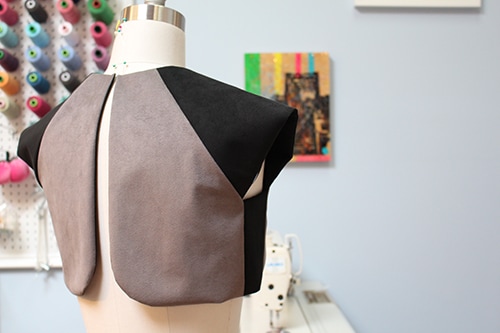 Project Specs
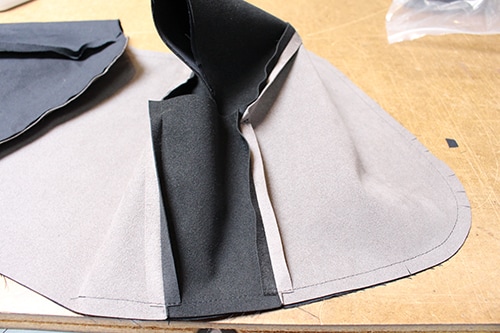
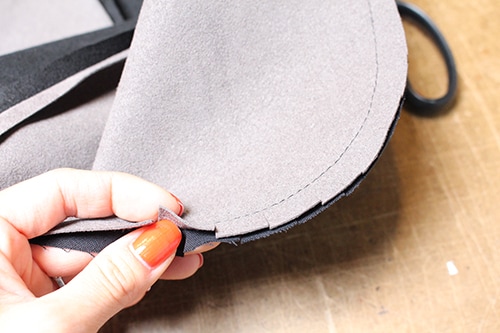
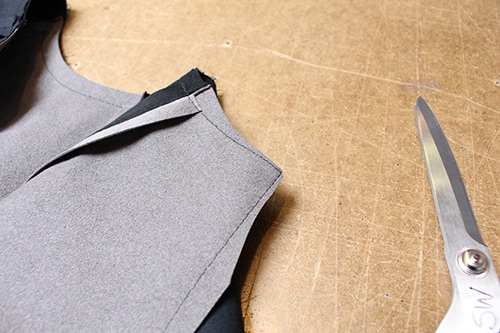
FabricThis stunning ultra suede was purchased at B&J Fabrics in New York, back in May of 2015. I just could not resist the soft-to-the-touch feel! At $60 USD per yard, I knew this had to become a stand out design I would wear often. By the way, I love ultra suede so much, I ordered more in 2016 to make a split skirt. Blog post to come in probably a year. InspirationFabric was a major inspiration, but I have always wanted to re-create a past design (pictured below). I adjusted the original pattern to have a lowered neckline. I had the neckline sitting to close to the base of the neck, therefore cutting off circulation at times. Hmmmm...kind of a problem. I also removed some of the flare to make the top sit closer at the hem. Lastly, the hem at the centre back became curved instead of square. Trying to move outside of my straight line box, ya know?! 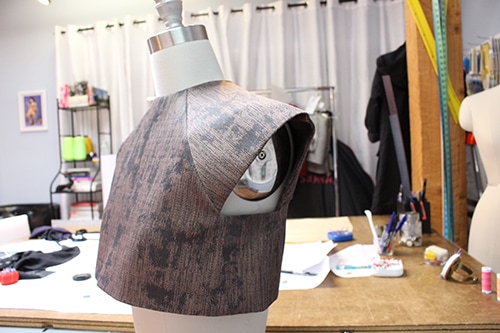 Construction DetailsAt first glance this garment seems fairly simplistic. But there are several design elements and techniques coming together to create a polished and modern feel. Raglan SleeveA raglan sleeve helps create a contrast in colours and sits well to maintain a structured shoulder in this design. Now, here is where the challenge lays in this design, the sewing. I could not use any pins on the ultra suede or else it would leave permanent holes. Some points I needed to pin, so I tried to keep the pins in the seam allowance, and in other areas, I just held the layers as flat as I could while sewing. The other challenge was actually pinning the ultra suede. It is so dense that pins can barely make it through without bending. 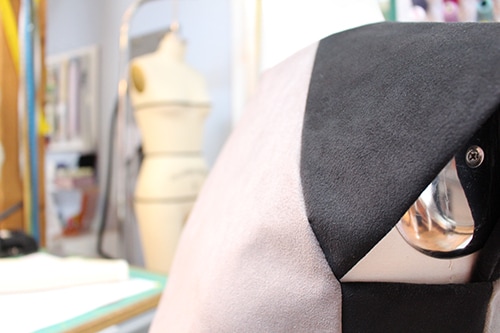 Curved HemIf you know me, most of the hems in my designs tend to be straight lines, so this was a big deal - a curved corner hem. Jump to the Seam Allowance section to read on about the important clippings you should do along a curve. 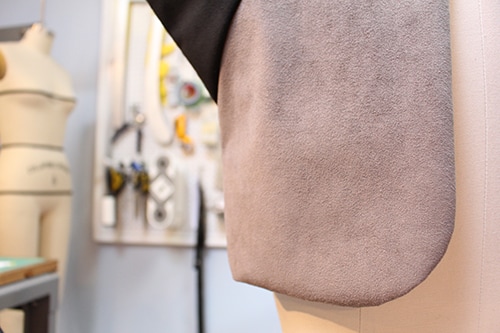 Snap ClosureOne of the few areas with a hand sewn application. A strong snap combo was hand sewn on for a clean back. I enjoy the idea of function, but not having it be outright visible. 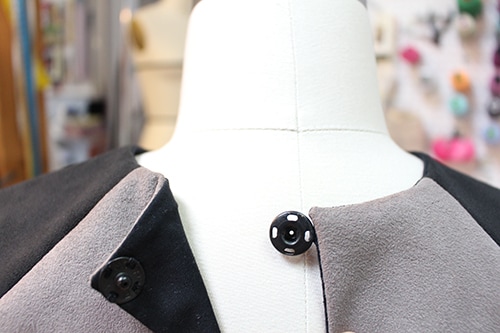 Seam Allowance ClippingsOne of the most integral techniques to this top is the clipping and removal of bulk fabric in the seam allowance. Anywhere along a curve, alternative clippings where snipped allow the curve to lay flat in the end garment. In all the corners, excess fabric in the seam allowance area was removed. Lastly, in any areas where seams joined up, small boxes of fabric where cut away (pictured in large photo below). Quite often these steps are ignored. Please do not avoid them, as they make your garment sit flat when worn.
 LiningIn comparison to the ultra suede, the cotton lining was a breath of fresh air to sew with. I wanted to control how the lining sat along the armhole, so I applied draw stitches to bring together the lining and the exterior fabric. This was time intensive as the hand sewing needle got stuck often in the suede. My pliers helped greatly!
 Finished GarmentVoila! All done. I wore it recently with a tulle skirt in a photo shoot for the studio. What would you wear this with? 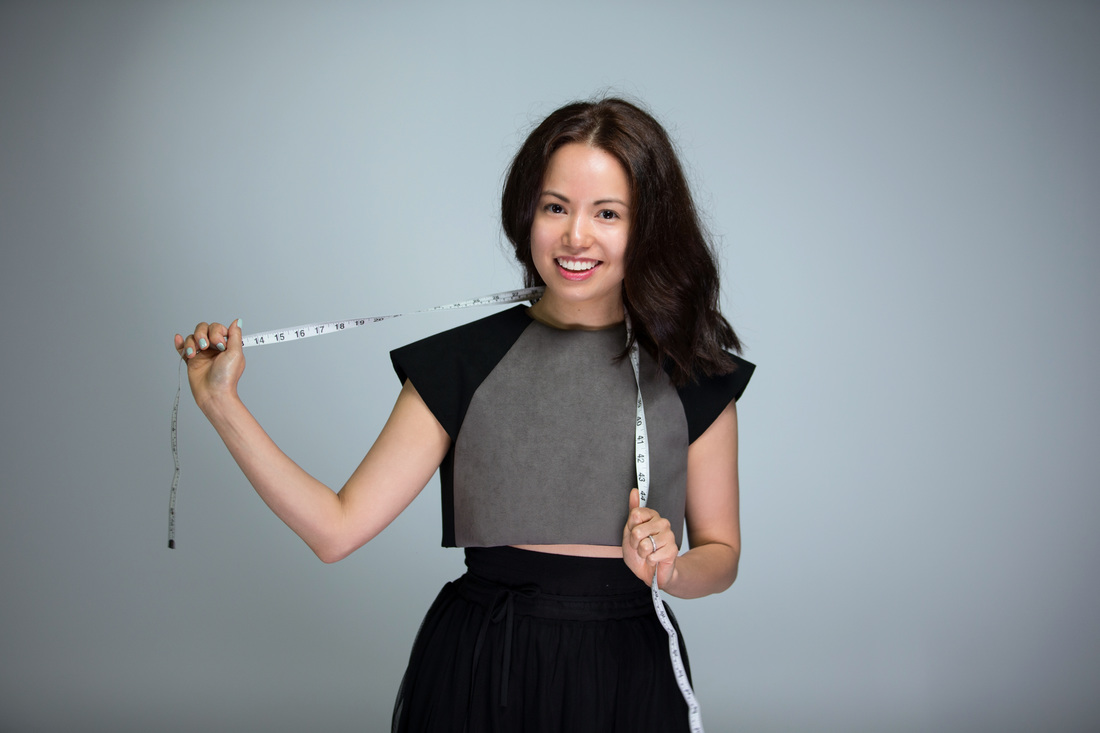 Designed, constructed and written by Sheila Wong
Edited by Samantha Quon Happy Sewing! Sheila Wong Studio Team
0 Comments
It's still summer right? Here is a simple design with (as per usual) time-intensive details that you wouldn't notice on the surface. This design was extracted from the basic front and back bodice blocks. The neckline and armholes were dropped and the darts where shifted into a flared hem. Read on to get a closer look into the details applied. 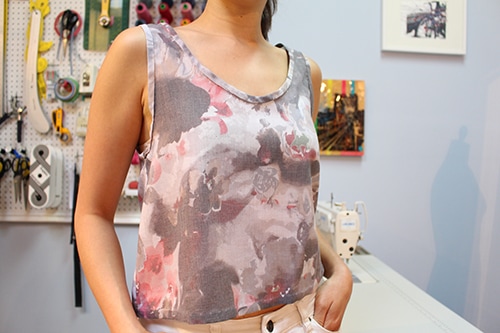 Project Specs
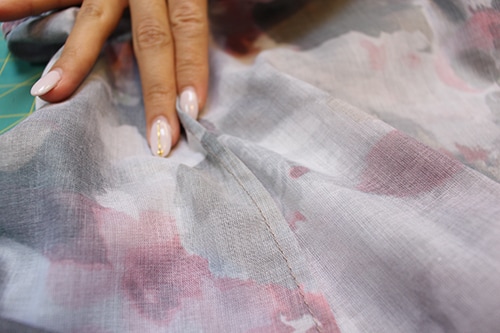
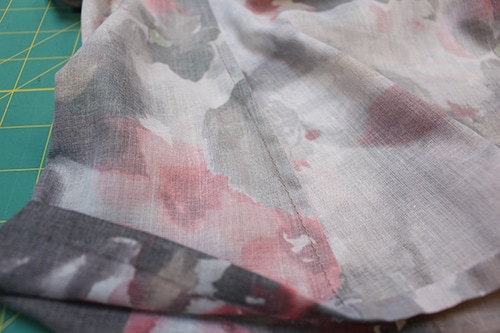
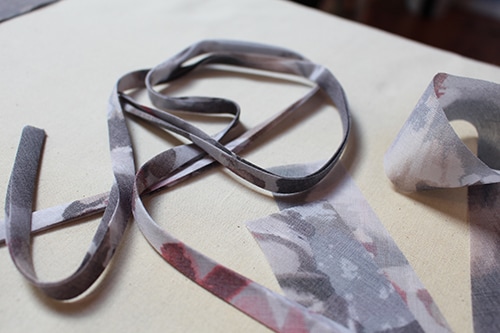
FabricWhen travelling, I try to make it a point to visit a fabric store just to see what each city offers. I picked up this fabric in Aug 2015 in Calgary, Alberta (my hometown). It was purchased from a Fabricland that I used to frequent in my teens. I am not normally attracted to a floral print, but there is something about a subtle floral print with muted colours that I could not resist. 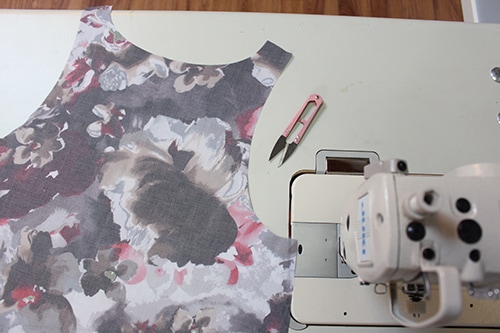 Construction DetailsOnly a few construction elements were involved but each was time-intensive. From pressing bias strips of fabric into binding, to hundreds of slip stitches this top came together with ease. The techniques themselves were not challenging but I think the hardest thing about this top was the time it took to finish each step. French SeamsFrench seams are perfect on light to medium weight fabric, and especially on a straight seam. The shoulder and side seams on this top have a French seams. To learn how to sew a French seam click HERE.
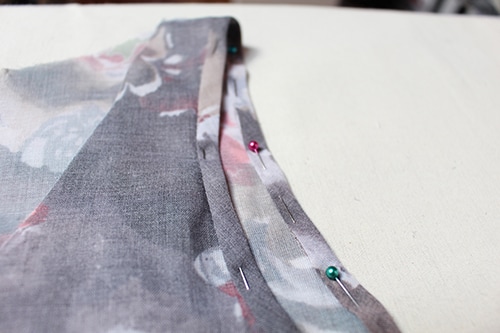
Hand Pressed BindingHand pressed binding cut on bias was first machine sewn on to the armholes and neckline opening. To close up the binding a slip stitch finish was applied. This really creates a clean and polished look with no top stitching. I find a bound finish is the best for openings in a garment that is sleeveless. Other ways to finish openings include creating a facing.
Demi Couture FinishingDemi-couture means half couture. Hand stitching was applied around the neckline, armhole and hem. The following two photos show a closer look at the bound necklines and armholes. 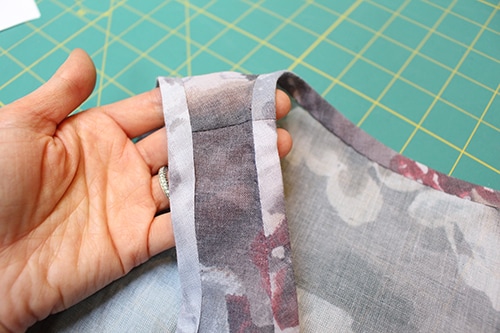 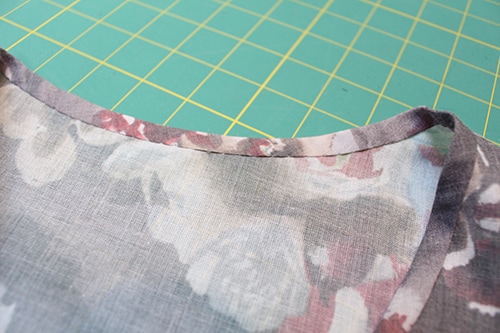 Hand Sewn HemThis hem was folded in twice at 3/8" seam allowance then slip stitched closed to match the clean finish of the neckline and armhole. I feel like slip stitch is a constant stitch in each of the studio designs. 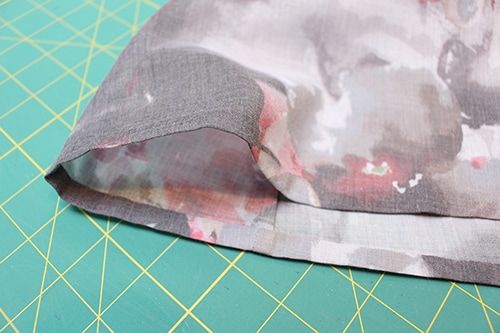 Finished GarmentHere I am modelling the top, pairing it with white denim. This is probably the brightest outfit you will see me in this summer. 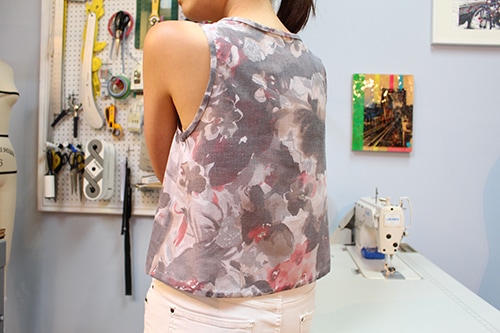  Designed and written by Sheila Wong
Constructed by Caitlyn Sio and Sheila Wong Edited by Samantha Quon Happy Sewing! Sheila Wong Studio Team Bamboo or not, these raglan sweaters can hug it out and show some love regardless which mill they where born from. Here is a insider view into our studios latest make. I wouldn't really call it our latest design, mainly because it is derived from a TNA sweater, but we definitely made it our own with fabric choice and a few detail changes. 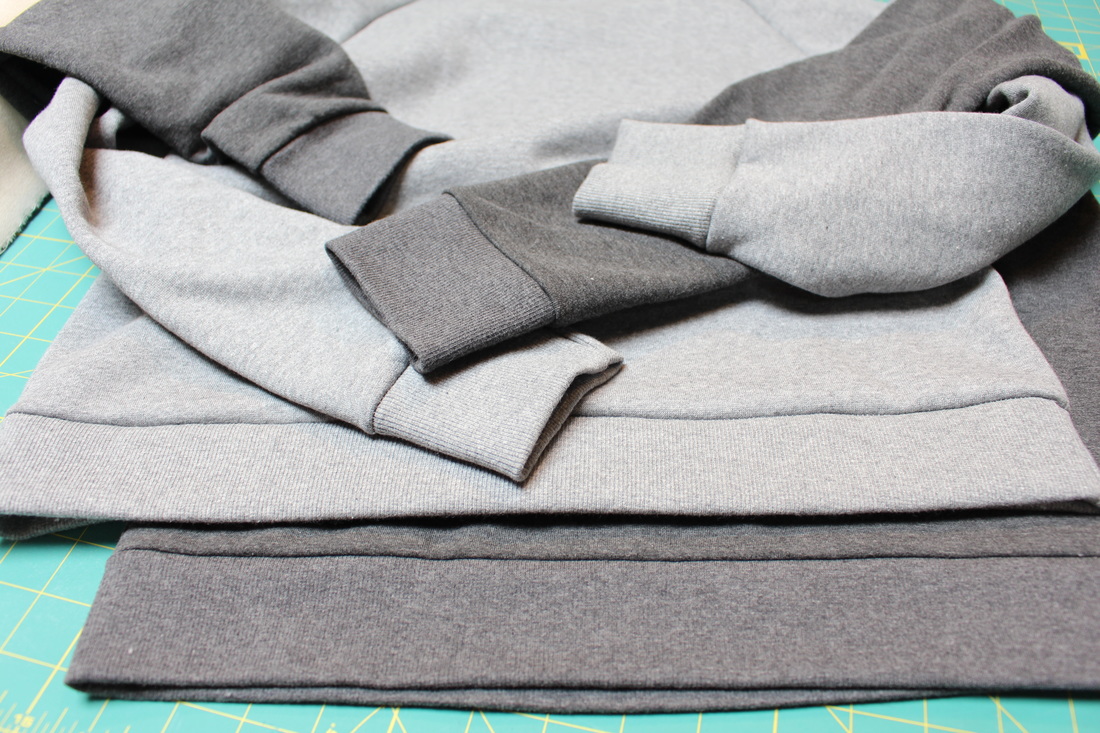 Project Specs
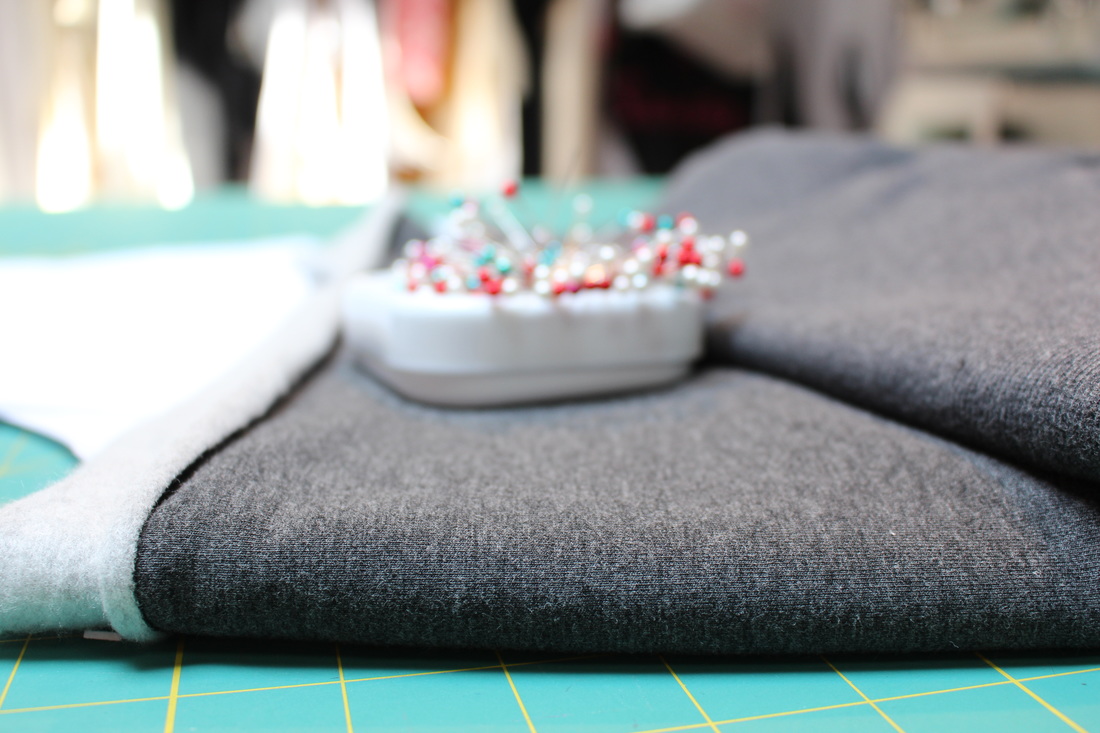
InspirationOh Aritzia, how I own so many items from your store. I worked in the production department at Aritzia back in 2008 and 2009. Yes, it is true...I own items I have not created. This TNA raglan sweater is now a sleeping shirt but I found it could have been improved if made in a thicker fabric. So voila, I made it happen. I have been making a conscious effort to work more with natural and/or sustainably-made fabrics. This was my first time working with bamboo in fleece form. It is so soft and cuddly. I recommend hitting up the fabric store just to get a feel of it.
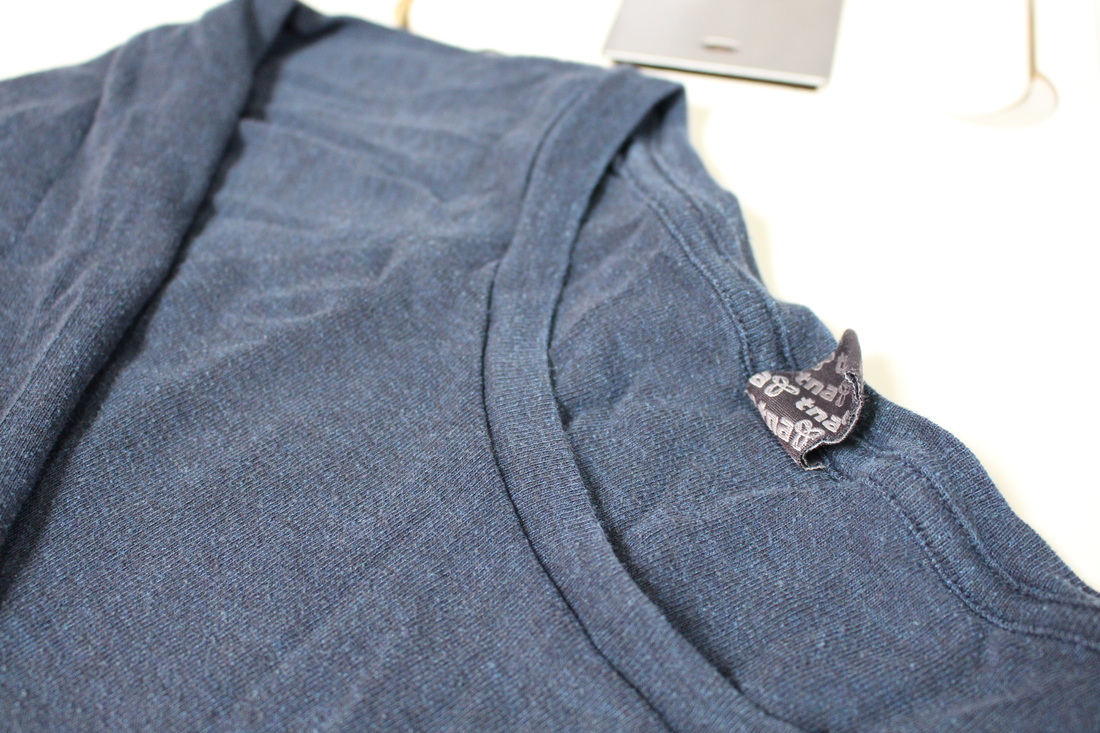
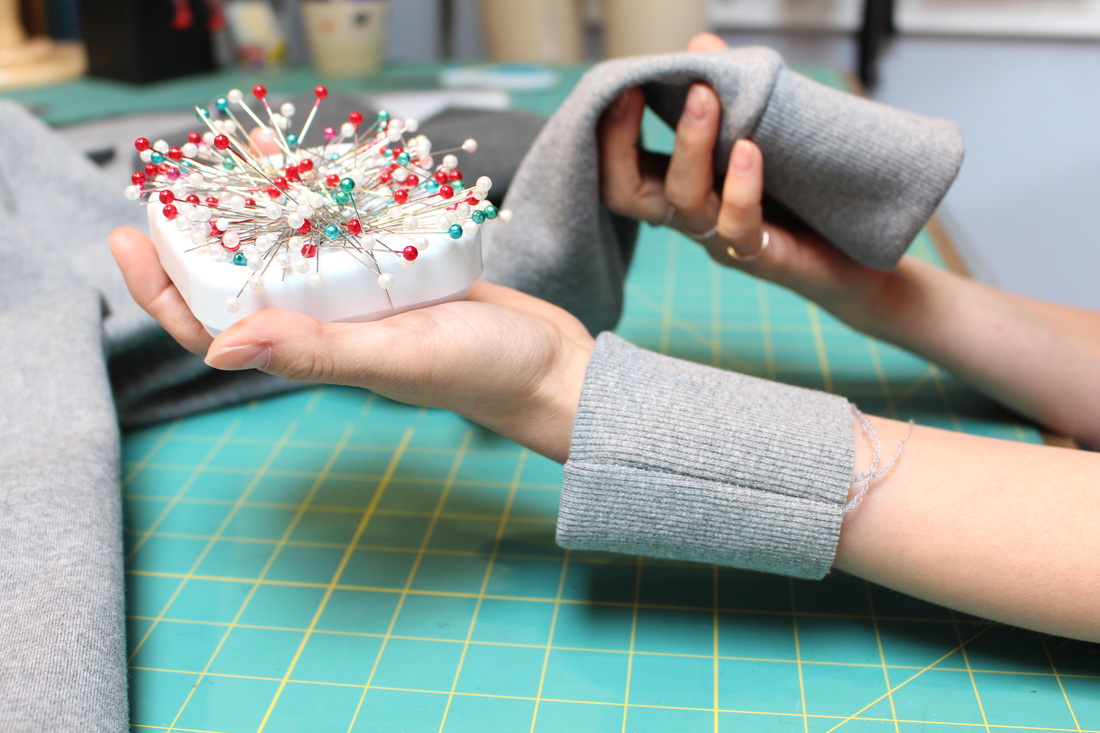
Pattern DraftingI used what I like to call Reverse Pattern Drafting methods to extract the different segments of the TNA sweater. This is a fairly two dimensional design so laying each segment down flat works best. If you would like to learn how to apply this method of pattern drafting, just book a lesson. My suggestion if you are creating sweaters with ribbing at the neckline? Make the length of the neckline ribbing at least 1" to 1 1/4" shorter in length than the actual neckline opening of the garment. When sewing you will stretch to fit. This will help avoid gaping and stretched out necklines. 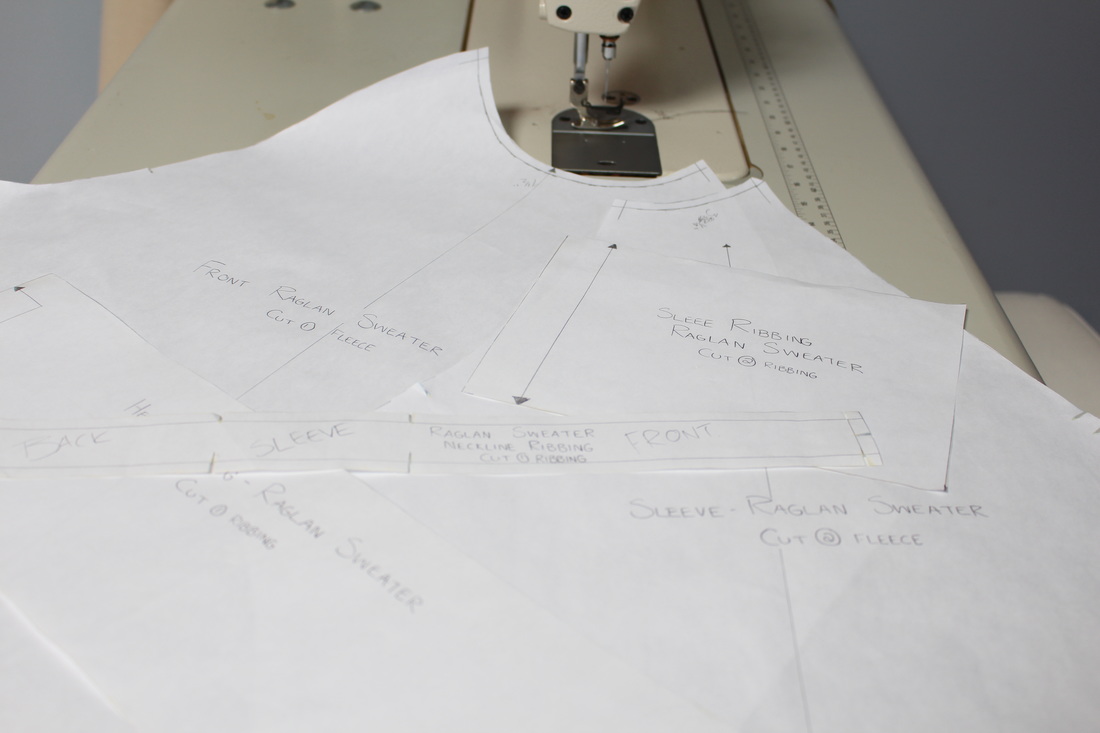 Construction DetailsThis sweater is fairly simple in design. The trickiest part is sewing on the ribbing evenly. The machines do all the work here, and we just keep it on track. Raglan SleeveIn my opinion, a raglan sleeve is one of the easiest sleeves to install. The absence of a traditional (in set) armhole seam means there are no tricky curves to sew together. I would recommend this type of sleeve to beginners. 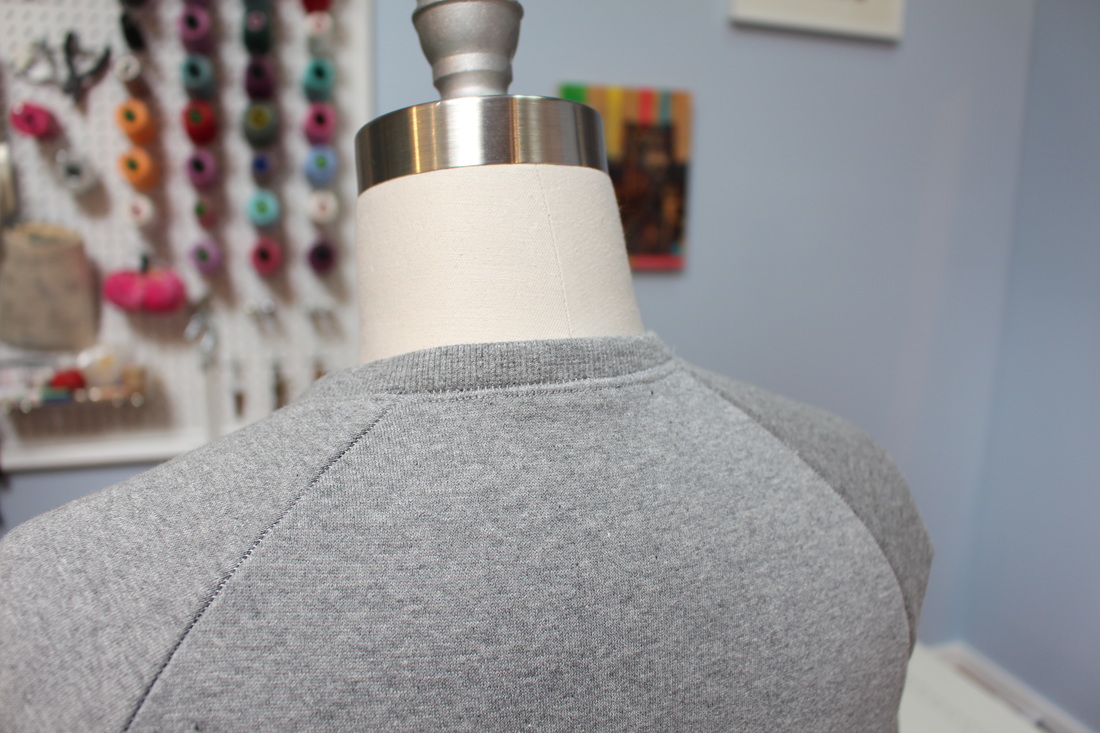 NecklineA ribbing fabric was used for the hem, cuff and neckline to help the garment openings maintain their intended shape. Once the neckline was over-locked (pictured below), or serged, onto the garment neckline opening, a top stitching by a cover-stitch machine was applied to ensure the ribbing lay flat. This is common practice to most knitwear ribbing.
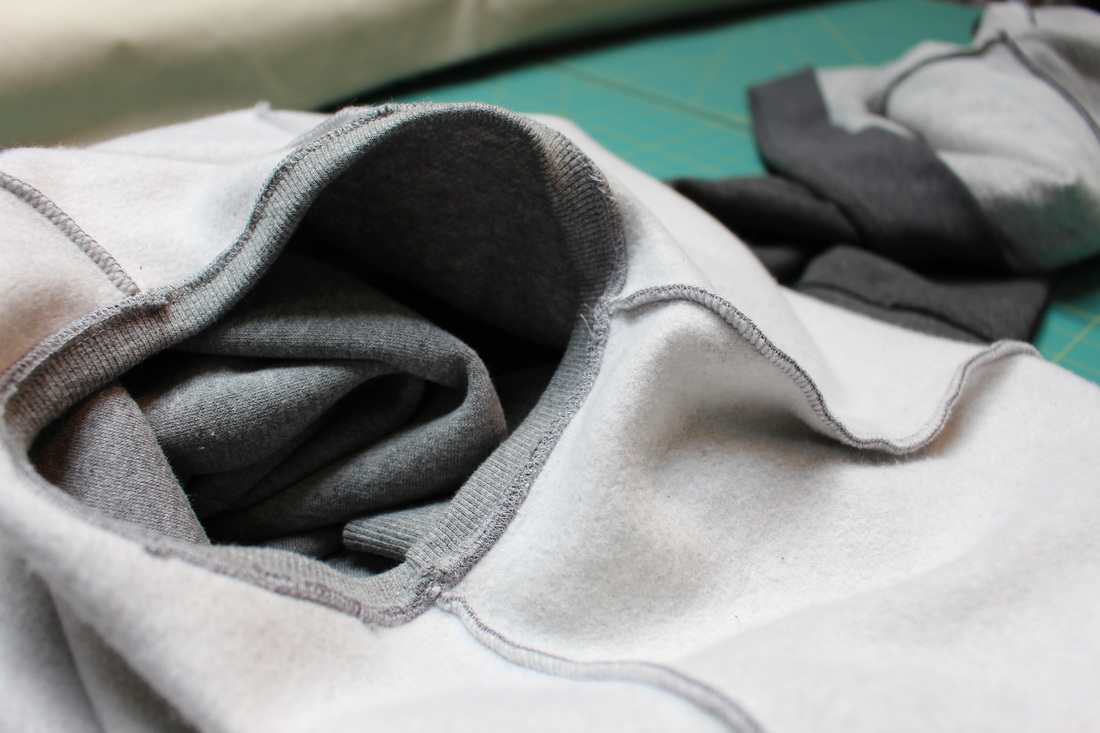
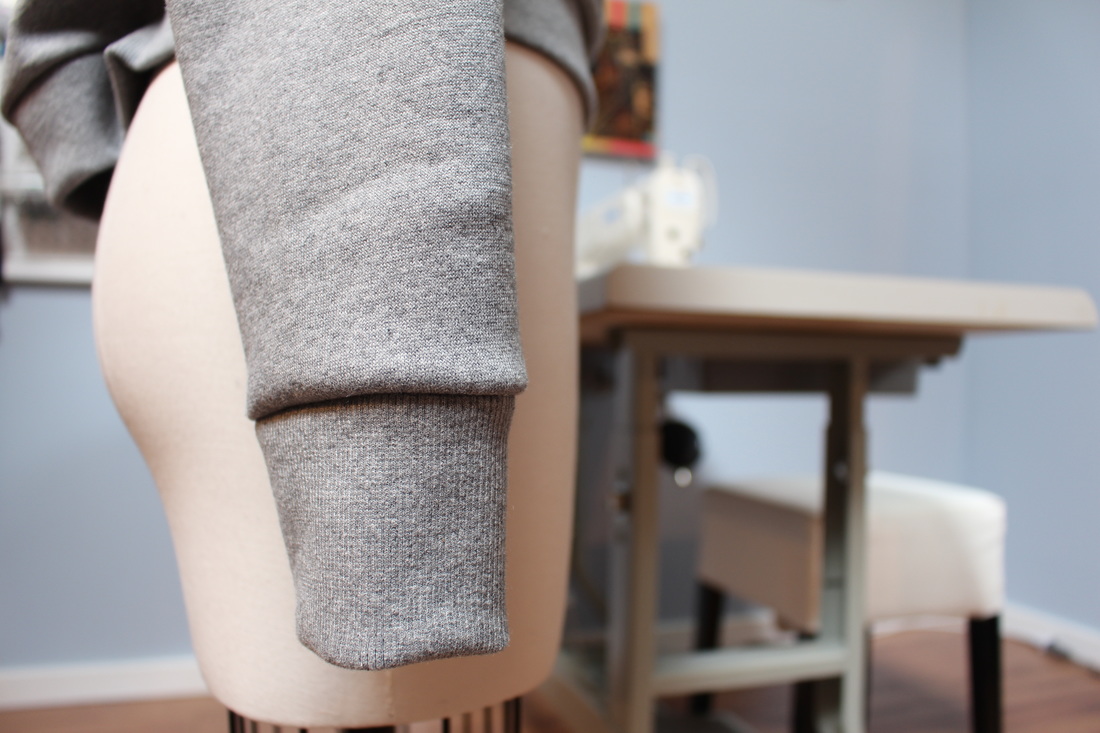
CuffsI made the height of the wrist cuffs the same height as the hem cuff to maintain balance in the garment. The three layers were over-locked together. I think I had more fun wearing the cuffs in the pre-attached phase than wearing the sweater. Gotta have fun!
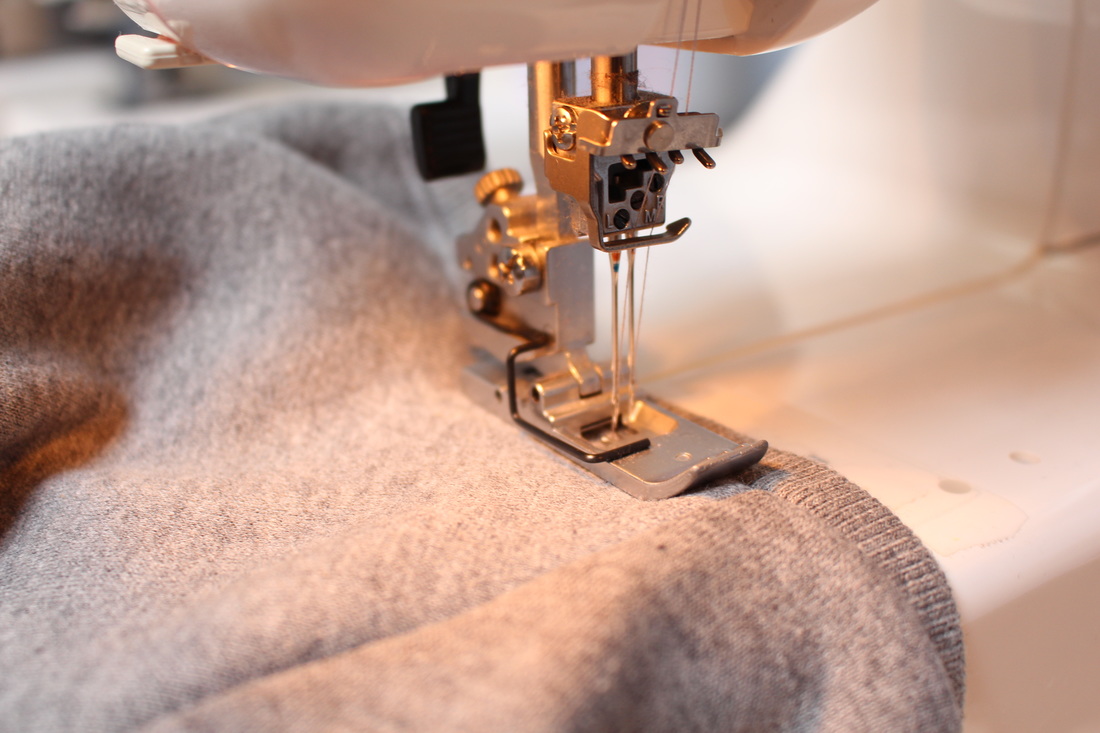
Finishing/HemsOnly two machines were used in the making of our raglan sweater: an over-lock machine, and a cover-stitch machine, both of which are intended for knit fabrics. Below: Caitlyn uses the over-lock machine to sew the seams. 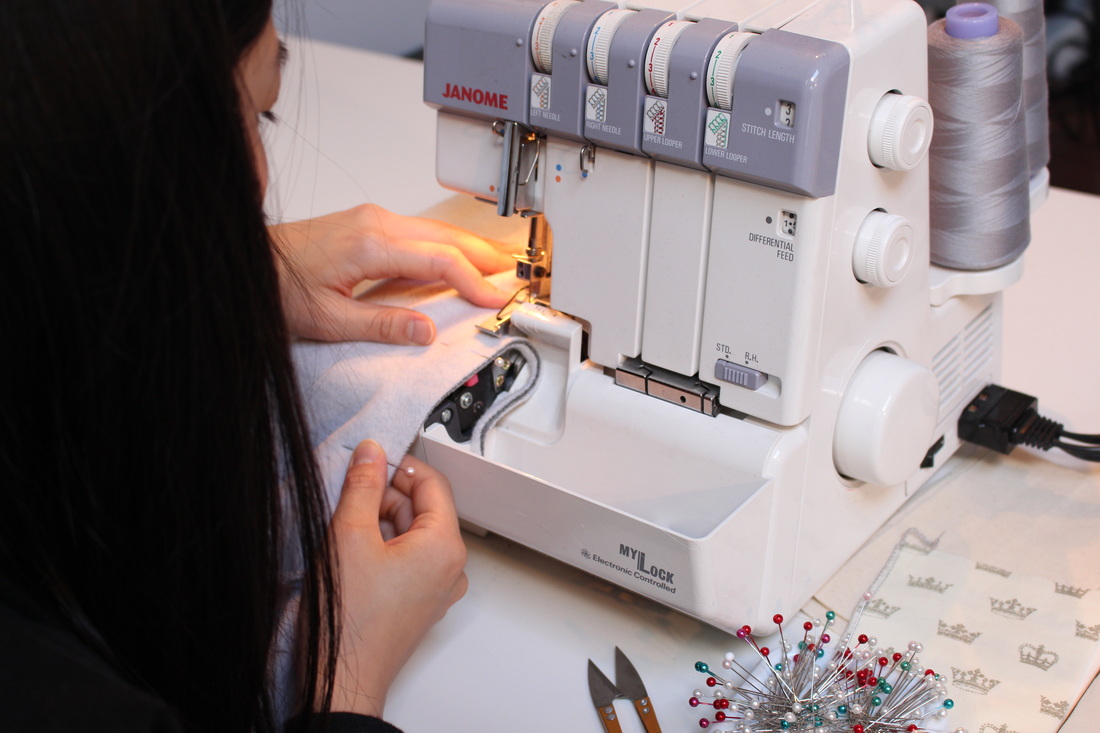 Finished GarmentAlice doesn't favour casual clothes too much hence why she really doesn't pull this sweater off too well. It could also be the fact that her arms are not on in this picture. 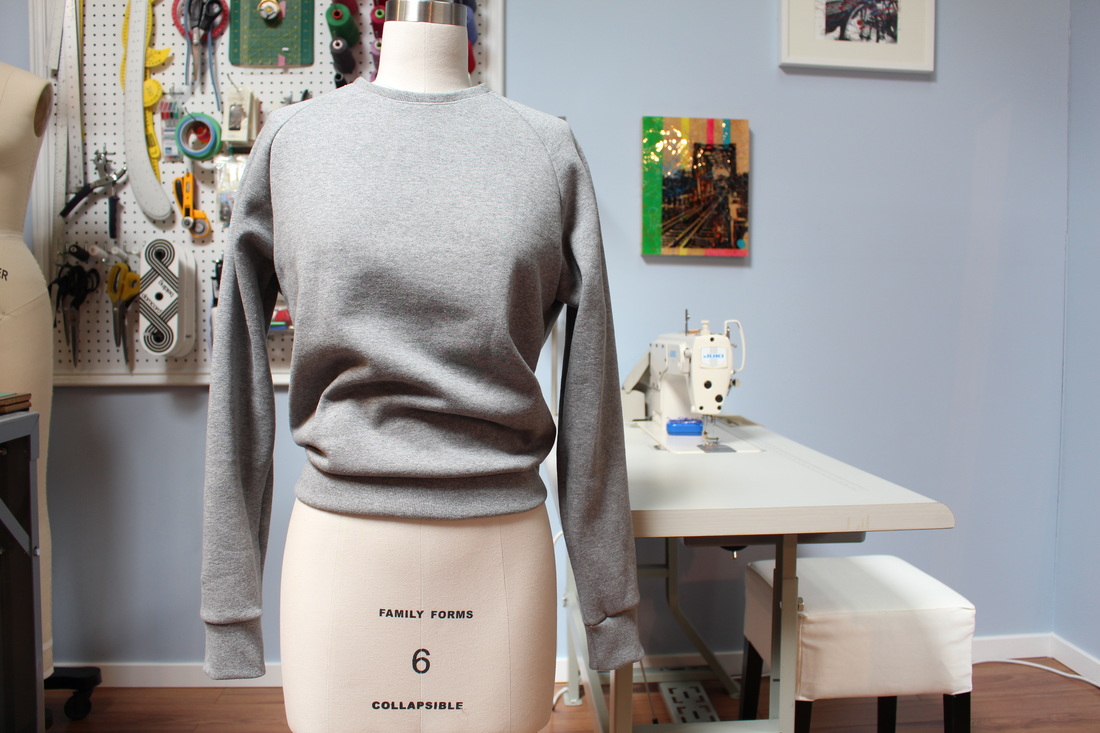 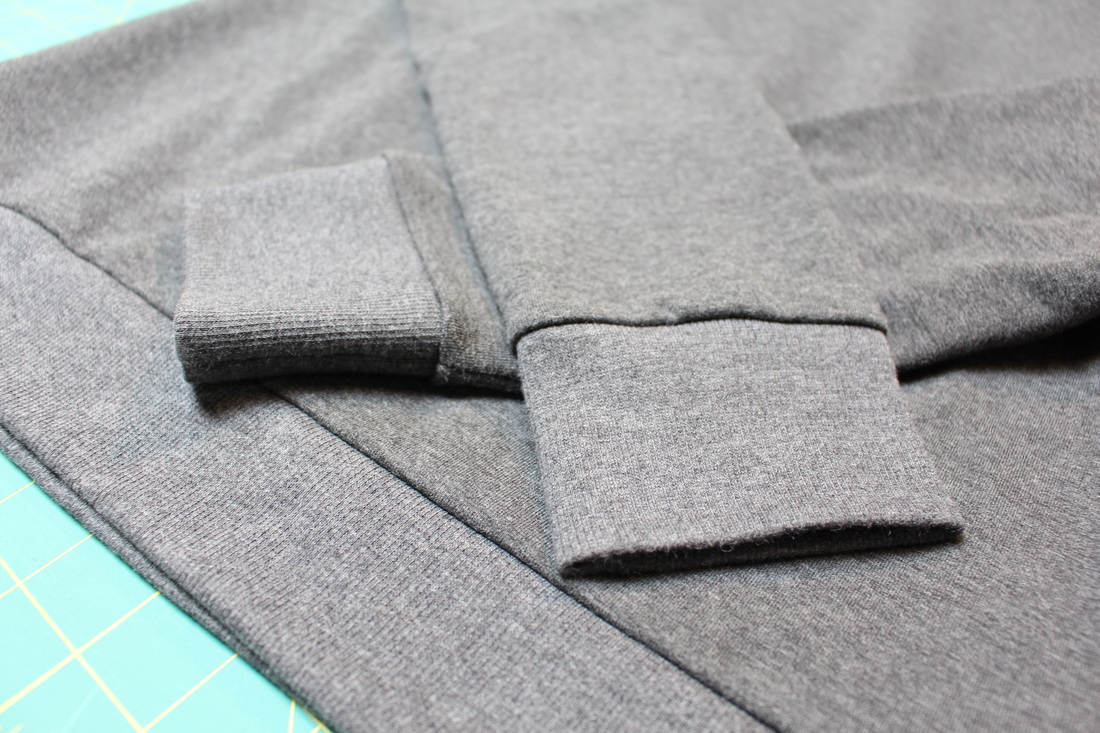 Designed and written by Sheila Wong
Constructed by Caitlyn Sio and Sheila Wong Edited by Samantha Quon Happy Sewing! Sheila Wong Sewing Team Summer is here, but y'all know how much I love designing with black. At least this design is sleeveless and has laser cut holes to keep me cool. Caitlyn (our studio assistant) did all the work on this one with my input along the way. 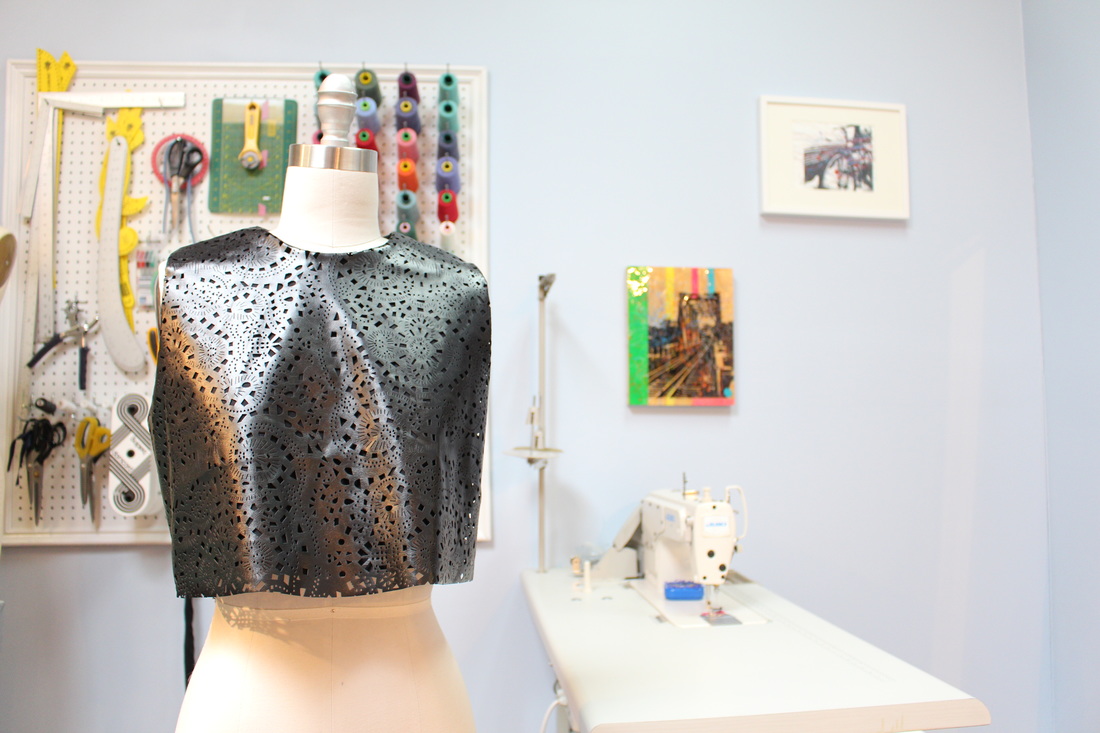 Project Specs
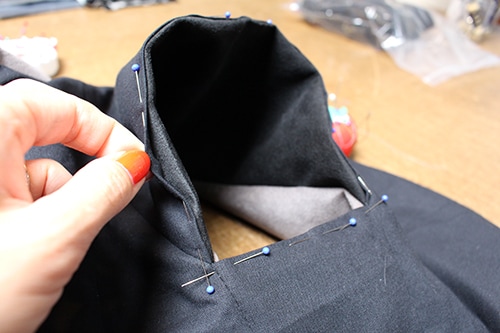
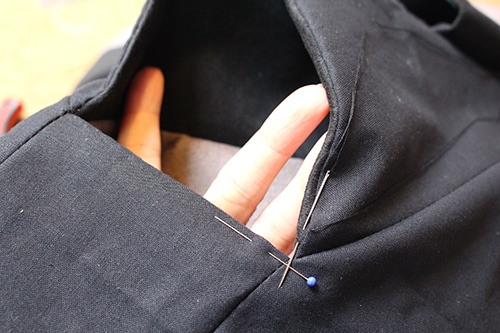
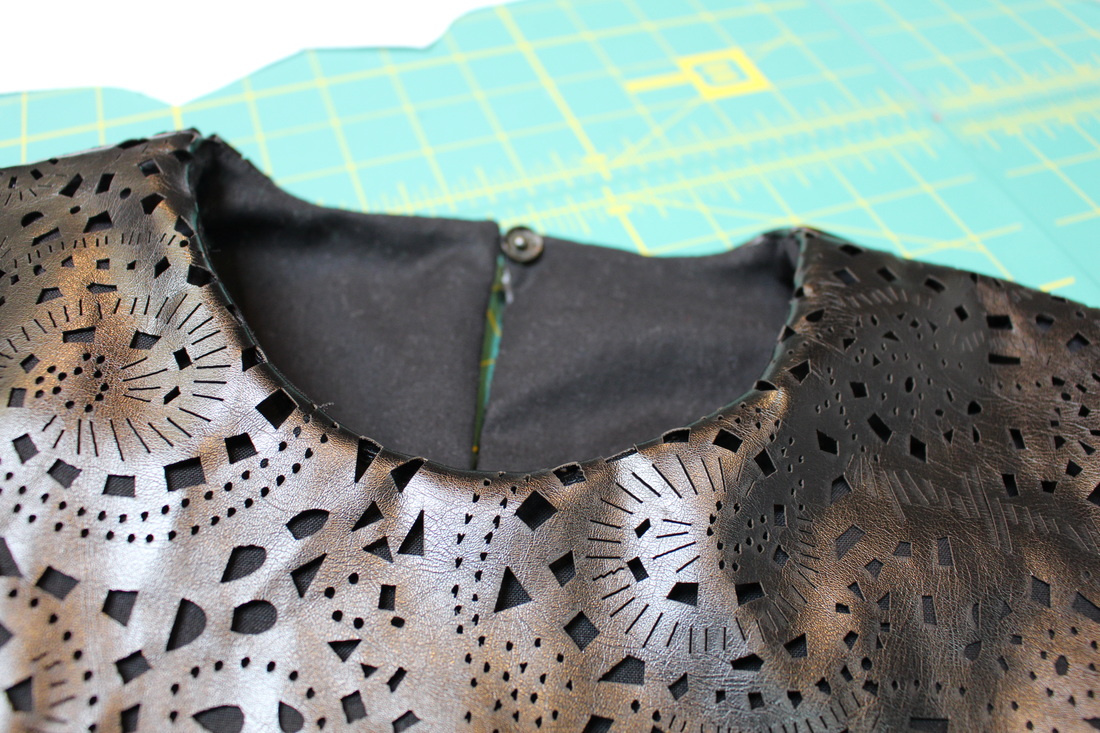
Inspiration Caitlyn walked in for her shift one day and I presented her with some fabric swatches (shown below) and a quick two minute sketch of a semi-flared sleeveless top. There is no photo of the sketch, because I am way to embarrassed to show you my horrid sketching skills...sorry, deal with it. 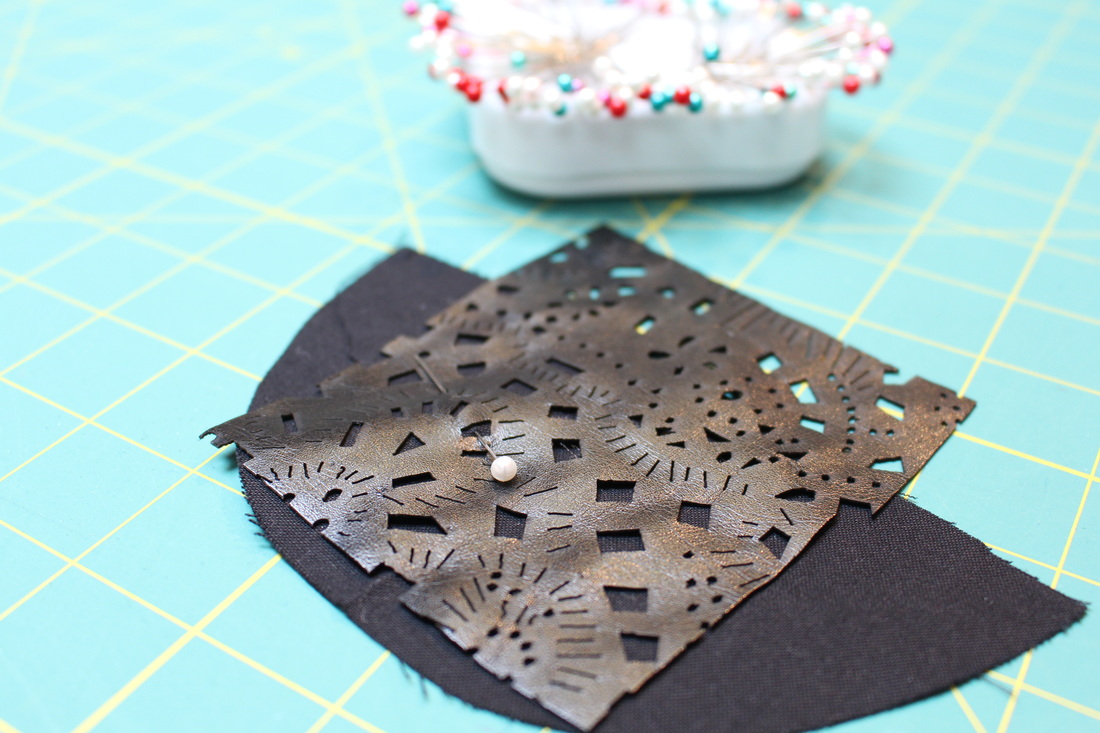 Pattern DraftingThis pattern is extremely basic. It was derived from a size front and back bodice blocks. The armholes have been dropped slightly to allow for movement and the waist seams have been released into a flared garment. A dart at the shoulder remains to give shape to the upper part of the top. The lining is almost identical with the exception of the hem. 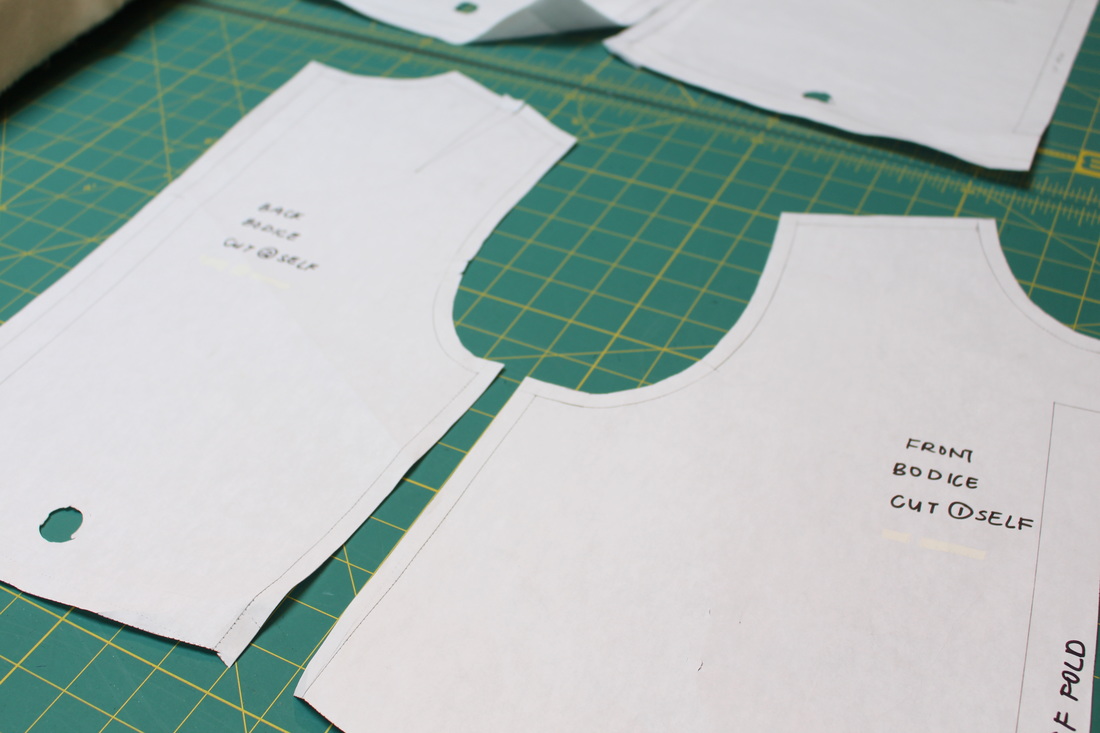 Construction DetailsAt first glance, this garment does not seem to complicated but if you know me the finishes are very much detailed. The following displays important design elements integrated into this top. Armhole/NecklineTo achieve a clean look for this design, the lining and exterior fabric are sewn together at the armhole, neckline and centre back opening. The seam allowance has been trimmed down to 1/8" to avoid puckering and the lining has been edge stitched to ensure lining stays inside the garment and does not creep out.
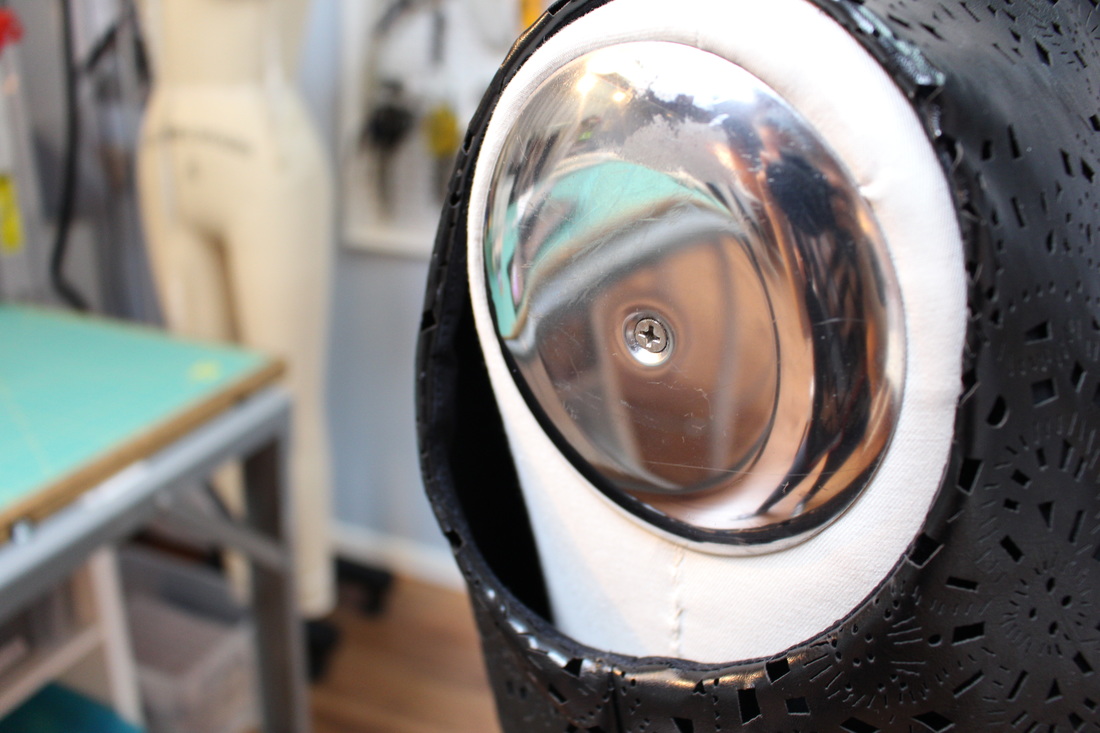
Centre Back PlacketBecause of the high neckline, there needs to be an opening somewhere to get your head through. In this design, an opening, otherwise known as a placket, is inserted at the centre back of the garment. A small snap closure is hand sewn at the top. 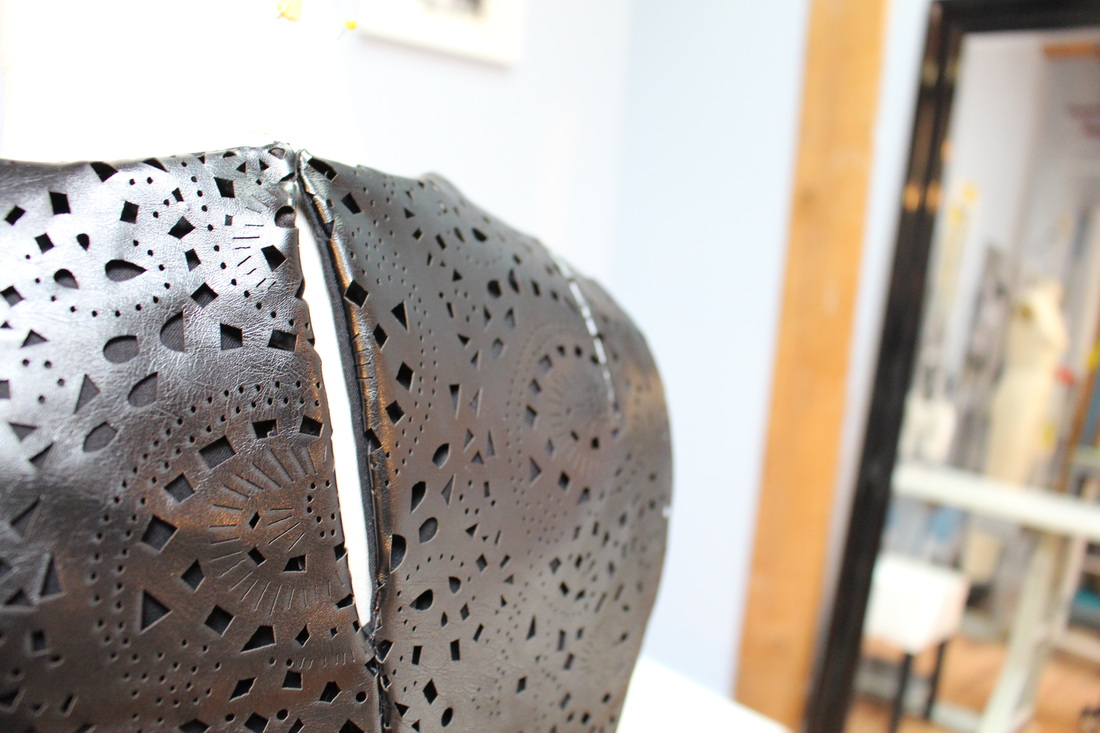 DartsIn hindsight we should have just removed the shoulder darts because sewing darts with tiny cut outs in the fabric is not the easiest. But at least it creates some shape around the shoulder. 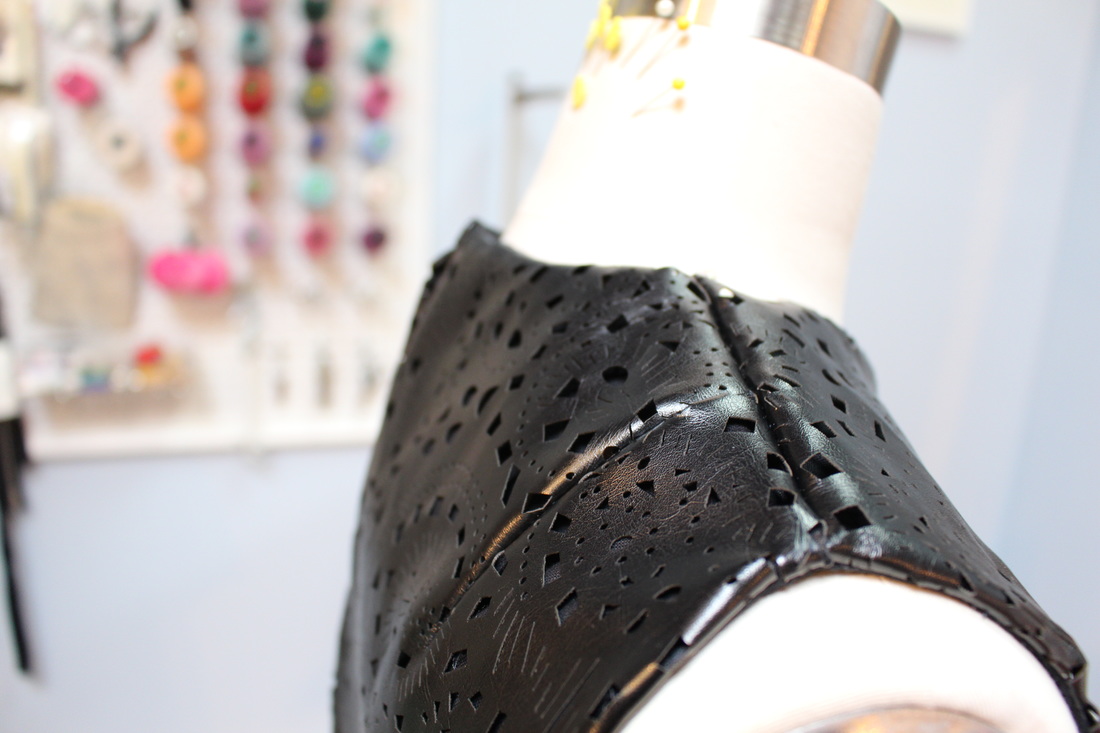 LiningWe could have kept this design un-lined and left all openings as raw edges, but that would have been way too easy. We used 100% black cotton to line this top. The lining hem sits approximately 1 1/4" up from the exterior hem. 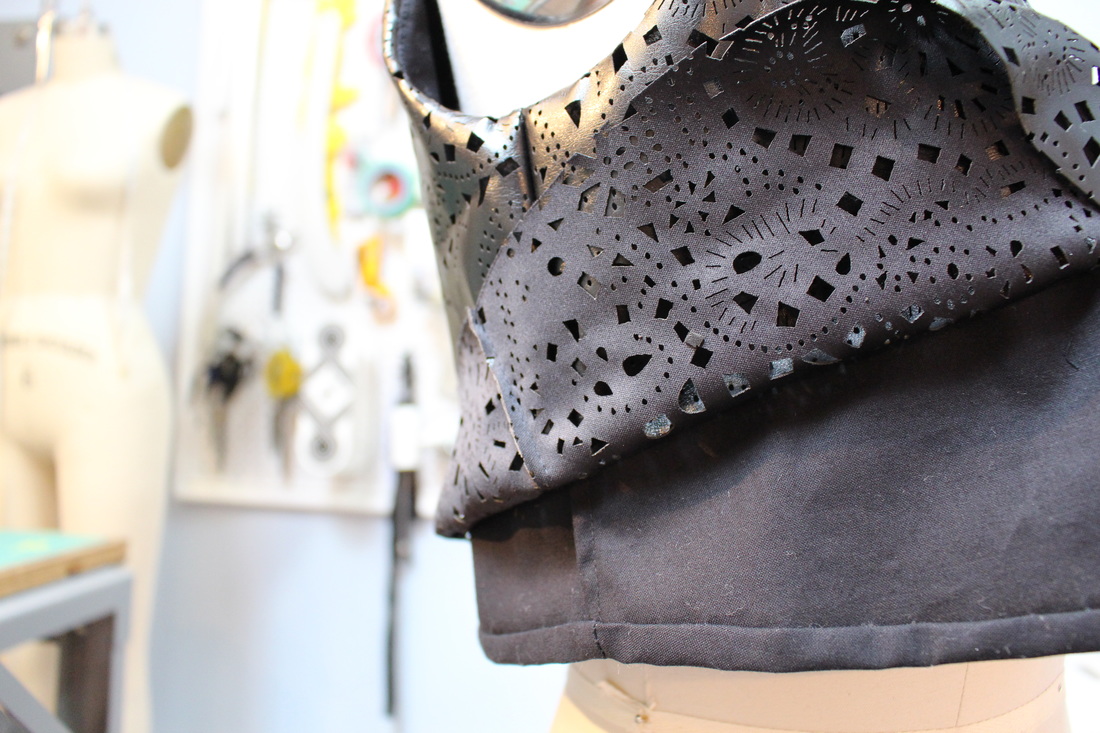 Seam FinishesWith the laser cut faux leather we kept the seam allowance simple - no finish at all. With the lining the side seams were finished with a French seam, and the centre back seam was finished with a clean seam with slip stitch down finish. 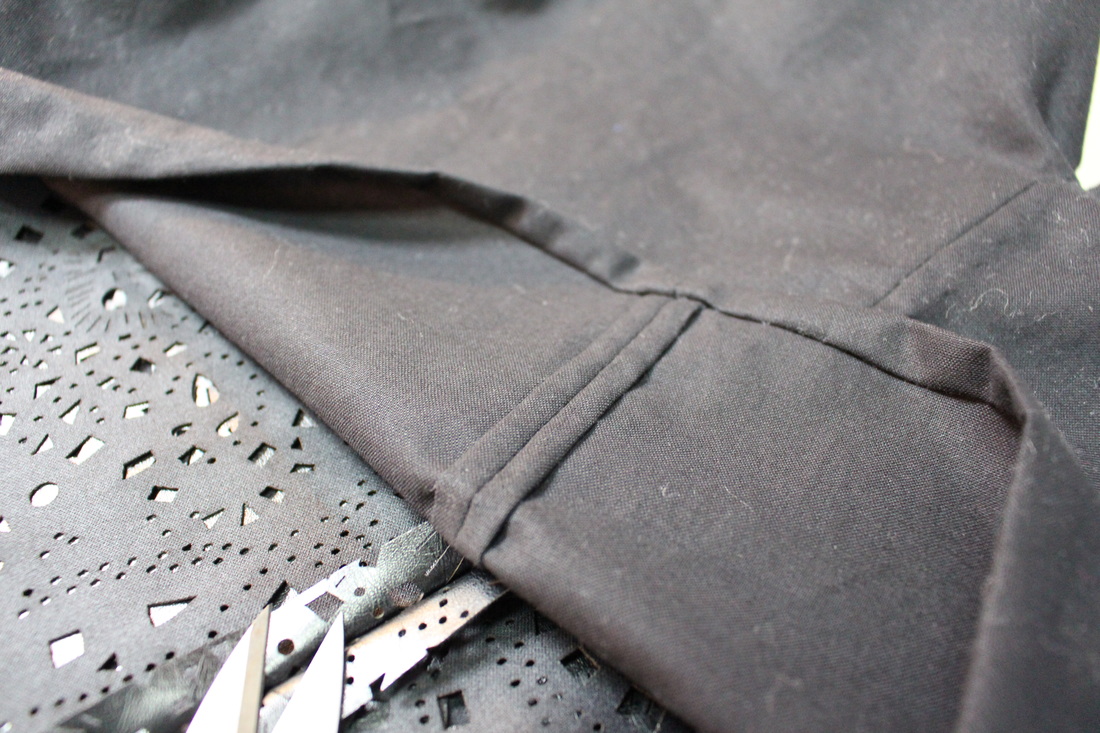 HemWith a steady hand Caitlyn used a rotary blade to cut the hem. This is one of the rare occasions that a hem is left raw in our studio. Tulle skirts is the only other occasion. 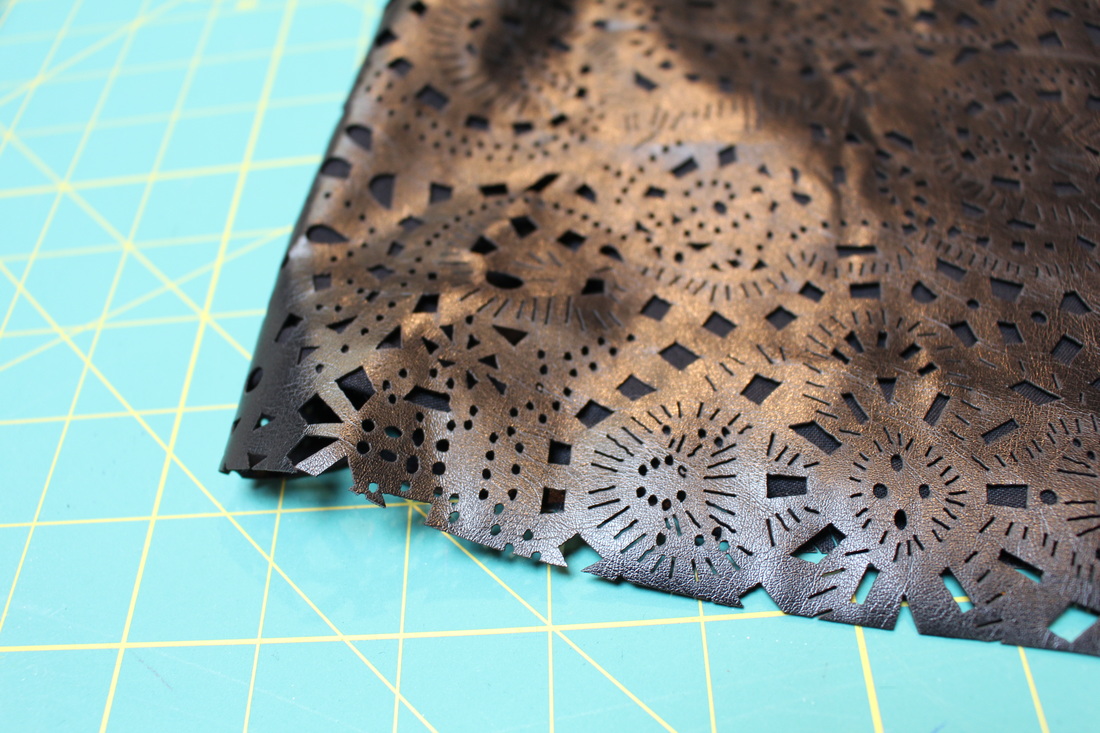 Finished GarmentHow bad ass does this finished garment look on dress form Alice?! I might have to join a biker crew with this one. JK! JK! I will stick with designing for now. 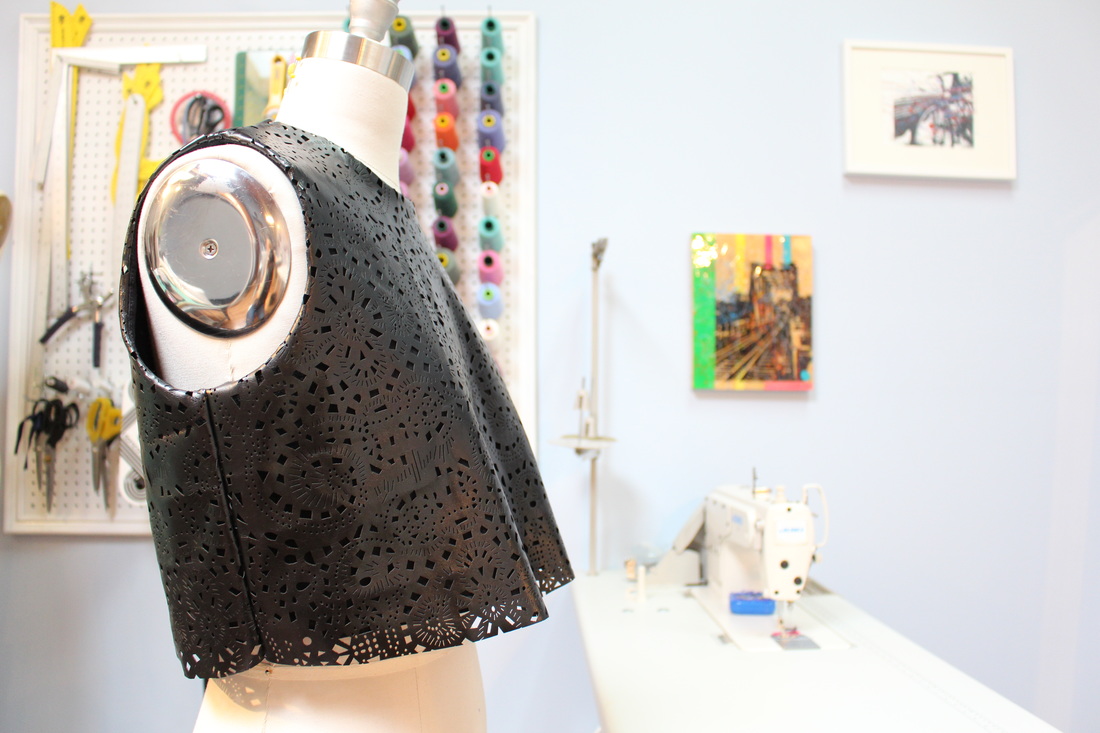  Designed and written by Sheila Wong
Constructed by Caitlyn Sio Edited by Samantha Quon Happy Sewing! Sheila Wong Studio Team |
Archives
November 2022
|
 RSS Feed
|
|
Copyright © 2024 Sheila Wong Fashion Design Studio Ltd. All rights reserved.