|
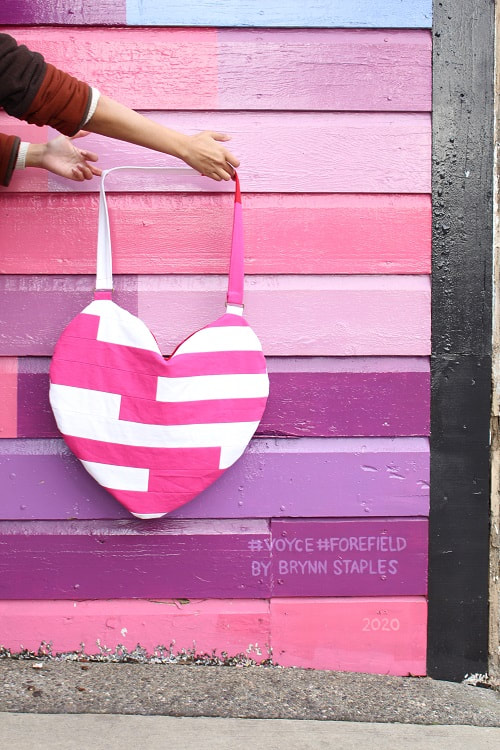
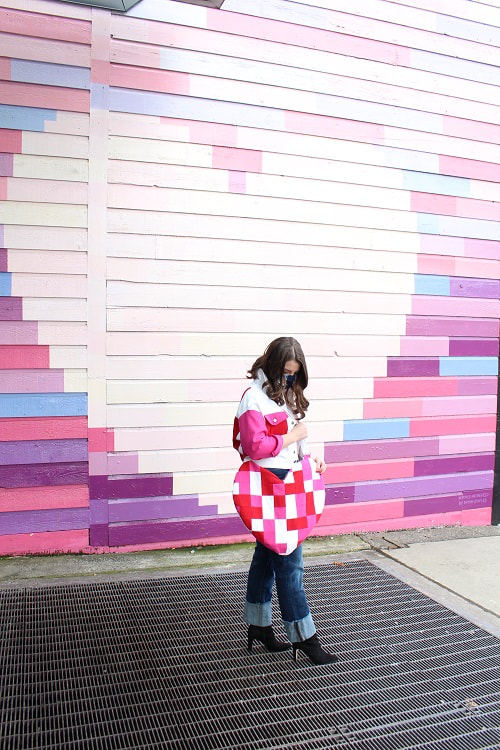
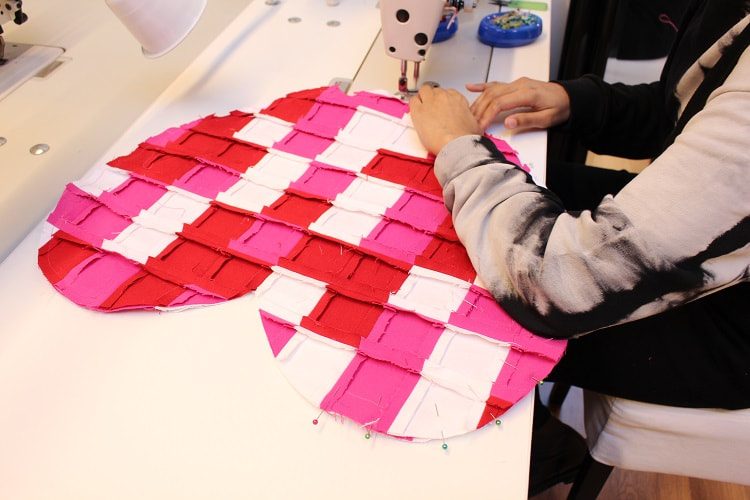
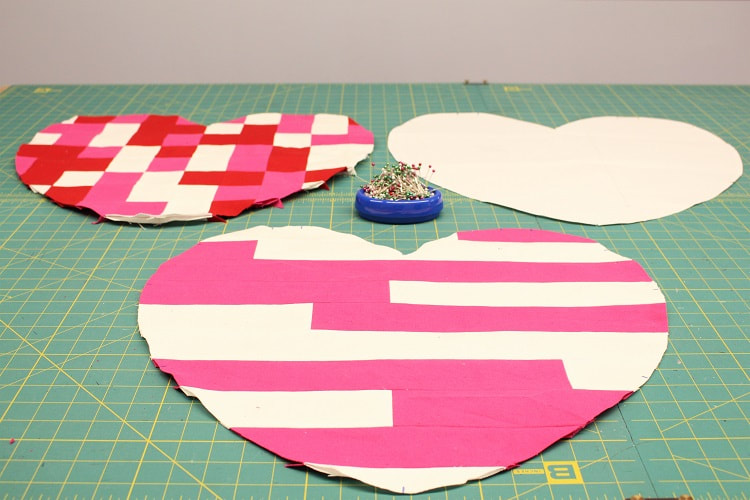
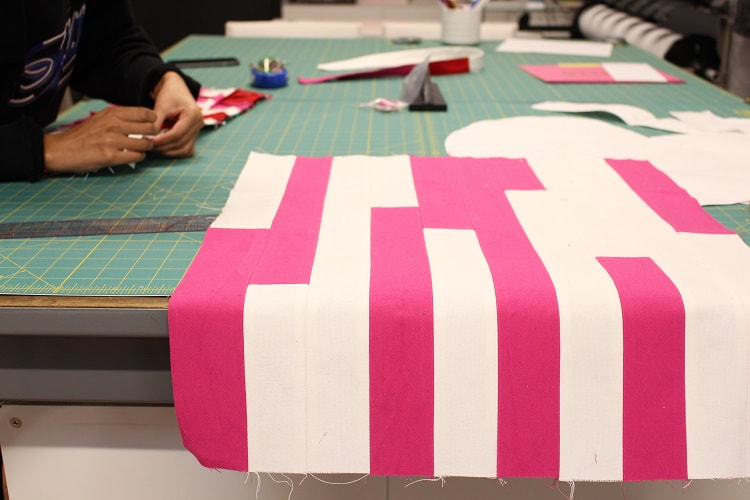
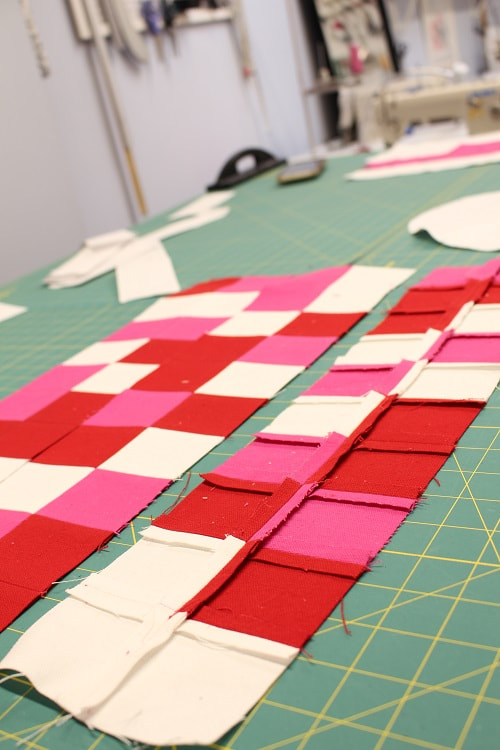
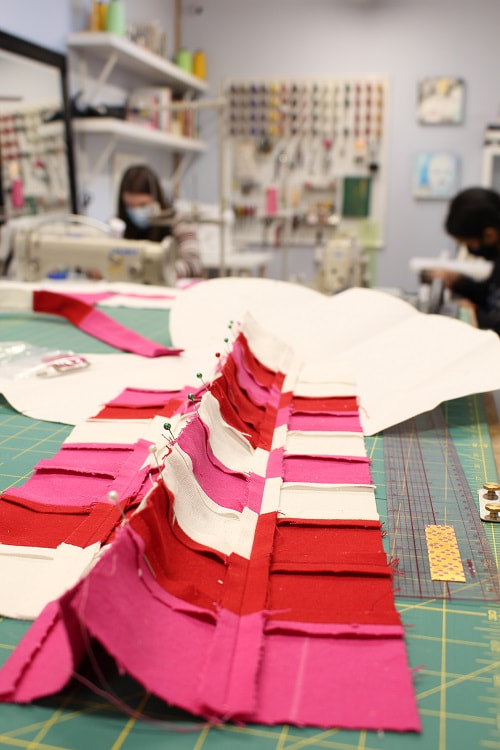
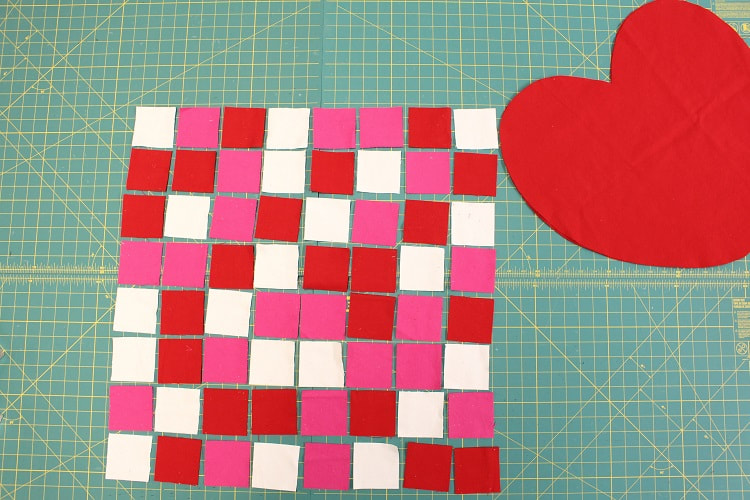
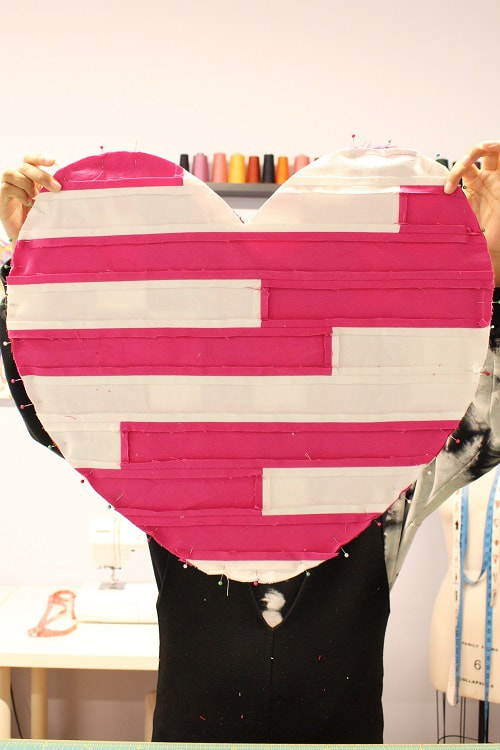
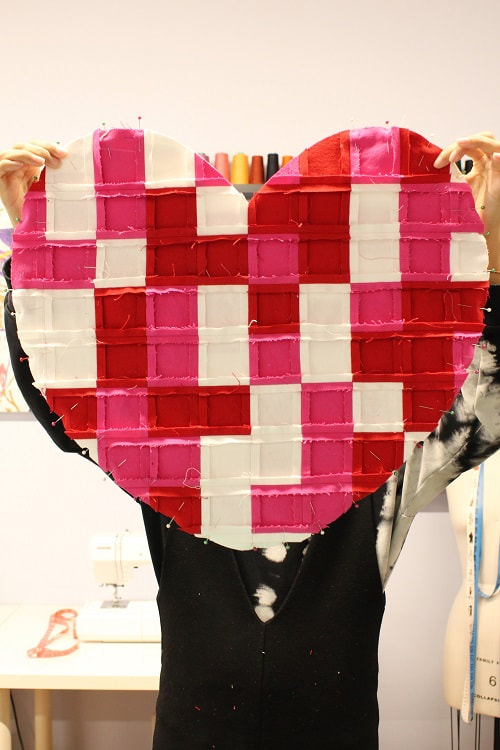
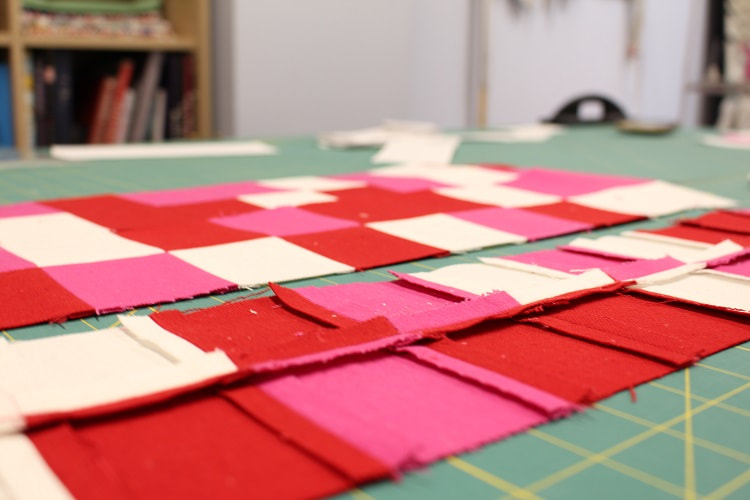
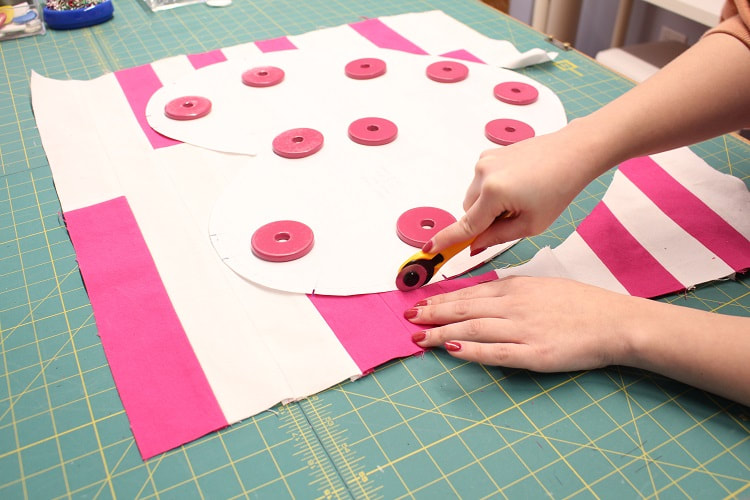
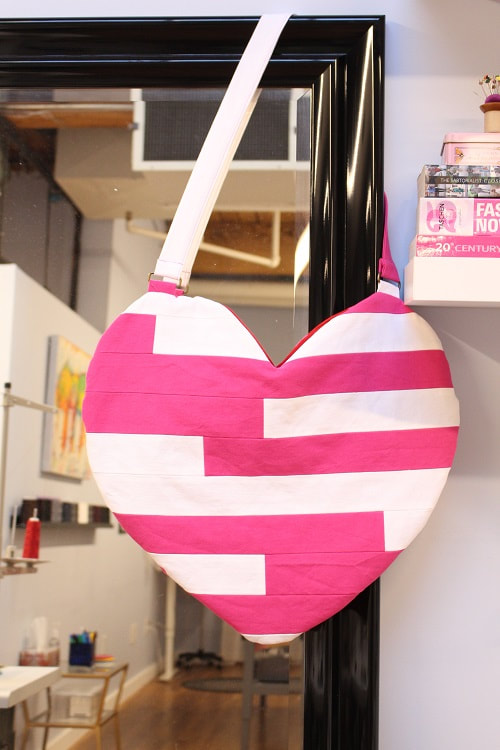
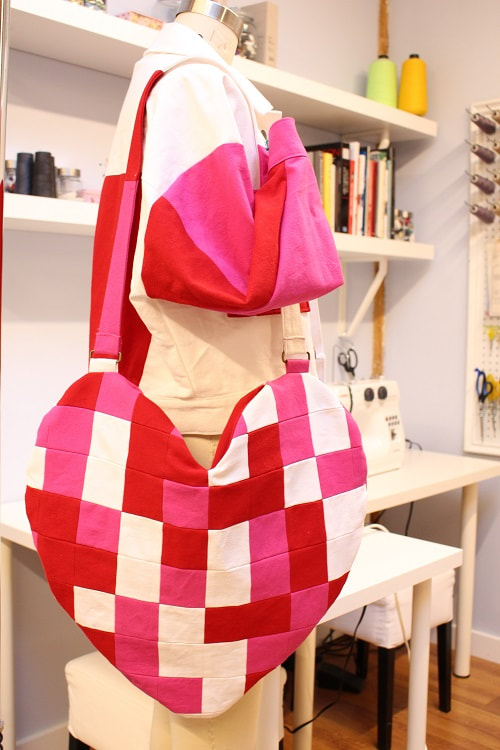
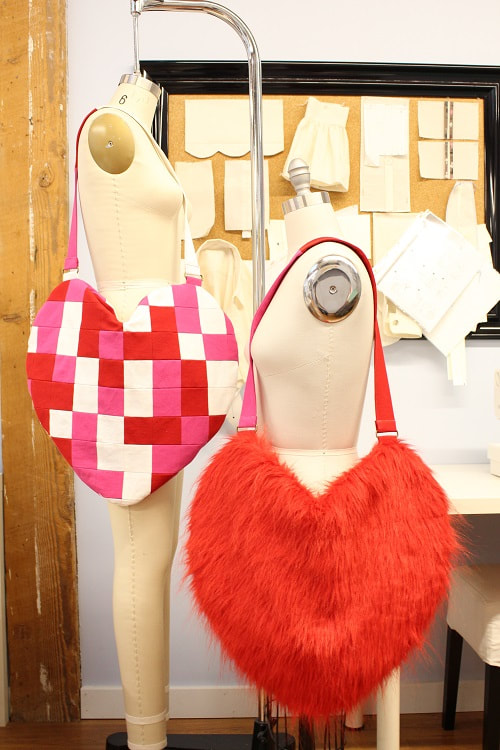
Spreading some community love with our latest design! Our team decided a heart-shaped bag would be the perfect project to celebrate Valentine's day. Our bag drew inspiration directly from a local mural created by Vancouver artist Brynn Staples. We drive by this mural every day on our commute to work and find ourselves drawn to the colors and the positive feelings it evoked. As Brynn put it herself, this mural was meant “to be a symbol of the community that can bring people together”, and we were inspired to do the same. The mural can be found on the corner of Cambie and King Edward. With leftover fabric from our Color Block Denim Jacket, we are giving a go at creating two styles of quilted fabrics. Fabric is from Fabricana. This blog post will discuss our process, how to incorporate quilted fabrics into a design (that is not a blanket), and what we learned. QuiltingCreating fabric from scraps comes naturally to us in the studio. We have patchworked a number of designs in the past, so quilting was inevitable. Our team experimented with two different styles of quilting. One style required more perfection (perfect square tiles), while the other was more forgiving (asymmetrical subway tiles). We know they are not called “tiles” in the quilting world, but we thought it was much more exciting! SIDE A: Asymmetrical Subway TilesThe final dimensions for our heart bag pattern are 21” x 20”. With this in mind, a bit of math was involved in figuring out how many strips (tiles) we needed to cut. We decided to keep the height of each time the same 2”. The tile length varied from 2” x 6” up to 2” x 24”. You can really play around with this depending on how much of one color of fabric you have or how much vertical seams you wish to sew. We made sure we had a 24” x 24” final box of fabric in the end, to be able to cut out the heart pattern. Be sure to sew each row first, press the vertical seams, then proceed with sewing rows in the desired order. Keep reading on helpful tips like taking photos of the tile layout prior to sewing. SIDE B: Perfect Square TilesWelcome to side B! We leveled up with the accuracy required for cutting and stitching on this side compared to side A. We determined each individual square would be 3”x3” for a total of 80 squares. You can really choose your own sewing journey with this style. Larger the tiles, less effort in sewing. Smaller the time, the more sewing and accuracy required to maintain the perfect square look in your final piece. With three colors to work with, the color blocking took on a life of its own, creating a pixelated effect. Quilting TipsWhen incorporating self quilted fabric into a project, there are many details to consider to make the process easier. We wanted to share with you what we learned, and boy, did we learn a ton. Planning the tile dimensions, cutting and stitching them up, we think you should consider the following.
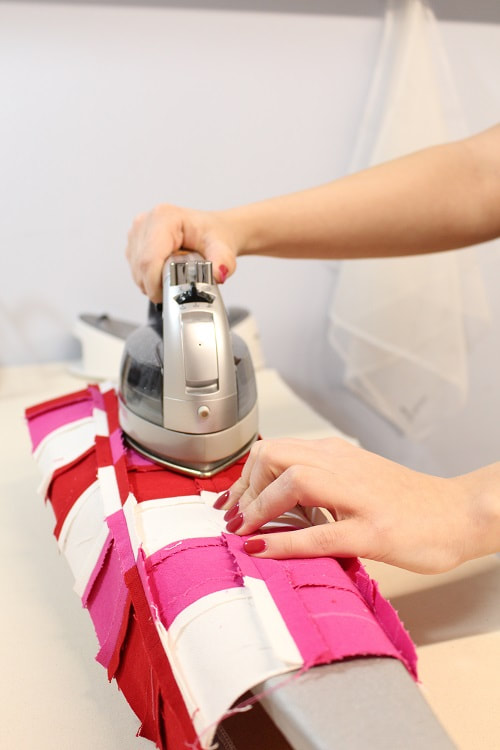
After the quilted fabric has been created, keep in mind these helpful tips we learned.
Final ThoughtsWe are absolutely mesmerized by our Heart Tote Bag. You might even say we have fallen in love with it. Quilting is a fun and creative way to elevate a design. We were able to achieve two completely different yet cohesive aesthetics to the same bag. This entire project took approximately 10 hours to complete, so you know it’s made with love! We completely see the fascination with quilting and are starting to see why some of our quilting clients are in love with the process. It involves a great deal of organization, planning and accuracy in its execution. For us, you will only see quilting incorporated into our designs. Stay tuned for our bonus Heart Bag sans quilting. In our blog post- How to: Cutting Faux Fur Fabric, we will provide you insight into working with faux fur and an insider look into our Heart Bag's construction. To learn more about how to incorporate quilting techniques into clothing, contact us to book lessons. Happy Sewing!
Designed, photographed, and written by Sheila Wong Studios.
2 Comments
|
Archives
November 2022
|
Copyright © 2024 Sheila Wong Fashion Design Studio Ltd. All rights reserved.

 RSS Feed
