|
I love a good white jacket, it reminds me kinda like a lab coat. We used our mad scientist skills to tame complex in-set corners, in-set sleeves and non traditional lining. In this post, I get behind the seams, showcasing the inspiration and the important design elements. I also share with you the challenges and what I learned. Project Specs
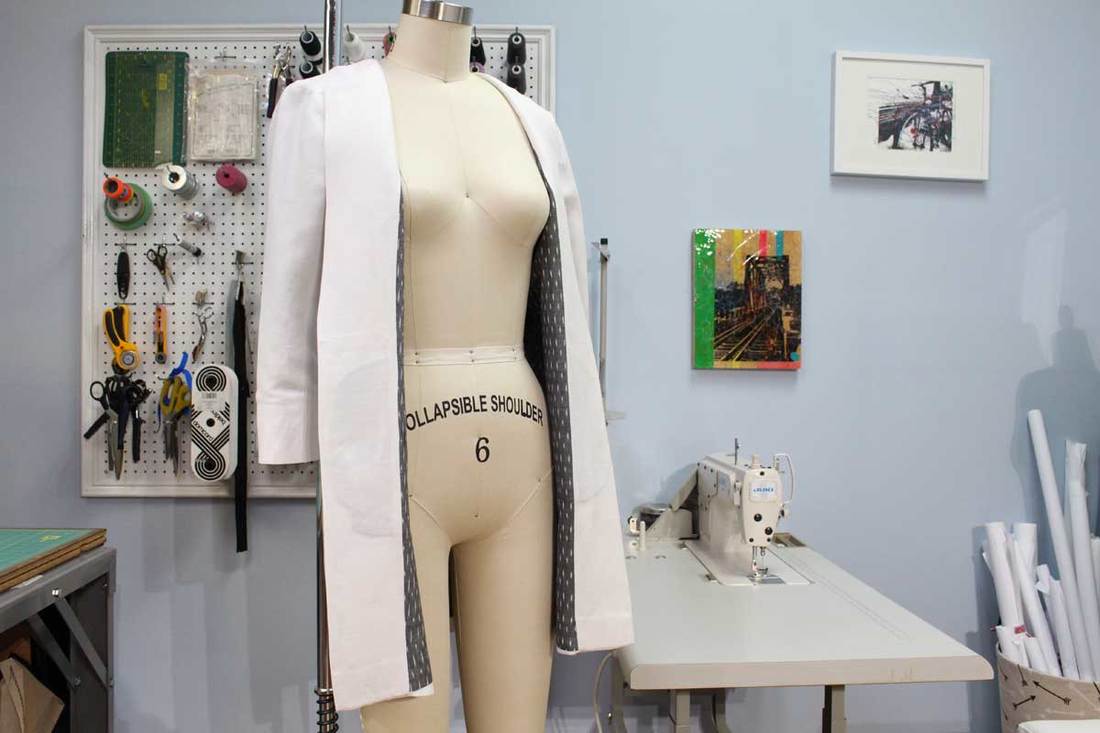
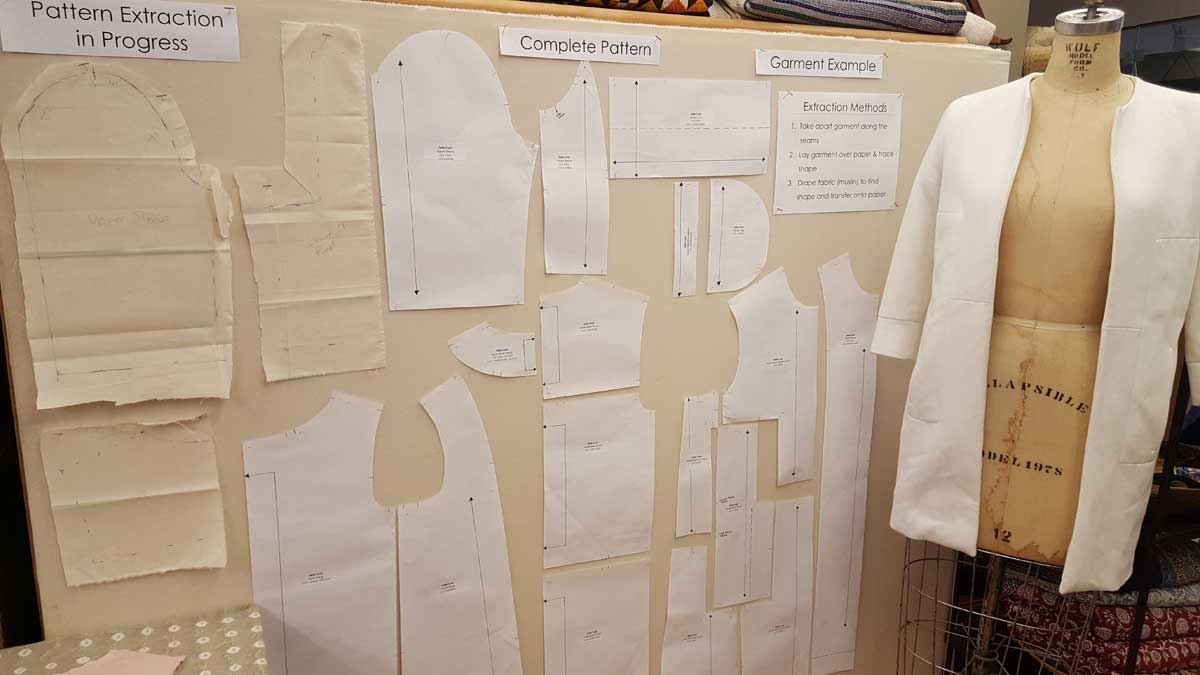
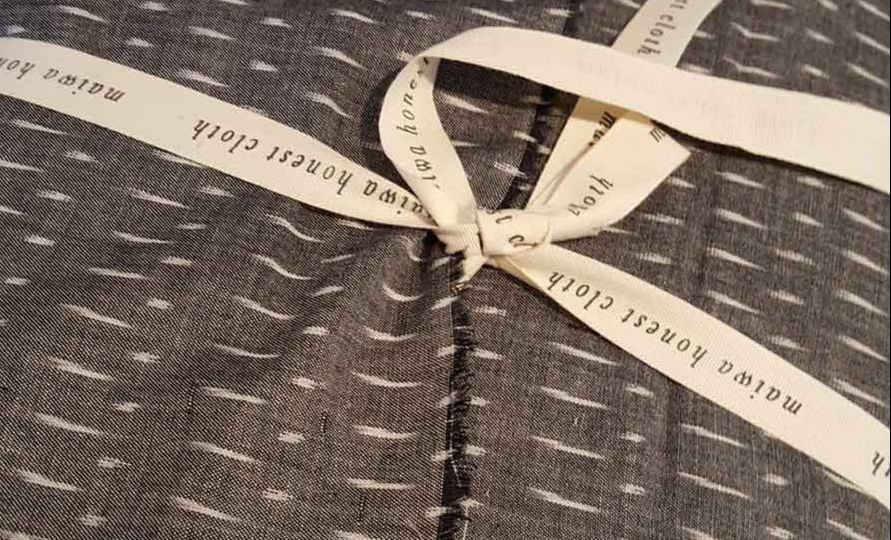
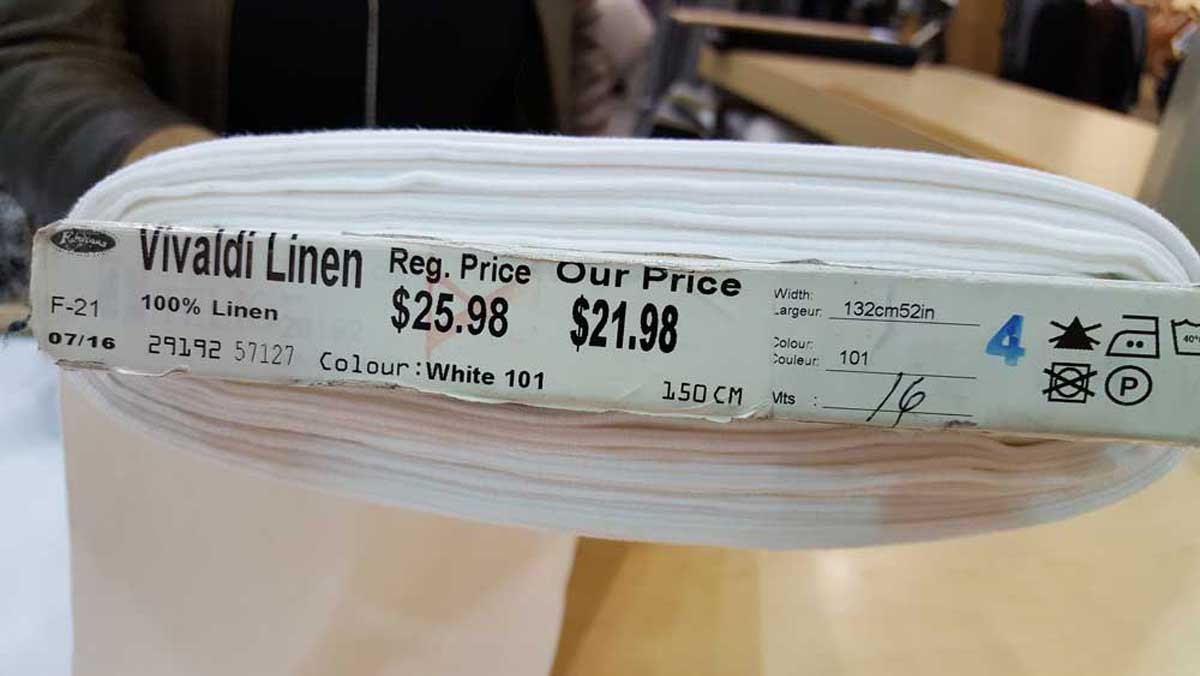
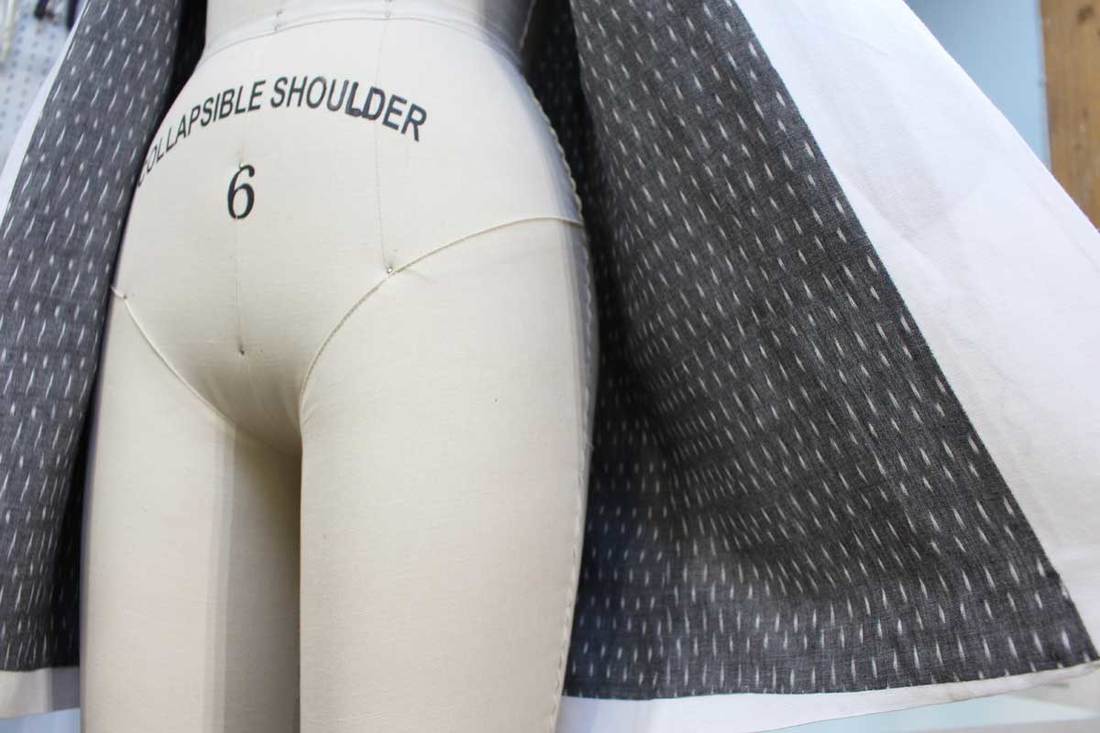
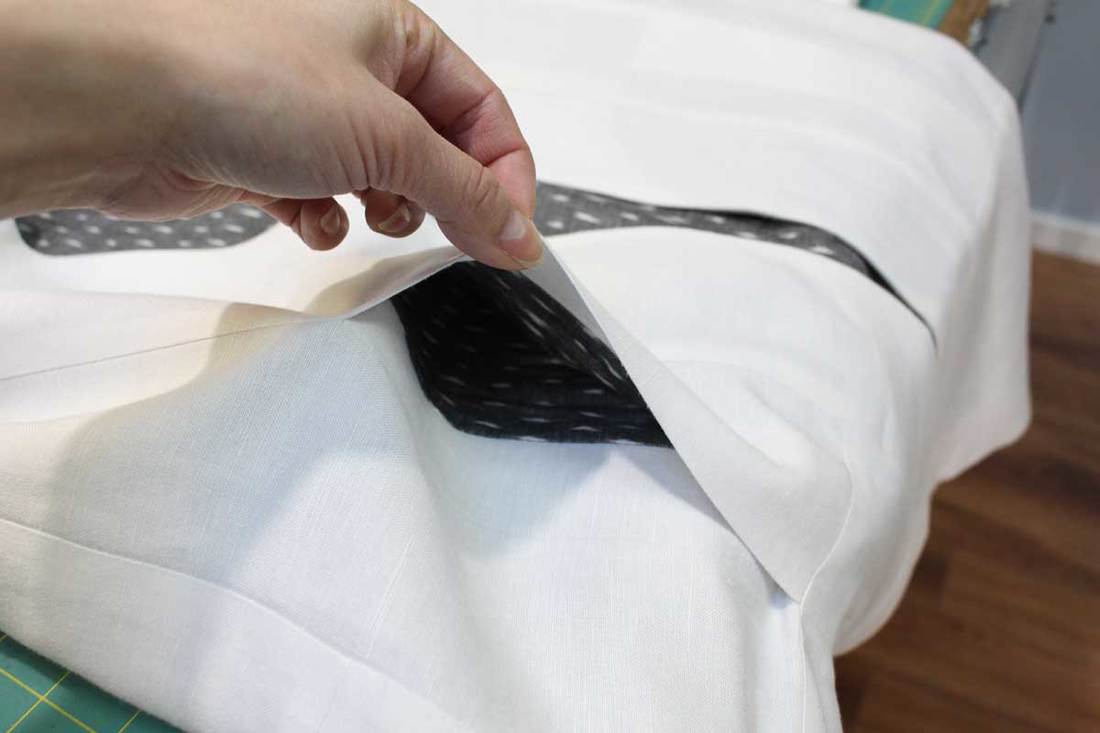
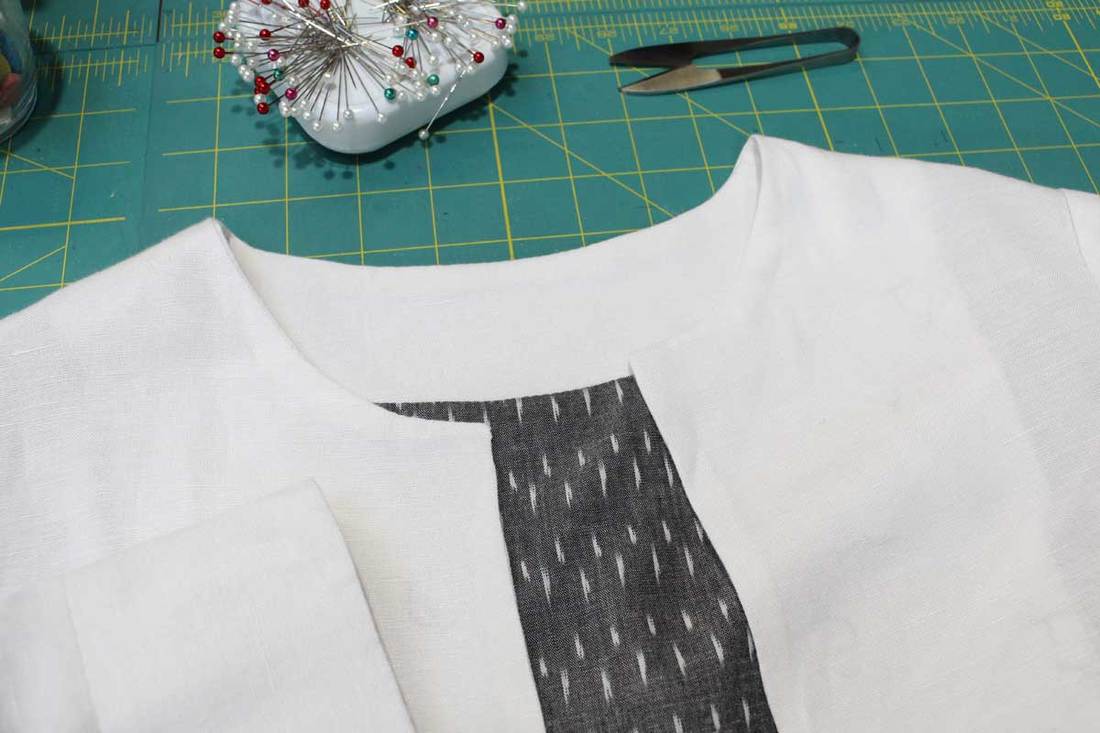
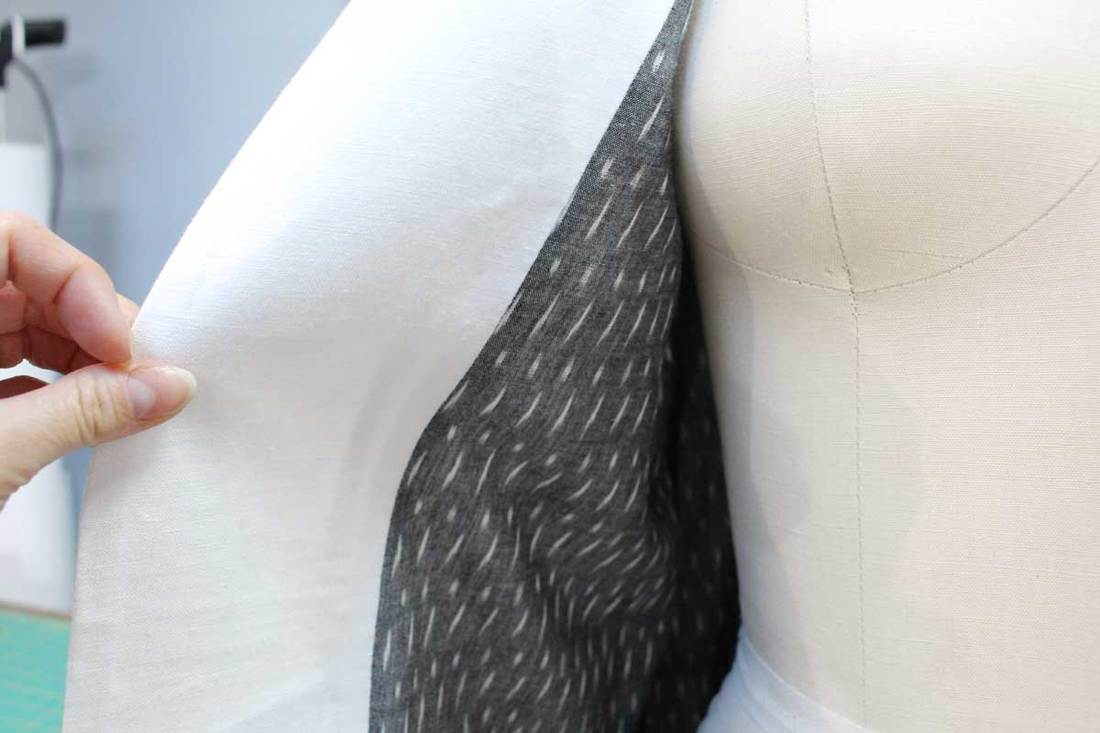
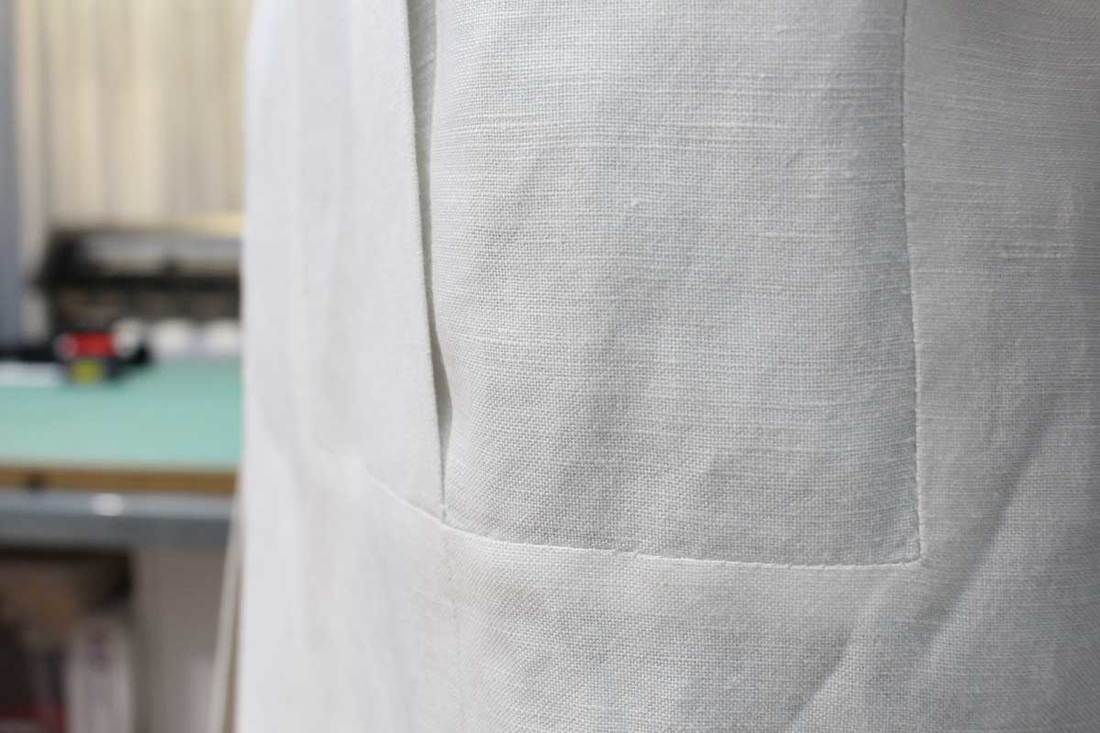
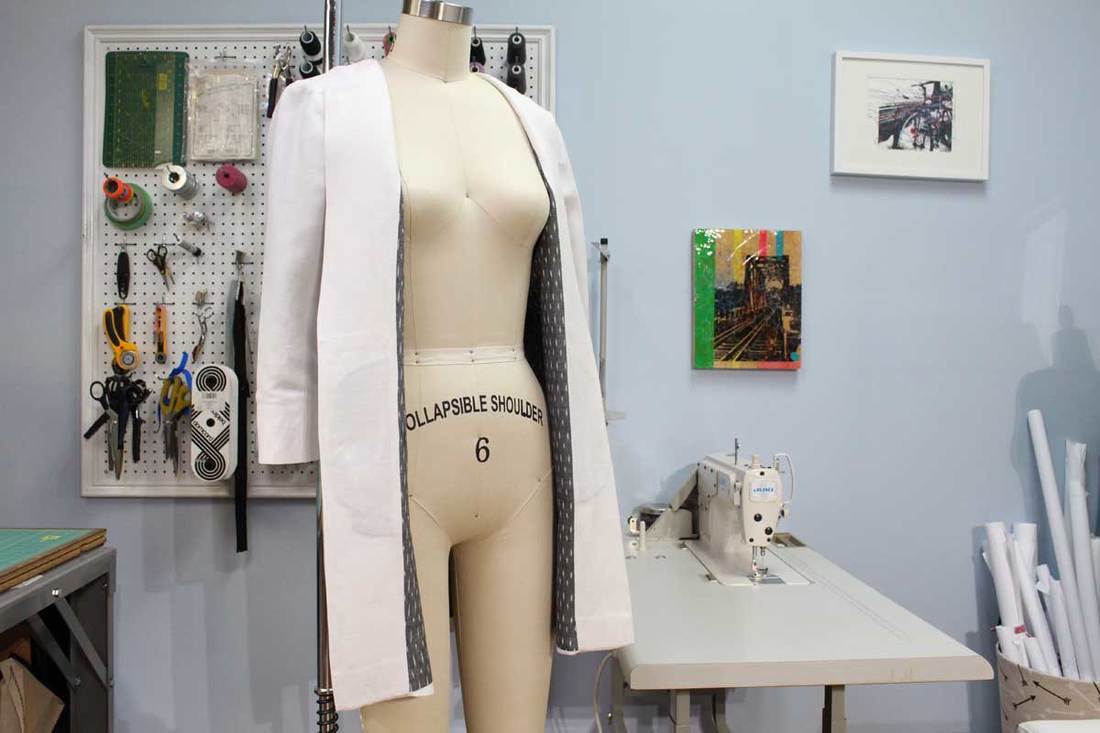
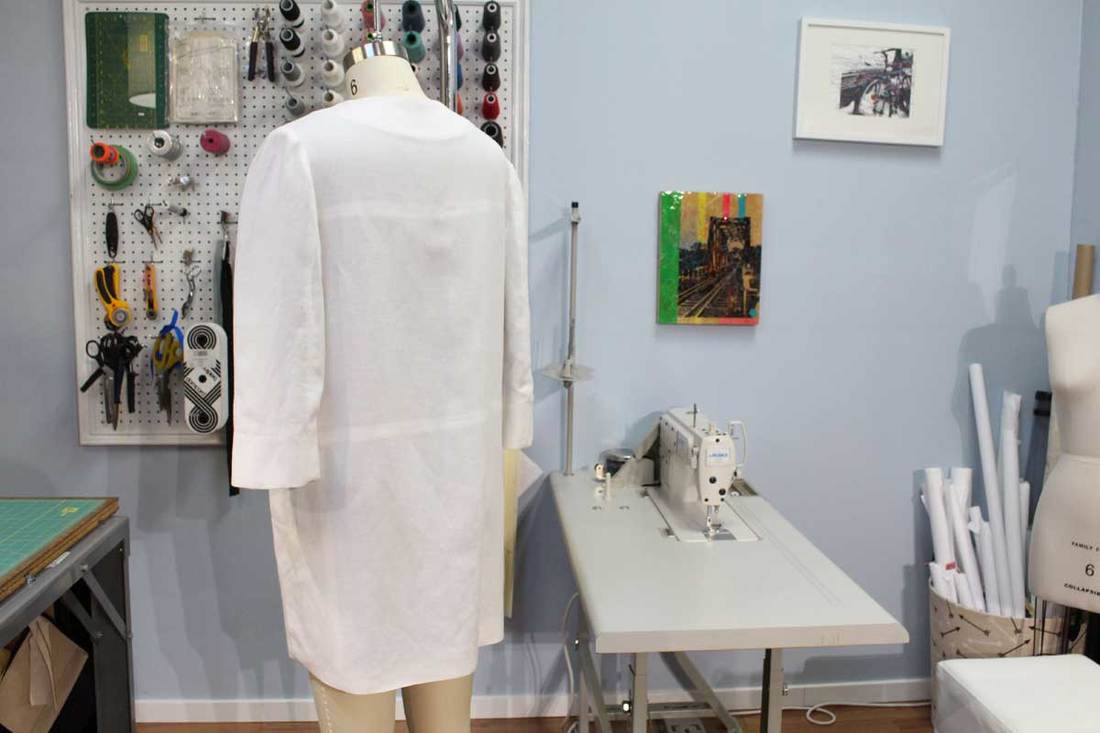
Reverse Pattern CuttingBack in the winter of 2017, I taught a 2 day reverse pattern drafting workshop at Maiwa School of Textiles. Reverse pattern drafting is all about extracting a pattern from an already made garment. In below example, I demonstrated the pattern extraction process from a Zara jacket. This is the base of this blogs inspiration! If you look carefully, you will notice many pattern pieces make up this jacket. I like to call it the 'Tetris Jacket'. FabricFabric inspiration came directly from below ikat fabric from the Maiwa supply shop in Granville Island. This ikat fabric is hand woven, which in my mind makes it so special to wear. We used the same fabric on a vintage bow blouse design too. Keep an eye out for that blog post in the coming months. For the past year, we have been making a conscious effort to use up fabric in studio before buying anything new. We had just enough white linen left-over from when we made a white linen summer dress. What worked in our favor was the many small pattern pieces that made up this jacket design. We where able to use up smaller bits of left-over fabric. You can find this linen from Fabricana in Richmond. Design ElementsFirst glance at this garment, it looks fairly simple in design. But there are many advanced technical design elements involved. In-set sleeves, lining, in-seam pockets, facings, and in-set corners. Kinda like peeling back an onion! Have a tissue handy as you read on. JK! LiningI feel the lining is the silent hero in this jacket. I do not mind breaking rules. Using non-traditional darker lining in comparison to the outside lighter colored fabric may not have been the best decision, but you never know until you try. I am a firm believer in pushing the boundaries of your comfort zone. If your risks work, its such a rewarding payoff. If they do not, you have just learned a great deal of knowledge! Read on as I ended up learning a lot in this situation. In-seam PocketsThis is technically a in-seam pocket with a facing. It worked well in this situation to hide the darker colored lining fabric from peeking out. The pocket along side the in-set corners, was probably the most challenging elements to stitch. The opening of the pocket is centered within a vertical rectangle seam which has in-set corners. The opening of the pocket was also lined up to an adjoining seam above and below this area of the jacket. Basically many seams of this tetris jacket came together right at the pocket. If you where off by a 1/16" anywhere else in the jacket this is where it all showed its ugliness. Collarless with FacingsNo collar?! Yes please. Minimalist designs can be found all over right now. I like the idea of being able to layer with a collared shirt underneath. Changes up the look with each new shirt. We applied a 4 inch width front facing from the hem up the center front, then narrowed it down over the shoulder towards the center back. Edge stitching was applied around the neckline, to keep facings 'facing' your body only. In-set Corner SeamsI already started talking about the complex pocket section earlier. Here is a closer look at the in-set corners surrounding the pocket. To add strength to the exterior part of the in-set corner, we fused a small bit of interfacing. When you clip the seam allowance towards the corner, the small bit of interfacing will strengthen the fabric from ripping away over time. So never throw away scraps of interfacing, they can be used in these areas. What I learned!The biggest thing I learned from this design is an obvious one! If your lining is darker than your exterior fabric, most likely the lining fabric will show through. In our case, the white linen was kinda sheer. The lining doesn't show through dramatically, but after many wears the raw edge of the darker lining fabric starts to show through. If we where to create this design again with the same white linen, an interlining would be required to ensure a solid separation between the exterior and lining fabric. The interlining could be basted to the exterior fabric. Another option, would be to finish the raw edge of the lining prior to closing up the lining to the exterior jacket. What would you do? Please share your ideas below in the comments. Final DesignHappy Sewing!
Designed, photographed and written by Sheila Wong Studios.
1 Comment
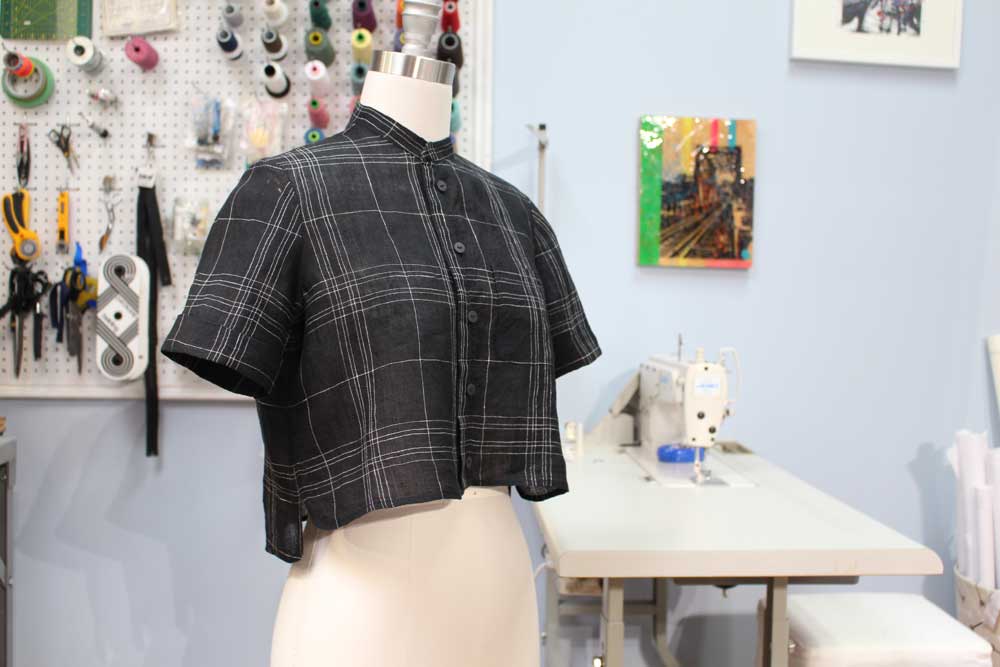
I am going to let you in on a little secret. Our studio has been working on creating patterns for you to sew with! Our focus will be designs that have modern silhouettes and sewing techniques that are the epitome of slow fashion. I believe the garments you create should be loved beyond one season. In fact, if they can be passed onto the next generation, why not?! In this post, I will share with you one of the patterns we are perfecting. It is a button-up shirt with stand collar, cuffed sleeve, asymmetrical hem and patch pocket. There are a few variations to this pattern. The cropped version is our first to sample. Please let us know in the comments what you think. Project Specs
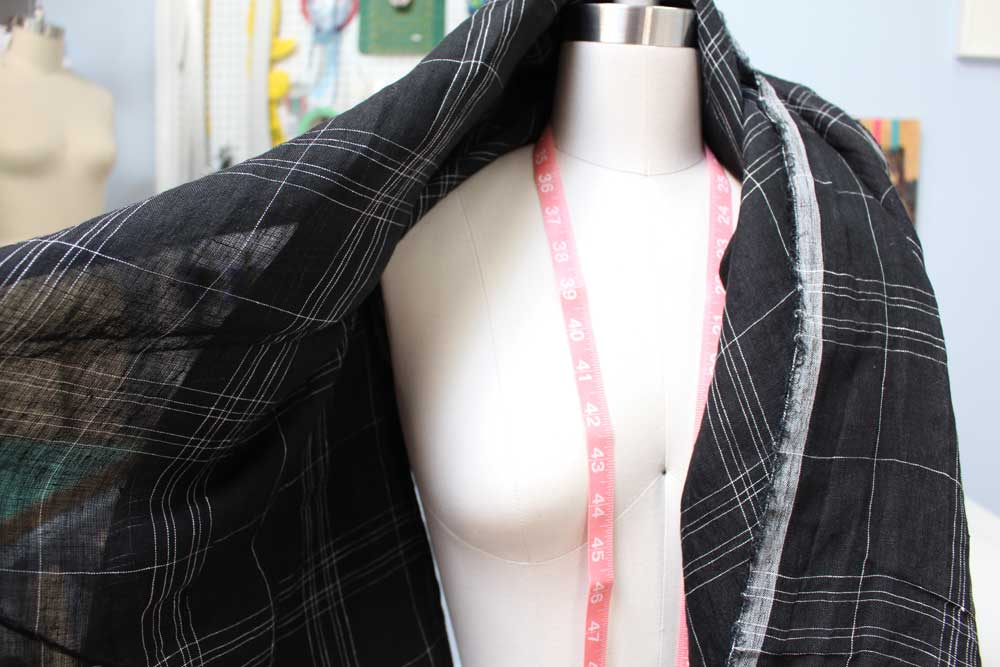
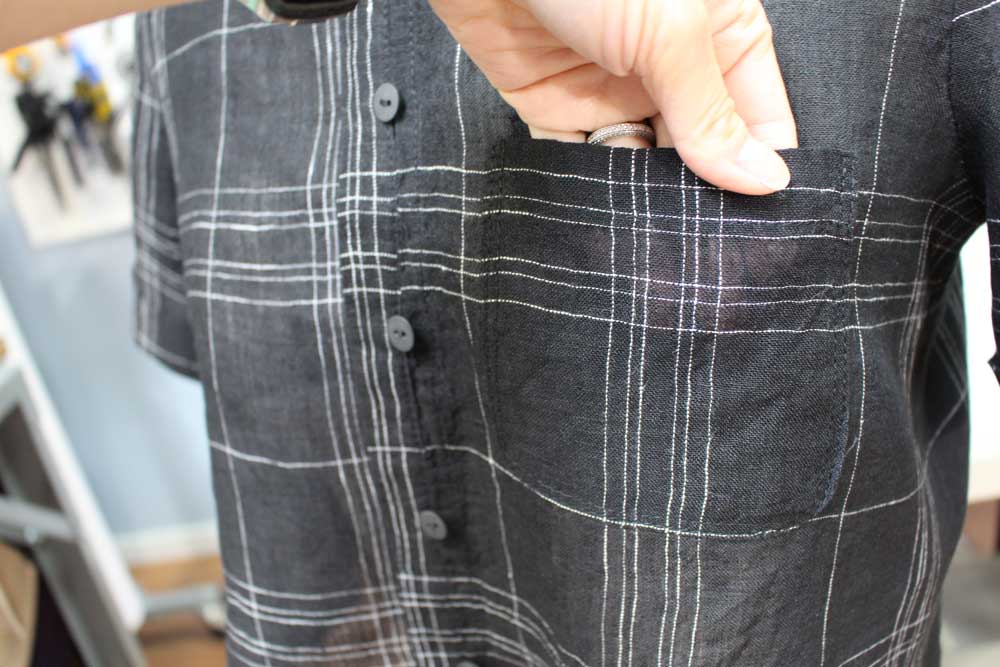
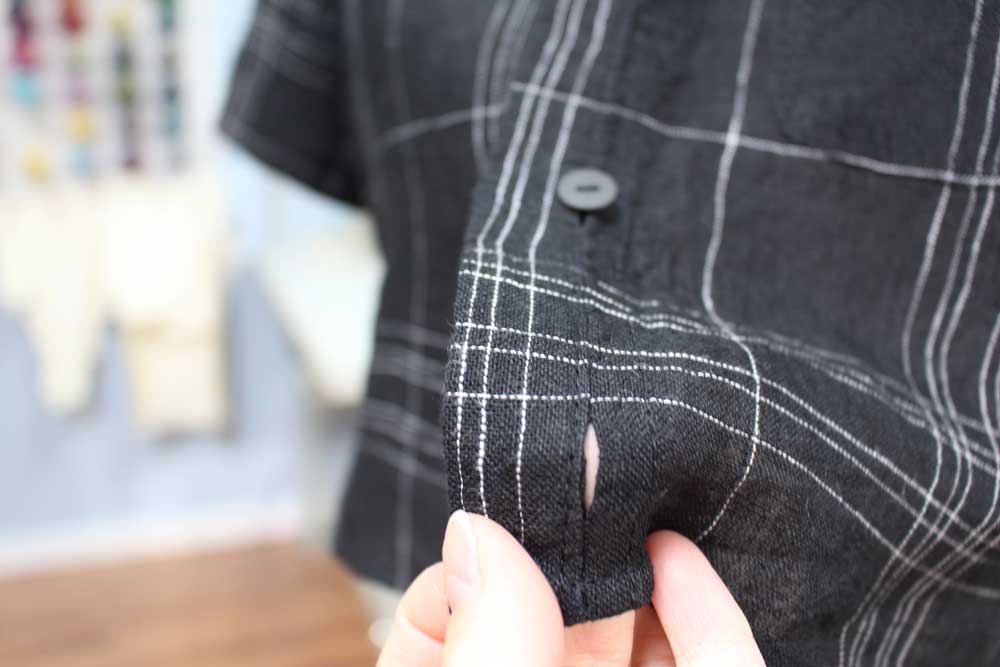
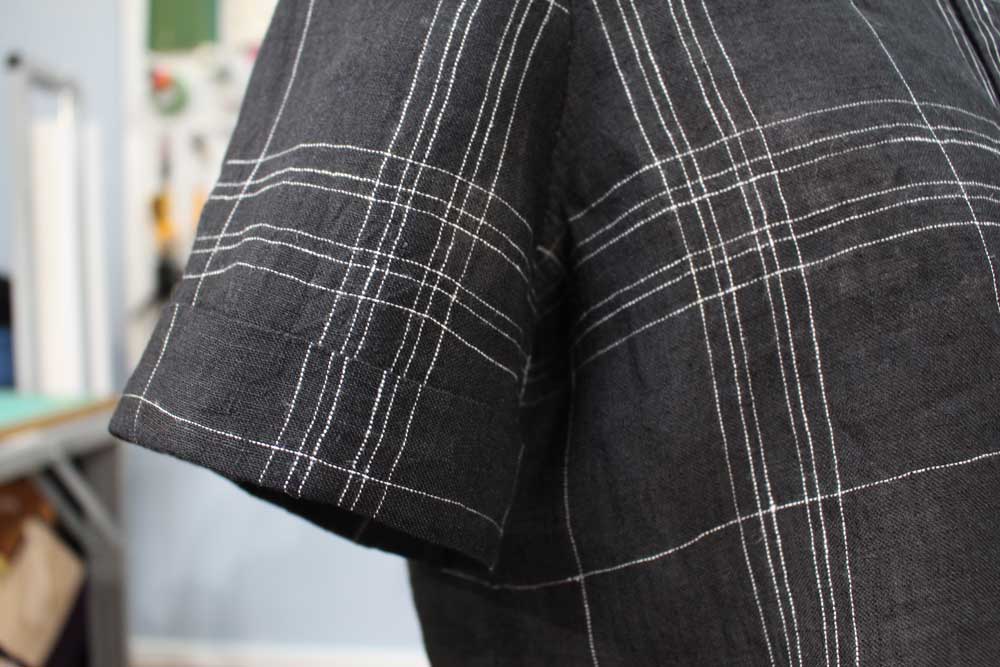
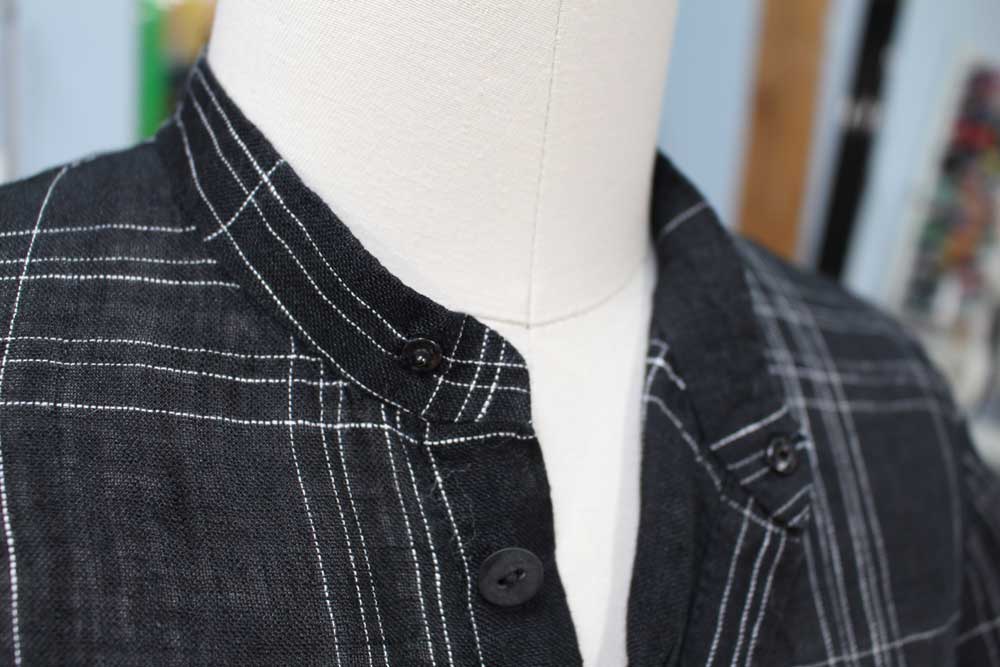
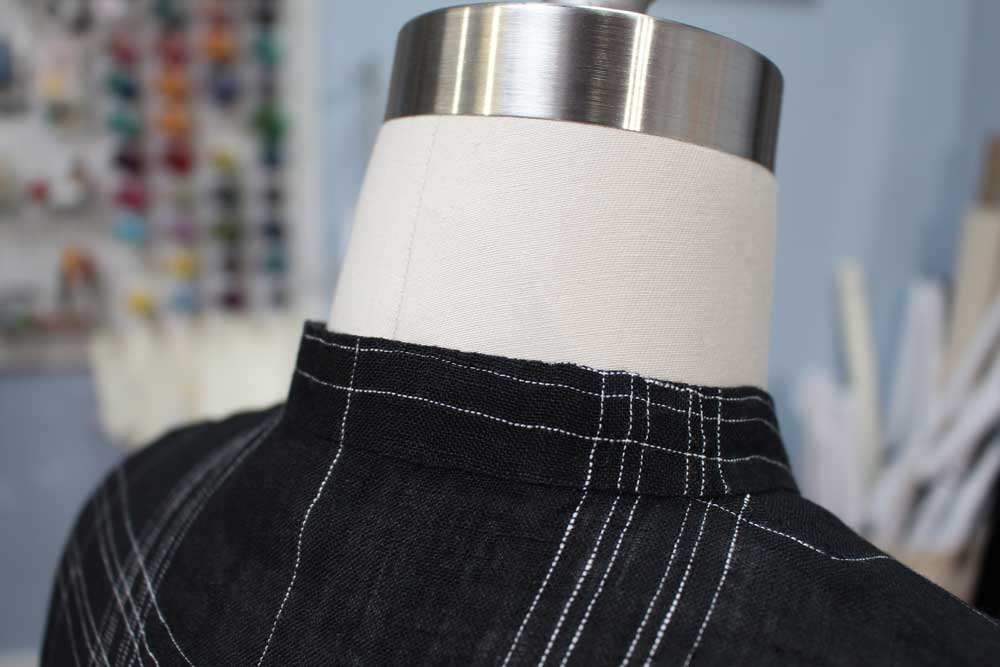
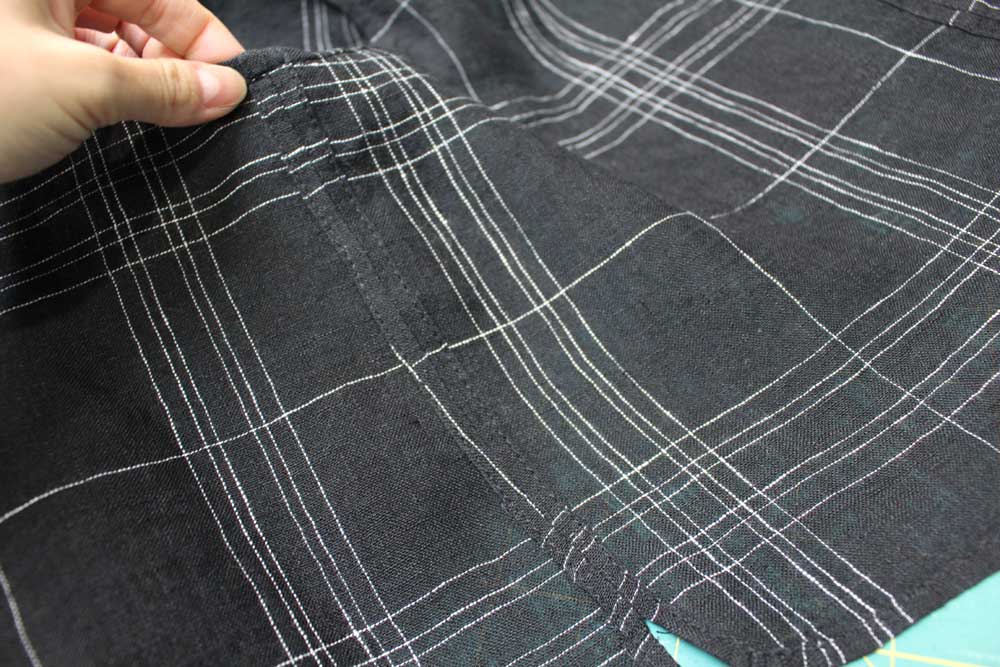
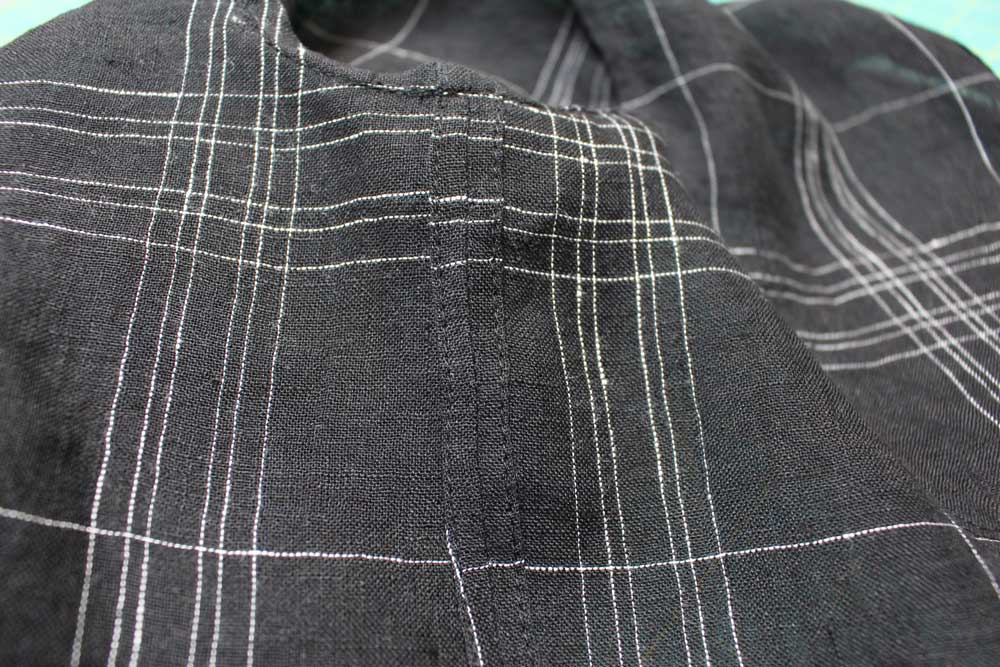
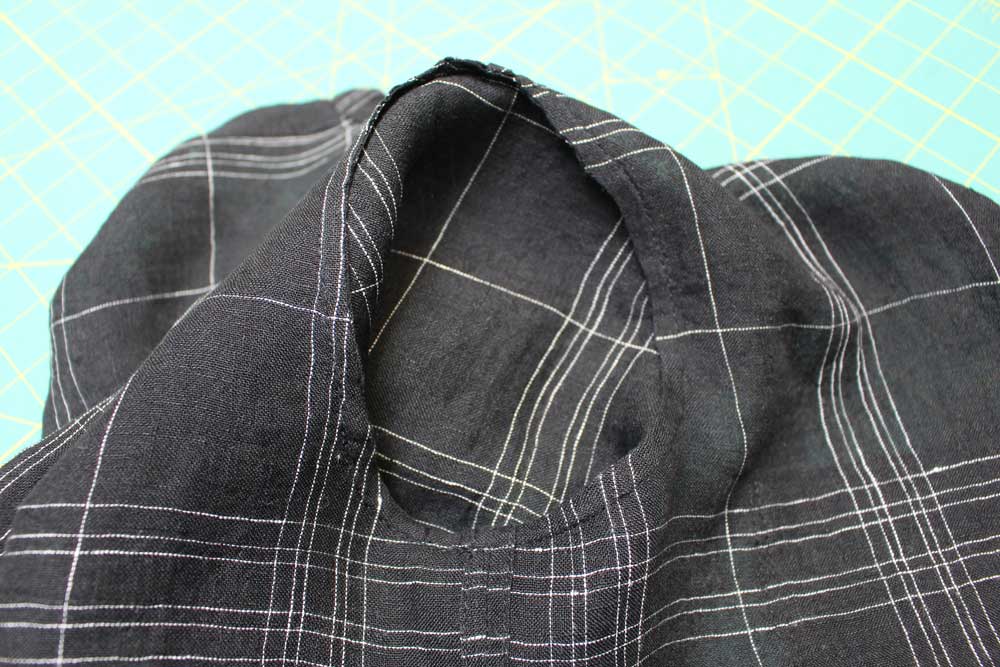
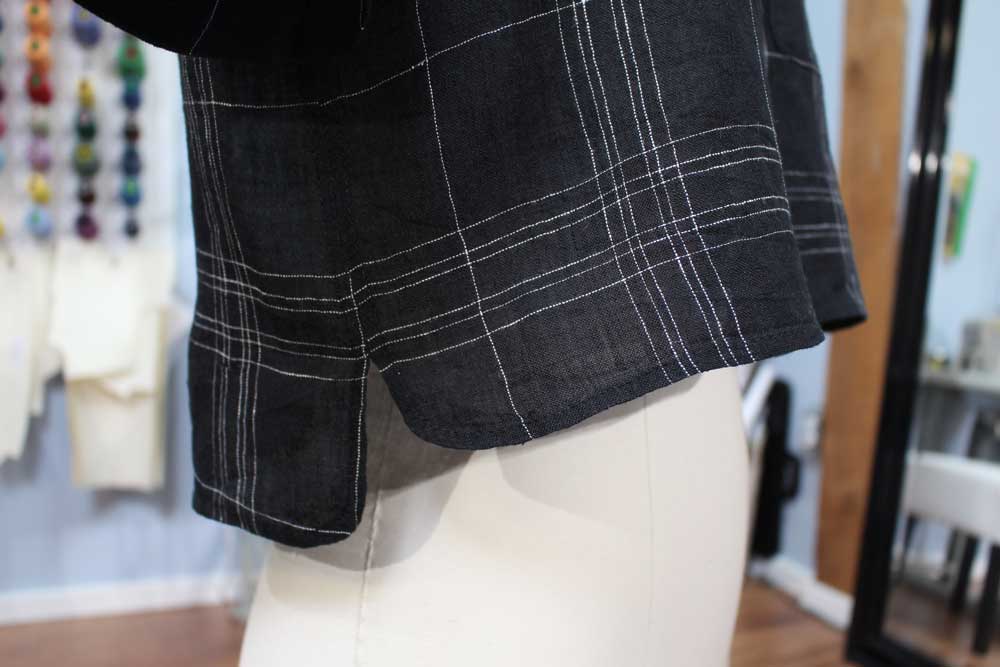
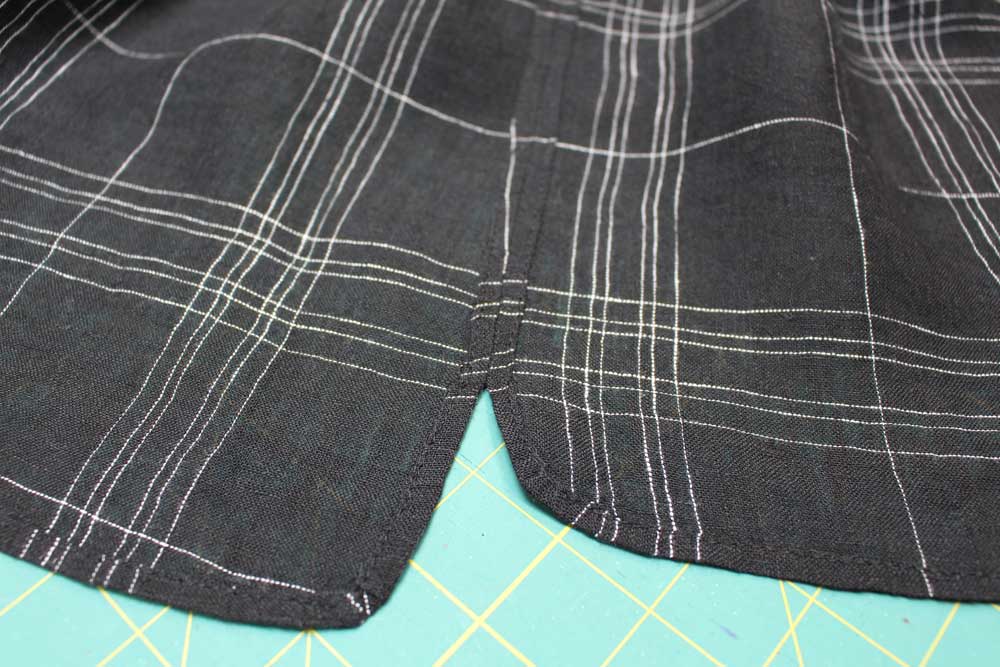
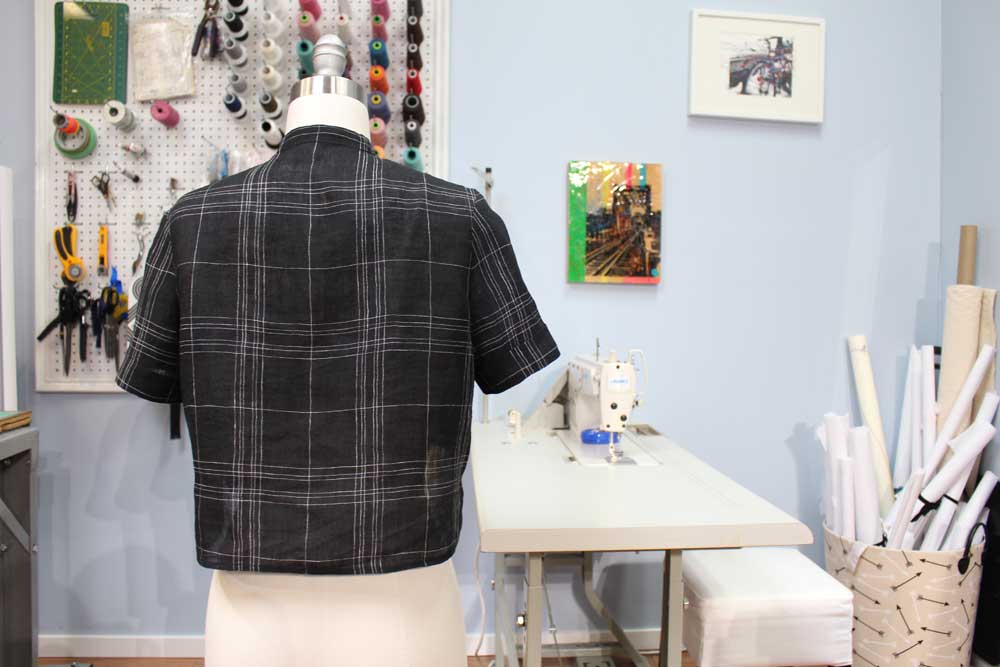
FabricThis black linen fabric has been sitting around the studio for over 6 months, just waiting to be made into a top. It was perfect for this design because it has an airy feel to the fabric. Caitlyn and I took great effort in lining up the plaid lines. For the most part, we where able to achieve alignment and balance around the garment. Read below to find out how we worked around the more challenging pattern pieces such as the collar, button-hole placket and sleeves. You will also learn that I procrastinate when having to line up challenging prints... Design ElementsPrint alignment aside, this small crop top packs a punch in the design details. Here is your insider view. Patch PocketInspired by all things slow fashion and couture; the patch pocket is THE original couture pocket. All of the seam allowances are pressed into place and it is set from the exterior of the garment providing the designer full control over placement and construction. To ensure the plaid of the pocket lined up with the bodice, we pinned each line in the plaid intersecting with the bodice line. We took it one step further by hand-wheeling over the pin, instead of taking the pin out while stitching. In-seam Button HolesIn-seam button holes are a great alternative to the traditional machine sewn button hole. In my opinion, it looks cleaner and provides and interesting element. The fact that I despise machine sewn button holes might have something to do with it too. CuffThis one is fairly self explanatory, but it was nice to add a little something extra to a plain short sleeve. It creates more balance in the overall silhouette of the shirt. Especially in this cropped version. We're currently sampling up a longer tunic style version and hope the cuffed sleeve element will work well. Stand CollarA stand collar can be a tricky element to wear. It can look very institutional depending on height and curve of the center front. Our toile (fit sample) of this design was made in a white cotton, and it looked almost priest like. Going forward, I think we will test out a less curved center front. This will give a more wearable look and more versatile with all colors. Seam FinishesWe applied french seams to the shoulder seams, false french seams to the armholes and clean seam finish to the side seams. If you are familiar with these type of seam finishes, you will understand that a majority of the time spent constructing this garment was spent at the pressing table. Above photos show the clean seam finish along the side seams. To create a clean seam finish, stitch your seam as per usual seam allowance, press the seam fully open, then press the raw edges under towards the original stitch line. Edge stitch or slip stitch to finish of the clean seam. This type of seam finish is use along straight seam and with fabric that is stiffer in nature. Below is an inside shot of a false french seam finish to the armhole. This is very much a time consuming type of finish. But I promise you, this seam will outlive you. Here is a blog tutorial on how to sew a False French Seam. Curved HemWe opened up the side seam on this shirt to sit just above the natural waist. This is in tune with the high-waist trend we are seeing in pants and skirts. It shows off your smallest part of the torso, while still providing a free flowing top that is not skin tight. So basically you can eat your face off and still feel comfortable. What I LearnedOne of the most challenging things about this design was alignment of the plaid print around the garment. Aligning the plaid from front left and right bodice around to back bodice pieces was easy enough. Trying to get the sleeves, collar and the front button placket to be perfectly aligned was almost impossible. For the collar, we decided to just line up the center back line and let the front left and right of the collar just be balanced in the plaid, to provide a balanced look in that pattern piece alone. If you want sleeves to look appropriate with the bodice, just ensure both sleeves are exactly the same in plaid offering. It will make a balanced over-all look to the garment. The most time consuming alignment was the front button-hole placket. My brain got all discombobulated, so I literally left cutting out this particular pattern piece to last, and procrastinated while doing it. When lining up prints, I like to not have any seam allowance present on the pattern piece. This lets you visualize one pattern piece to the next without any distraction. If the particular edge you are aligning is straight, you can just fold back the seam allowance. Final DesignThank you for taking the time to read about our latest design. If you are interested in being the first to know about our patterns, or just want to see what we are stitching next, be sure to follow us on Instagram. Happy Sewing!
Designed, photographed and written by Sheila Wong Studios. |
Archives
November 2022
|
Copyright © 2024 Sheila Wong Fashion Design Studio Ltd. All rights reserved.


 RSS Feed
