|
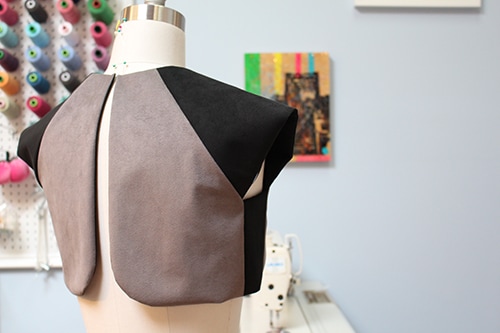
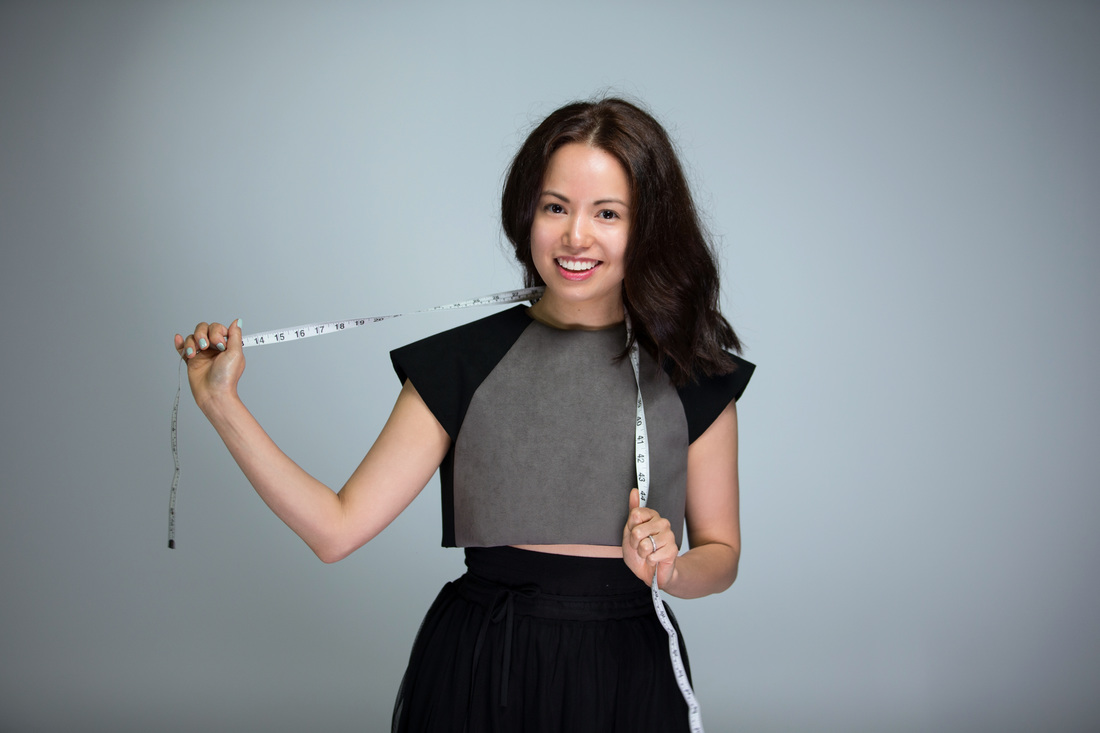
It only took over a year to show you this insider view, but here it is! This top might look a bit familiar, because it is. A variation on a past design, we stepped it up with suede and added a curved hem. This original design was not easy to construct. Read on as I discuss my challenges. Project Specs
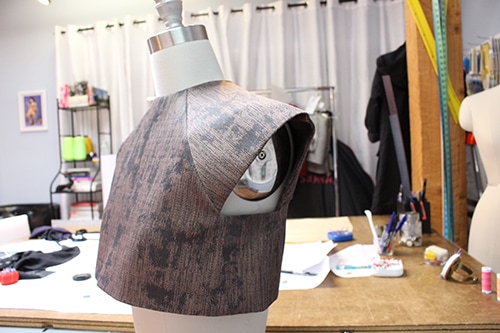
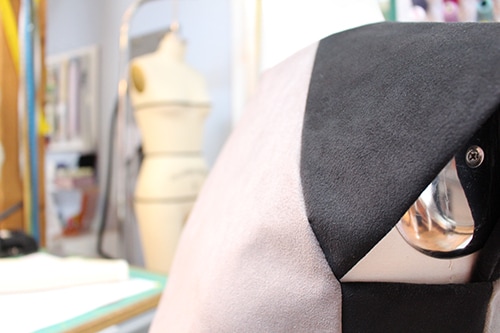
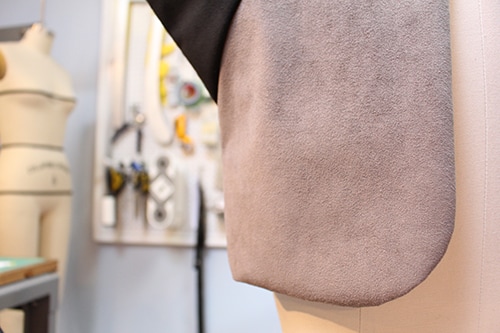
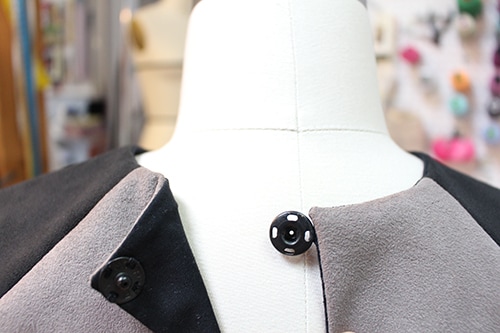
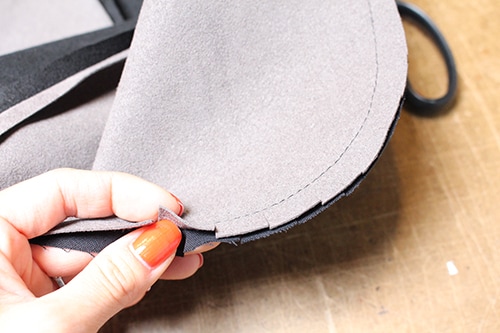
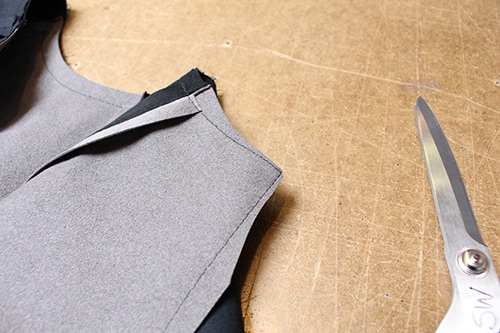
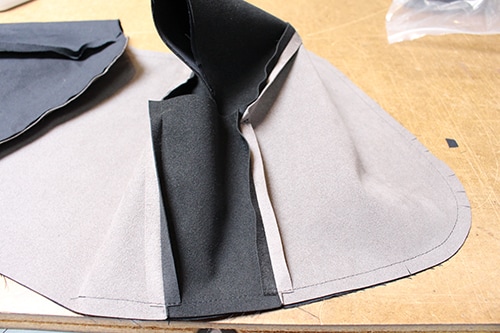
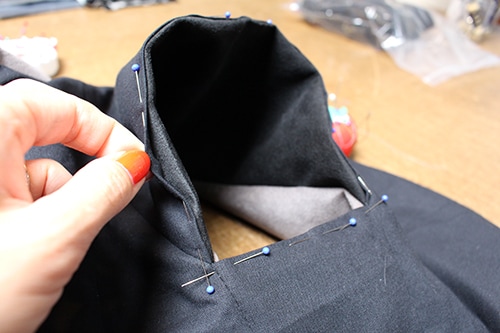
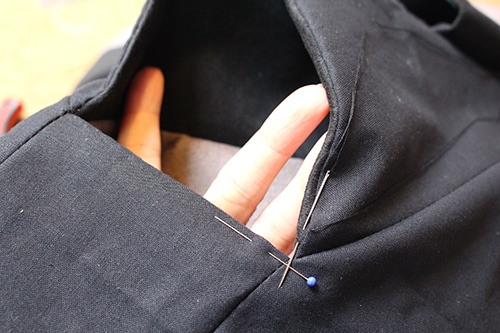
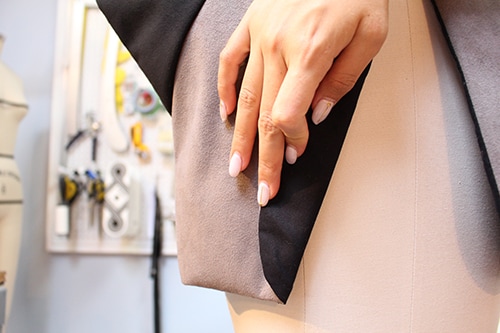
FabricThis stunning ultra suede was purchased at B&J Fabrics in New York, back in May of 2015. I just could not resist the soft-to-the-touch feel! At $60 USD per yard, I knew this had to become a stand out design I would wear often. By the way, I love ultra suede so much, I ordered more in 2016 to make a split skirt. Blog post to come in probably a year. InspirationFabric was a major inspiration, but I have always wanted to re-create a past design (pictured below). I adjusted the original pattern to have a lowered neckline. I had the neckline sitting to close to the base of the neck, therefore cutting off circulation at times. Hmmmm...kind of a problem. I also removed some of the flare to make the top sit closer at the hem. Lastly, the hem at the centre back became curved instead of square. Trying to move outside of my straight line box, ya know?! Construction DetailsAt first glance this garment seems fairly simplistic. But there are several design elements and techniques coming together to create a polished and modern feel. Raglan SleeveA raglan sleeve helps create a contrast in colours and sits well to maintain a structured shoulder in this design. Now, here is where the challenge lays in this design, the sewing. I could not use any pins on the ultra suede or else it would leave permanent holes. Some points I needed to pin, so I tried to keep the pins in the seam allowance, and in other areas, I just held the layers as flat as I could while sewing. The other challenge was actually pinning the ultra suede. It is so dense that pins can barely make it through without bending. Curved HemIf you know me, most of the hems in my designs tend to be straight lines, so this was a big deal - a curved corner hem. Jump to the Seam Allowance section to read on about the important clippings you should do along a curve. Snap ClosureOne of the few areas with a hand sewn application. A strong snap combo was hand sewn on for a clean back. I enjoy the idea of function, but not having it be outright visible. Seam Allowance ClippingsOne of the most integral techniques to this top is the clipping and removal of bulk fabric in the seam allowance. Anywhere along a curve, alternative clippings where snipped allow the curve to lay flat in the end garment. In all the corners, excess fabric in the seam allowance area was removed. Lastly, in any areas where seams joined up, small boxes of fabric where cut away (pictured in large photo below). Quite often these steps are ignored. Please do not avoid them, as they make your garment sit flat when worn. LiningIn comparison to the ultra suede, the cotton lining was a breath of fresh air to sew with. I wanted to control how the lining sat along the armhole, so I applied draw stitches to bring together the lining and the exterior fabric. This was time intensive as the hand sewing needle got stuck often in the suede. My pliers helped greatly! Finished GarmentVoila! All done. I wore it recently with a tulle skirt in a photo shoot for the studio. What would you wear this with? Designed, constructed and written by Sheila Wong
Edited by Samantha Quon Happy Sewing! Sheila Wong Studio Team
0 Comments
Leave a Reply. |
Archives
November 2022
|
Copyright © 2024 Sheila Wong Fashion Design Studio Ltd. All rights reserved.

 RSS Feed
