|
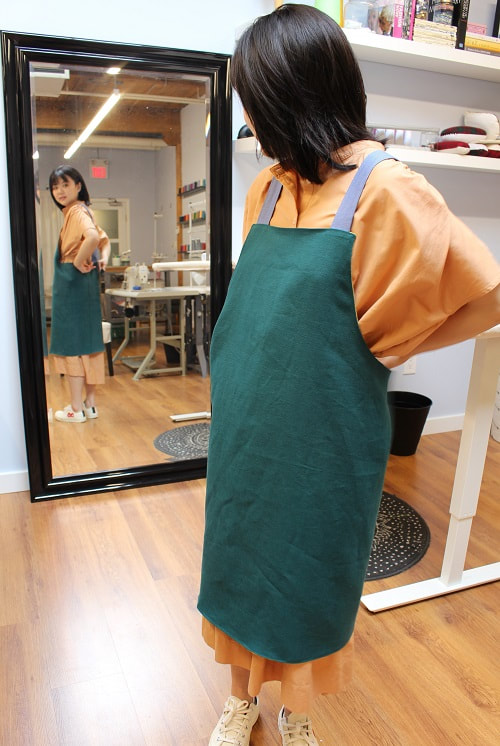
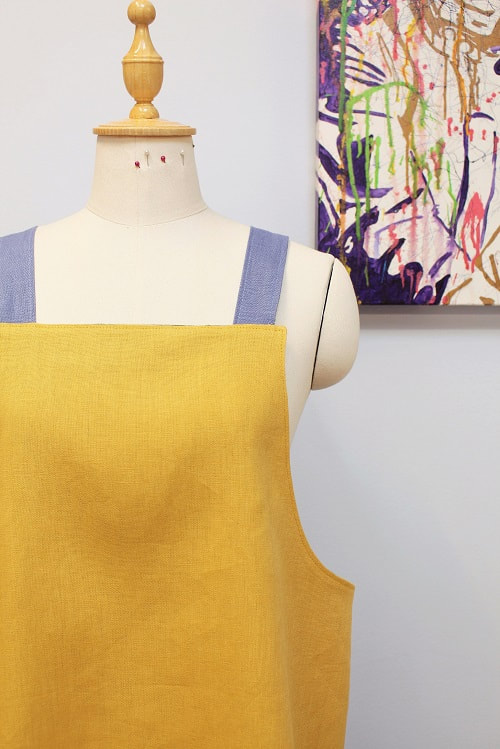
Welcome to part 2 of 2 on creating a reversible crossback apron. In our previous blog post Draft-a-Long: Crossback Apron, we taught you how to draft the pattern for this design. In this blog post, we give you the step-by-step instructions on constructing your very own reversible crossback apron with adjustable button straps!
Learn more about the drafting process by reading, Draft-a-Long: Crossback Apron (Part 1 of 2). MaterialsYou will require the following materials to sew our reversible crossback apron.
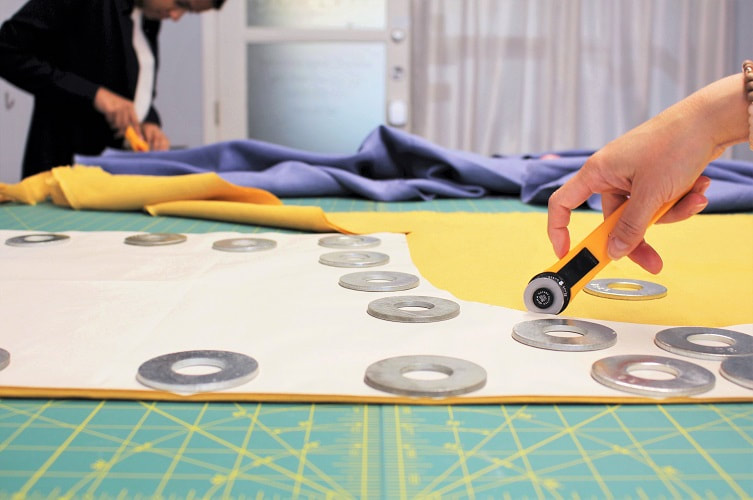
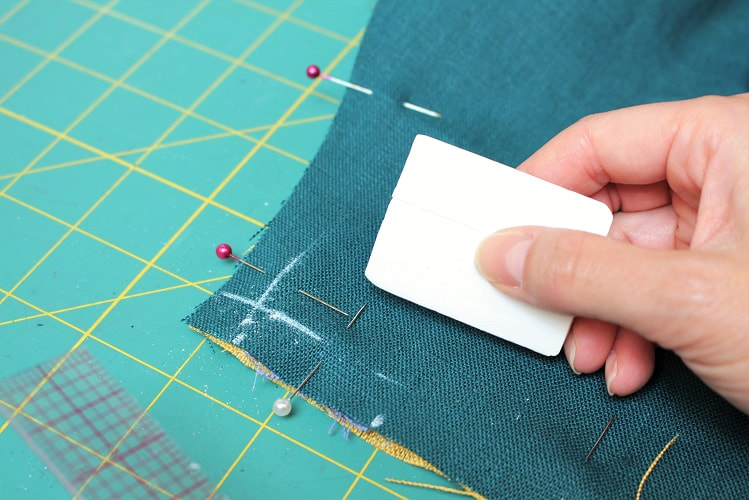
If you want contrasting color straps like us, you will need an additional 0.8 M if cut on grain or 0.15 M on the cross-grain (optional).  Cutting FabricThis apron is fully reversible to allow for a SIDE A (MAIN/SELF fabric) and a SIDE B (CONTRASTING/LINING fabric). We will be demonstrating how to sew this apron with the adjustable button straps. Make note of the alternative steps for the sewn in straps. Mark all notches on the wrong side of the fabric. Buttonhole placements can be marked on the right side of the fabric. A reminder that notches are points H, K, L, M, N, S and T from your drafting.
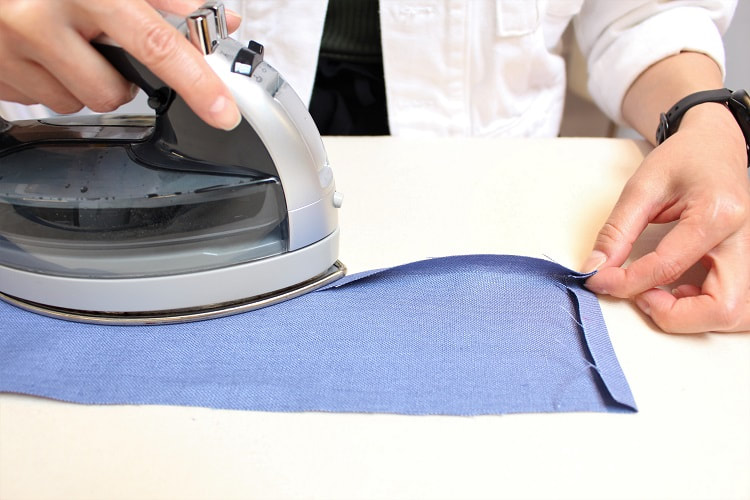
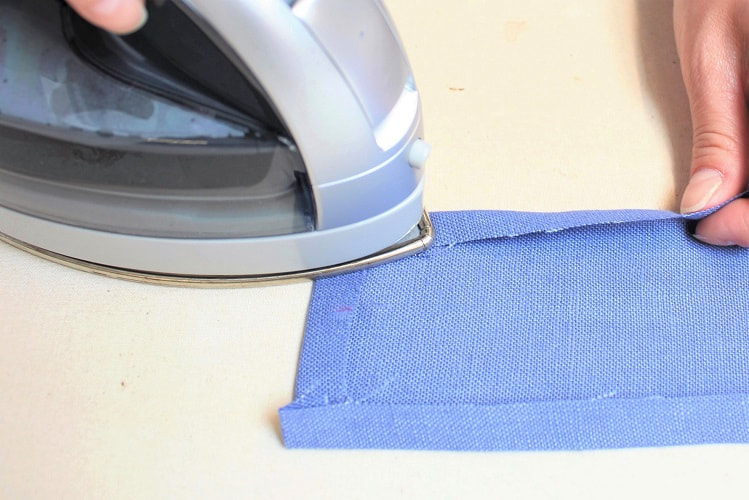
Sewing StepsStep 1Let's begin by preparing the straps! A reminder to sew at your chosen seam allowance (SA). We are using 3/8" SA. With the wrong side of the fabric facing up, press in one of the shorter edges of the strap by your allotted SA. This helps us prepare to finish off the hanging ends of the strap for the button version. Feel free to mark in your SA on the right side of the fabric for accurate pressing. For the sewn in strap option, do not press in this edge. 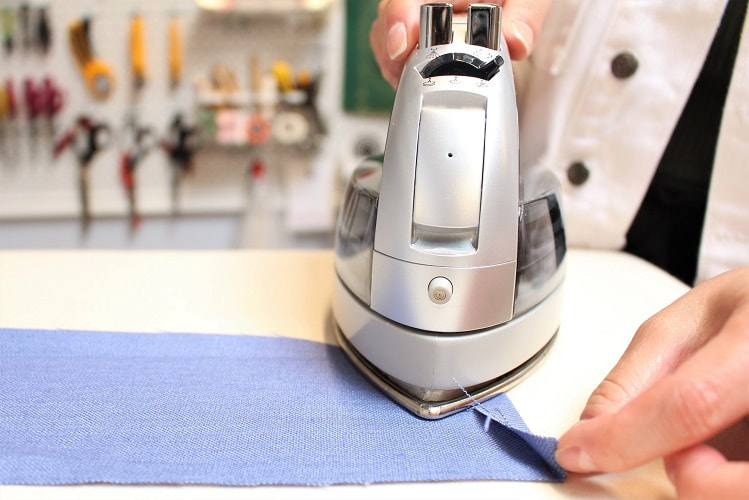 Step 2Press in the longer edges of the straps by your SA.
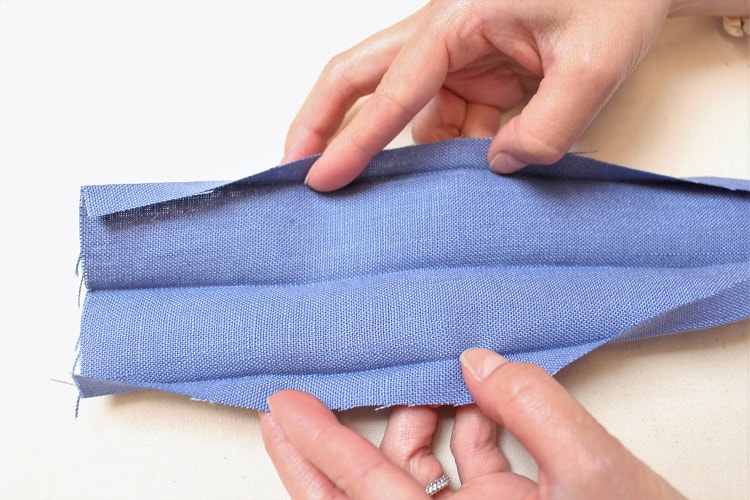
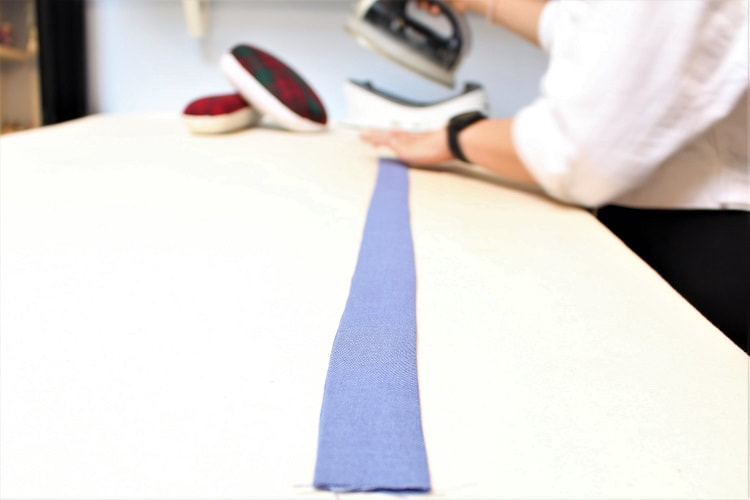
Step 3Fold the strap completely in half, pressing the two folds you created together. Try to get the two folds aligned for a balanced strap. 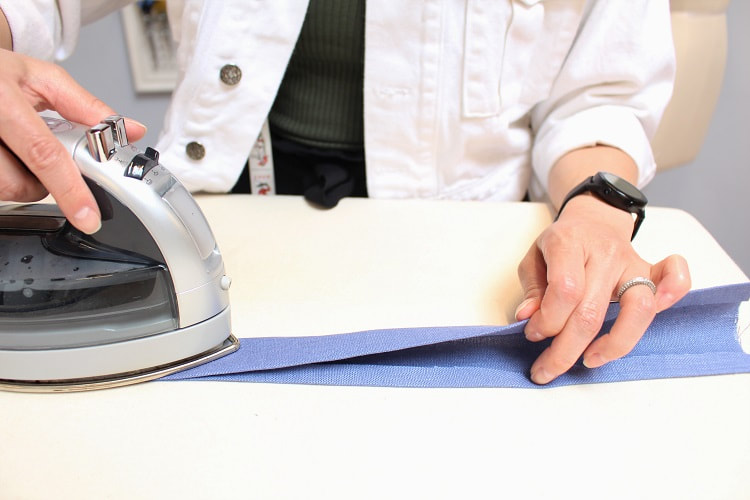
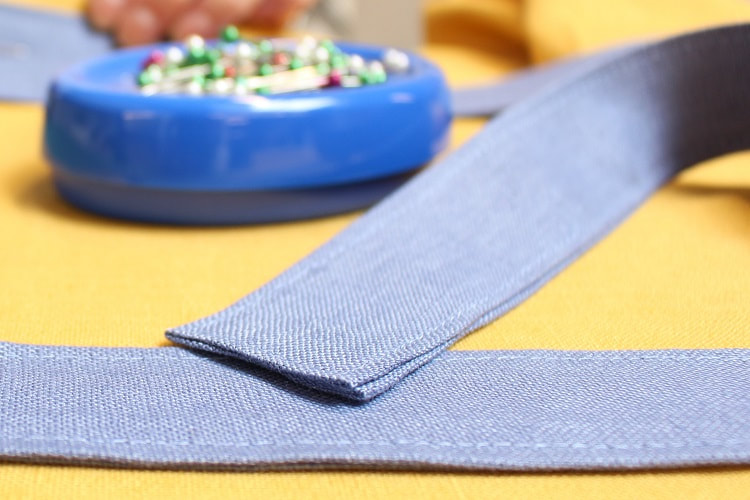
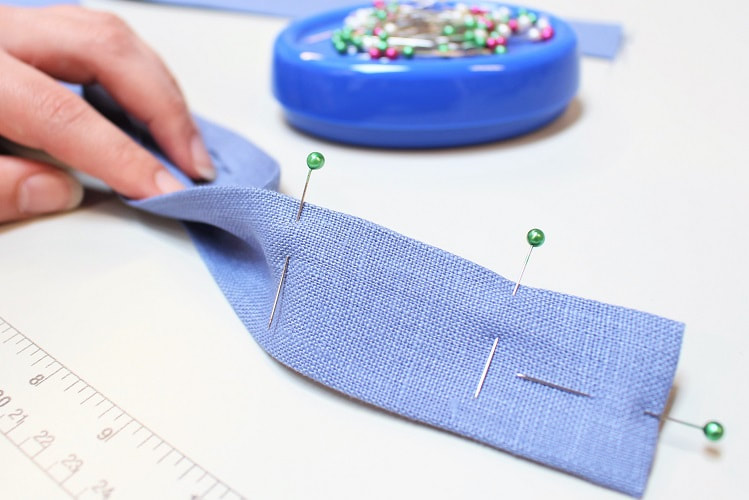
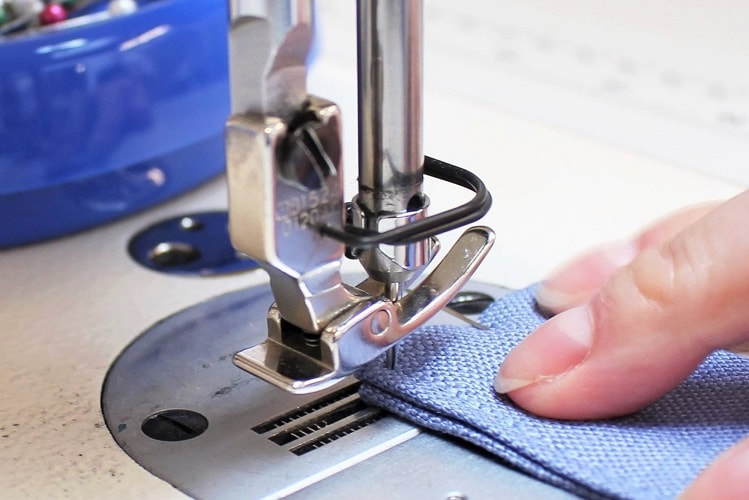
Step 4Pin and edge stitch around the entire strap. Edge stitching is a visible top stitching done 1/16" - 1/8" away from the edge. If you are edge stitching the buttonhole version, you have 3 edges to complete, pivoting at the two corners. If you are edge stitching the non-buttonhole version, you only have to stitch the two longer edges.
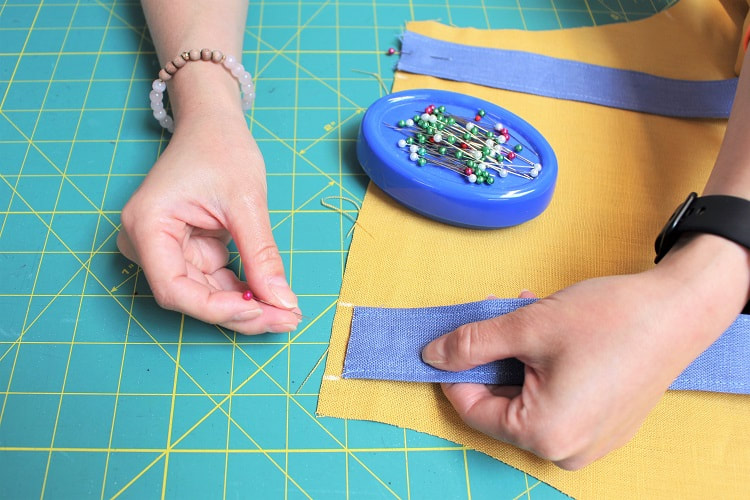
 Repeat steps 1 through 4 for second strap. 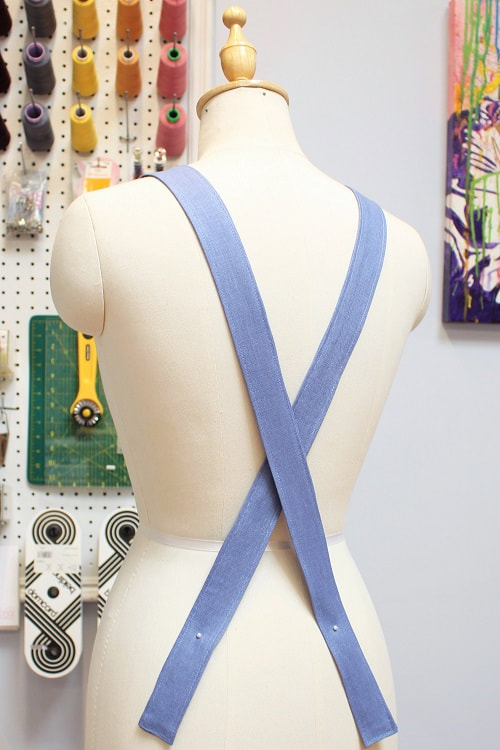 Step 5With the right side of the fabric facing up on one of the main apron pieces, baste ends of straps along the upper front edge at a 1/4" SA. Align strap in between the marked notches (letters L and K from drafting). A stay stitch is a temporary stitch line used to hold multiple layers of fabric in place prior to the next step in construction. It can be done at a longer stitch length of 4mm. Skip to Step 6 if you are creating the buttonhole version. Continue reading below if you are creating the non-buttonhole (sewn in strap) version.
With remaining two strap ends, stay stitch them along the lower part of the armhole at a 1/4" SA. Align strap in between the marked notches (letters N and M from drafting). Ensure you cross the straps to create the crossback design element. Step 6With the right sides of fabric facing, sandwich the straps between side A and side B of the main apron pieces. Mark all pivot corners of the apron for ease of sewing. Pin all the way around the entire apron. 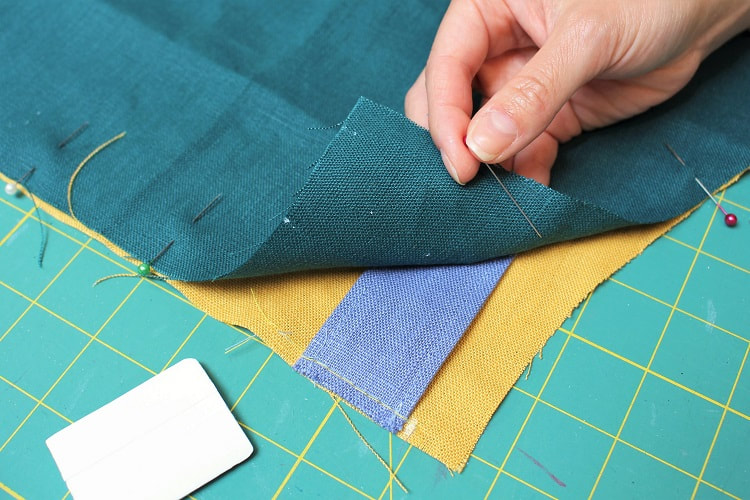
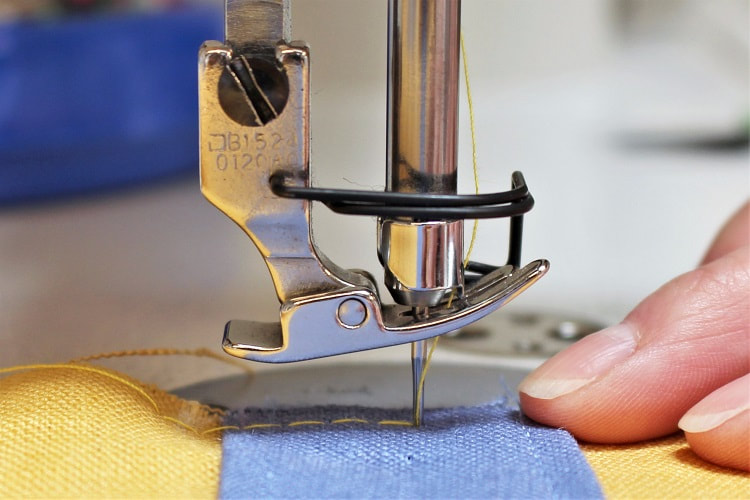
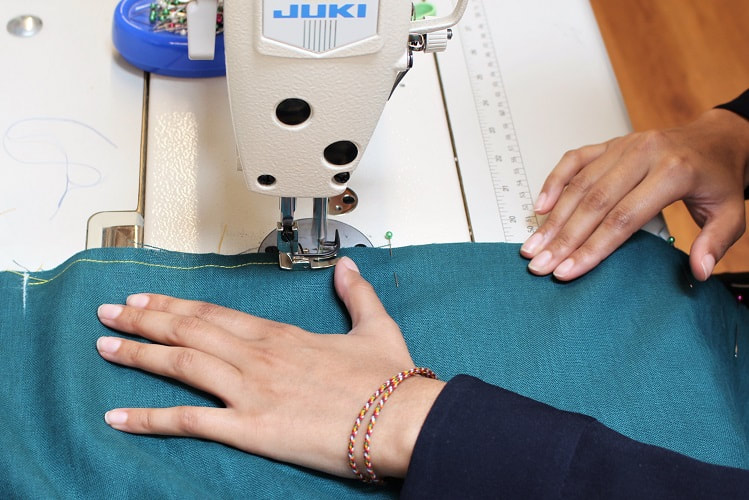
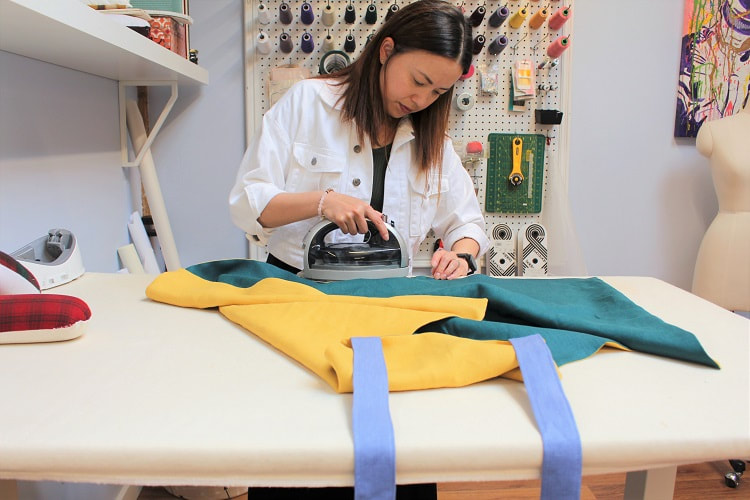
Step 7Stitch around the entire apron at your SA, leaving a 4 - 5" opening somewhere along the bottom of the apron away from the corners. To secure corners, drop stitch length down to 1.5mm, approximately 1" before and after each corner point. Pivot with your needle down when turning the corner.
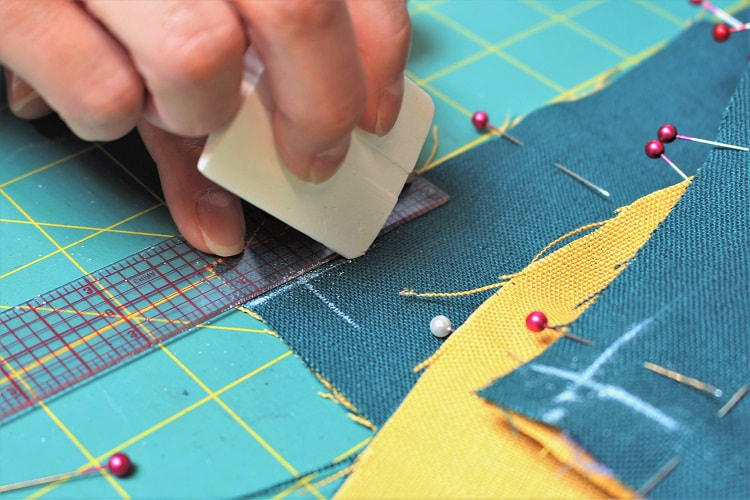
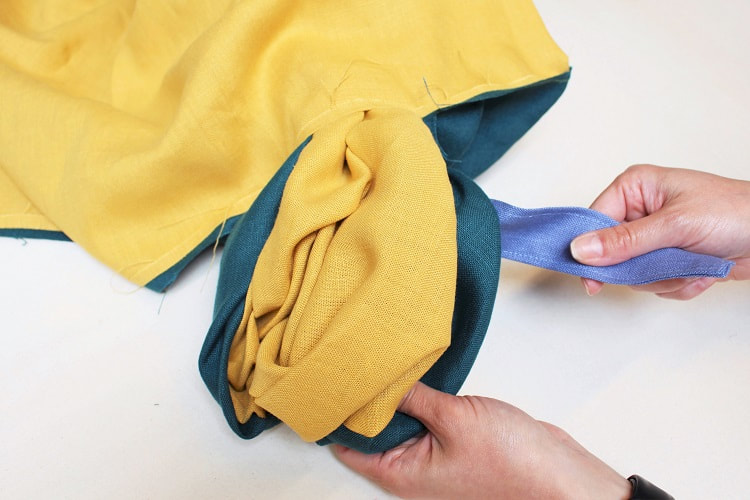
Step 8To reduce bulk in the SA and ensure the apron layers lay flat while worn we need to complete some trimming and clipping within the SA at the corners and along the curved seams. At each SA corner trim away excess fabric on a diagonal, staying approximately 1/16" to 1/8" away from the stitched corner. There are 6 corners to trim.  Along the curved seams (armholes), create small straight clips using the end of your scissors from the raw edge in towards the stitch line, staying at least 1/16" away from the stitch line. Clipping width is approximately 1/2" away from each other and staggered to decrease weak points in the SA. 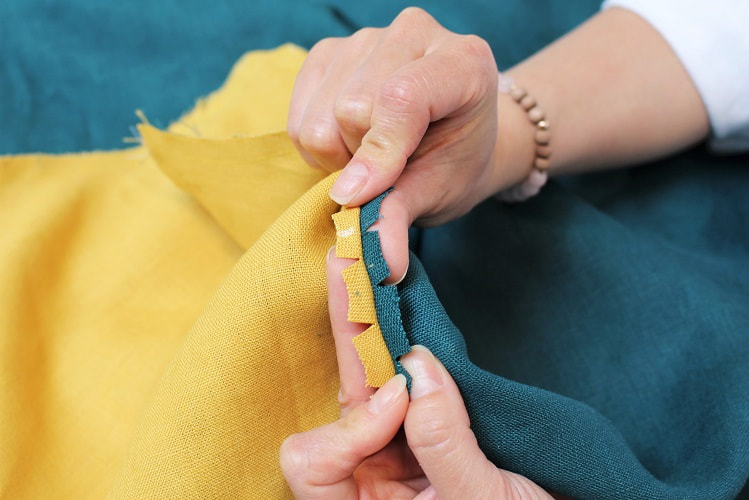 Step 9It’s now time to give birth to our apron! Flip the apron so that all layers are right sides of fabric facing out. Press the apron flat balancing side A and side B.
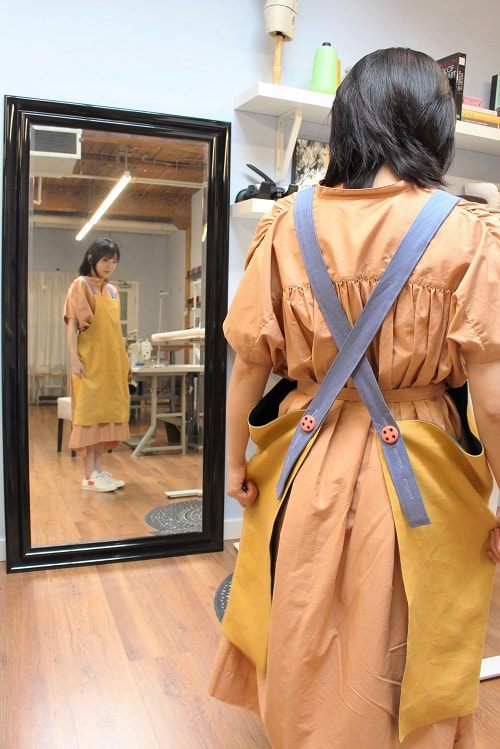
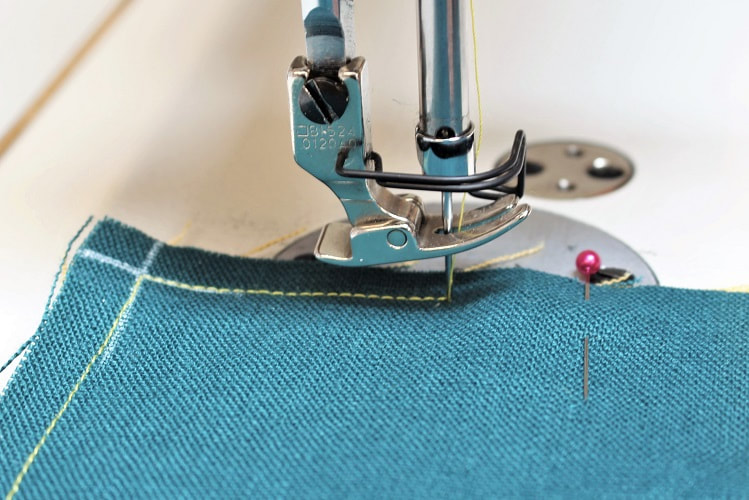
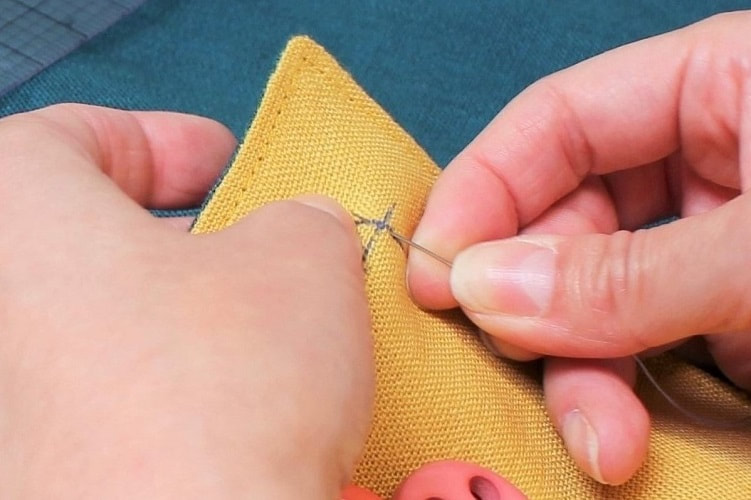
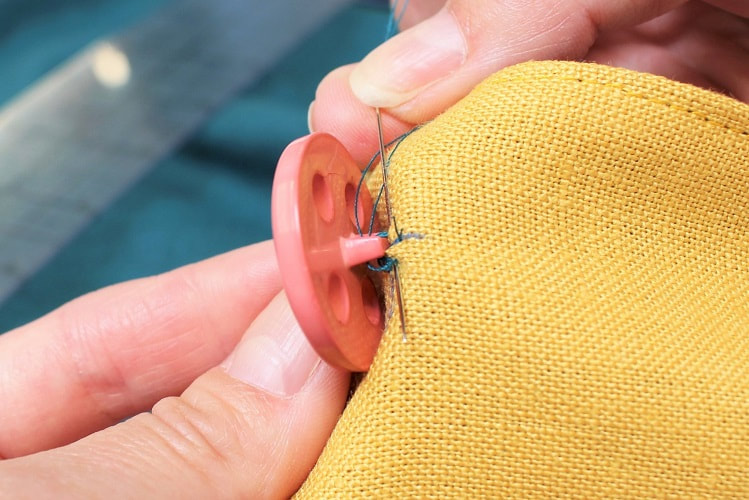
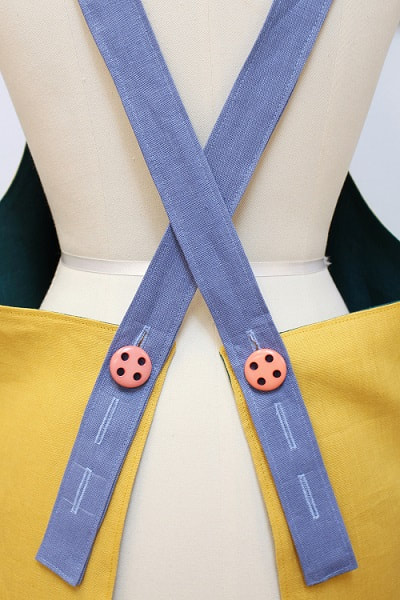
Step 10 (Final step to non-button version)Edge stitch around the entire apron, pivoting at each corner. This step will also close up the opening at the bottom of the apron. Feel free to place a few pins along the opening to ensure the layers of fabric stay put. A great place to start/stop your stitch line is at the bottom of the armhole so the back stitching is not visible from the direct front or back of the apron while worn. 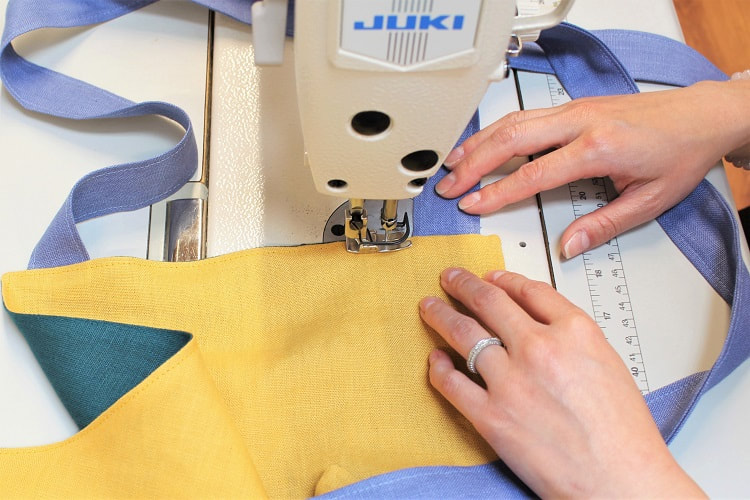 If you are creating the non button version (straps stitched in) you are now done. YAY! Continue on if you are creating the button version for this apron. Step 11 (Button option only)You will require 2 buttons. We have used 1" width vintage buttons. During the drafting process we suggested 3 buttonhole spots to allow the apron to be worn by multiple members of your household. A reminder that the buttonhole markings are indicated by letter V, W and X in your drafting. Mark your buttonholes, set up your buttonhole foot and sew as many buttonholes as you wish on the straps. 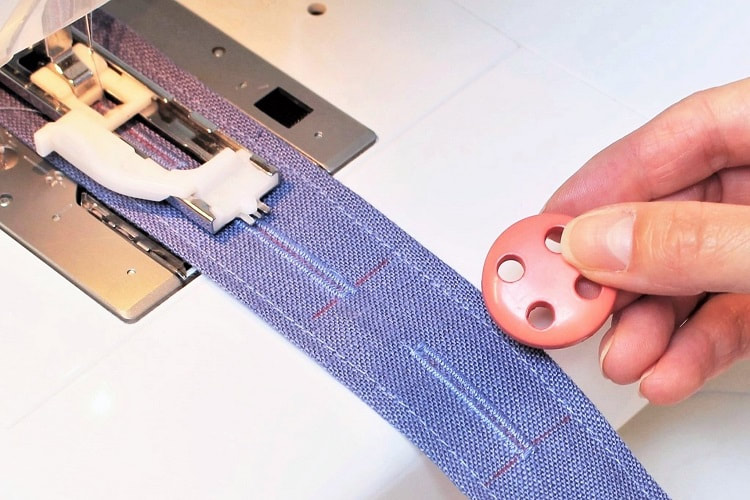 Step 12 (Button option only)Hand sew buttons onto the top corner of the back seam. This apron has the option to be reversible so you could potentially sew 4 buttons onto this design creating back to back buttons. To learn more about back to back buttons check out one of our latest designs— Couture Striped Jacket.
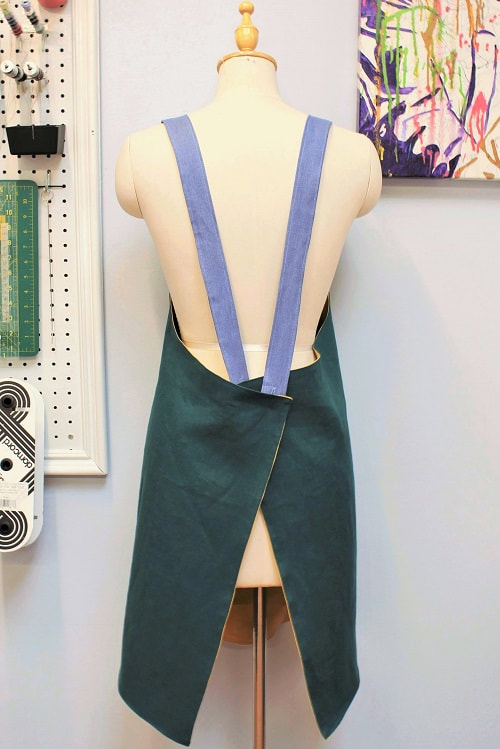
Final DesignTa Da! Your reversible crossback apron is complete.
Tag us in your final make on Instagram and be sure to sign up for our Insider Newsletters to keep up to date with our latest designs and future draft and sew-a-longs. Happy Drafting and Sewing!
Designed, photographed and written by Sheila Wong Studios.
1 Comment
9/5/2020 09:21:25 am
I am really impressed with the outcome of your work. I never thought that sewing can be this fun, as well as helpful. I realized that I needed to learn sewing if I want to help out my family, and so I did. One week in sewing class has given me the fundamental skills that I need to sew for my family. I will come by here again to learn more techniques that will allow me to be better at sewing. Leave a Reply. |
Archives
November 2022
|


 RSS Feed
|
|
Copyright © 2024 Sheila Wong Fashion Design Studio Ltd. All rights reserved.