|
Time for another draft and sew-a-long with me, Sheila Wong! When we are not sewing, many of us have taken to baking and cooking as a means to stay creative over the last few months. This month we are making a reversible crossback apron! In this two-part blog series, we will share the step-by-step pattern drafting and sewing instructions to help you create your own reversible crossback apron. Welcome to part one, the draft-a-long.
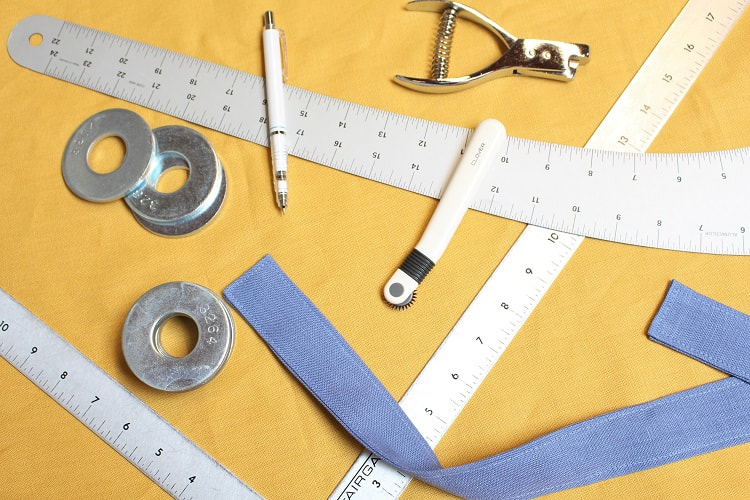
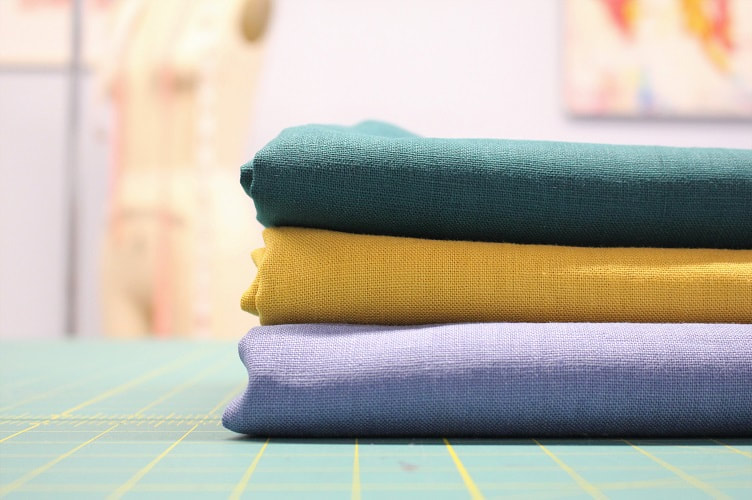
A crossback apron (sometimes referred to as a Japanese-style apron) is a no-tie, pinafore style apron that is typically made of a lightweight fabric such as cotton or linen. Grab your supplies and let’s start drafting! 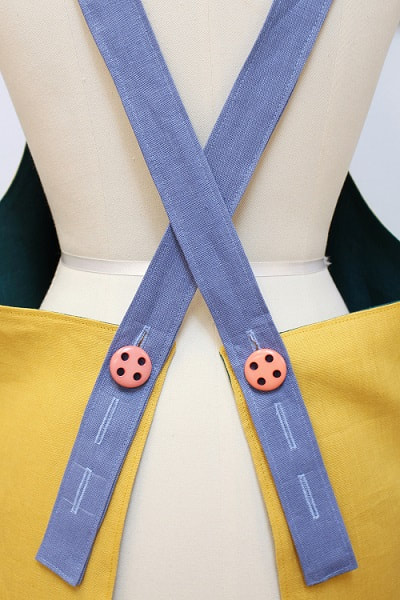 Drafting Supplies
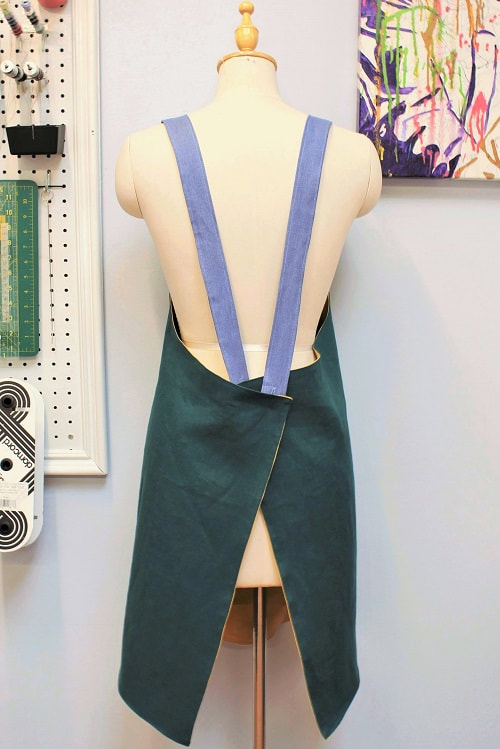
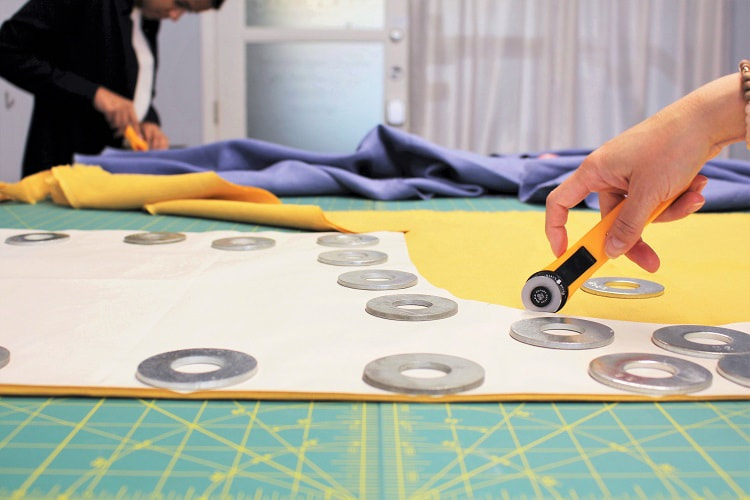
 Drafting StepsIn these drafting instructions, we will be suggesting lengths and widths to fit a range of body types. Please note if you wish to personalize certain areas, go for it! We will make a note where you can personalize.  A to B= Draw a long vertical line close to the left hand side of your paper. Create A and B cross-marks equal to the desired length of the apron (30"). You can personalize this measurement. Our team in the studio averages a height of 5' 4", so we have used 30" for this example. B to C= From point B, square out a guideline creating the bottom of the apron. Measure out 20", label C. This measurement can also be personalized. We recommend measuring your hip circumference and divide by two. The wider this measurement the more overlap the back of the apron will have. Play around with this number to achieve the desired level of crossback. C to D= A to B measurement minus 9” (30" - 9" = 21”). From point C, square up a guideline. Measure up 21", label D. From point D, square in a guideline towards A to B line, label E where it hits the A to B line. A to F= From point A, square out a guideline creating the top of the apron. Measure out 5", label F. F to G= From point F, square down a guideline towards D to E line. Label G. G to H= Draw a 45 degree guideline in the NE direction from G. Measure along guideline 3”, label H. D to I= 5" E to J= 1" Draw in armhole connecting F - J - H - I - D. Curved section is between J - H - I. F to K= 1/4" K to L= 1 1/2". Please note K and L will become the shoulder strap notch placements. D to M= 1/4" M to N= 1 1/2". Please note M and N will become the end of strap back notch placements. 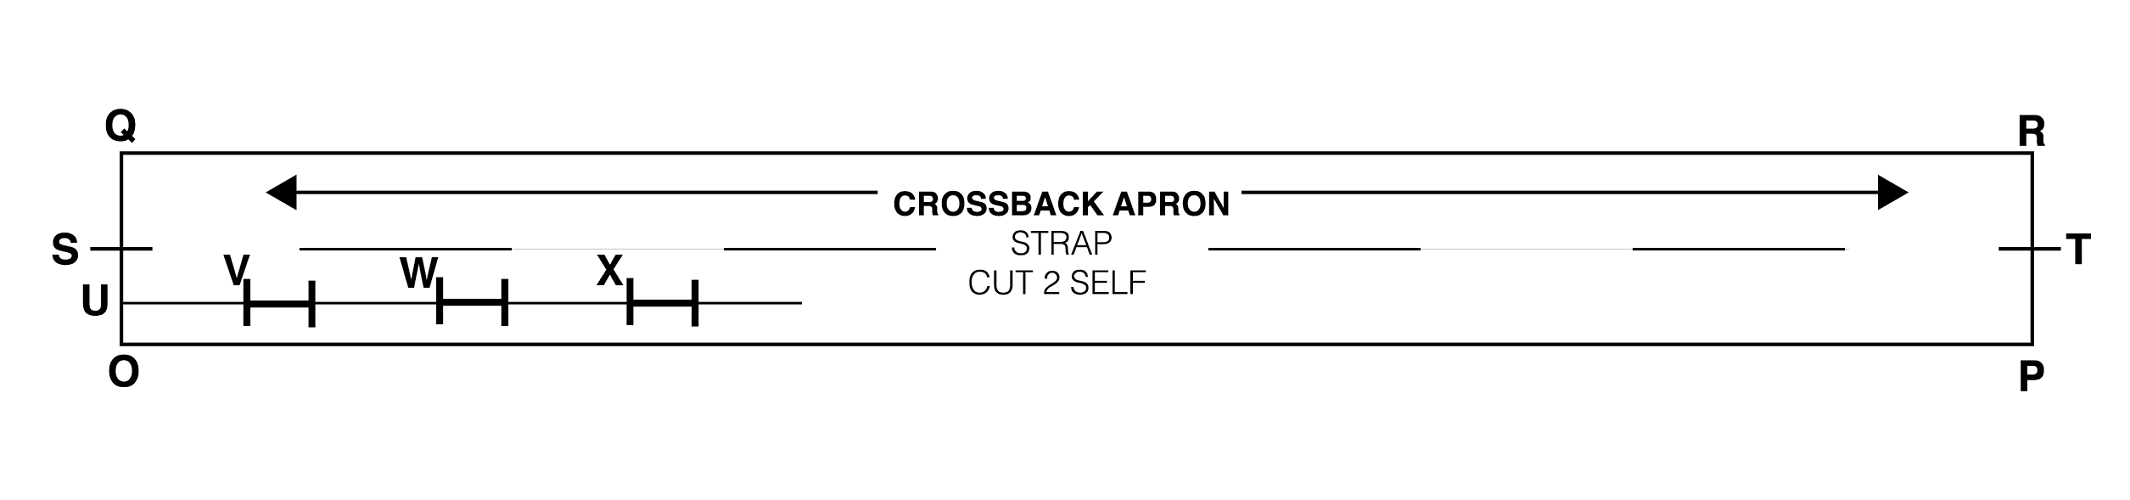 O to P= Draw a horizontal guideline close to the bottom of the paper. Create O and P cross-marks equal to the desired length of the strap (30"). 30" works well if you are creating an adjustable button strap option. If you are opting for a sewn in strap version, we recommend using a length between 22-25". Please personalize accordingly. O to Q= From point O, square up a guideline. Measure up 3", label Q. P to R= From point P, square up a guideline. Measure up 3", label R. Draw a line connecting Q and R. S= Midway between O and Q (3" divided by 2= 1 1/2") T= Midway between P and R (3" divided by 2= 1 1/2") Feel free to draw in a dashed line connecting S and T. This creates a fold line in the strap. Stop drafting here if you are creating a sewn in strap. Continue on if you are creating an adjustable button strap option. U= Midway between O and S (1 1/2" divided by 2= 3/4". Square right a guideline for buttonhole placement. U to V= 2" V to W= 2" W to X= 2". Point V, W and X are the starting points of each buttonhole. Buttonhole length is personalized to the size of your button. Mark Sewing Notches= Using a colored pen/pencil highlight points H, K, L, M, N, S, and T. Include V, W, and X buttonholes. Draw in Grain-lines= On MAIN APRON, draw in a parallel line to A to B line. Bend ends of grain-line towards center front to represent on fold position on fabric. On STRAP, draw in grain-line parallel to O to P line. This completes your working pattern. To create your final pattern to use for sewing, place a blank piece of paper under your working pattern, weigh it down and transfer your pattern using a tracing wheel. Ensure you transfer not only the shape of the pattern but also the highlighted notches and grain-line. Add your desired seam allowance to the final pattern. We suggest using a 3/8” seam allowance. Draw in notches, grain-lines and labels as follows. CROSSBACK APRON MAIN APRON CUT 1 SELF (MAIN) ON FOLD CUT 1 CONTRASTING (LINING) ON FOLD CROSSBACK APRON STRAP CUT 2 SELF (or contrasting if you are feeling jazzy!) Ready to cut your fabric? Click this link: Sew-a-long: Crossback Apron (Part 2 of 2).
Happy Drafting!
Designed, photographed and written by Sheila Wong Studios
0 Comments
Leave a Reply. |
Archives
November 2022
|

 RSS Feed
|
|
Copyright © 2024 Sheila Wong Fashion Design Studio Ltd. All rights reserved.