|
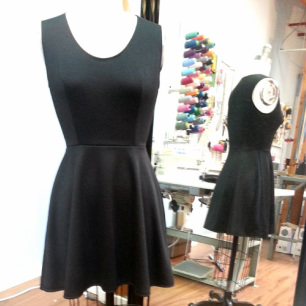
Summer is blazing and I just want to wear easy items. In this tutorial I will show you how to sew a little black knit dress for summer using only a serger and cover-stitch machine. Materials & Supplies
Construction StepsI am going to break the construction steps into 3 parts to make it easier to follow.
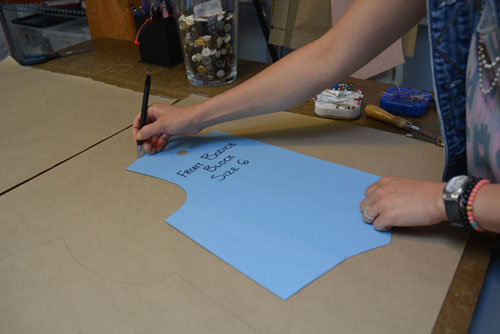
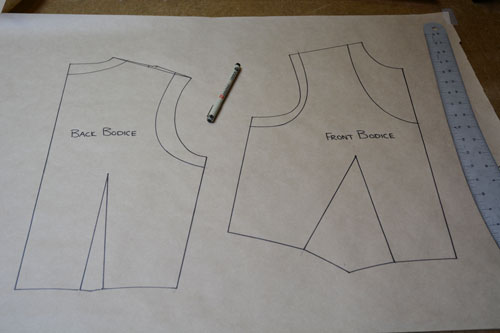
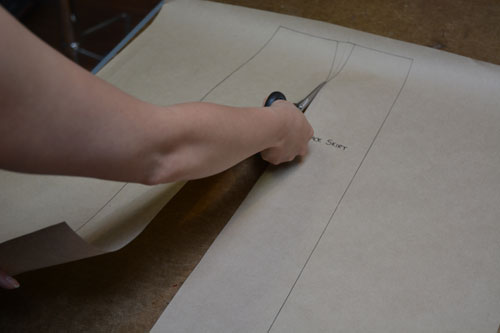
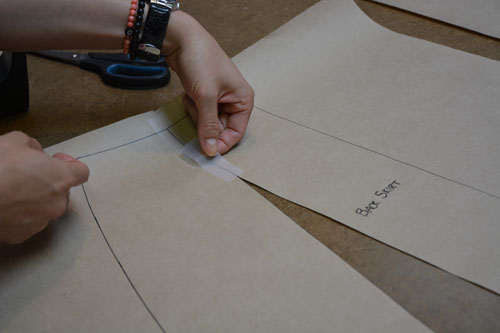
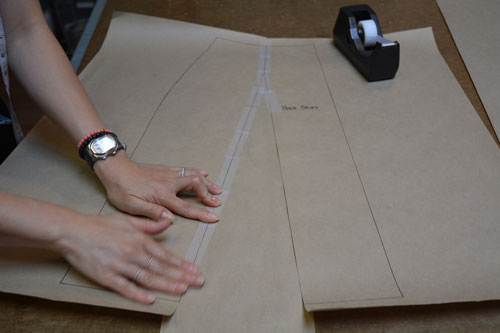
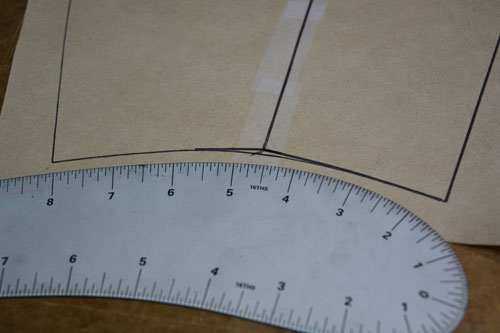
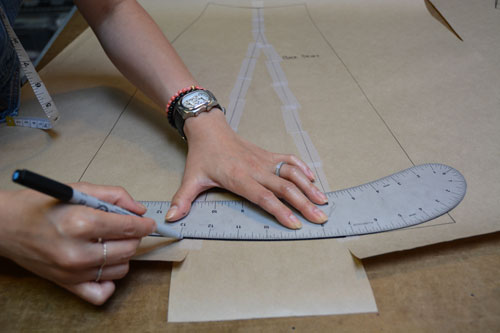
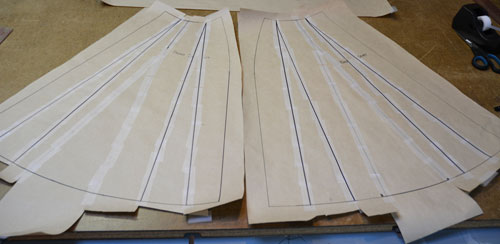
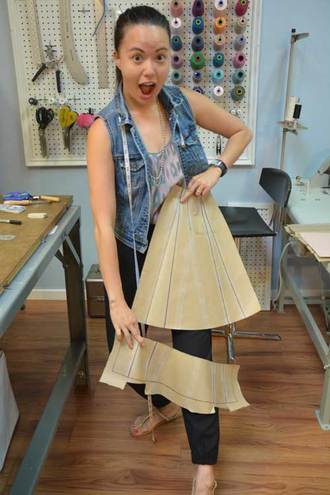
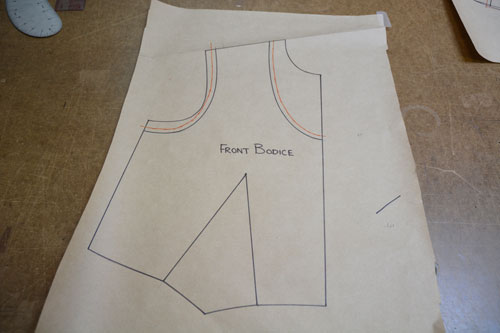
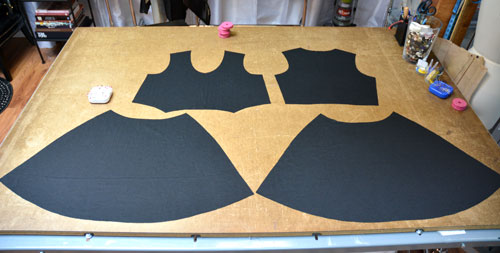
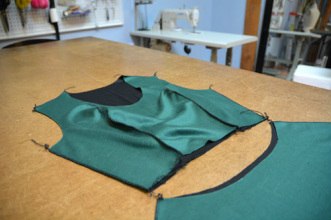
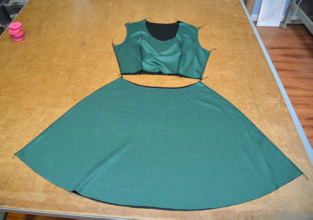
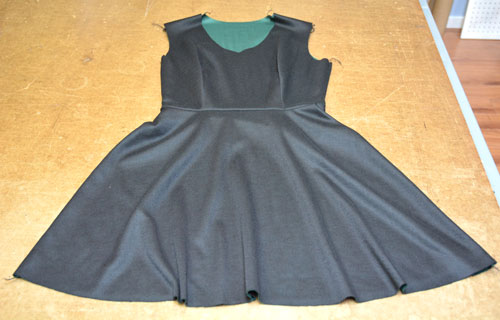
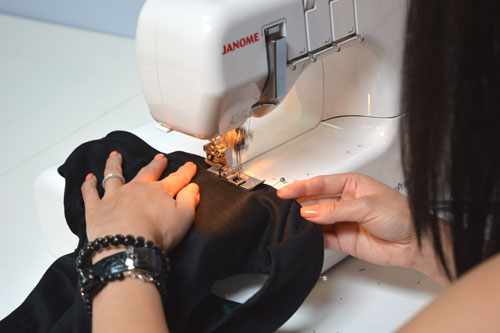
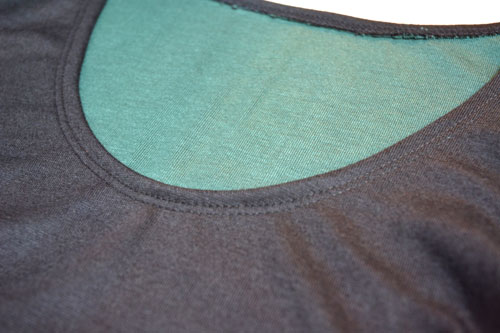
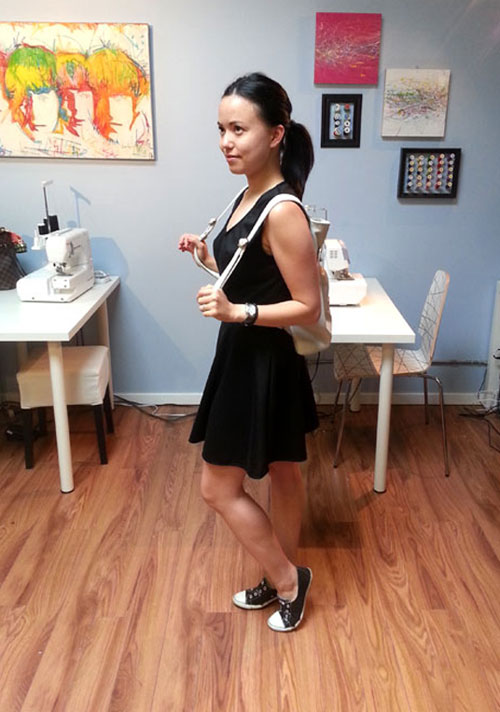
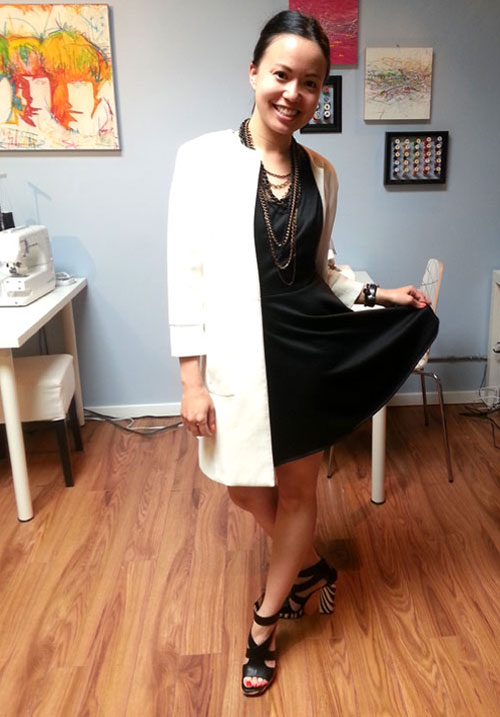
Just for fun, the entire process was filmed. Here is a fast forward edition on the little black knit dress. Pattern DraftingStep 1To begin, you will require bodice and skirt blocks in your size. Trace all blocks out. These will include Front Bodice, Back Bodice, Front Skirt and Back Skirt. Blocks are a template based upon ones measurements, in which you can create specific designs from. If you would like to learn more about creating your own set of blocks, book lessons with me. Step 2Adjust necklines and armholes to be more suitable to a knit dress. You will notice I decreased the shoulder seam, made the neckline bigger and dropped the armhole. Step 3A basic skirt block is a straight skirt. I want my LBD to have some flare to the skirt. We can easily add flare by closing up the waist darts. To close up a dart, you will first need to draw a slash line from the dart point straight down to the hem. Then cut up the slash point, continuing up one dart leg as shown in top left photo. Place the dart legs on top of each other and hold securely with tape.You will now notice flare has been added to the basic skirt. Grab additional pattern drafting paper and place under the flared section, tape in place. Time to adjust a few areas. Smooth out the waist where the dart has been closed and the hem where flare has been added. I want my skirt to have extra flare. To do this, add additional slash lines from waist to hem. Cut up the slash lines, keeping the waist at zero. This is when you can decide how much flare to add. I added a 3`width opening at the hem. Remember to add the same amount to all slash lines to keep a balanced look. Below is my complete FRONT and BACK skirt pieces with additional flare. Step 4I found the skirt block length to be too long for this summer dress, so I removed 5 inches from the skirt. Step 5Basic blocks do not include seam allowance, so lets add seam allowance. I will be using only a serger and cover-stitch machine to construct, thus I will not be adding much seam allowance. 1/4" seam allowance has been added to the neckline, armholes and hem. I have not added seam allowance to the side seams or shoulder seams because I am using a knit fabric. There is enough stretch is the fabric to get away with this. Step 6Here are my dress pieces cut out and ready to sew! Over-lock (Serg) SeamsStep 7Pin and serge darts, side seams and shoulder seams. Do not worry you are not color blind, the interior of my fabric is green! Step 8Pin and serge waist seam. Remember to line up side seams. Cover-stitch OpeningsStep 9Now to finish off any raw edges. Pin raw edges of openings in by 1/4" and cover stitch. Openings include neckline, armholes and hem. If you do not have a cover-stitch machine, use a zig-zag stitch. A cover-stitch machine creates a finished top-stitching look on the right side of the garment and a serged look in the underside. It allows the knit fabric to stretch with ease without breaking the thread. Finished DressThis little black dress is extremely versatile. Below I show you how I would wear the dress casually and dress it up. Which one do you like better? Hope you have enjoyed this fun summer tutorial. If you have any questions or comments, please post below.
Written & created by Sheila Wong Photographed by Anntanya Shair Happy Sewing!
1 Comment
10/27/2015 04:35:48 am
In this tutorial I will show you how to sew a little black knit dress for summer using only a serger and cover-stitch machine.
Reply
Leave a Reply. |
Archives
November 2022
|
Copyright © 2024 Sheila Wong Fashion Design Studio Ltd. All rights reserved.

 RSS Feed
