|
Creation of my latest design started a year ago. Read on why the silk top took so long and get an inside view on the construction details.
Project Specs
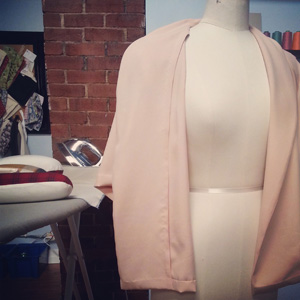
FabricI tend to purchase my fabric first then decide later what design it will become, because well I just have a weakness for fabric! If the fabric feels nice I know I will want to wear it one day. I purchased my fabric in Toronto at King Textiles on Spadina Avenue back in May 2013. Looking back, I regret not purchasing more fabric. Unfortunately, I do not remember the exact type of silk, but I am aware it is a type of raw silk. It has a matte appearance but light and soft hand feel. Perfect for the drape of this design. Pattern DraftingThis design came out of pure accident. I really liked a house robe I made two years back, but felt I could update the pattern to wear during the day. I slimmed down the shawl collar, lifted the hem to hit at the hip line and widen the sleeves to give a more kimono feel. The pattern was actually adjusted back in June 2013 and fabric cut shortly after. Like most designers....you do not get to the construction stage right away. Design ElementsNow jumping to April 2014, construction of this silk top finally began! Here is an inside look into several important design elements. Shawl CollarA shawl collar starts at the CB (center back), curves around the neck and continues to the front hem of a garment. This type of collar adds a unique look in comparison to a common notched or peaked collar.
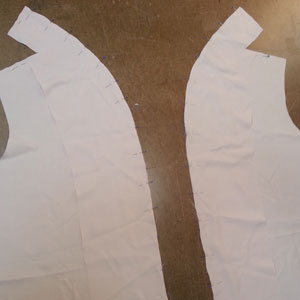
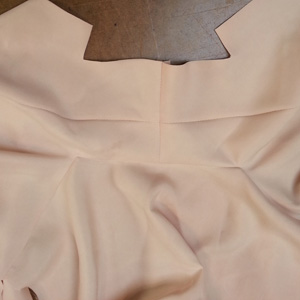
Sewing the collar itself is simple (above photos). Attaching on the collar (below photos) at the neckline to the back bodice was not a pleasant experience. The neckline of the collar had a pivot point and the back bodice had a slight curve, sewing two very different things takes patience, accuracy and perhaps a lot of hand wheeling.
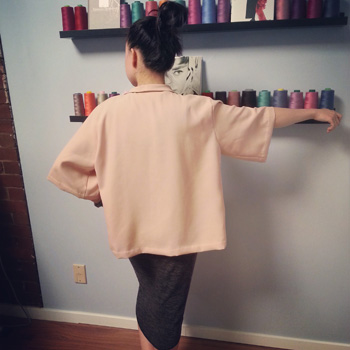
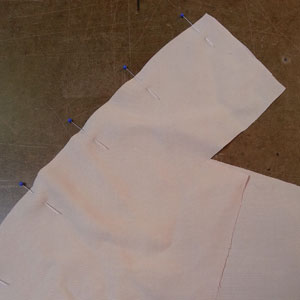
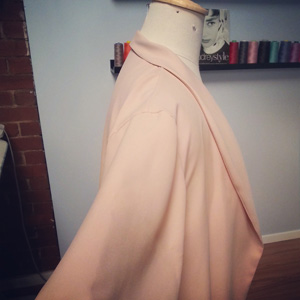
To ensure my collar sat flat at the CB seam, I trimmed away any excess (unnecessary) bulk in the seam allowance area. Ideally you only want 2 layers of seam allowance at all times, any extra trim away as shown in below photo. I am holding open with scissors one side of the seam allowance, the other side should be trimmed as shown too. 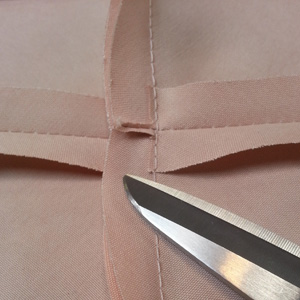 I tucked in the seam allowance on the inside collar piece and slip stitched down. I wanted to avoid any raw edges as this garment is not lined. 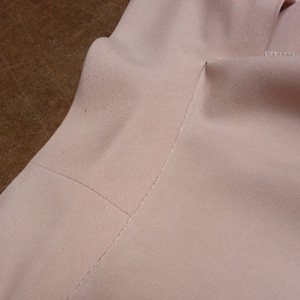 Voila! Shawl collar complete. 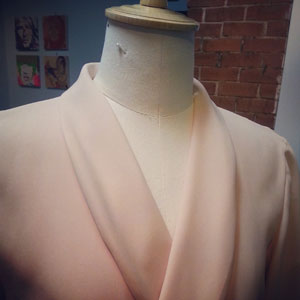 Over-sized SleevesThe sleeves are one of my favorite elements to this top. I made them over-sized to add to the boxy feel and to balance out the flare of the bodice. Sleeves are inset.
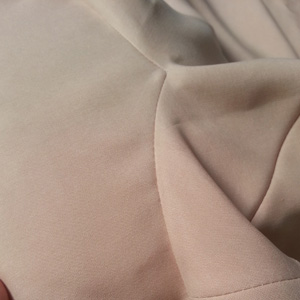
Front FacingTypically shawl collars call for a facing as the collar is folded down when worn and to hold the shape of the collar. Thus mine did the same.
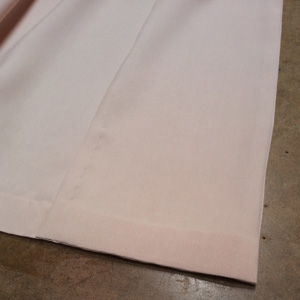
Again I did not want an exposed raw edges, so I folded in twice the length of the facing and slip stitched shut. I decided to hand sew the hem facing to the bodice facing so that there was weight to the front of the garment and so the facing would not flap around when worn. Hand Sewing HemMost of the hand sewing was applied to the hem of the bodice and sleeves. The top is extremely flared/boxy, so hand sewing the hem took some time. A blind slip-stitch was applied here.
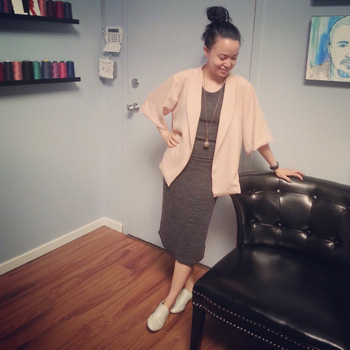
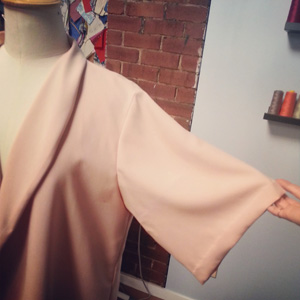
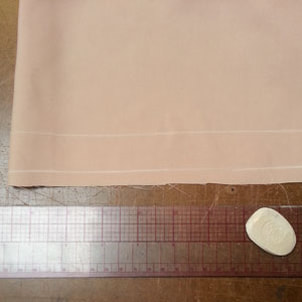
You may notice that I used silk pins as to not damage the silk or leave holes. My recommendation when hand sewing a hem on silk fabric is to not pin until you know you are ready to complete the hand sewing. This will decrease the appearance of any holes from pins, regardless if you are using silk pins. Final DesignThis silk top will definitely be a versatile piece going into Spring. I first wore it with a burgundy Community (Aritzia) short sleeve top, modern jogger pants and Attilio Giusti Leombruni shoes. 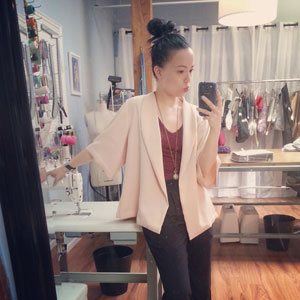 Book private lessons if you are interested in making this top.
Happy Sewing! Designed, photographed and written by Sheila Wong Studios
1 Comment
|
Archives
November 2022
|

 RSS Feed
|
|
Copyright © 2024 Sheila Wong Fashion Design Studio Ltd. All rights reserved.