|
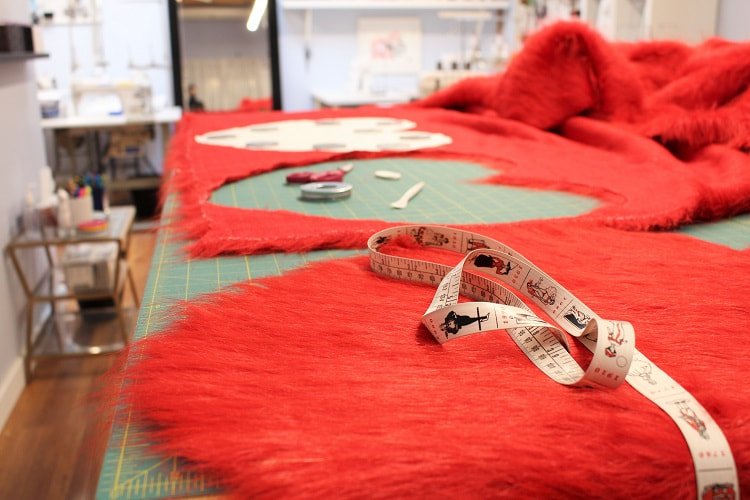
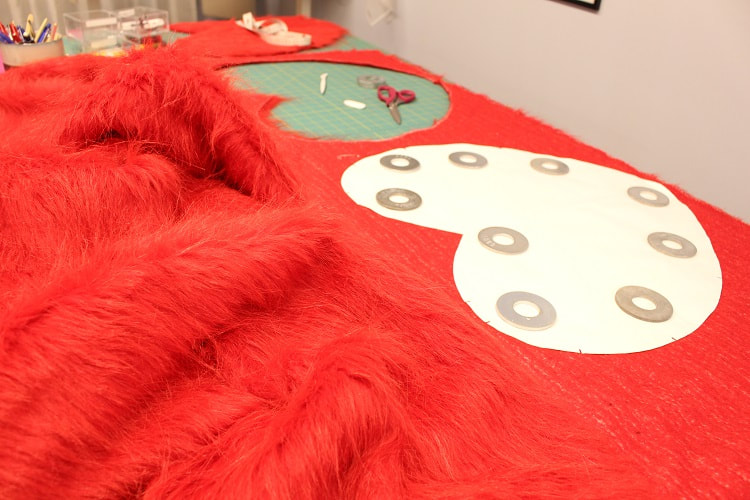
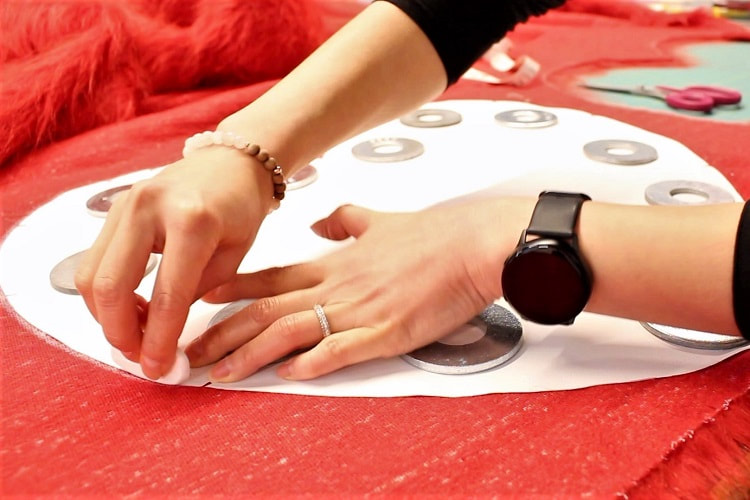
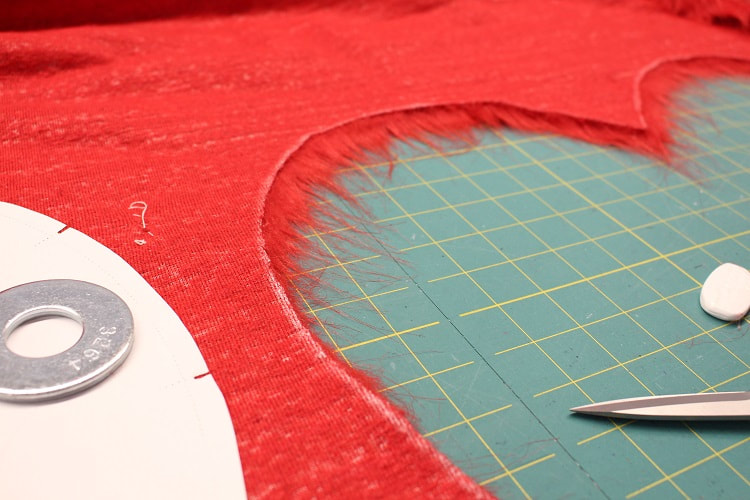
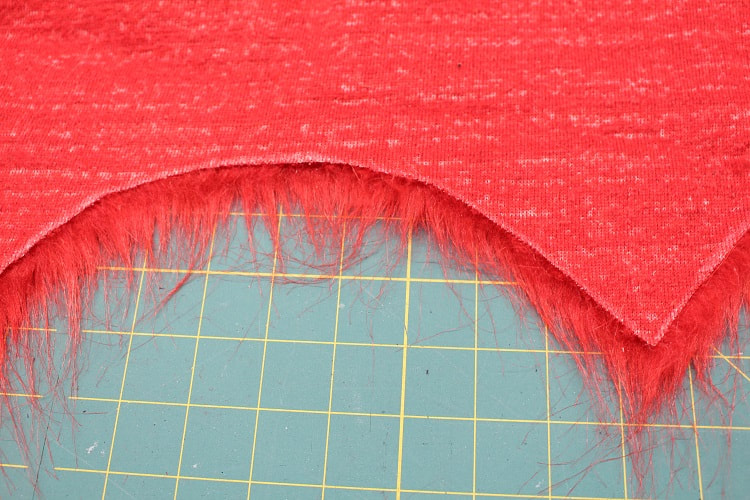
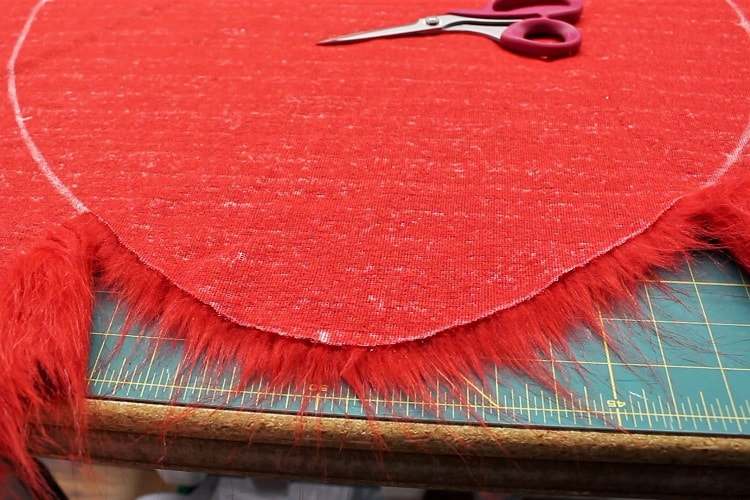
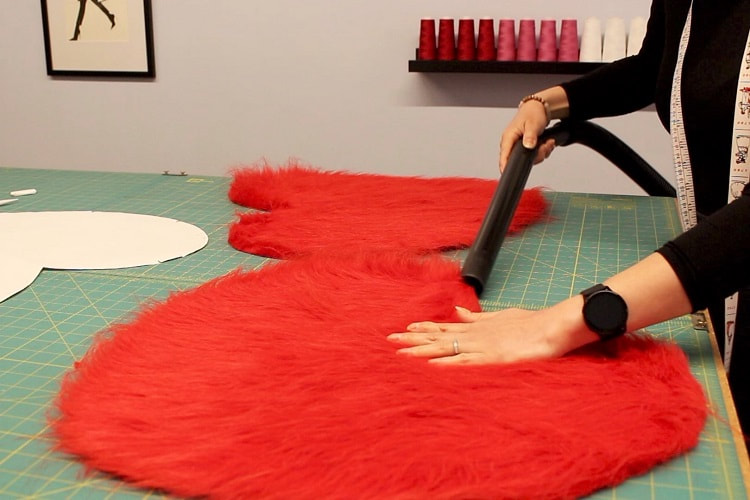
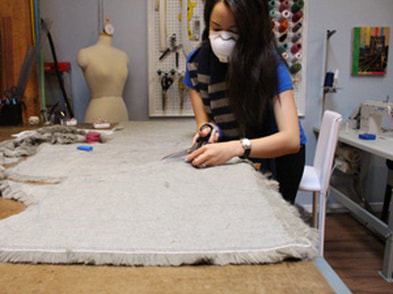
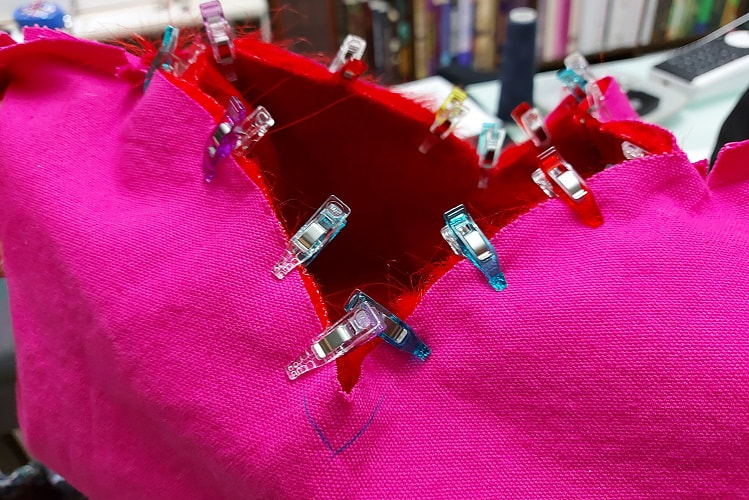
For Valentines Day our studio celebrated love by creating an intricate Quilted Heart Bag. The love continues with our latest design- Faux Fur Heart Bag. Full disclosure, I adore sewing with faux fur, so I jumped at the opportunity. This adoration all started as a teenager where I experimented with faux fur dance costumes. I still have a bin of faux fur I work with occasionally. This bright red from Fabricana is definitely the boldest color I have ever worked with. In this blog post, I will dive in-depth into how to cut out faux fur without creating a fuzzy mess. You even get a short YouTube video of my must-do steps. Please let me know in the comments below if you would like a second blog post focusing on sewing with faux fur. Cutting Faux Fur TipsIf you have ever cut into faux fur you have probably experienced fur fibers flying in the air, sticking to the walls, your clothes, and possibly in your mouth. The mess deters many of us from cutting into this fun fabric. After two decades of working with faux fur, I now implement a few essential steps. Here is a step-by-step how to cut faux fur on your own. Video and photo options available below. Step 1Layout fabric with the wrong side (backside) facing up. Be aware of the fur direction (nap). You can even chalk in an arrow on the wrong side for guidance. Once you have your pattern pieces on grain, weigh down the pattern and begin marking around the pattern and the notches. Avoid pinning pattern pieces down as it will distort the pattern edge shape. Once marked, remove weights and pattern. It is important to note we will be cutting one layer at a time. If you are cutting out any asymmetrical pattern pieces, ensure you flip your pattern pieces as you proceed cutting out any more than CUT 1 patterns. Step 2Cut through just the backside of the fabric along your marked lines, avoiding the fur pile. DO NOT cut through any fur. You want to maintain the length of each fur fiber. With high-quality faux fur, you can glide your fabric scissor edge along the backside of the fabric avoiding any closing of the scissors on the fur itself. Once cut, pull out each pattern piece. This is where the magic happens! If you have cut correctly, there will be minimal fur stray bits. Step 3Keep a vacuum handy. Vacuum all the edges of each piece after cutting to remove away any excess dust or fibers hanging on. If you have leftover fabric, be sure to vacuum the cut edges before storing them away. Bonus TipAlways wear a mask when cutting out high pile fabrics like faux fur. For years, we have kept N95 masks in the studio for this purpose. Here I am in 2015, cutting out faux fur for a fully lined vest. Project SpecsFinal ThoughtsI hope this blog post provided you with the confidence to cut into faux fur fabric. Fun fact, items I have made using faux fur include a vest, stole, bolero, skirts, dresses, crop tops, triangle tops, boot coverings, and bags. Happy Sewing!
Designed, photographed, and written by Sheila Wong Studios.
2 Comments
3/20/2023 07:03:23 pm
Reply
Penny
1/21/2024 05:21:57 pm
Thanks for sharing
Reply
Leave a Reply. |
Archives
November 2022
|
Copyright © 2024 Sheila Wong Fashion Design Studio Ltd. All rights reserved.



 RSS Feed
