|
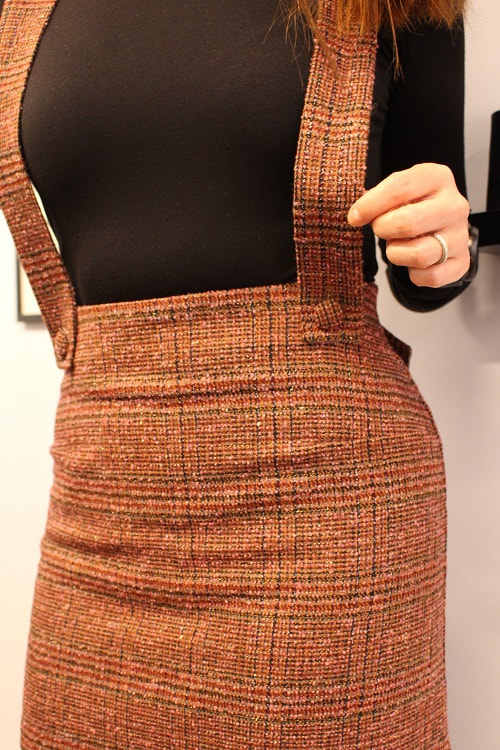
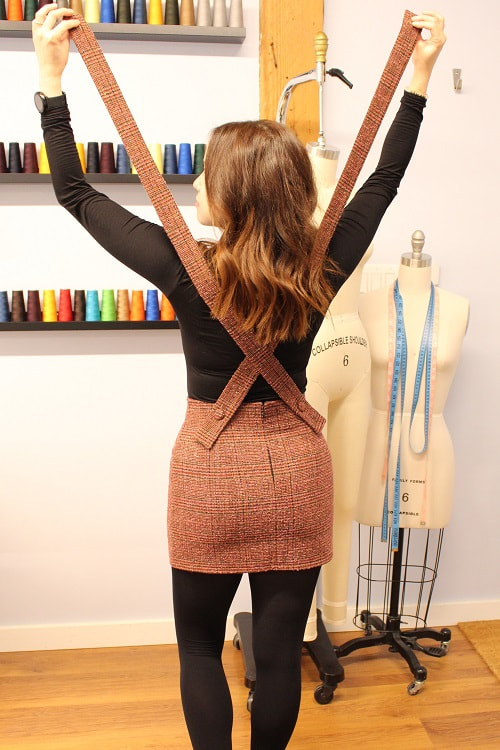
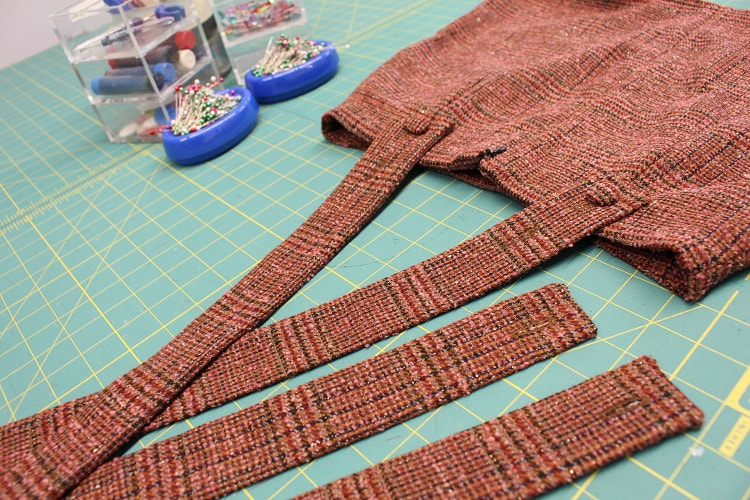
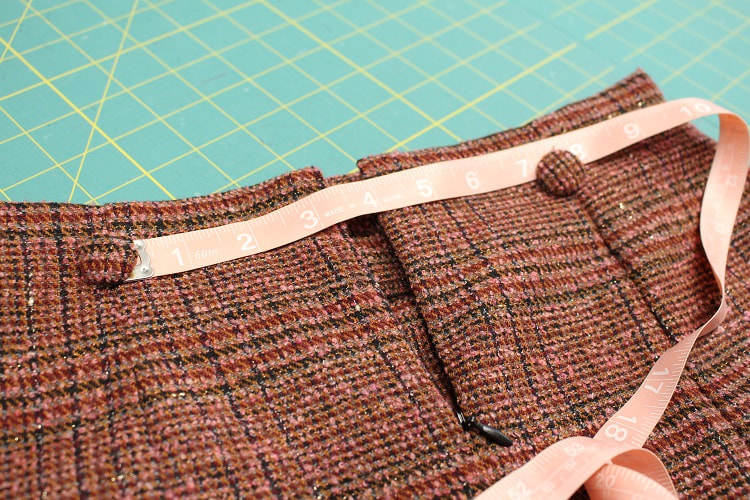
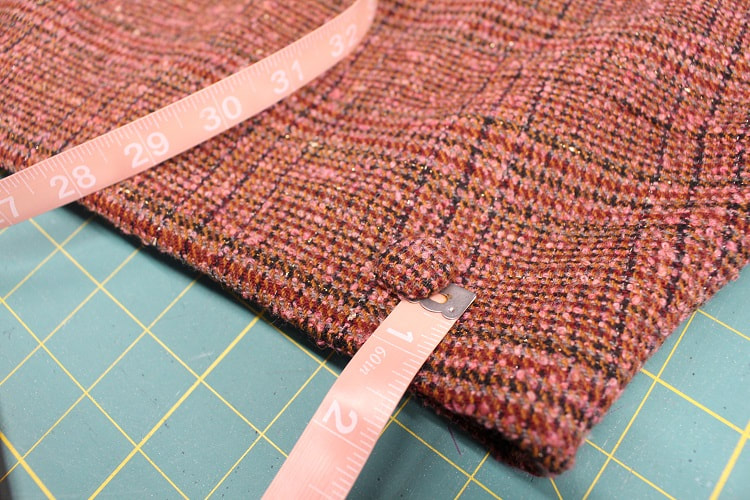
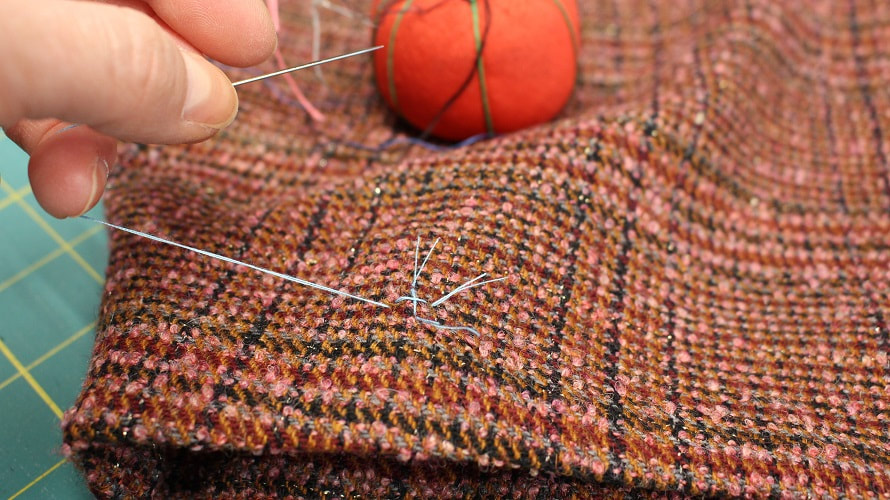
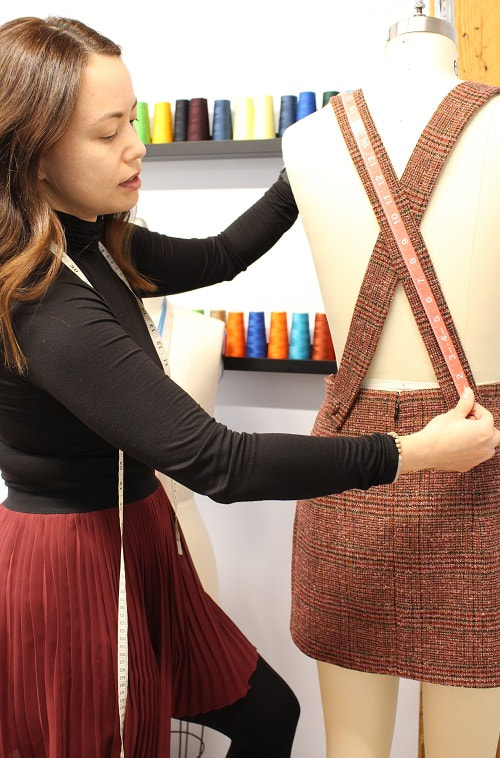
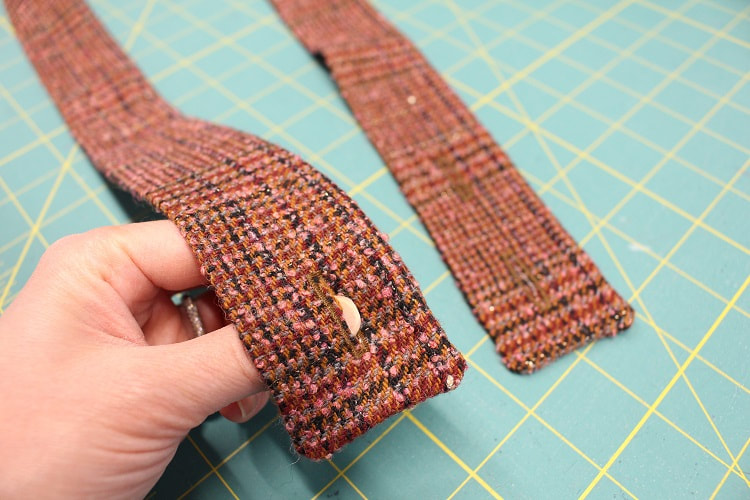
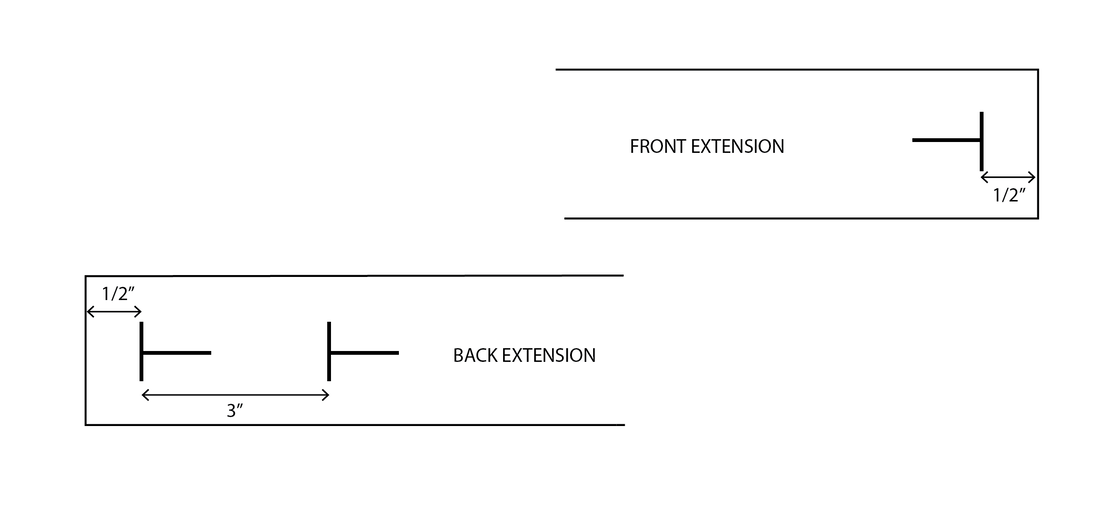
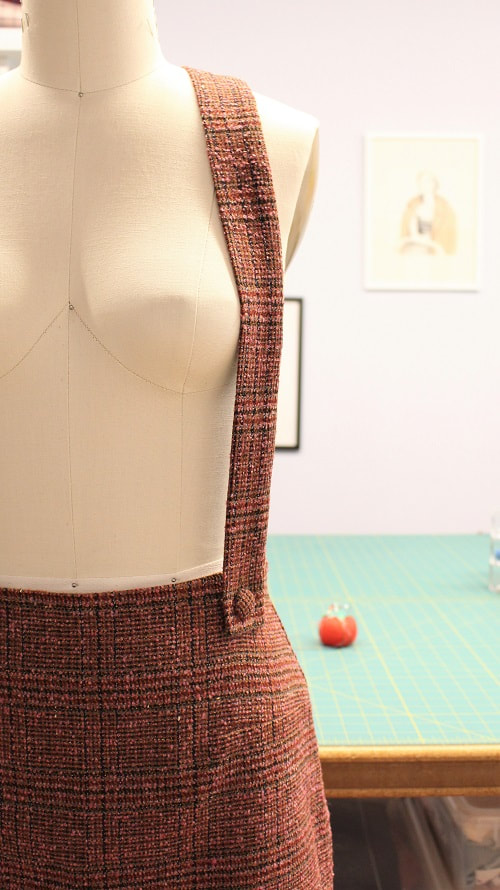
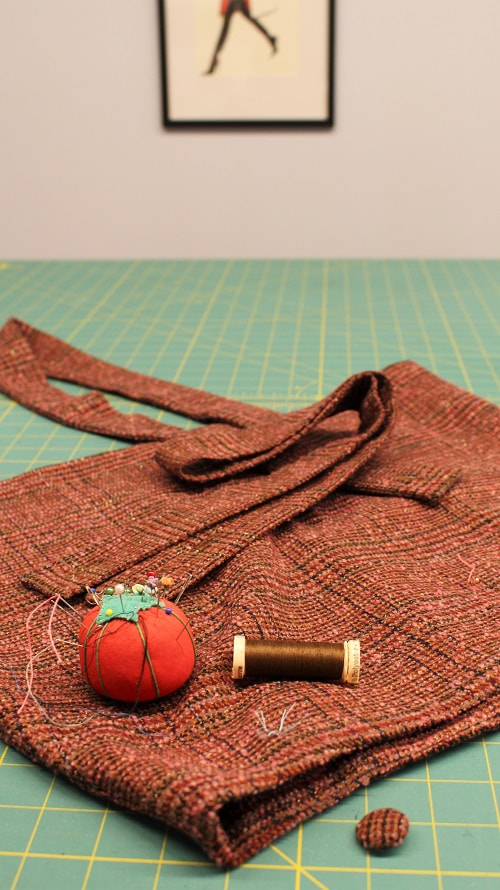
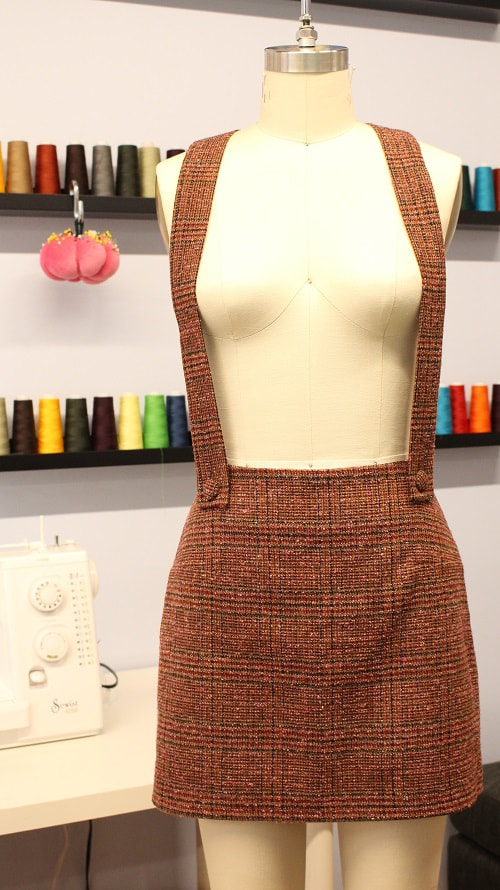
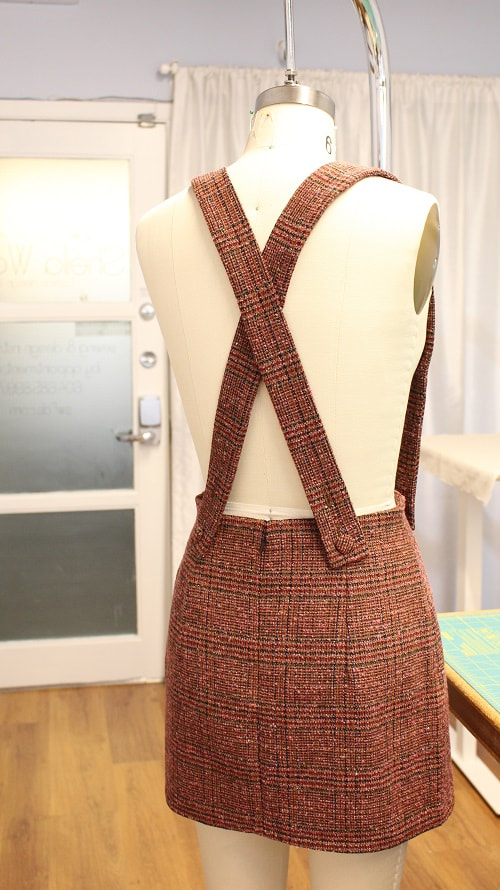
A straight woven skirt is an item all novice beginners learn while entering into the world of garment construction. You learn a variety of skills from darts, zipper installation, seam finishing, hemming, and basic hand sewn finishes. Our clients in our Intro to Garment Construction course learn just that in one of two projects. While working with one of our latest clients in Intro to Garment Construction, we demonstrated using a beautiful plaid from Atex Designer Fabrics. Our team really felt the retro color palette and vibe of the skirt could be elevated with some fabric suspenders. I had to share with you the step by step process for many reasons. Fabric suspenders are so easy to construct, it uses up scrap fabric, and you get a whole new look for a skirt. Here is a tutorial on how to measure, draft and stitch up your very own fabric suspenders. Go grab yourself a skirt you think needs an upgrade! Step 1Decide where you would like buttons placed on the front and back of the skirt. In our example the buttons are approximately 3- 3 ½” away from the CF and CB of the skirt and 1 ¼” down from the waistline. Mark with a pin or thread mark button placement. Feel free to hand sew buttons on at this point or wait until the end when suspenders are fully constructed. Step 2While wearing the skirt, measure from front button placement around shoulder to back button placement. Record measurement. Our length is 36” with a cross-back formation. Step 3Draft out the suspender pattern as follows. Length= Button to button measurement (from step 2) + 3” (back extension) + 1” (front extension). The back extension will allow space for two buttonholes and the front will allow for one buttonhole. Example: 36” + 3” + 1”= 40” Width= Desired suspender width x 2. Example: 1 ¾” x 2= 3 ½” Add desired seam allowance around the entire pattern piece. We are using ⅜” in our example. Step 4Cut out fabric. If you have loosely woven or unstable fabric feel free to fuse a small piece of interfacing to the backside of where the buttonholes will be stitched. Step 5Fold along the middle fold line with the right sides of the fabric facing each other, pin around three edges. Stitch around three edges using one stitch line. Drop down to a smaller stitch around corners. Leave a 5-6” opening anywhere along the longer edge. Trim away excess bulk in seam allowance, flip and press. Step 6Mark and stitch buttonholes using a sewing machine or by hand. Here is our placement for buttonholes. We used two buttonhole options on the back to allow for a variety of tops to be worn under with ease. Feel free to personalize. Step 7Hand sew buttons onto the skirt and hand sew closed the 5-6” opening. Draw stitch works well. Final ThoughtsThis 60’s inspired retro skirt and suspender set was fully stitched on one of our Juki industrial machines and took just over 6 hours of sewing while instructing. We still have two meters of this lovely plaid in the studio. Let us know below if you think we should evolve this design into a pinafore with the remainder. If this fabric looks familiar to you it's because we designed a Plaid Button-up Dress back in January of 2020. Be sure to follow us on Instagram or join our mailing list for insider tips and inspiration.
Happy Sewing! Designed, photographed, and written by Sheila Wong Studios.
2 Comments
3/20/2023 07:02:03 pm
Is there a better way to celebrate your birthday than with free stuff? Well, Sephora doesn’t think so! They like to celebrate their clients by offering a gift during their birth months.
Reply
3/20/2023 07:02:31 pm
As long as you’re signed up for their rewards program (known as being a Beauty Insider), you can choose a gift from their yearly birthday selection to take home for free. So, what are you waiting for? Your new favorite product may be waiting online or in stores!
Reply
Leave a Reply. |
Archives
November 2022
|
Copyright © 2024 Sheila Wong Fashion Design Studio Ltd. All rights reserved.



 RSS Feed
