|
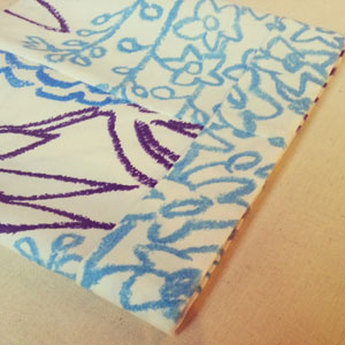
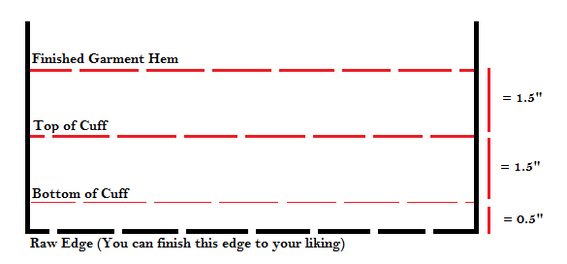
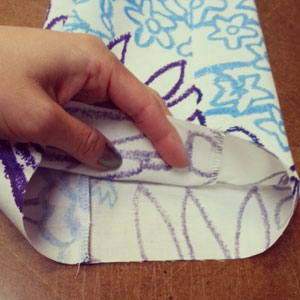
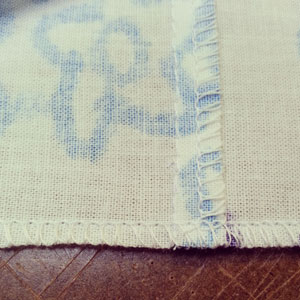
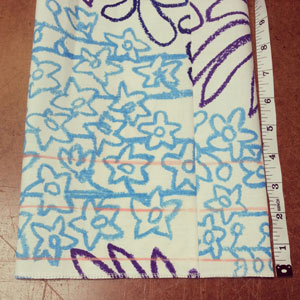
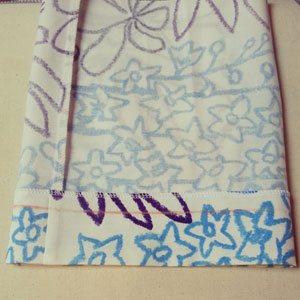
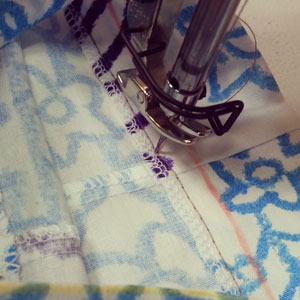
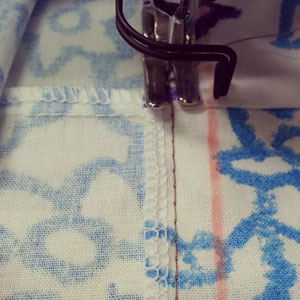
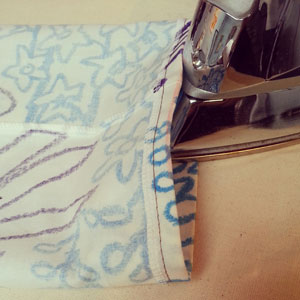
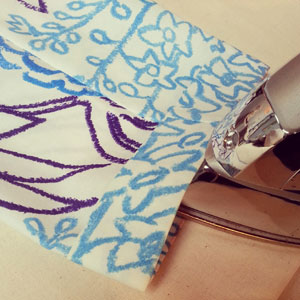
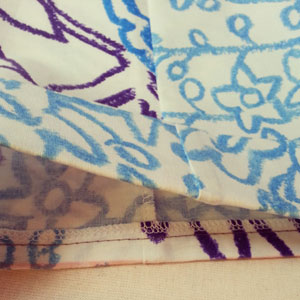
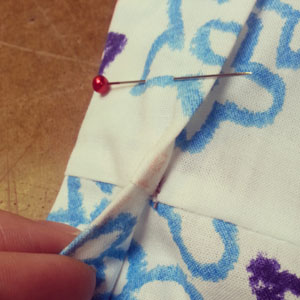
Rolled up pants are everywhere right now. For a more permanent and tailored version, create your own cuffed hem. In this tutorial, learn step by step how to draft a pattern to a cuffed hem and how to sew it. Step 1Prior to cutting out fabric, you need to take into consideration that you are making a cuffed hem during the pattern drafting stage. Here is a diagram on the measurements required to create a cuffed hem. First, you will need to decide the height of your cuff. In this example, I have used 1.5" as the final height of the cuff. This is average height for a pant/short cuffed hem. The Finished Garment Hem line is the final length of your complete garment. We must add length to create a cuffed hem. I want my cuff height to be 1.5" thus I add 1.5" twice, as the cuff needs to be folded up to create a front and back. You will also need to include a seam allowance for the raw edge to be hidden away inside the garment. I added a 4/8" seam allowance. I suggest finishing off the raw edge accordingly to your fabric choice and garment. In this example, I have applied a serged edge. Step 2Now onto the sewing part of a cuffed hem. A hem is completed at the very end of the construction process. Sew the side seams first. Step 3Take the time now to finish off the raw edge at the bottom. I have applied a serged edge. Step 4On the right side of your garment, mark the above lines as per Step 1. Mark all the way around the hem to ensure a balanced cuff. Step 5Press hem in at Top of Cuff line. Please refer to Step 1 to see lines. Step 6To keep bottom of hem clean and upright, sew a line 1/4" away from raw edge (serged edge in this example). Step 7Press cuff up at Bottom of Cuff line. Once pressed, the hem will start to resemble a cuffed hem. Step 8To finish, at the seams, tack the body of the garment to the cuff. Tacking is a hand-sewing technique used to keep two areas of a garment attached/secure without any visible stitching on the exterior of the garment. Each tack is approximately 3-5 stitches is one small area, just enough to hold the two areas tight. Completed Cuffed HemPlease note for the purpose of instruction and clear photos, I have used a contrasting thread color. You will want to use a matching thread color.
Happy Sewing! Photographed and written by Sheila Wong Studios
0 Comments
Leave a Reply. |
Archives
November 2022
|
Copyright © 2024 Sheila Wong Fashion Design Studio Ltd. All rights reserved.

 RSS Feed
