|
Designing a fur vest has been on my To Do list for over a year now. Well, I got cold enough to make it happen. So here is an insider look into the design elements and where my biggest challenges lay. Also, before anyone starts getting fired up, its faux fur. But it completely feels like a bunny. Now lets hop to it. Project Specs
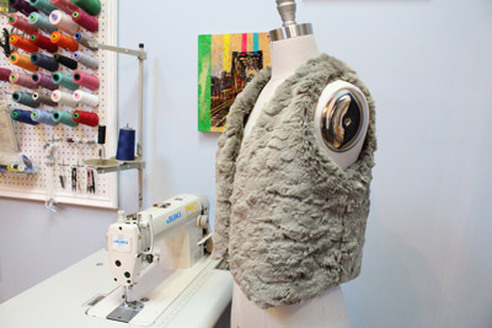
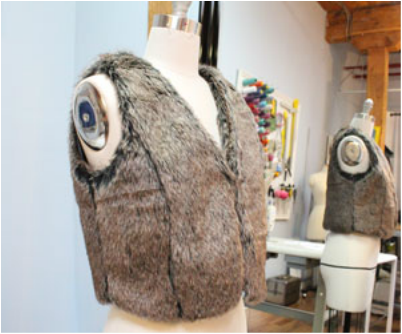
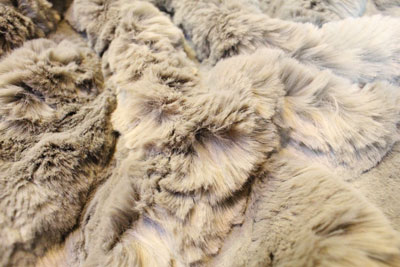
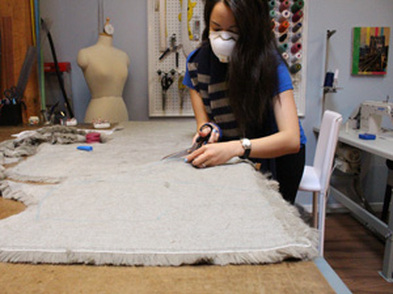
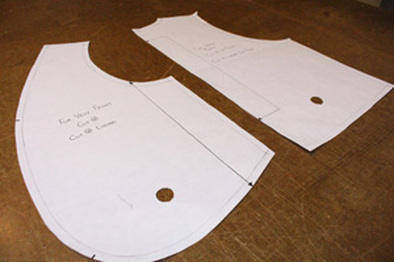
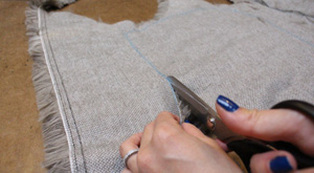
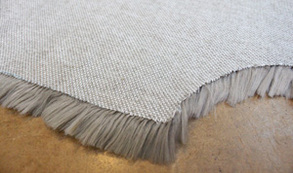
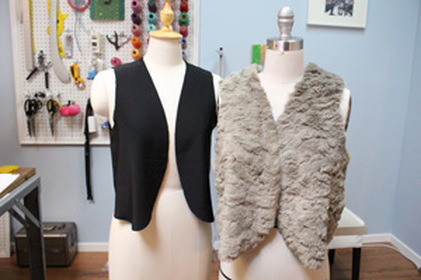
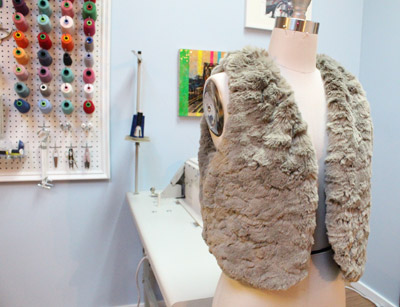
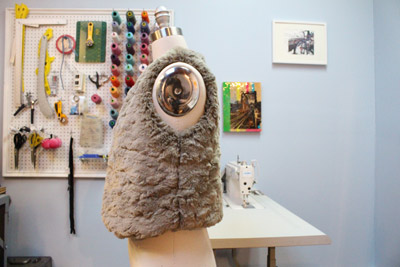
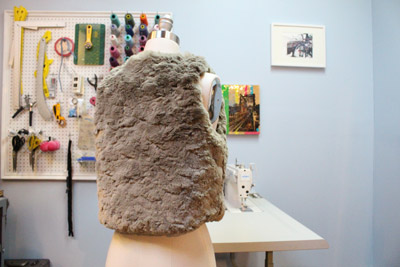
InspirationThe fur vest below was purchase from Winners about 5 years ago. I liked the fit and the fur was not at the time, ugly looking. Now, the fur color and feel is not to my taste. I knew I could at least use it to create a pattern so I kept it. FabricFor 2015, my goal is to use up all my fabric prior to purchasing any new fabric. So I dove into my faux fur bin. Yup! I totally have one. Who doesn't right? I had just enough of this pale grey faux fur to make a vest. For the lining, I used the wrong side of black silk charmeuse that I had already. If you are familiar with silk charmeuse, it is shiny on the right side. I wanted a matte look, so voilà I flipped the fabric. Some people may think its a waste of silk, but it still feels dreamy so no worries. An interesting fact about me- I am allergic to dust, feathers, variety of fibres, blah blah blah. Basically, I am allergic to my career. So behind the scenes, I can be found wearing a mask while cutting and sewing most fabrics. I would recommend this to any designers who are working with high pile fabrics as the tiny fibres can be detrimental to your lungs. I also take the time to vacuum after every piece is cut out. It increases the amount of time to make something, but I have learned with out your health you are useless. Pattern DraftingBased on the inspirational vest from my closet, I created the patterns by laying the vest as flat as possible on paper and tracing out. After ensuring seams all lined up, I added seam allowances, grain-lines, notches and titles. I found the vest was quite two dimensional, so it was simple to replicate. Construction DetailsUnlike most of my own designs, this one has very few design elements. It is fully lined and hand sewn shut at a small opening at the hem. But read on, I have some interesting things to share. Working with Faux FurDesigning with faux fur was an obsession early in my sewing life, so I learned a few tricks to manage the flying fur.
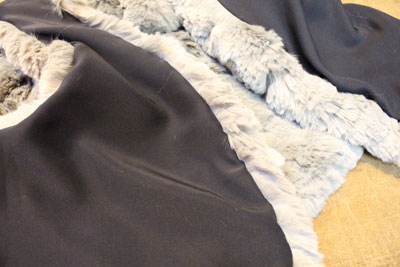
LiningThe lining was cut out of the same pattern as the fur. Thus creating a fully lined garment. A small opening at the hem was hand sewn shut. Complete GarmentAfter much coughing and vacuuming this week, I am glad to be done sewing this one. I may have to limit working with faux fur to once a year to save my lungs. I am super happy at the way this one turned out. Its extremely soft and the color will match easily with what is in my wardrobe. If you would like to learn how to make this vest or how to replicate your favourite items in your closet, just book lessons.
Happy Sewing! Written and created by Sheila Wong.
3 Comments
1/19/2015 09:42:20 pm
I love how clear and simple your tutorials are. Great inspiration for my own classes.
Reply
1/26/2015 07:07:47 am
Hi Andrea,
Reply
Leave a Reply. |
Archives
November 2022
|
Copyright © 2024 Sheila Wong Fashion Design Studio Ltd. All rights reserved.

 RSS Feed
