|
Fabric, thread, wax, a hand sewing needle, and my hands. These are items used to create my latest design. No machines used here! Get an insider look at the design elements and finishes on this fully hand sewn top. And no I did not sew by candle light on this one. Project Specs
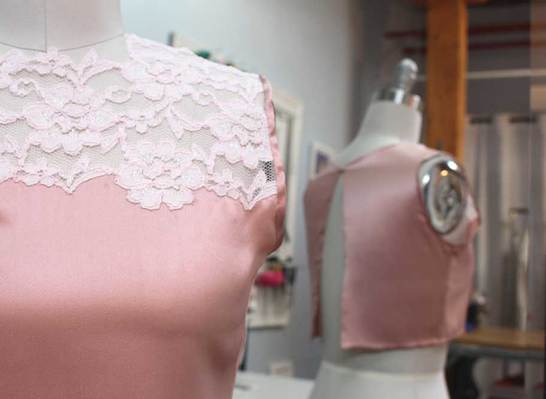
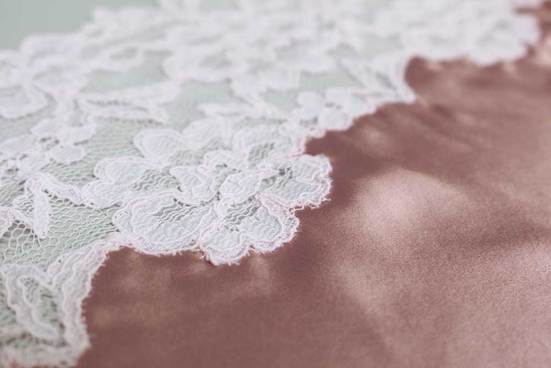
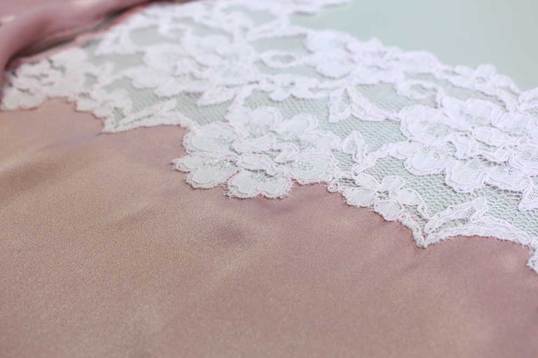
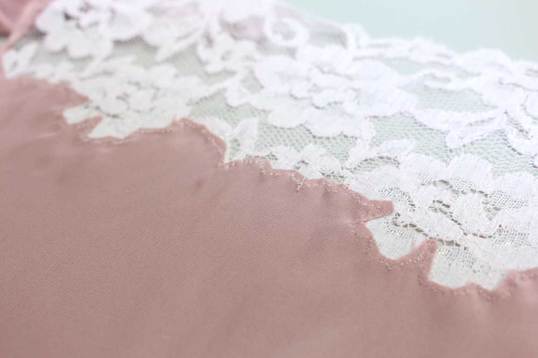
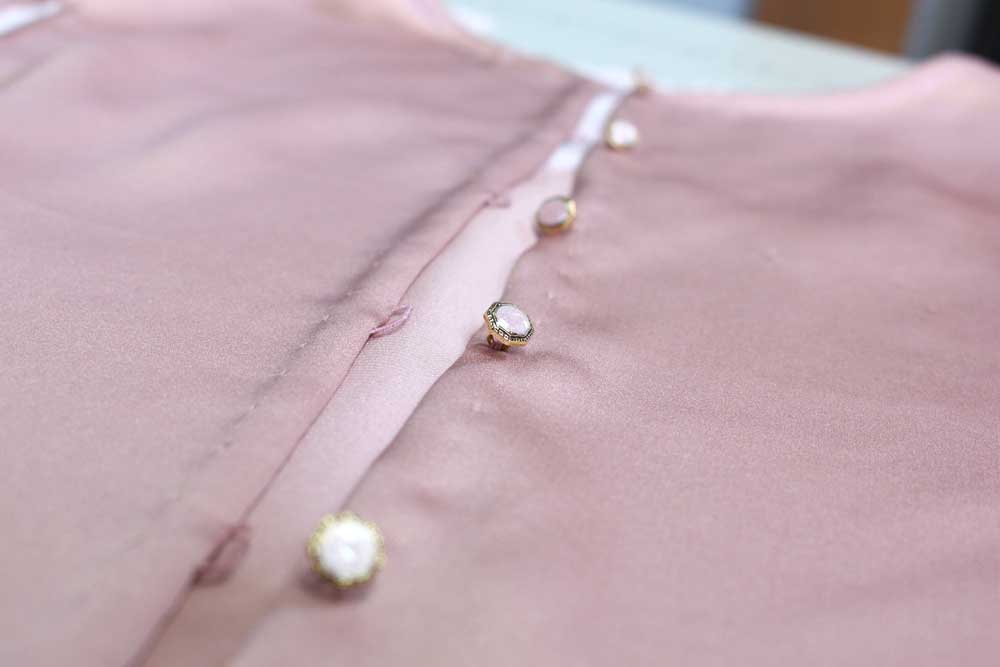
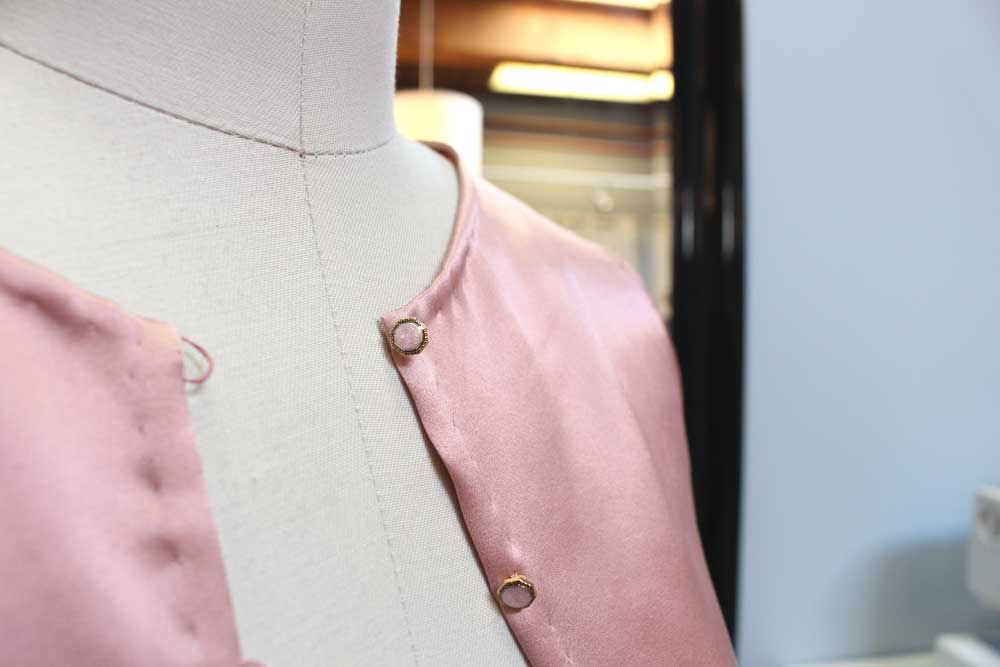
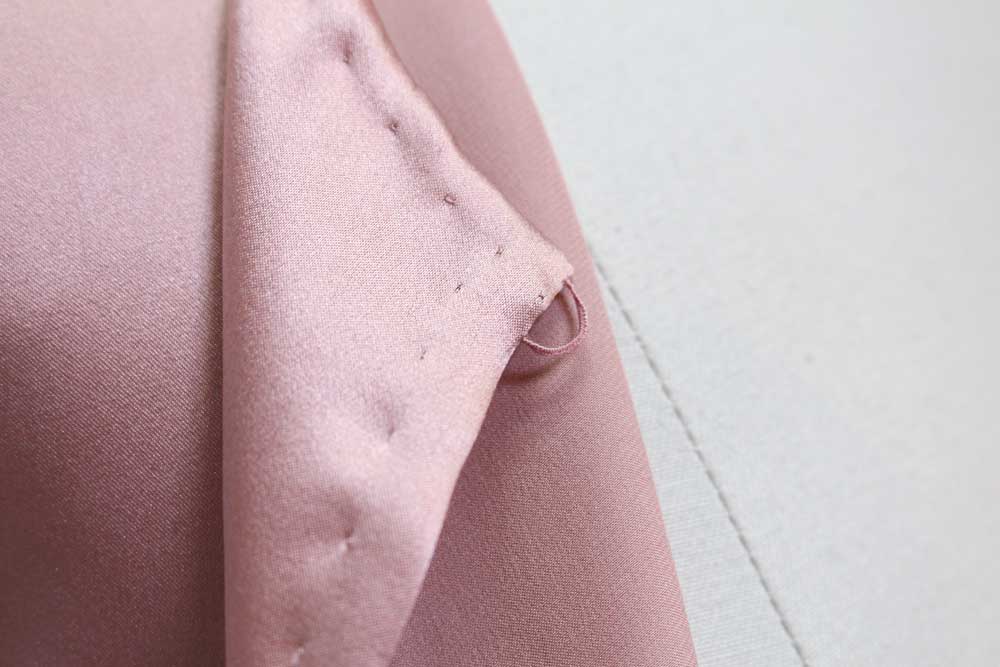
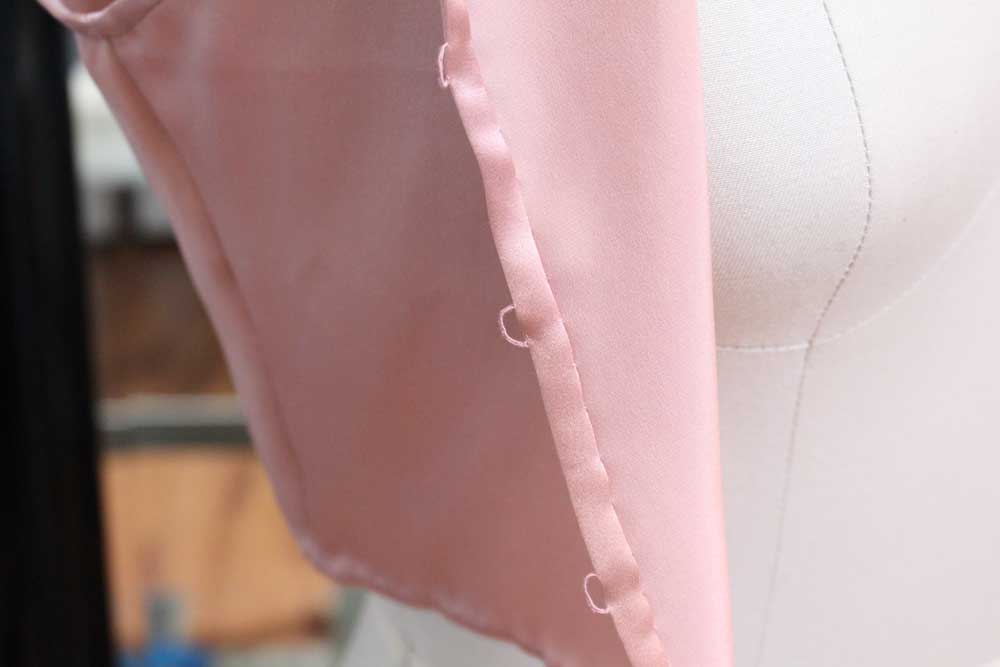
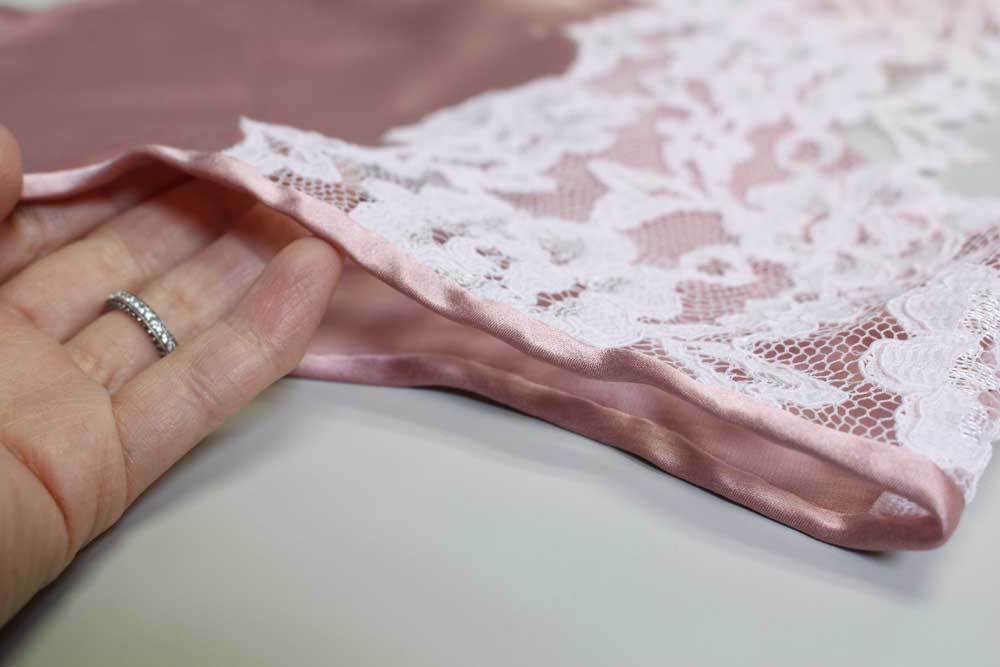
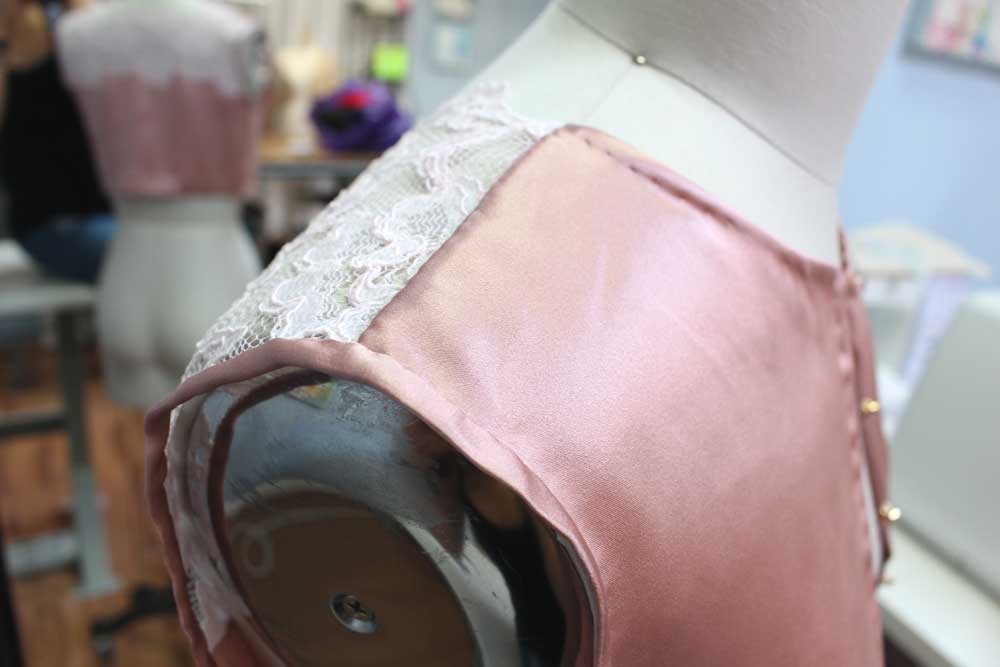
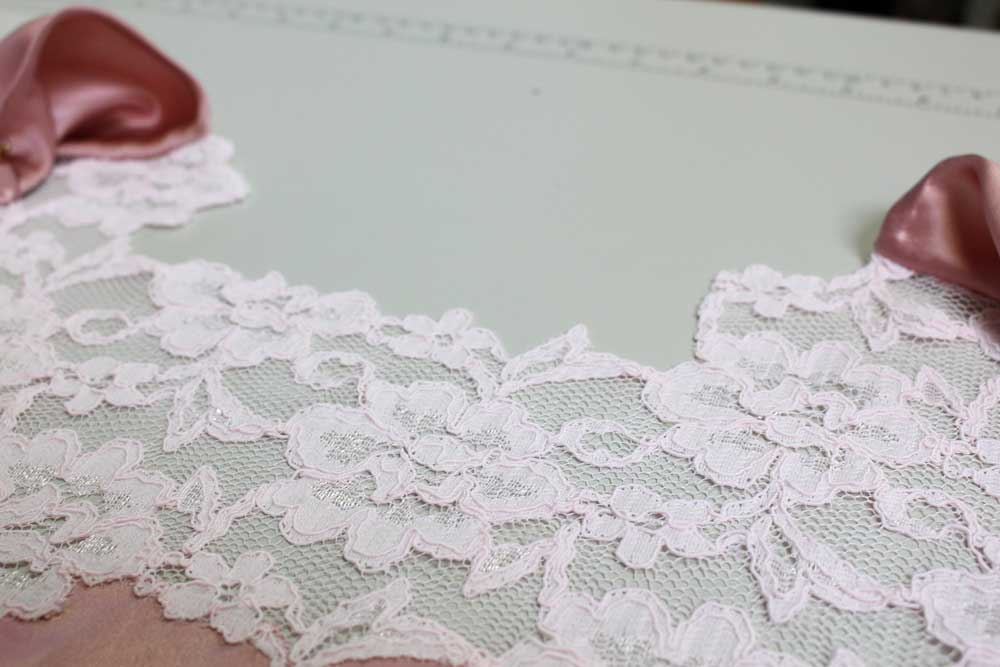
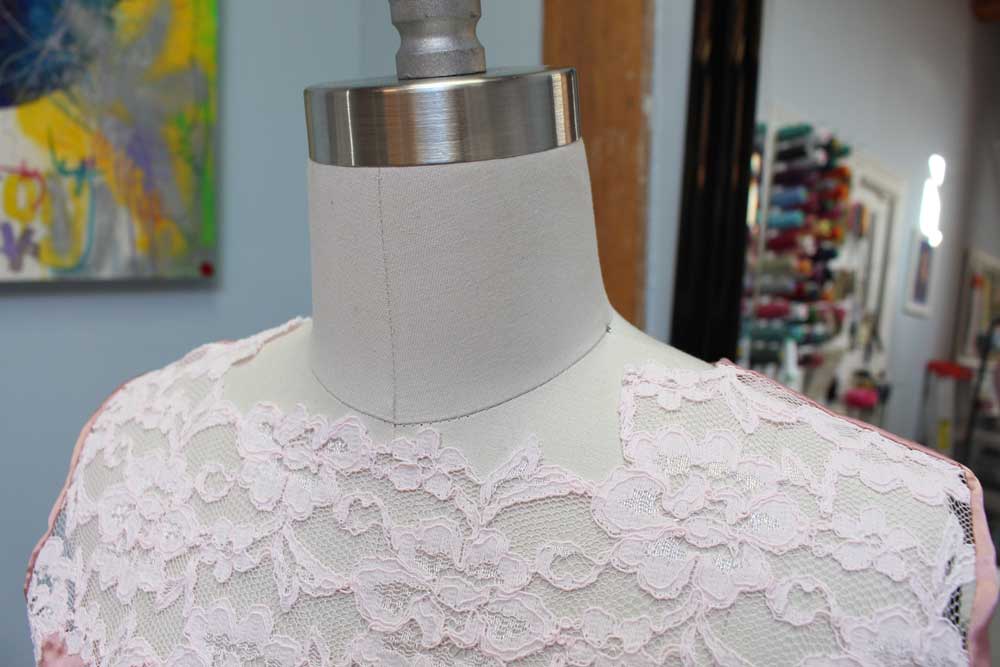
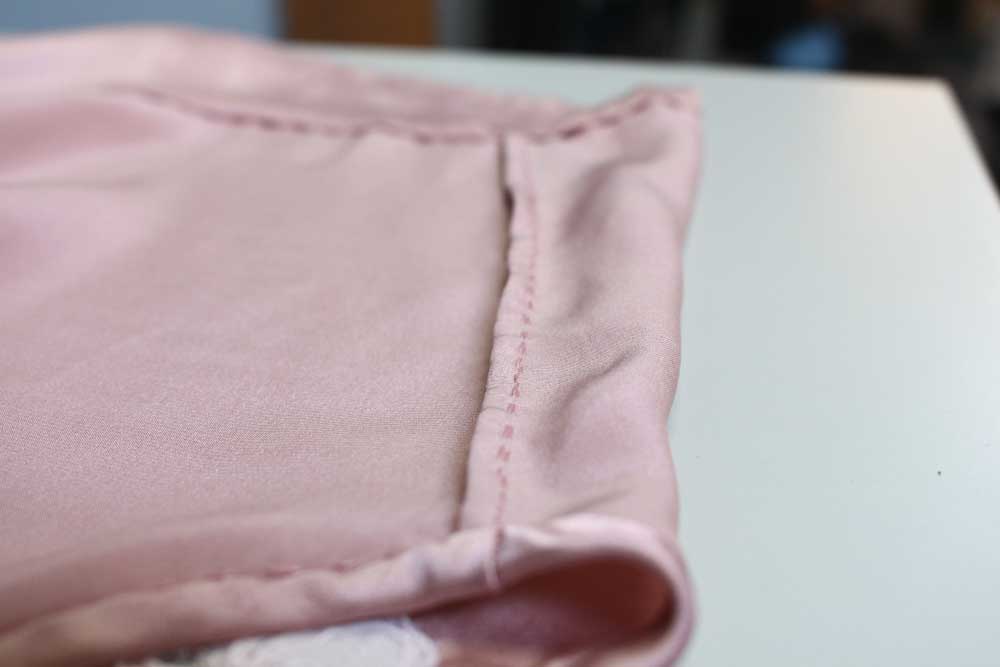
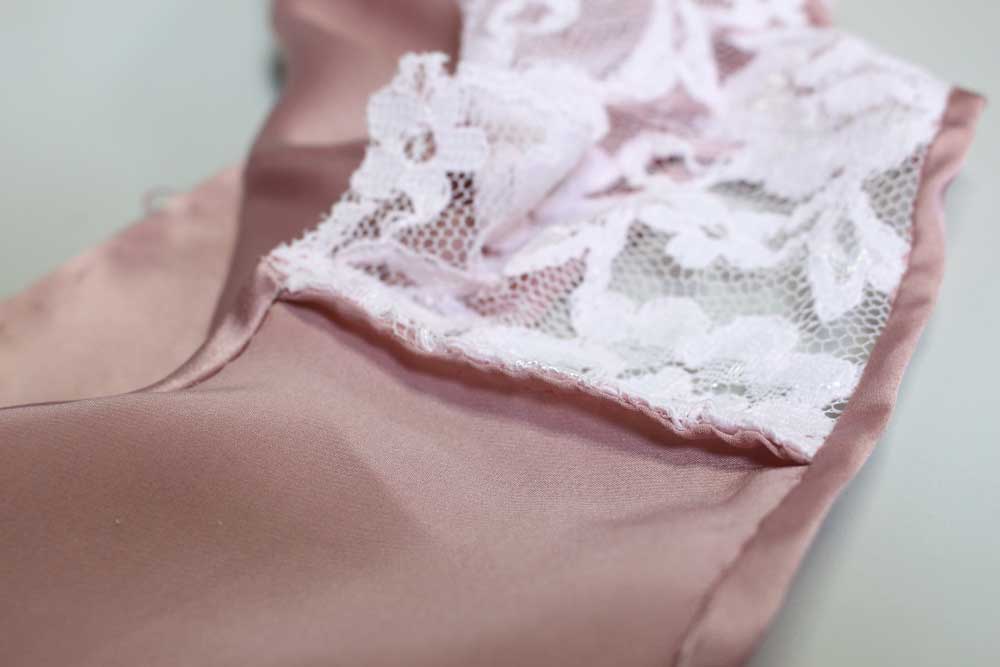
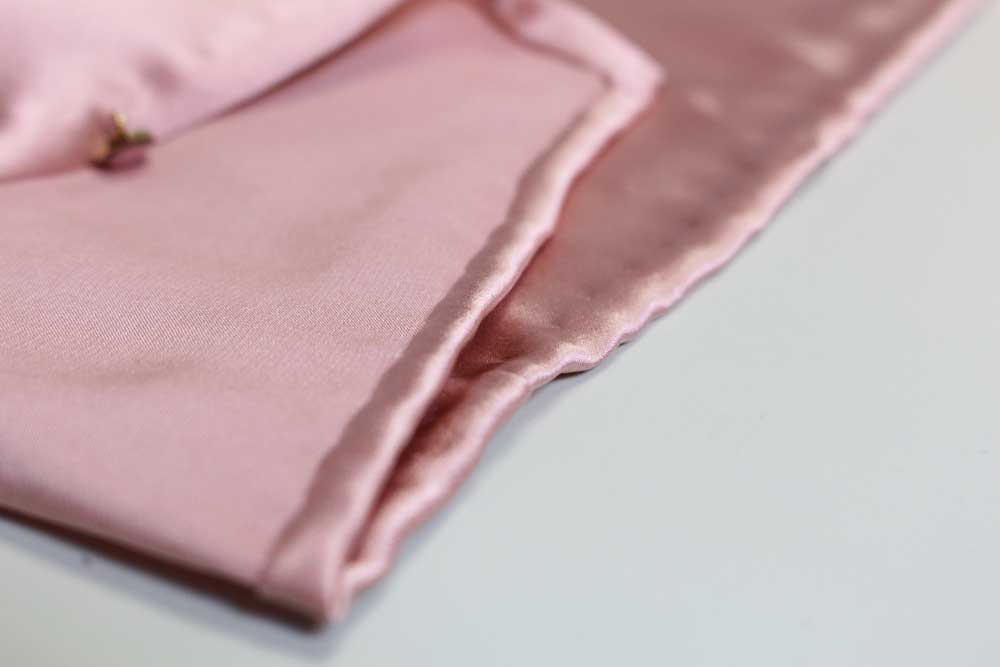
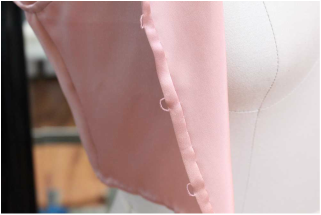
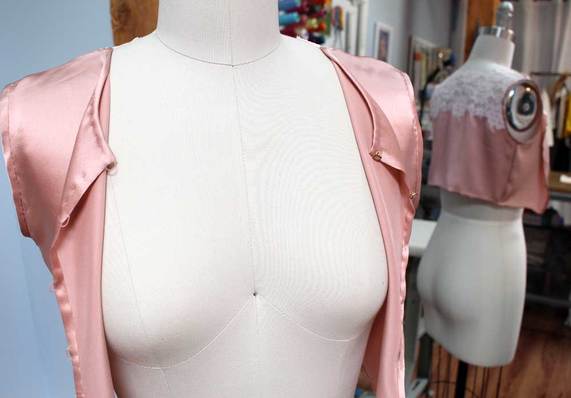
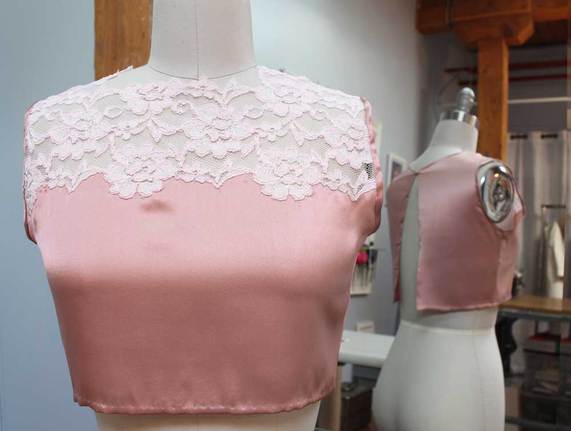
FabricI plucked the silk charmeuse and leftover lace right out of my fabric bins. This whole process started off as a lace demo for clients then I decided why not make it into a wearable top. Construction DetailsAs you already know from the introduction, this top is fully hand sewn- no machines involved. A basic no dart bodice front and back block where used to create the pattern pieces. Simplicity was key as all the attention was on the hand sewn details. Below I go through each integral design element that makes up this lace silk top. Attaching Lace to SilkAs I am writing this, I realize I need to do a tutorial on how to attached lace onto silk (or another form of fabric) flawlessly. This was an extremely time consuming part as tiny 1/16" stitches where sewn along a pathway in the lace. Peek below at the interior view. It gives you an idea of how many stitches are required to hold the lace in place. After sewn, any excess fabric from lace and silk are trimmed away ever so carefully. Exterior view Inside view Thread Bars & ButtonsSewing on the thread bars and buttons was the last step. First the buttons where placed evenly along the center back seam. The buttons reach far enough down the center back to cover my bra line. Once the buttons where secure, it was time to sew thread bars (threaded button loops). It is difficult to get a super macro shot of a thread bar, but you hand sew a ton of button hole stitches around a carefully placed loop. I lost count of how many button hole stitches it took to sew just one. My guess is around 60 per loop. Bound ArmholesBias (cut on 45 degree to grain) strips where pressed to a narrow 1/4" width bound tape. Then sewn onto armholes in a two step process. 1- Right sides facing sewn along a pressed line. 2- Wrap around armhole raw edge and slip stitch in place. Lace NecklineI was able to cut away the mesh part of lace just above the elastic cording to create a cut-out look following a path in the floral motif. How I love lace that has a solid pathway, so easy to finish! Narrow French SeamsWhen I think silk charmeuse, I think of narrow french seams. Side seams and shoulder seams where given a narrow french seam. HemFor the remaining exposed raw edges, I decided a simple fold twice in at 1/4" and slip stitch in place was the best finish for silk. I think a hand rolled hem would have been lovely too. Completed TopSomething really surprised me about this top when I was ready to try it on. You can wear it TWO ways! All of the sudden the endless hours spent on this top melted away. PS- My bust is smaller then the dress form, so the buttons 'button up', unlike the photo above.
Written & created by Sheila Wong. Happy Sewing!
3 Comments
Annette Adam
10/6/2014 04:34:58 am
I think this is one of the idea that will set you aside from other designer and sewer. Lace work always adds a nice touch.
Reply
1/26/2015 07:09:38 am
Thank you for the kind comments! Lace work is definitely time intensive but so worth it in the end.
Reply
1/27/2019 01:05:07 pm
Hello, Sheila! Before anything else, I want to thank you for opening the doors of fashion world to us. I am not really looking into details that much, but I guess looking into it is a good thing. This Lace Silk Top looks really classy. At the same time, we all know how comfortable it is to wear a silk dress, especially during bedtime because it also has the power to make us feel relaxed. If we want a laid-back outfit wherein we don't need to put up too much, resorting to silk-made outfits is a good choice.
Reply
Leave a Reply. |
Archives
November 2022
|
Copyright © 2024 Sheila Wong Fashion Design Studio Ltd. All rights reserved.

 RSS Feed
