|
This tote has us feeling all bubbly inside! Our latest sew-along will take you through the step-by-step process for creating your own bubble tea tote. Perfect for busy boba lovers! 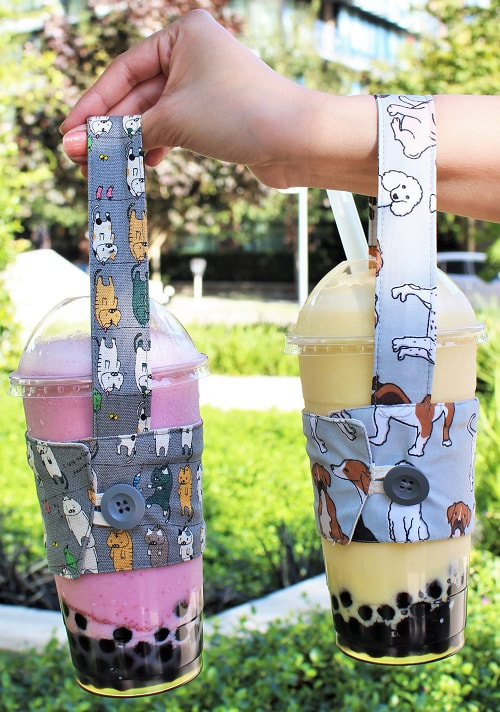 Materials
Pattern DraftingFirst of lets create patterns! Create the following patterns pieces.
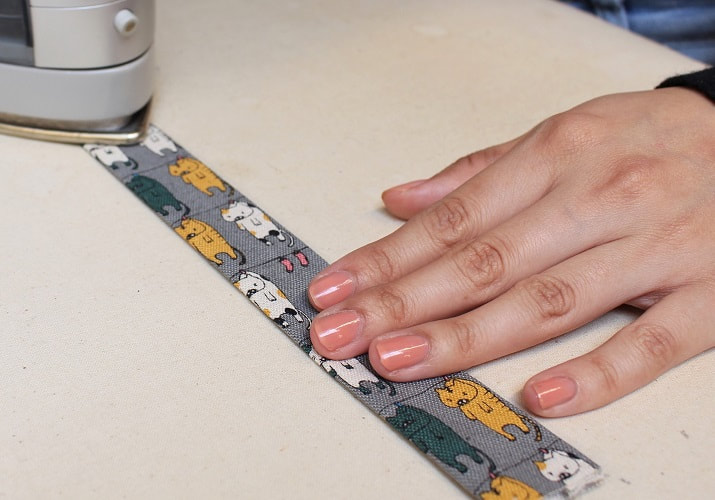
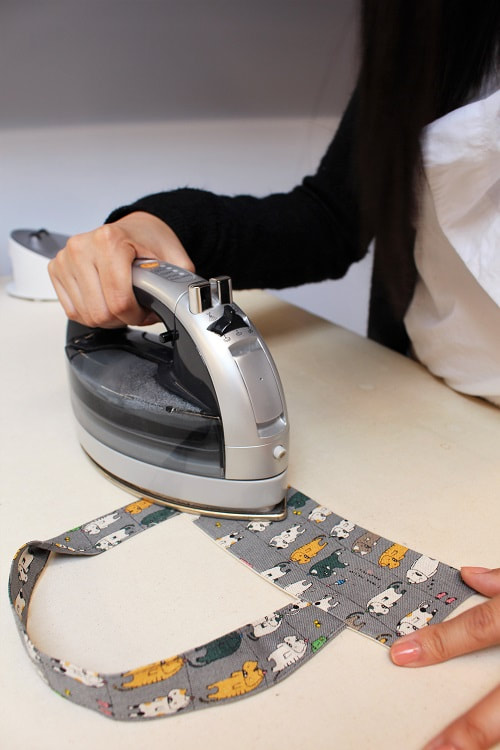
Step 1To create the basic shape for your MAIN SLEEVE, pick up a sleeve protector from your local coffee shop to use as the template. Trace out the shape on paper. A bubble tea cup circumference is slightly larger than a coffee cup so some adjustments will be required. Draw a straight vertical line along the straightest area (with the least curve), cut and separate. 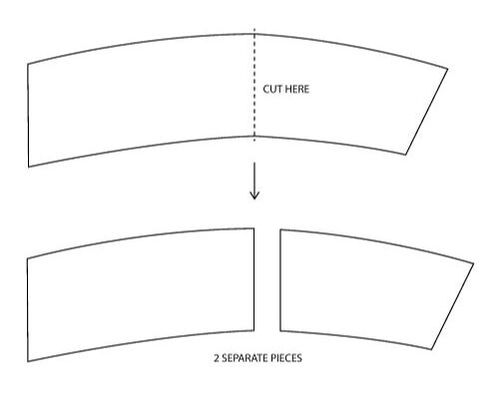 Step 2To ensure we have adequate space for a button and loop closure, add a 1” extension between the two cut pattern pieces. Tape the separate pieces on the parallel lines of the length, creating a 1” extension. Draw in upper and lower edge lines to provide you with a complete pattern piece. 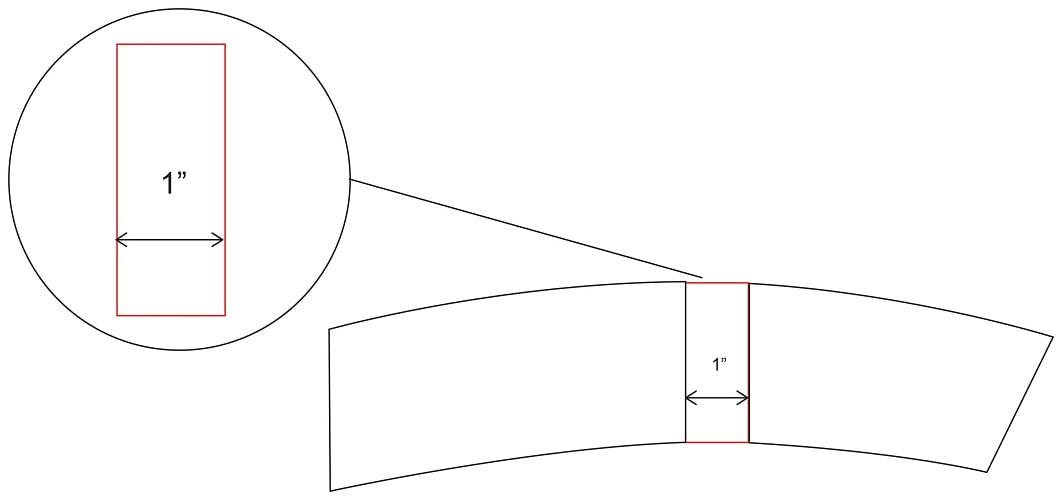 Step 3Add ½” seam allowance around MAIN SLEEVE pattern piece. Mark all notches as indicated in red. Notches are there to help guide us through the sewing construction. In this case, it will help us with strap alignment and elastic closure placement. Grainline can run N to S or E to W. 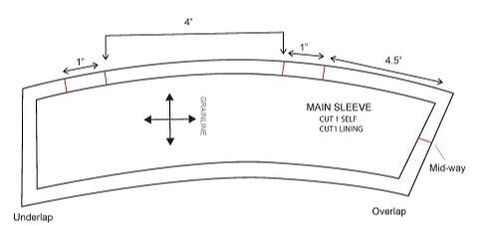 Step 4To create the STRAP pattern piece, draw a rectangle 2” (width) by 12 ¾” (length). Add ½” seam allowance. Mark all notches as indicated in red. 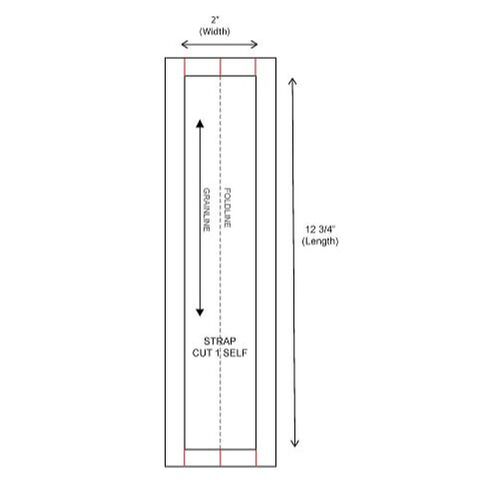 Sewing ConstructionStep 1Cut out your fabric and mark your notches. If your fabric has a print that is directional, consider this when cutting out your pieces. Please note SELF refers to the exterior or main fabric in a project and LINING is your interior or lining fabric. 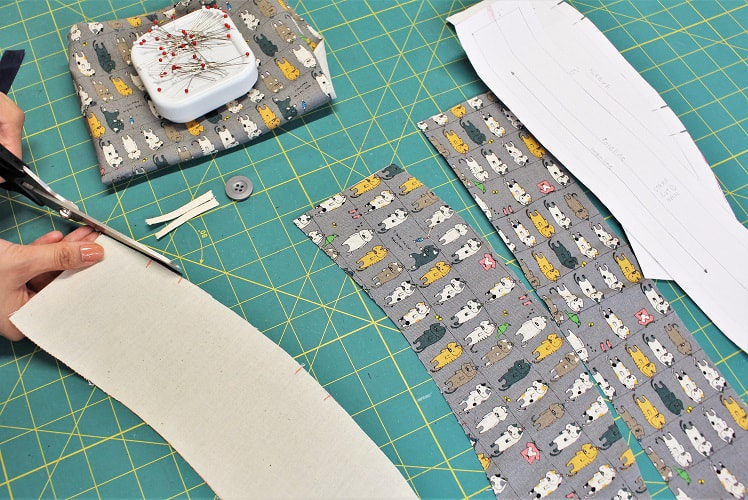 Step 2Let's begin the sewing with the strap! With the wrong side of the fabric facing up on the ironing board, press the longer edges of the STRAP by the seam allowance (½”) on each side. Then, fold the STRAP completely in half, pressing the two folds you created together. Try to get the two folds aligned for a balanced STRAP.
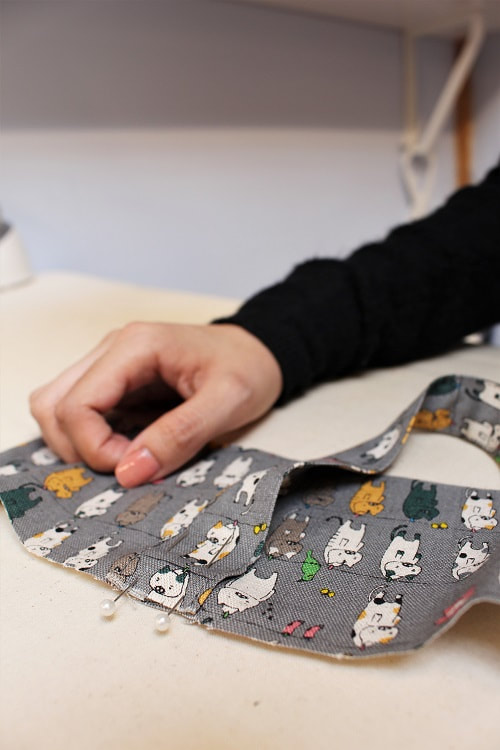
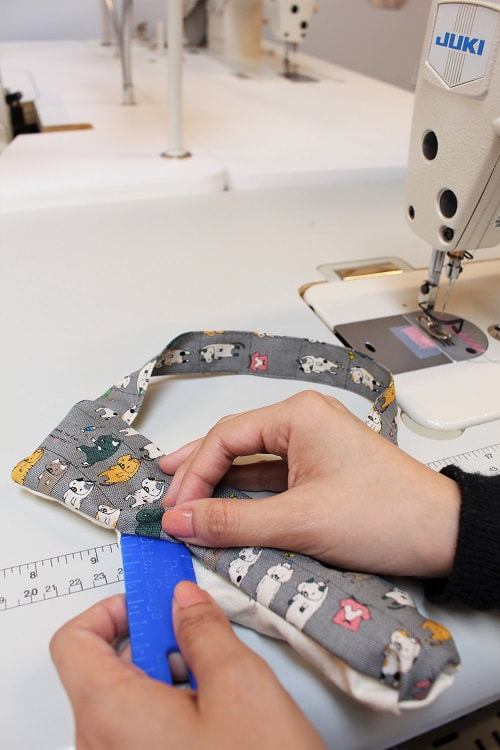
Step 3Pin and edge stitch both edges of the strap at approximately 1/8” in from the edge.  Step 4Pin the strap ends to sit within their corresponding notches at the top of the MAIN SLEEVE. Pin to the exterior fabric piece. We will get to lining at a later step. Stay-stitch STRAP ends to MAIN SLEEVE. Stay-stitching can be done with a longer stitch length and within the project seam allowance. We use ¼” seam allowance as our stay-stitching guide since the overall seam allowance in our project is ½”.
Step 5Time to stay-stitch our elastic closure into place. But before sewing we need to fit our elastic loop. To get an idea of how long your elastic closure needs to be, measure a tight loop around your chosen button and add 1” (½” seam allowance x 2). Feel free to go on the tighter side for the loop as elastic does stretch. Pin and stay-stitch elastic ends in place.
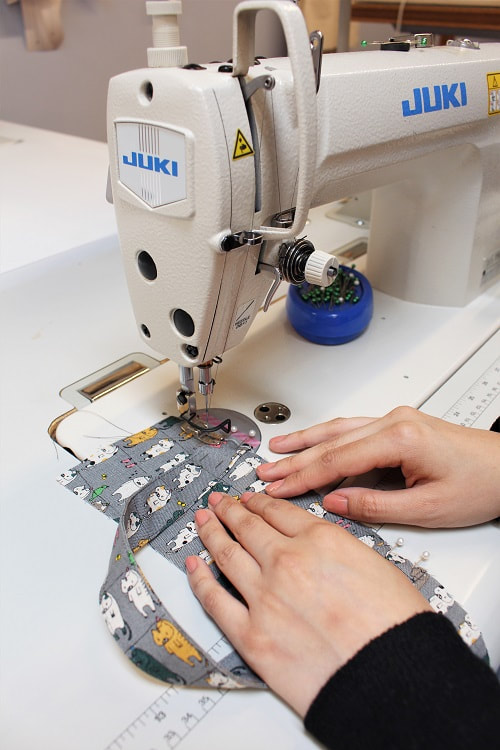
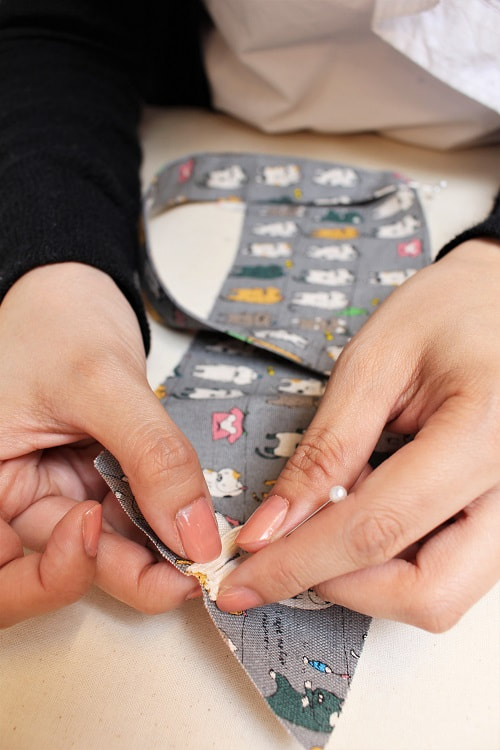
Step 6With right sides of the lining MAIN SLEEVE and the exterior MAIN SLEEVE facing each other, pin around entire piece tucking in the strap. Mark a 2” opening along a straight edge that's clear of the corners, strap and elastic loop. This opening will be the area you flip your project right side out later. 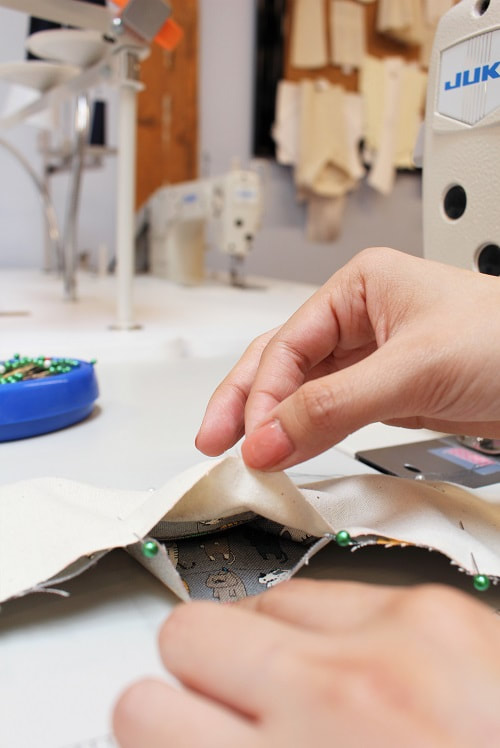 Step 7Starting your sewing at one end of the 2” opening, back stitch and stitch all the way round until you get to other end of the opening, then back stitch to secure the stitch line. Around the corners, pivot with your needle and drop the stitch length down to 1-1.5mm for a more secure corner.  Step 8Prior to flipping project right side out, reduce bulk around the corners by clipping away excess fabric like below. Leave approximately 1/8” seam allowance out from stitched corner. 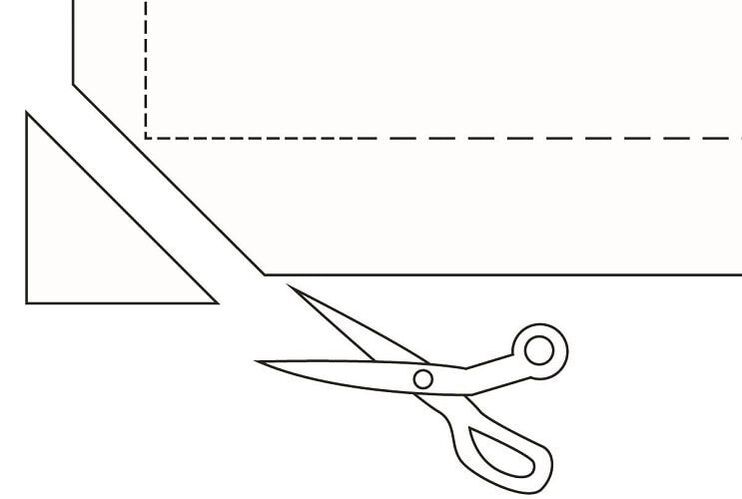 Step 9Using the 2” opening, flip project right side out. Push out corners gently and press MAIN SLEEVE flat.
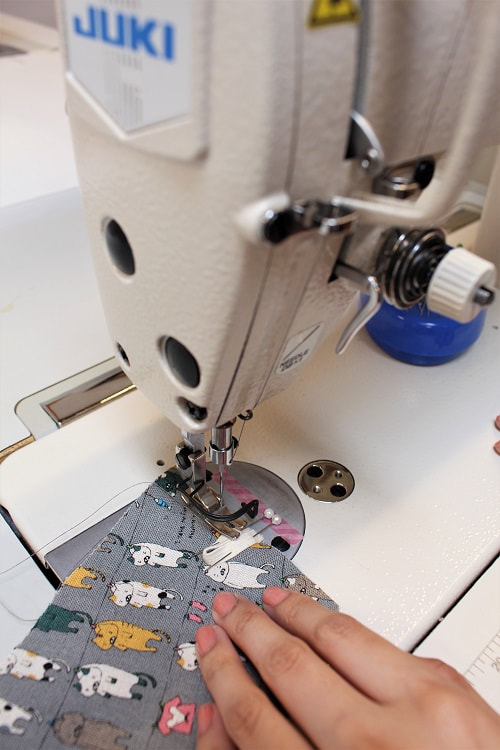
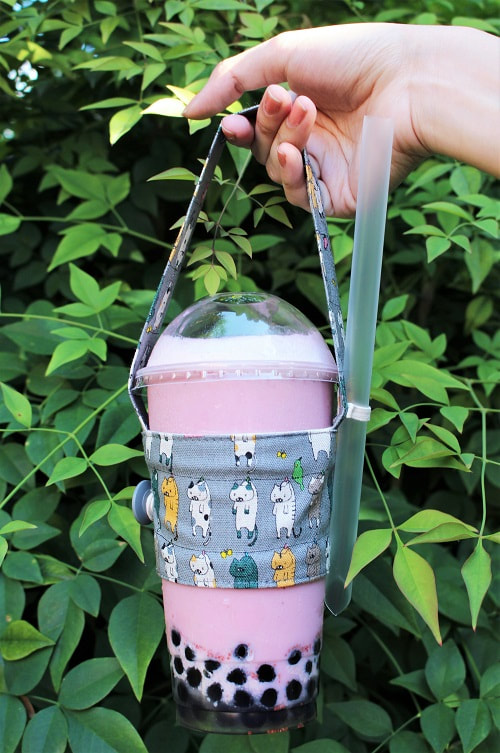
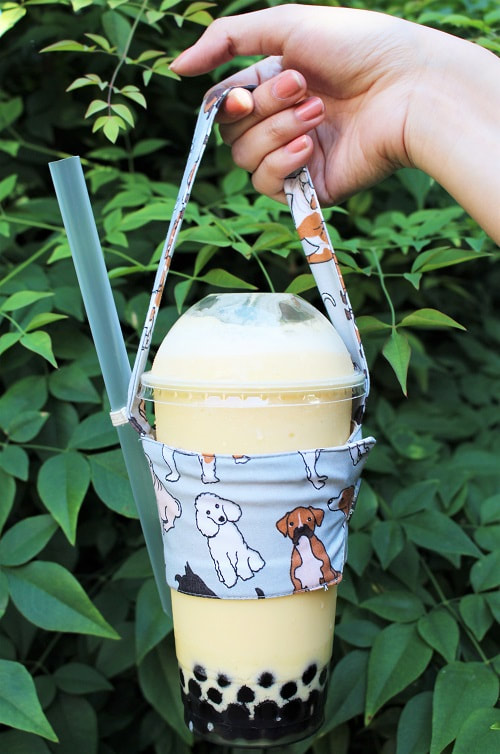
Step 10Edge stitch at a 1/8” seam allowance all the way around the MAIN SLEEVE. 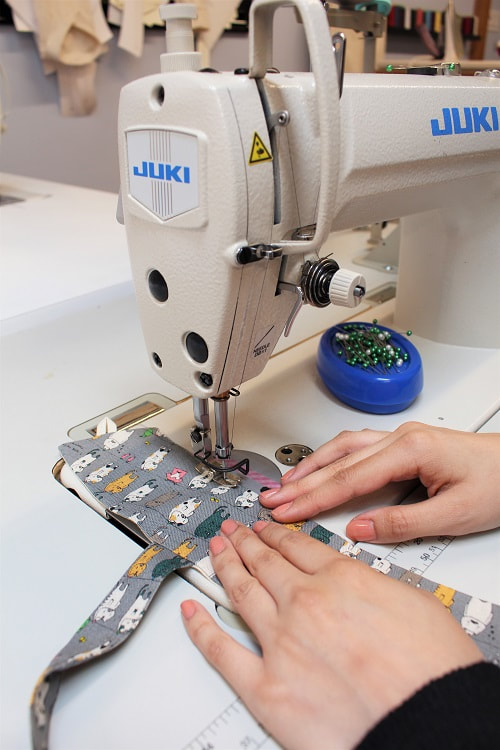 Step 11Let's finish off with some hand sewing! Hand sew your button into place. It is best to have a bubble tea cup around for perfect placement. In our example, the button was placed 2 ¾” in from under-lap edge. 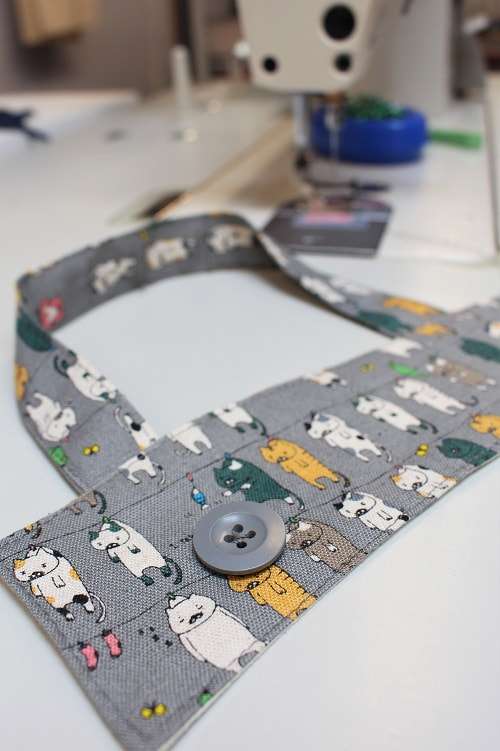 BONUS (Optional Straw Holder)Cut out a ¼” width elastic in the length of 2”. Loop elastic and machine or hand stitch elastic into place at the root of STRAP. It is best to use the opposite side the button closure is on. 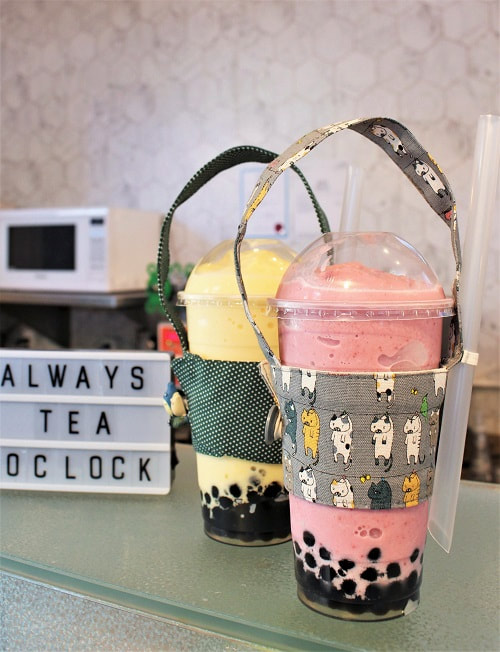 Final DesignVoila! Your very own bubble tea tote is complete. Tell us what yummy drinks you decide to show off your new design with. Tag us on Instagram @sheilawongstudios
Happy Sewing Cu-tea's!
Designed, photographed and written by Sheila Wong Studios.
3 Comments
11/15/2019 03:27:56 pm
People are loving bubble tea right now, and it is amazing. Almost everyone I know posts photos of bubble tea every single day. It is insane just how popular it is in this day and age. I am really intrigued to know how it all started. I am interested to know what people like about it. I have never tried drinking bubble tea before, and I am looking forward to trying it out, I hope that I like it too.
CC
7/27/2023 10:51:36 am
Ha Ha......happy to see these. Leave a Reply. |
Archives
November 2022
|


 RSS Feed
|
|
Copyright © 2024 Sheila Wong Fashion Design Studio Ltd. All rights reserved.