|
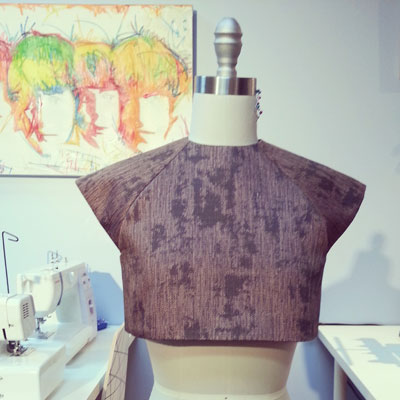
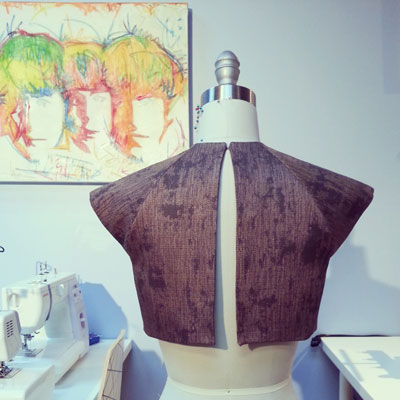
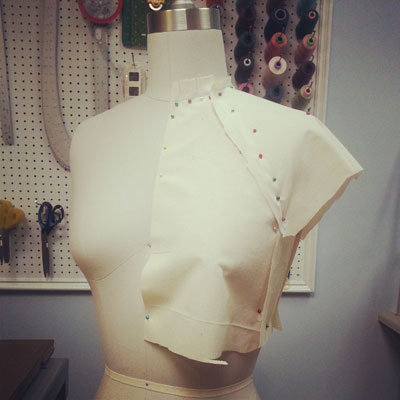
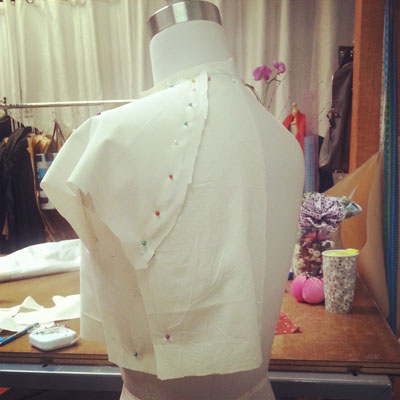
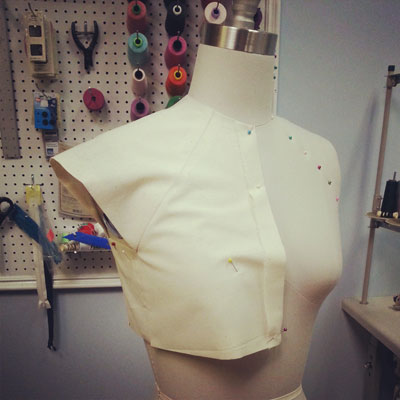
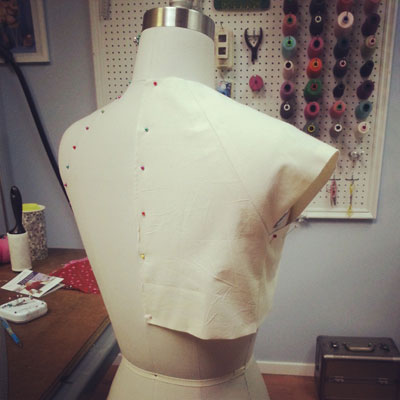
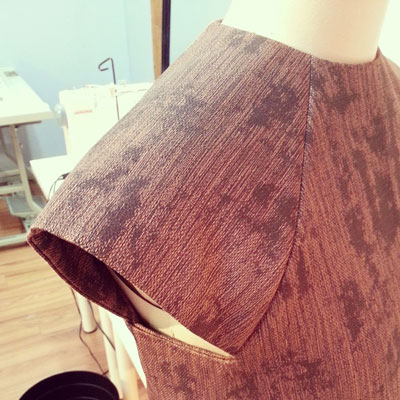
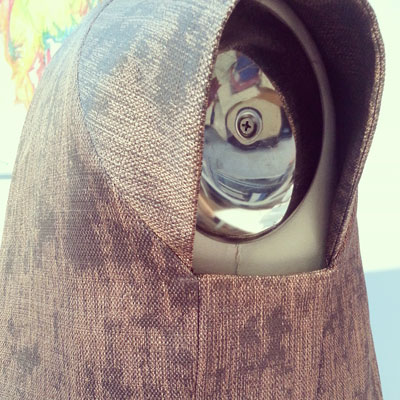
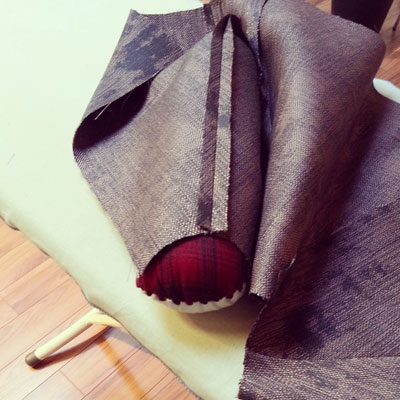
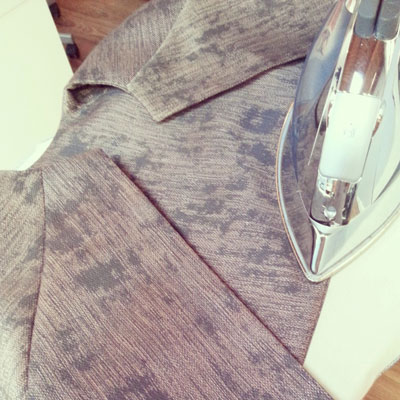
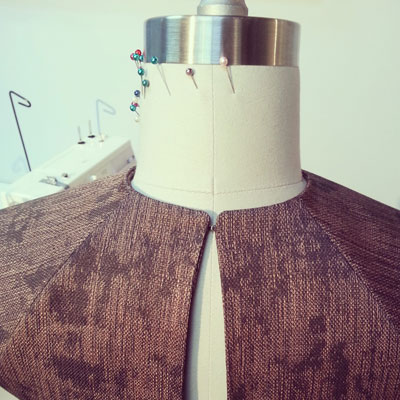
My latest design is a structured crop top made from a Cotton blend fabric. The inspiration really originated from the fabric, as most of my designs do. I wanted to maintain clean straight lines. With only one curve in the pattern at the neckline, as required. I wanted to give you an inside view into my design process, so I have documented with photos along the way. Materials cost approximately $15 and 0.9M of fabric was used. The total process took a total of 9.5 hours, over the span of 2 weeks, from conceptualization to completion of construction. Concept & Inspiration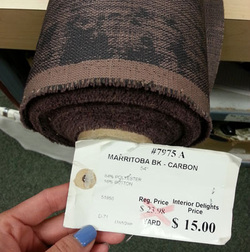 I was shopping in the interior fabrics section at Fabricana, when this print caught my eye. Here is a lesson for you, do not ignore the interior fabrics just because it was originally designed to be used for home decor projects. Some of my favorite designs are made from "interior" fabrics. At the time of purchase, I had no clue what I would design from it yet, but knew it had to be structured due to the stiffness of the fabric. Almost a year later....here we are. DrapingThis crop top called for draping as I wanted the raglan sleeve seams to hit certain spots and I wanted a side panel in the design. You will notice I left ample seam allowance to create my first muslin. Fit Sample (Muslin) #1Based on my draped pieces prior, I sewed them together and turned in the hems to get a real feel to what the top would look like. I had to make a few adjustments by marking the muslin with chalk. I dropped the armhole by 1/2" to give room for movement. Did not want to walk like a robot. I also re-curved the hem to make up for the bust lifting up the hem. Pattern Drafting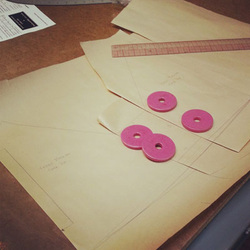 From the draping and fitting, I created 2D paper pattern pieces reflecting the fabric pieces. Fit Sample (Muslin) #2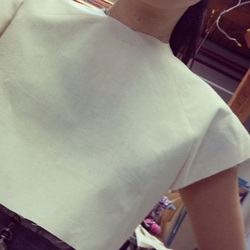 A second muslin was created from the paper patterns to make sure the adjustments sat correctly. I decided to try this on since I will be wearing the final design. As you can tell from the photo, the neckline was a tad tight, so I marked that appropriately. Final Pattern Drafting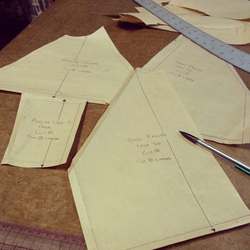 Once I was happy with the neckline correction, I finalized all the pattern pieces with seam allowances, grain-lines, titles and notches. Cut out Fabric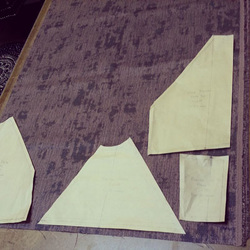 Paper pattern pieces down, pin and cut. 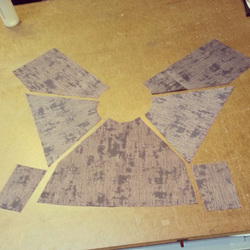 Prepping for the garment sewing stage, I had to show you what this top looks like all lined up. Garment ConstructionThe sleeves are a combination of a raglan and cap sleeve. I wanted to stay away from an inset sleeve to create the sleeve hem flare. The most challenging part sewing this top would be where all the seams collide under the armhole at the corners of the side panel. Eight seam allowances converging at one point, four from the exterior and four from the lining. In this situation it is important to mark the exact point that all should converge, so you don't sew over. Patience was key here. This top is fully lined with the same fabric as the exterior. This means I have to make two tops first, then bring them together. Because of all the style lines and seams, it is fairly important that I pressed open each seam along the way prior to bringing the exterior and lining tops together. A fully lined garment means no raw or exposed fabric edges are visible. A small opening is left un-sewn at the hem to flip garment right side out. Hand sew a slip stitch to close up opening. After a good final press, I hand sewed a hook and eye to the top center back. I wanted to maintain an airy feel to the design but not have it fall off, so only one hook and eye was required.
For those curious and not familiar with the design process, all the step leading up to construction usually take longer than the actual garment sewing. In this case, it was approximately 30% sewing to 70% pattern creation and prep. Wondering what I will wear this top with? Check out my Instagram feed. Happy Sewing! Designed, photographed and written by Sheila Wong Studios
6 Comments
Siva
11/29/2014 04:35:56 am
I would love this pattern! It's actually perfect for my A2 exam! And I adore the fabric you used, I never thought about using interiors fabric!
Reply
1/26/2015 07:13:23 am
Hi Siva,
Reply
Anon
12/2/2014 03:58:43 am
Wow! That is a magnificent top! Is there any way you can share the pattern for it? I would loooove to make one for myself.
Reply
1/26/2015 07:43:33 am
Hi Anon,
Reply
Leave a Reply. |
Archives
November 2022
|
Copyright © 2024 Sheila Wong Fashion Design Studio Ltd. All rights reserved.

 RSS Feed
