|
My home girl Lena doesn't know it yet, but this top is for her. Get an insider look at my latest design from creating the pattern to putting together this 2 in 1 top. PS- I totally made one for myself. I could not resist the vibrant hues.
Project Specs
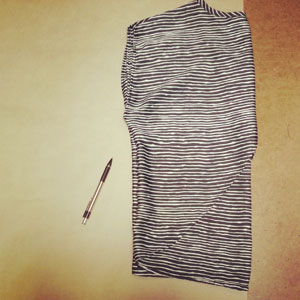
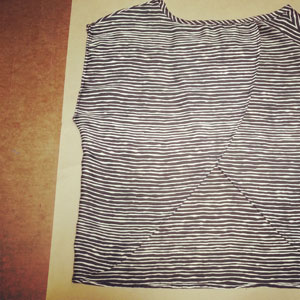
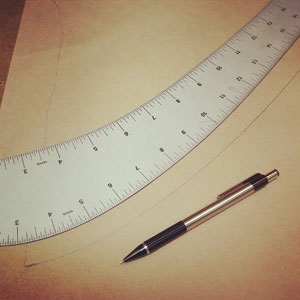
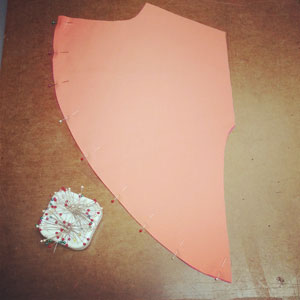
FabricI picked the fabric up from Gala Fabrics on South Granville Street. Typically I do not like to work with Polyester, but this fabric only had 30% Polyester. Cotton fiber content being the majority I gave in. More like the pop of colors made me buy them... 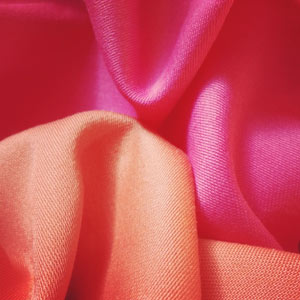 InspirationMy inspiration is two fold. My best friend Lena is celebrating her Birthday this month, and I wanted to make her something special. Lena loves color (especially pink, hello kitty obsessed) and she loves any clothing with an open back.  With the perfect fabric in tow from Gala, I searched my closet for an easy garment with an open back to replicate. Top is from Winners several years back for $14.99! Pattern DraftingThe garment I want to replicate is 2 dimensional, so easy to trace out FRONT and BACK pieces. For the FRONT, I placed garment in half as it will be cut on fold. For the BACK I need the shape including the split back hem, so I opened up the garment. You just need to carefully trace out what you see, we can clean it up later with drafting rulers.
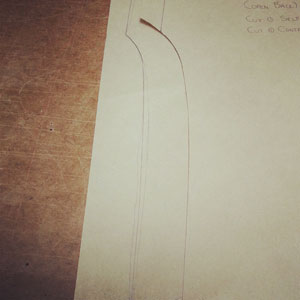
For areas that have fabric under it, use a tracing wheel to mark the paper. I used the tracing wheel to mark the split back hem and the front neckline. 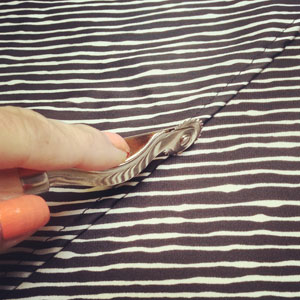 Once FRONT and BACK are traced, I used straight rulers and a french curve to clean up lines. Before finalizing the pattern pieces, you need to ensure certain seams match. These include the shoulder seams and the side seams. This is imperative as they need to be sewn together.
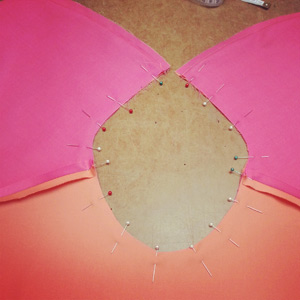
Once all your appropriate seams match, seam allowance, notches, grain-lines and titles are marked. 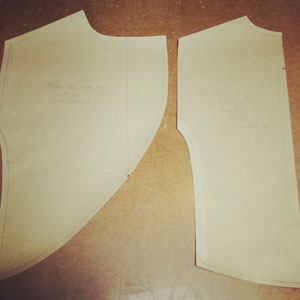 Design ElementsNow its time to sew! I will have to admit, I stood for several minutes trying to figure out what seams to sew first and what order I need to sew the seams to ensure the top was fully reversible with no raw edges exposed. This section will cover the important elements to make this top reversible. Reversible GarmentI could have kept this top super simple by not offering a reversible element, but that would be very much unlike moi, so hence the difficulty level increased dramatically. 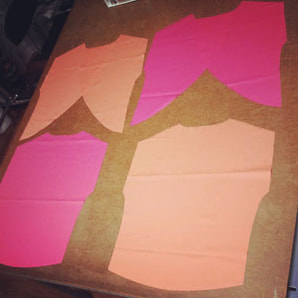 Sequence of sewing steps went as follows:
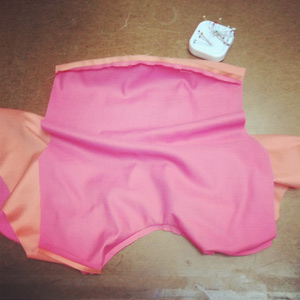
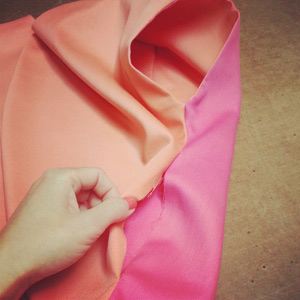
Here is a close up shot of what the reversible element looks like along a seam. How beautiful! 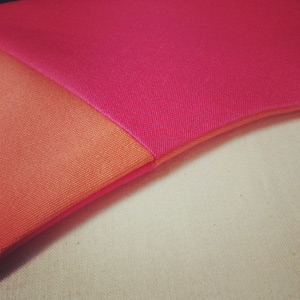 Open BackI already covered sequence of sewing steps earlier. But I wanted to share that it is important to sew the split back hem prior to putting together the rest of the garment.
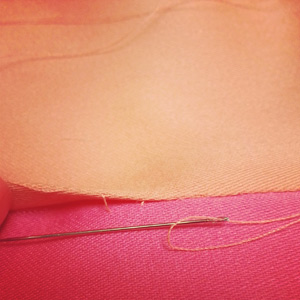
Hand Sewn FinishesAny fully enclosed (fully lined) garments require an opening to flip the garment back to right side out. I left my opening on the side seam. WHY? Because its the straightest seam and doesn't alter the smooth curves of the hem, that's why. Opening was slip-stitched to ensure a smooth finish.
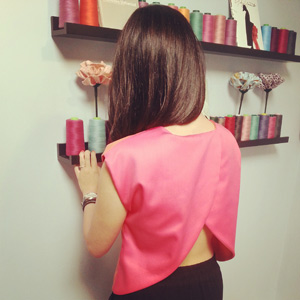
Final DesignHope you have enjoyed the inside look into my reversible split-back top. By the way, I loved it so much I had to make one for myself! 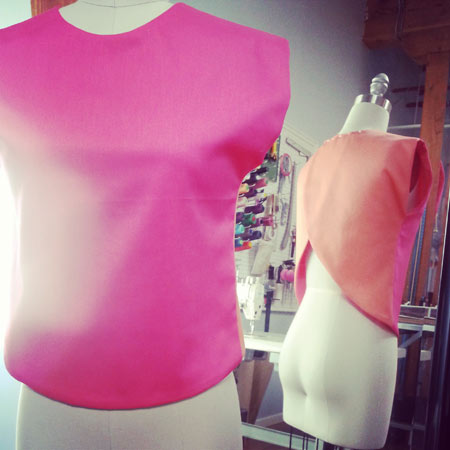 If you would like to learn how to make this top, BOOK a lesson with me.
Happy Sewing! Designed, photographed and written by Sheila Wong Studios
10 Comments
Annette Adam
7/2/2014 12:36:47 am
that would be really good in cotton for the summer for airing out the back. 4/15/2020 12:54:31 am
I was taking a gander at some of your posts on this site and I consider this site is truly informational! Keep setting up 1/3/2023 01:50:54 pm
We improve our clients’ lives by enhancing their houses, giving them a place to relax, reconnect, and revitalize while feeling proud of their achievements and home. Stones and Cabinets City delights our customers and makes them proud of their houses by making the complex simple. 1/3/2023 02:14:30 pm
We are keen on improving the quality of life for our drivers and their families by providing the best technology, higher pay, premium benefits, and ensuring efficient operations and load planning that lets them maximize their home life without sacrificing safety or income. 1/3/2023 02:16:07 pm
Knowledgeable and expert technicians at I-Cell Station identify your cell phone issues for free so that we can offer you the best possible solutions. We have expert-level solutions for all damaged cell phone devices, from screen replacements to charging ports and batteries, cameras speakers, back glass to motherboard level repairs. 1/3/2023 02:17:51 pm
Blogging refers to writing, photography, and other media that's self-published online. Blogging started as an opportunity for individuals to write diary-style entries, but it has since been incorporated into websites for many businesses. 12/28/2023 10:37:06 am
Experience the ultimate pleasure with high-profile call girls available 24/7. Our attractive Greater Noida escorts Service ensures a delightful time with Russian Escorts Greater Noida and VIP models in Greater Noida. Call 9899869190 now!! Visit here for more information:-https://delhicallgirlservice.in/greater-noida-escorts.html Leave a Reply. |
Archives
November 2022
|


 RSS Feed
|
|
Copyright © 2024 Sheila Wong Fashion Design Studio Ltd. All rights reserved.