|
Drape-draft-cut-sew: these are the steps taken in this design. Read on to see the full process from concept to last stitch. Project Specs
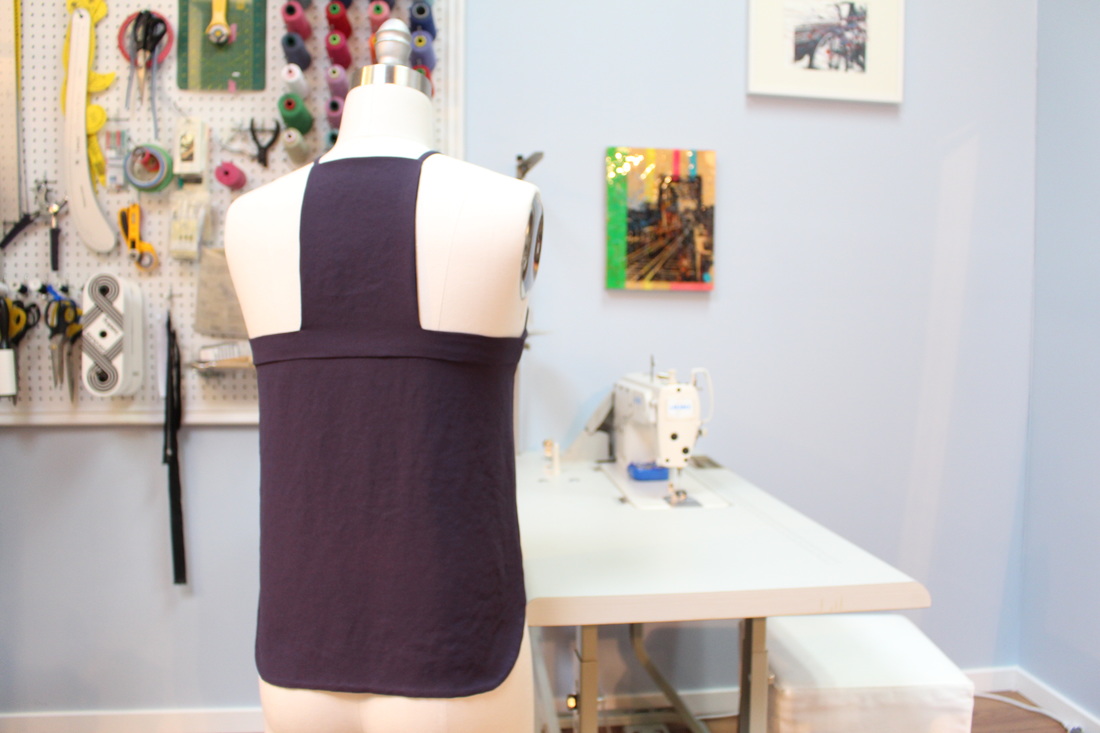
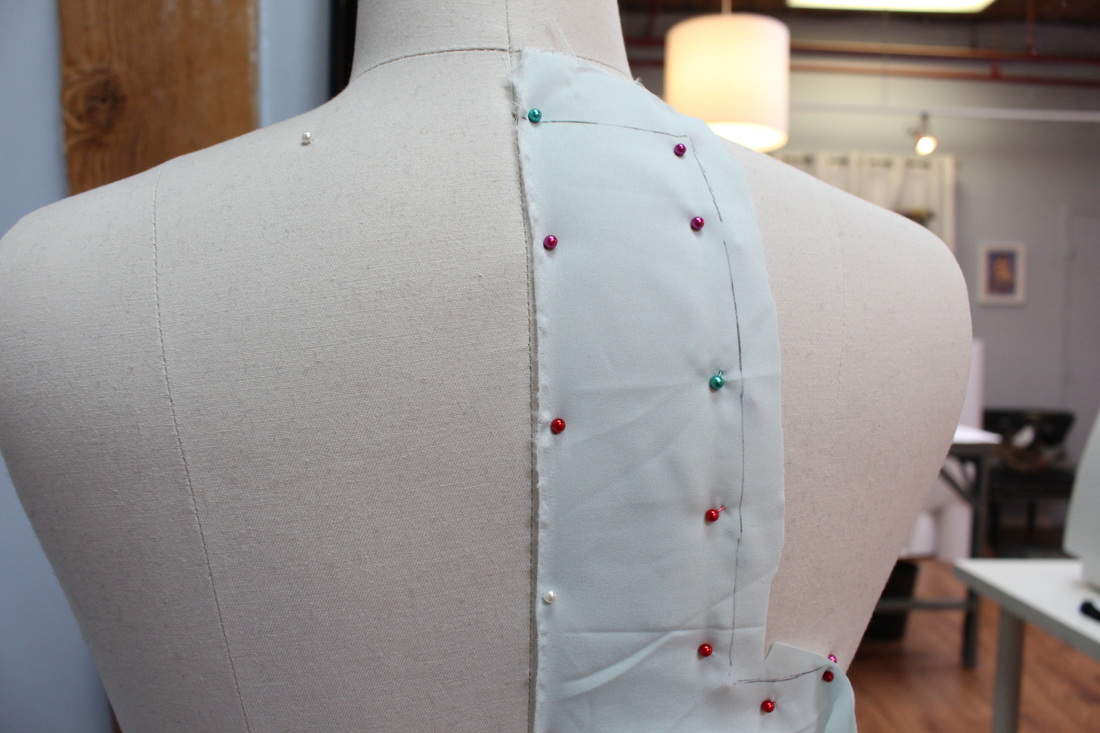
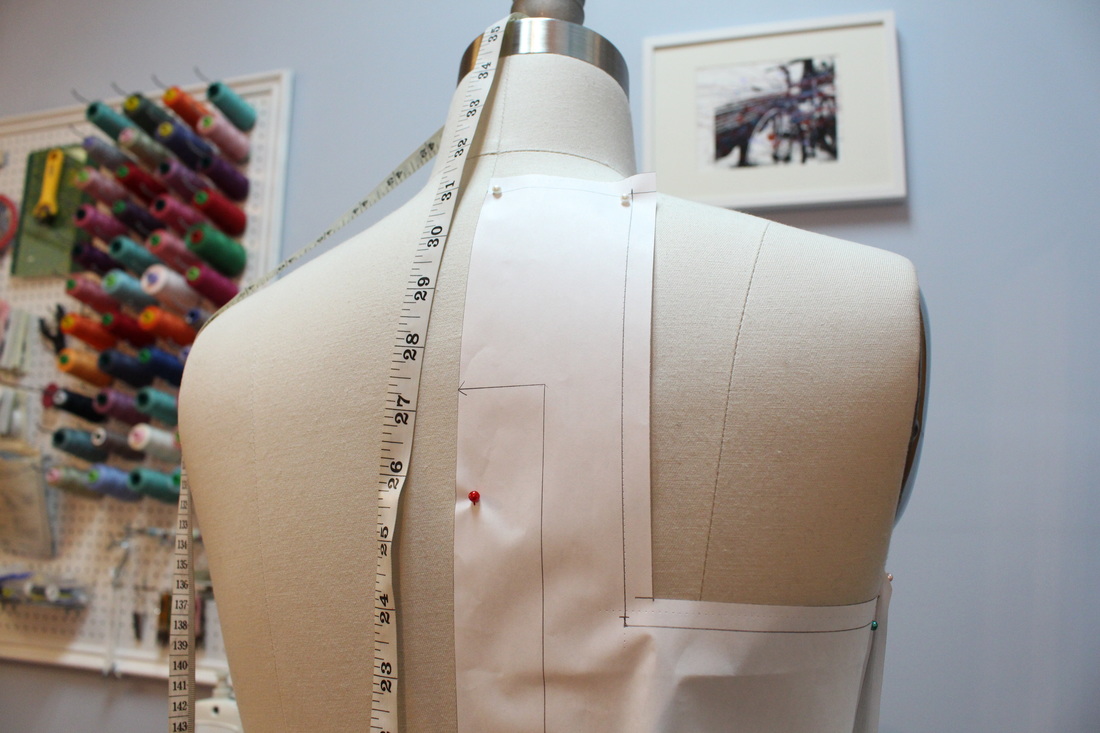
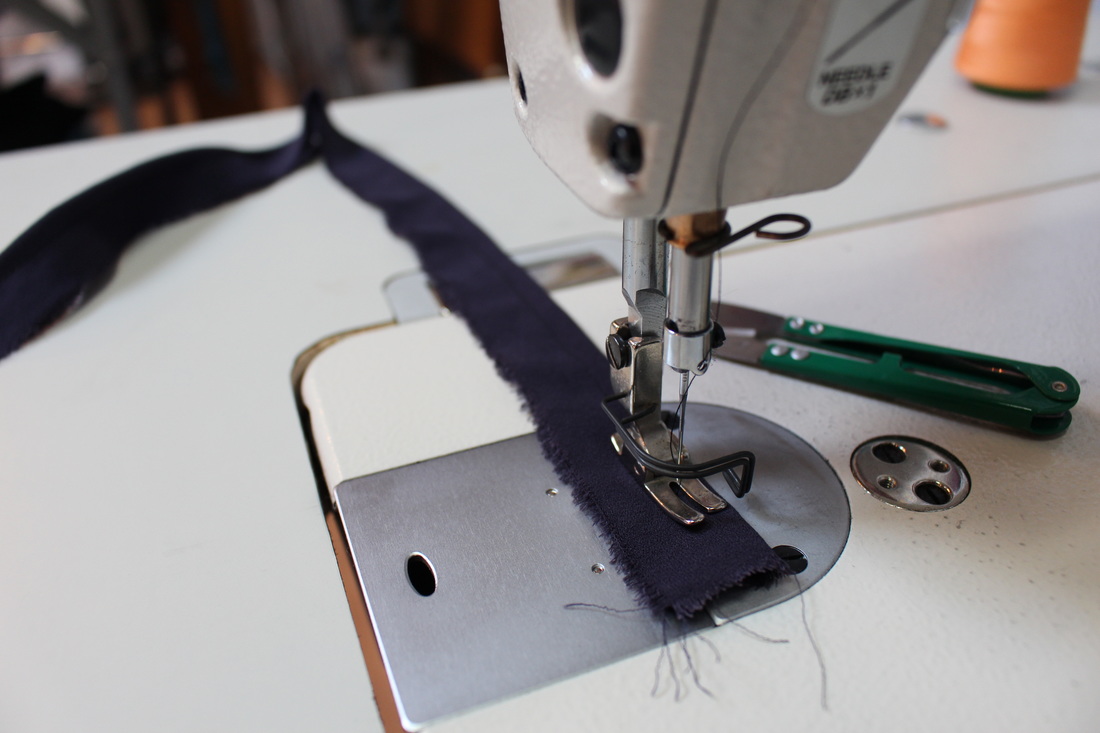
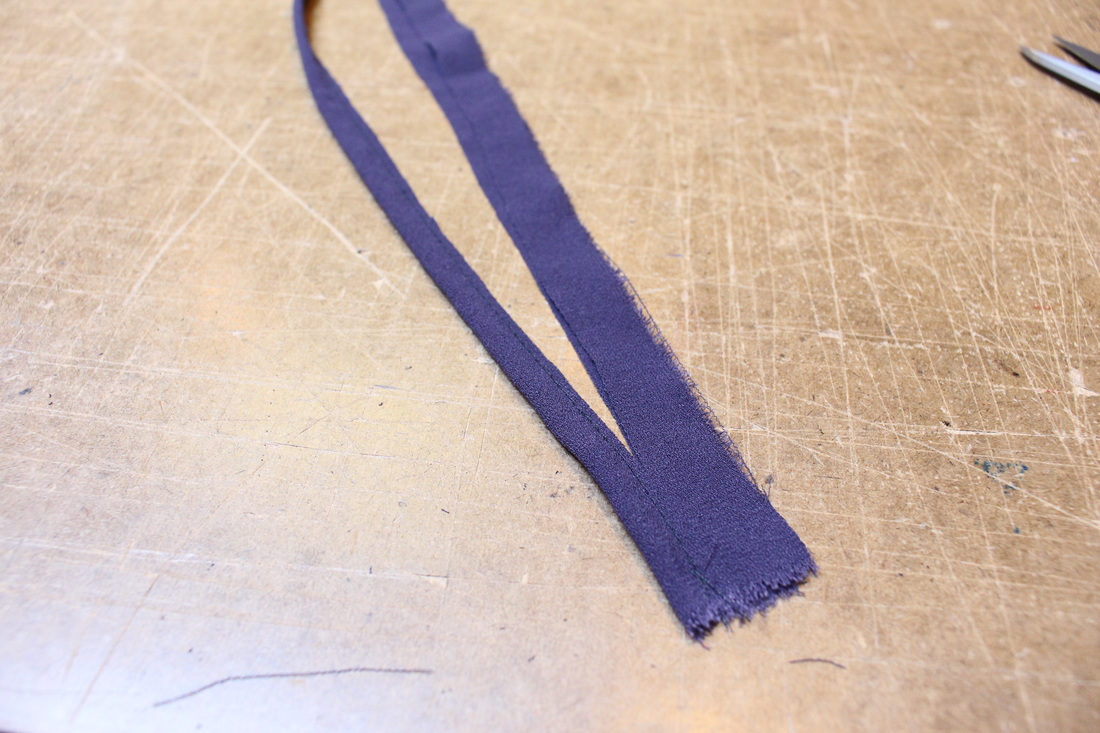
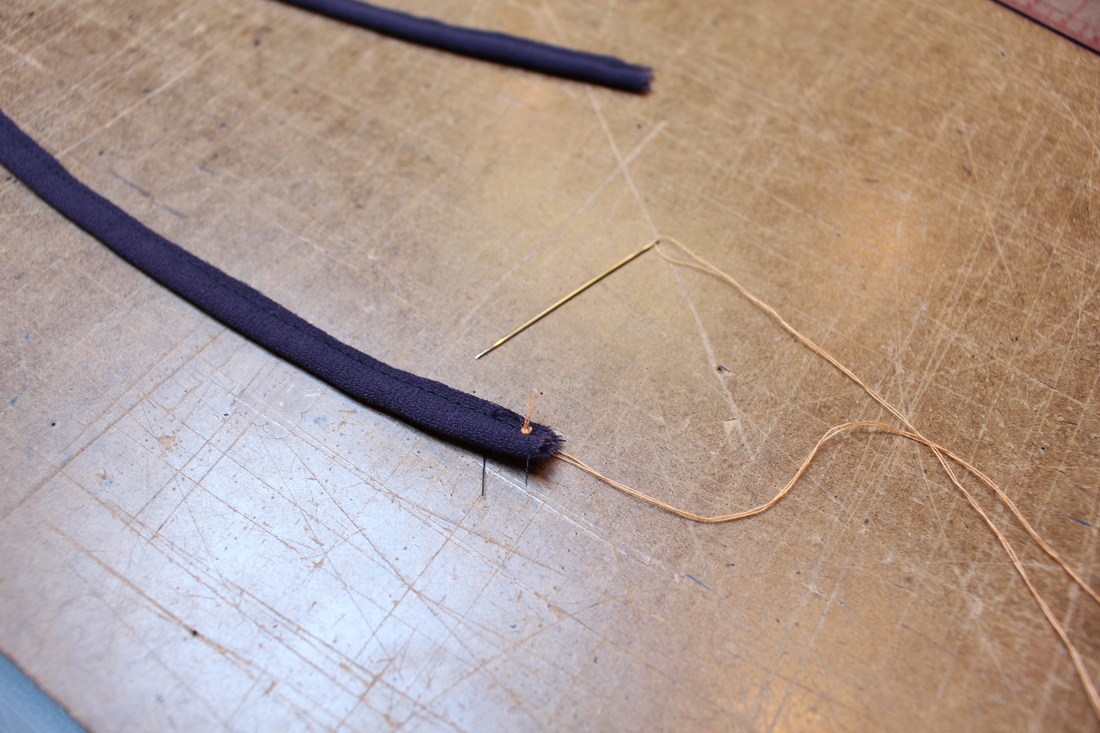
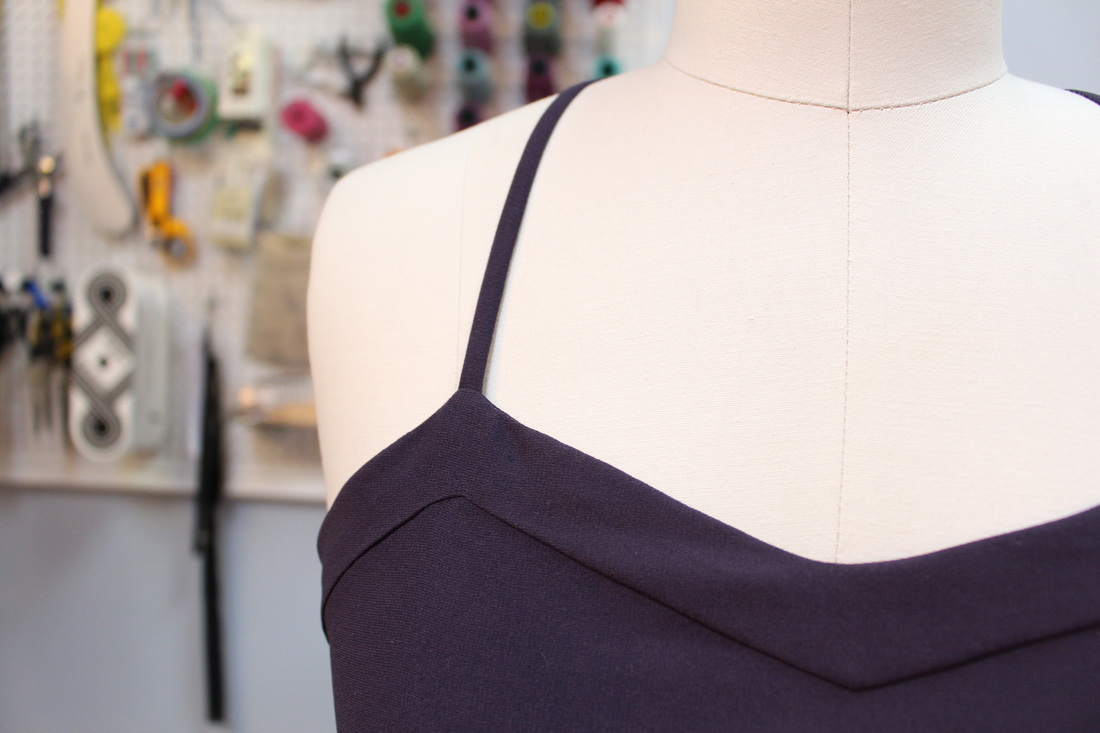
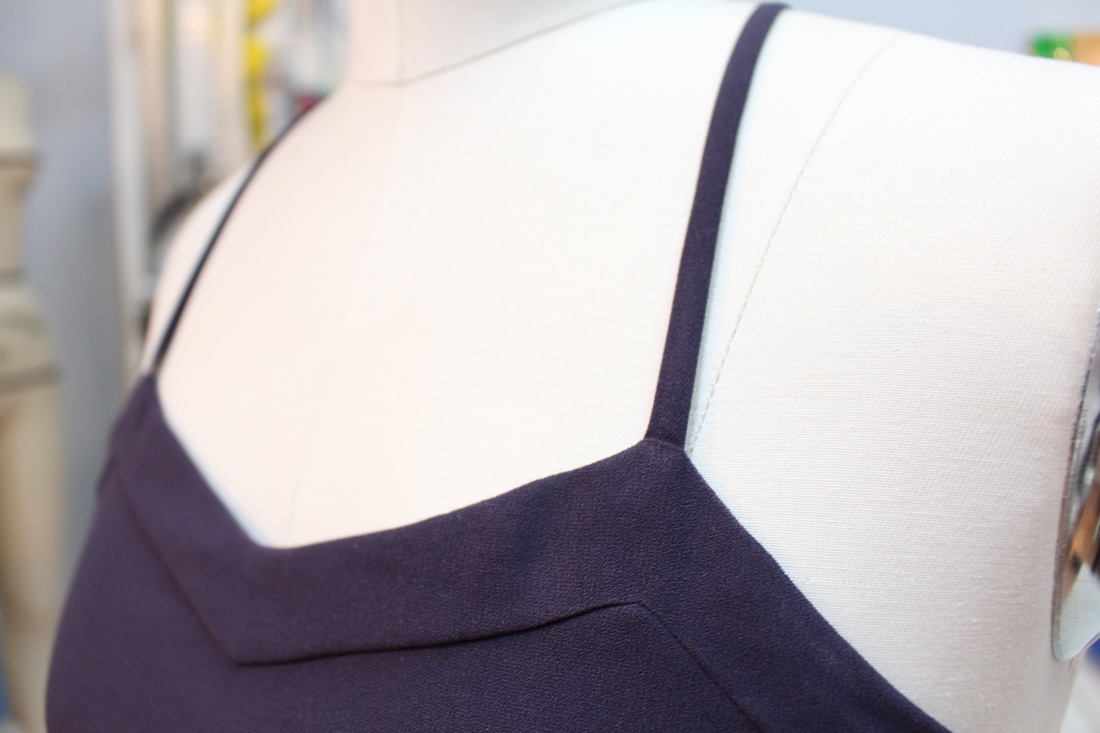
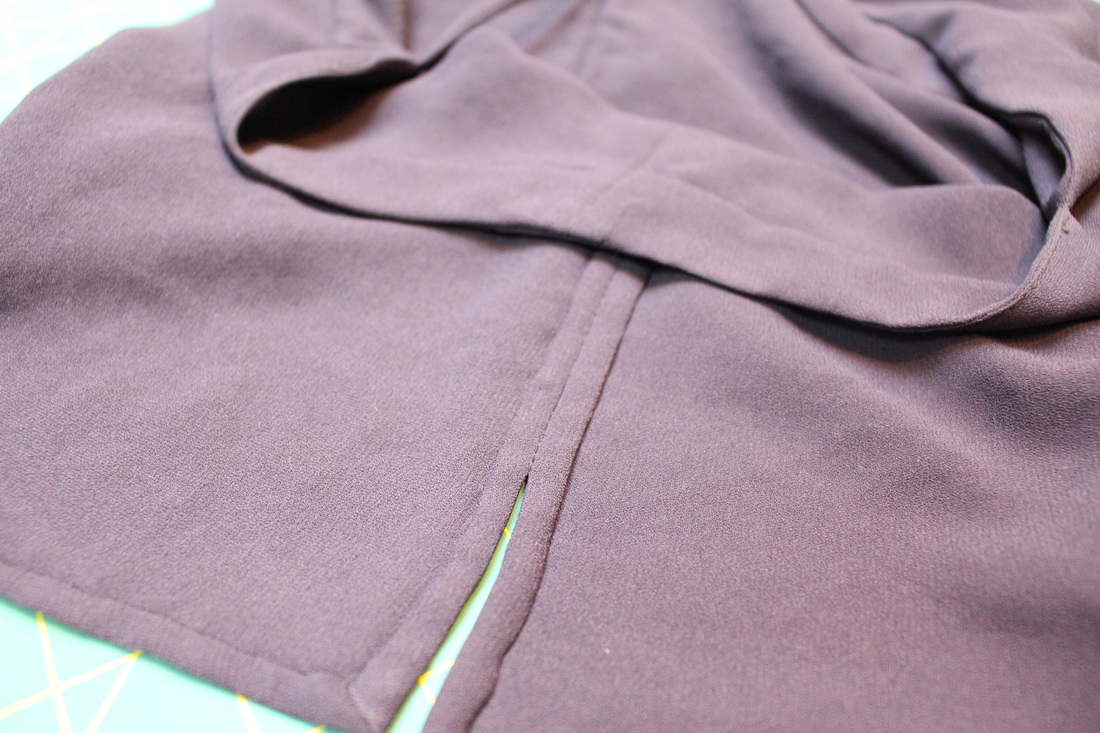
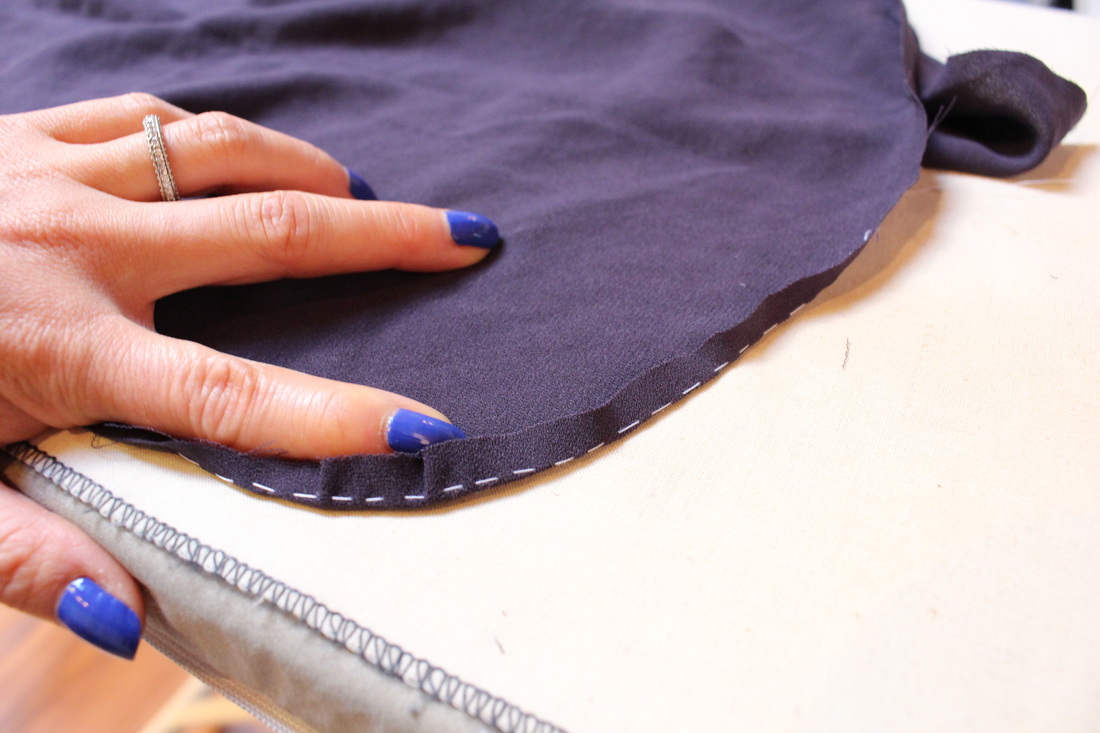
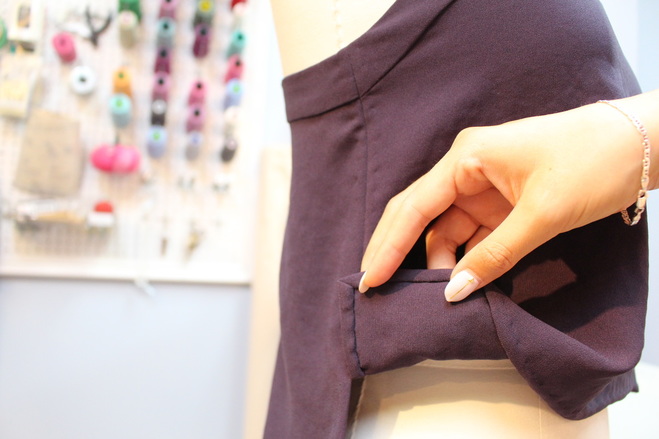
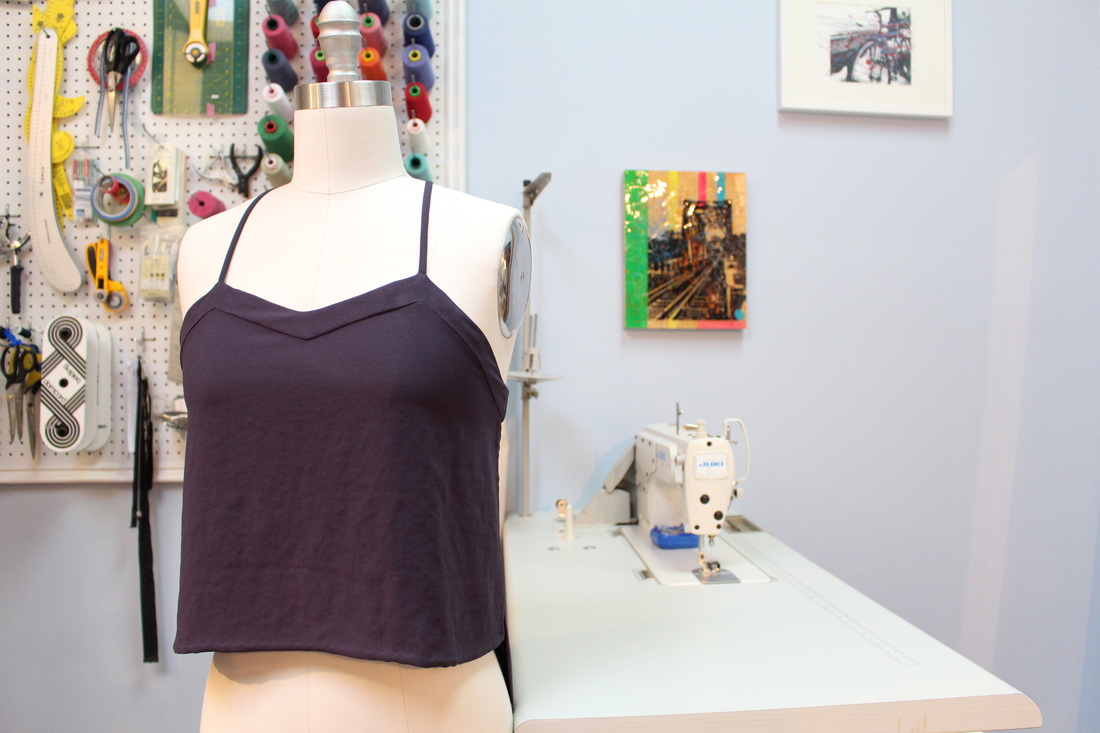
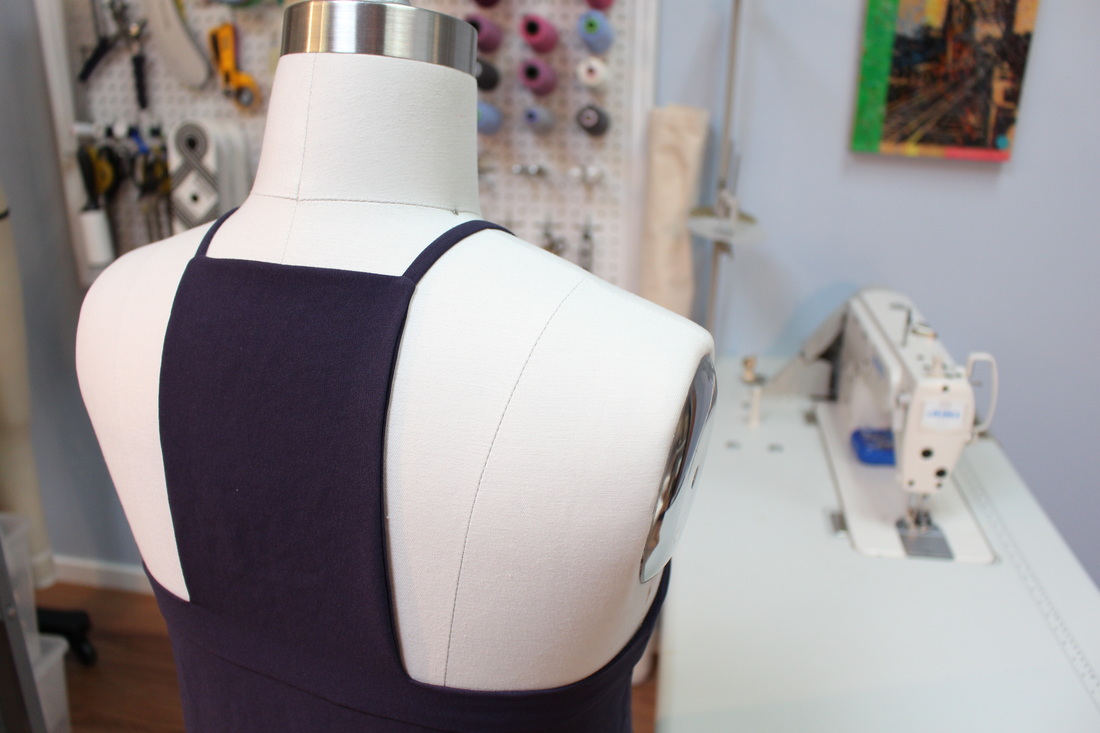
Pattern Drafting/ DrapingAs usual, I wanted clean lines in specific places with this camisole, so draping this design to see exactly where each line lay made sense. I used a cheapo polyester fabric to drape this. We all have it in our fabric stash, so I was glad to see that this finally had a purpose in life. When draping I suggest either working with muslin fabric or fabric that moves in a similar way as your intended end fabric. Pictured below on the left is the upper back being draped and on the right shows the completed pattern translated to paper. Construction DetailsThere are a variety of techniques in this design with hand and machine applications coming together. From top to bottom, it is obvious that hand-sewn stitches make this design truly unique. StrapsDelicate straps were a must for this design (for stress-free slim straps, follow our step by step guide HERE). A few things to keep in mind are to cut out a strap with larger seam allowance than necessary to make it easier to sew. The excess seam allowance can be removed prior to flipping. Also, when creating slim straps, it is best to use slippery fabric that can be turned with ease. NecklineThe front and back neckline are both faced with the same shape as the exterior. This allows all raw edges on the interior to be hidden away under the facing. I regret not applying an interlining to the front and back neckline. It would hold the border of the neck much cleaner. Side SeamsThe side seams and the hem had to match, so it made sense to fold under the seam allowance at the same width (1/4") as the hem. The same slip stitch finish was applied. HemDue to the side seam having a slit, the hem finish needed to flow perfectly into the side seam finish. I opted to turn in the hem by 1/4" twice then slip stitching the hem down to the garment. The curved hem at the back was challenging to neatly turn in. I applied a hand sewn ease stitch to help press the curve in. This takes a bit longer to complete but it is so helpful! Tiny mitered corners were applied at the front side seam (guide to sew mitered corners HERE). Finished GarmentThis is a perfect piece for layering or just wearing on its own on warmer days. We are making the same design in a fully hand sewn version too. Stay tuned for post on that design. Here are a few things I learned from creating this design:
Designed, constructed and written by Sheila Wong
Edited by Samantha Quon Happy Sewing! Sheila Wong Studio Team
1 Comment
Deborah
7/2/2017 09:02:48 am
I love the back of this.
Reply
Leave a Reply. |
Archives
November 2022
|
Copyright © 2024 Sheila Wong Fashion Design Studio Ltd. All rights reserved.

 RSS Feed
