|
Oh hey, look! Our latest design that's not in black or grey. We promised you more colour in 2017, and here it begins. Bamboo and reverse pattern drafting come together to make our latest design. 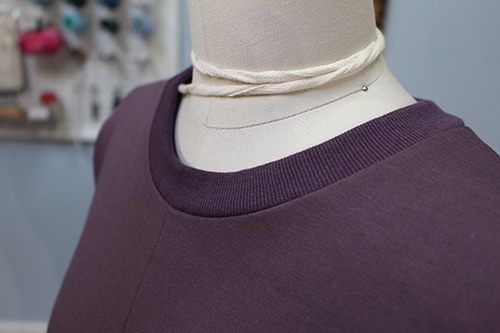 Project Specs
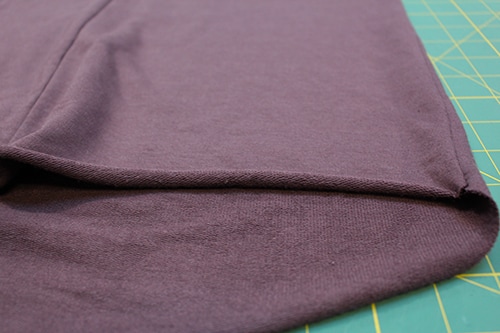
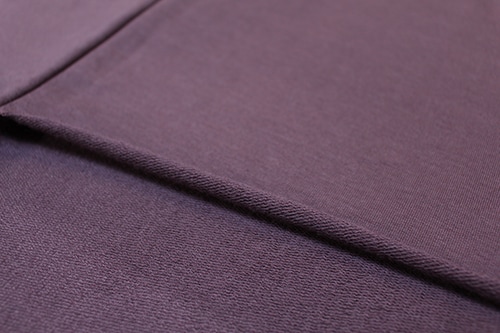
InspirationSometimes, I just want a super comfy pull over. A weekend garment where I can eat as many waffles as possible and still feel comfortable. And, I was inspired by a French Connection knitted sweater, pictured below. Fun Fact: I only buy clothing that I cannot make, hence the purchase of a knitted top. I cannot and refuse to learn how to knit. 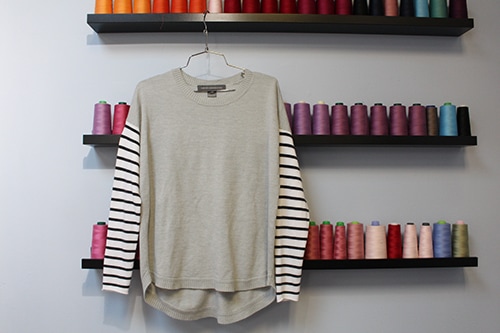 Pattern DraftingRecently I was teaching a client how to reverse pattern draft one of her knitted sweaters. I used my French Connection sweater to demonstrate. In the original design, I drafted a regular turned-in hem on the sleeve, but once the ribbed neckline went on the design called for more balance and additional ribbing somewhere. Read on to learn more about the construction details for the sleeve ribbing (not drafted/pictured).  FabricFor the past while I have been obsessively making basic tops with bamboo knit fabric. When I recently found a thicker bamboo knit, I knew it would work perfectly for this sweater. Bamboo provides a natural soft feel and movement when worn. It also acts as a natural body temperature control. However, one lesson learned from some basic tees in the past is to always pre-launder the fabric as it shrinks up on the straight grain a lot. Let's just say my husband might have a crop top hidden somewhere in his closet now... 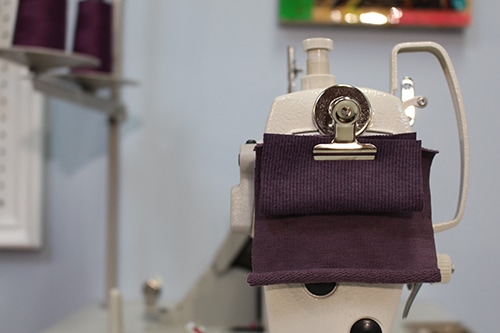 Construction DetailsRibbed Neckline and CuffsA basic ribbed neckline was applied in this garment. If you want to learn how to make the neck binding flat, scroll down to the end for my tips! 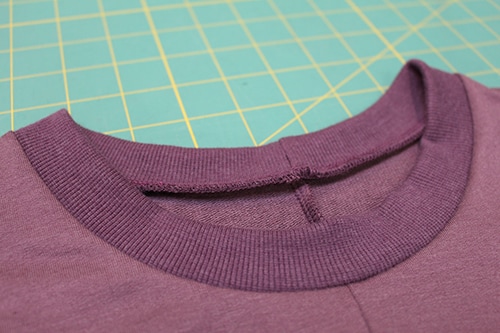 Ribbed cuffs were not in the original design at all, hence why there is no pattern piece shown in the pattern drafting section above. We were simply going to cover-stitch the both the hem and the sleeve hems. Laziness (or creativity) kicked in. If we were going to leave the hem of the pullover raw, we should do the same to the hem of the sleeves right? Well, it just ended up looking funny, so we made a sleeve cuff ribbing to match the neckline and to create some balance in the garment. I kinda guessed on the measurements, so the cuffs turned out fairly fitted, and actually looks really lovely. My one mistake was not removing enough fabric from the length of the sleeve, so you will notice lots of excess fabric in this area. Some pattern adjustments will be made for the next one! 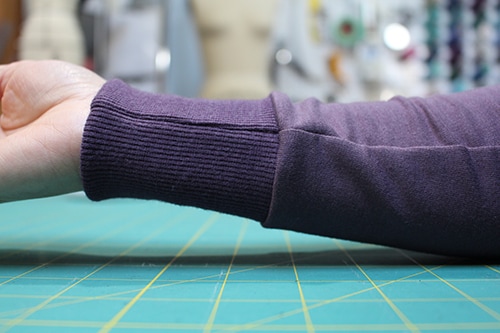 CF and CB SeamIf you look back at the pattern picture earlier in this post, you will notice the Front and Back Shirt are labelled CUT ON FOLD (might be too fuzzy to read, so take our word for it). This is because they initially were supposed to be cut on fold. As designers, we've all been at that place where we cut out an ON FOLD piece and the damn fabric has this unsightly crease or dis-coloration right along the fold. This happened to us! So we fought back by sewing it off with a seam. Surprisingly, this worked in our favour. If we remake this design, it would work really well as a colour-block design. 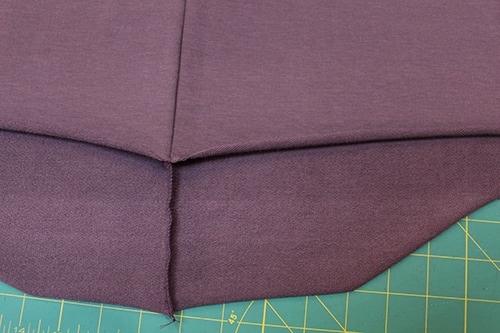 Dropped ShoulderDropped shoulders are everywhere right now. I don't really see its appeal (I end up feeling like a football player), but I do understand how much easier it is to sew than a fitted sleeve. 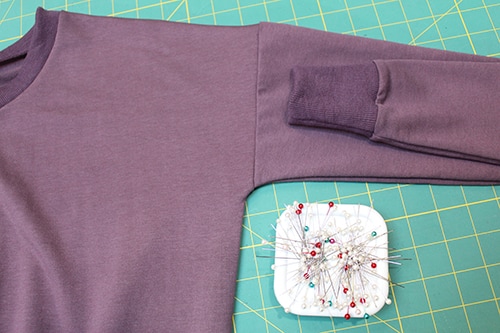 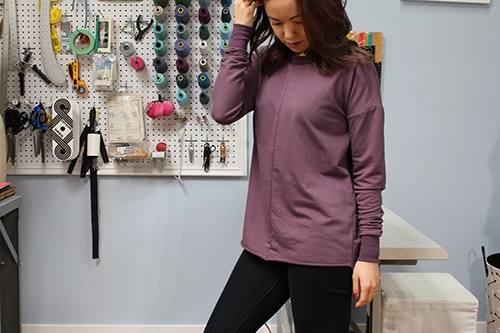 Overlock SeamsAn overlock sewing machine was used to sew all of the seams. We used double needle instead of single needle to add strength and durability in the garment. 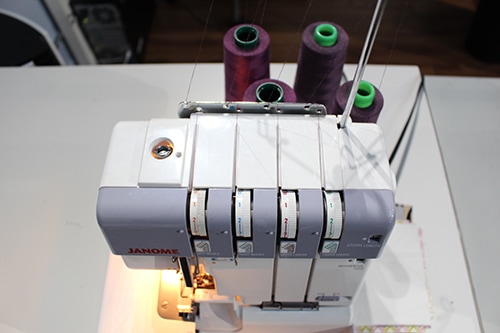 Since overlocking does not offer a back-stitch option the seams at the hem had to be reinforced. We hand-threaded the tail of the over-lock stitch into the last 1-2 inches of the seam. For extra security we hand-sewed backstitches in the last 3/4 inch. Is it possible to create something without incorporating some hand sewing? Nah, I don't think so. 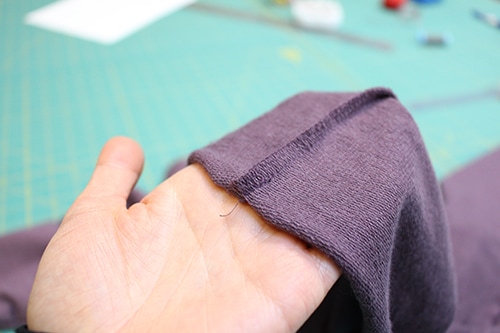 Raw HemThis is completely against my design values, but sometimes rules are made to be broken. A raw edge was left for the hem. If you have ever worked with bamboo you know how "roll'y" it can get. I really did not have the patience to fuss over the hem, so I let the fabric take the "natural" path. It makes sense with bamboo right?!
Finished GarmentVoila! A comfy knit pull-over for this extra chilly winter in Vancouver. I see many more of these in the near future, perhaps with colour blocking? Write in the comments below what colour combos you think we should try. 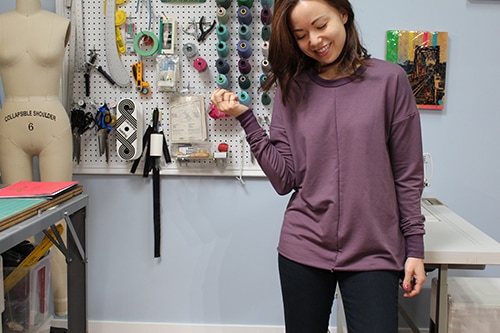 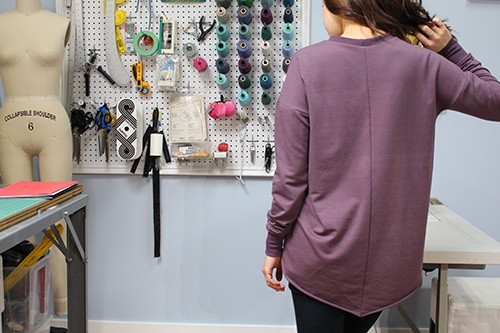 During the construction process, I learned a lot about neckline ribbing. The neckline requires two adjustments. These changes would ensure the neckline lay as flat as possible when worn.
Designed and written by Sheila Wong
Constructed by Caitlyn Sio and Sheila Wong Edited by Samantha Quon Happy Sewing! Sheila Wong Sewing Team
3 Comments
7/21/2018 09:36:33 am
Start quilting more efficiently with a long arm quilting machine. Paired with a quilting frame, long arm machines can speed up the production time on quilts. 1/26/2024 04:01:26 am
Hey there Dunkin' lovers! Have you visited our store recently? We want to hear about your experience! By participating in our survey at https://www.dunkinrunsonyou.com.co/, you can help us serve you better and also get a chance to win a free donut! Your feedback means the world to us and we are constantly striving to make your experience even better. So, take a few minutes to share your thoughts and treat yourself to a delicious free donut from Dunkin' Donuts! Can't wait to hear from you! Leave a Reply. |
Archives
November 2022
|
 RSS Feed
|
|
Copyright © 2024 Sheila Wong Fashion Design Studio Ltd. All rights reserved.