|
If you have been following the studio on social media or just love reading our blog, you will know I have been regularly travelling to Japan for the last four years. In 2017, I picked up a couple of vintage haori jackets in Tokyo. A haori is a traditional Japanese hip or thigh-length kimono style jacket. This type of kimono is meant to be worn open. Often times has ties mid-way along the center front opening. Traditionally a haori was worn by men until the 1800's, when geisha of Tokyo began to wear haori over their kimonos to appear more stylish. Haori is pronounced "ha-oh-ree". 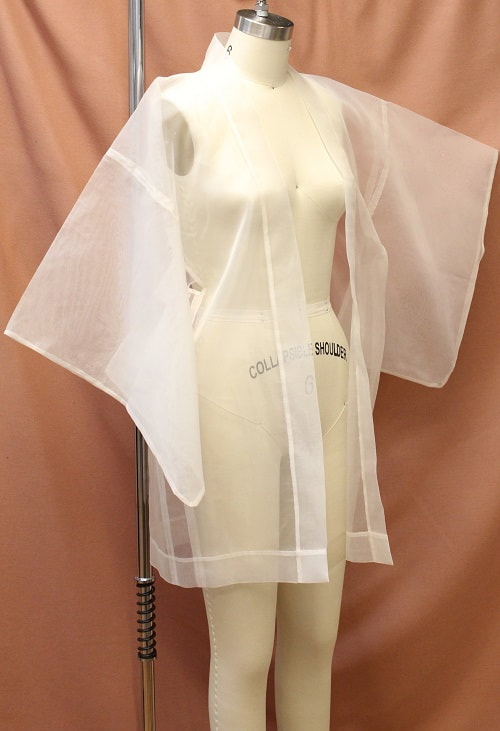 I am not Japanese, nor in anyway do I feel I have the right to say this design is made to be Japanese in its authenticity. But I feel strongly that we live in a connected world that we can and should be inspired by all cultures- regardless of our own culture. It makes us more compassionate humans. By allowing ourselves the opportunity to explore and learn new techniques through the dissection of any clothing, in particular one that is cultural in nature, provides a wealth of hands on education. 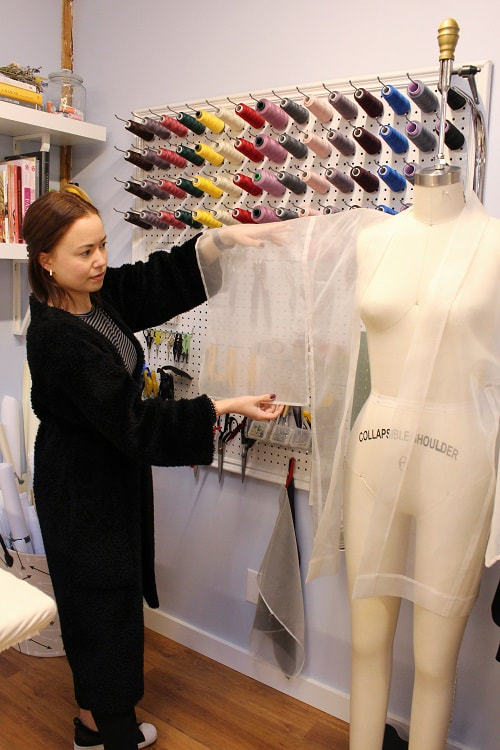 The main purpose of creating a haori was to explore the traditional pattern shapes required to make this type of jacket. I wanted to better understand Japanese philosophy behind avoiding fabric waste in kimono construction. There are a vast array of kimono styles, haori for me was the easiest place to begin as it is shorter in nature but still embodies the shapes of kimonos. Pattern DraftingUsing a haori I already had, we extracted the pattern pieces out (without harming the haori- of course!). A total of four pattern pieces make up an unlined haori jacket. Front, Back, Side Panel and Front Facing. The pattern pieces are shaped long and rectangular for the most part, with the exception of the back neckline and the bottom edge of the sleeve, which has slight curves. These type of shapes ensure little to no fabric is wasted. In modern garment construction, an average of 25% plus fabric is wasted due to their shapes, no matter how much one tries to tetris the pieces on the fabric. 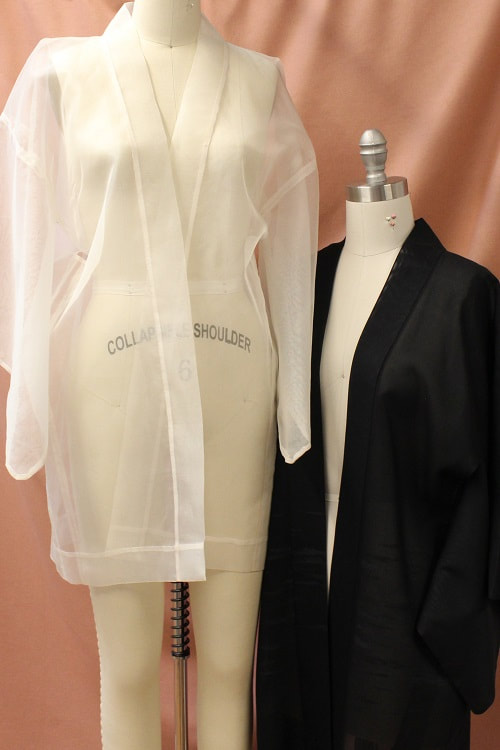 Project Stats
 Inside the DesignFull hand sewing techniques were applied to our haori. To begin, each piece was thread marked with a contrasting thread color to outline the pattern pieces. On purpose, we chose un-dyed silk organza fabric. We wanted to appreciate the hand sewing and seam finishes. Fabric was purchased from Maiwa Supply Shop on Granville Island. We maintained a narrow seam allowance of 1/4", and each stitch we kept at a 1/4" width to create harmony.
We hand stitched seams in the following order.
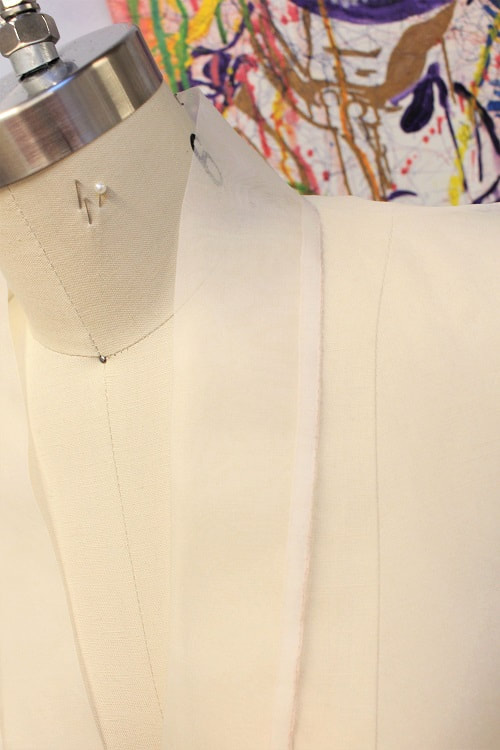
 A clean seam finish is a great finish for any seams that at any point along the seam, must be opened or worked into an opening. Think of a side seam that has a slit at the hem. You begin by sewing right sides of the fabric facing each other at your required seam allowance. Press your seam fully open. With the interior of the garment facing up, press back the seam allowance on both the left and right side. Then, slip stitch folded edge of the seam allowance to the body of the garment. This creates a really flat interior. 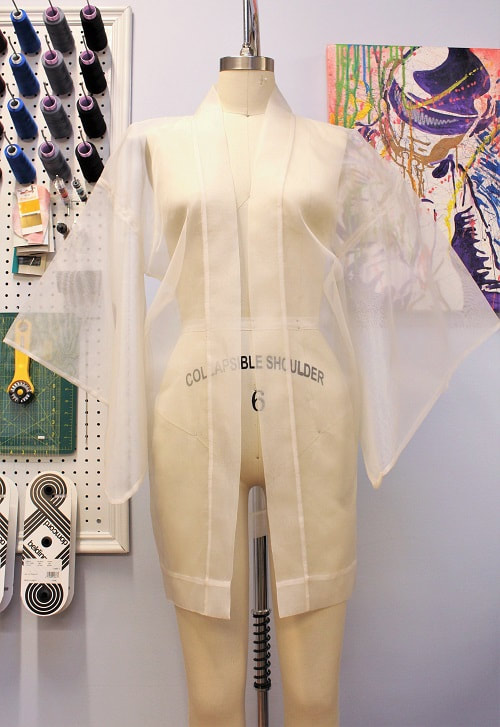 Over the next 12-16 months, we will embroider the entire jacket. My initial thoughts are french knots saturating at the bottom and as you work your way up the garment, the french knots appear less. The color palette will be purple and have an ombre effect. 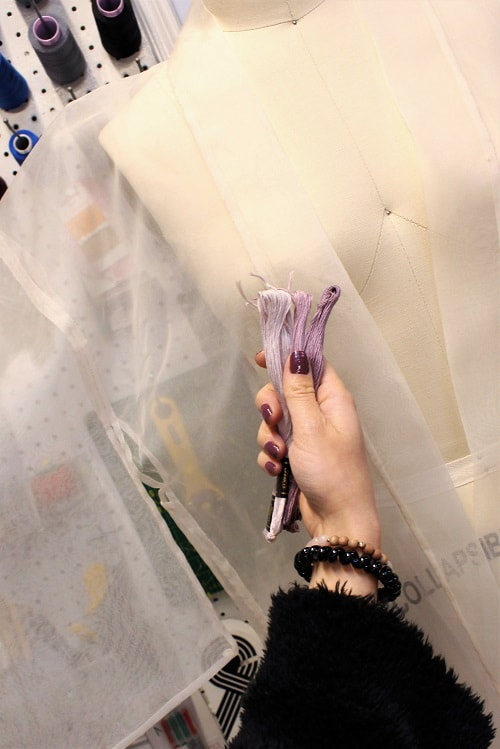 If you would like to learn more about hand sewing techniques or the art of reverse pattern drafting, contact us to book lessons.
Happy Sewing! Created, photographed and written by Sheila Wong Studios.
1 Comment
12/5/2019 12:16:40 am
First and foremost, I want to thank you for teaching us how to make a Organza Haori. I've seen a lot of this, but I did not know that it orginated from Japan. By just looking at it, one can assume that it is easy to do. But when you presented the actual step by step of making it, I realized that must have the needed skills so you can come up with it! With my sewing skills right now, I don't think I can easily pull it off! Those who do this deserve respect! Leave a Reply. |
Archives
November 2022
|

 RSS Feed
|
|
Copyright © 2024 Sheila Wong Fashion Design Studio Ltd. All rights reserved.