|
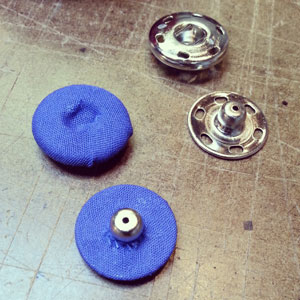
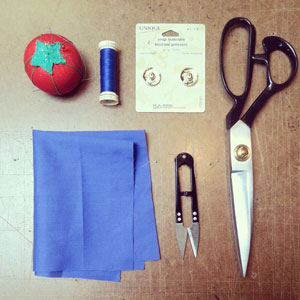
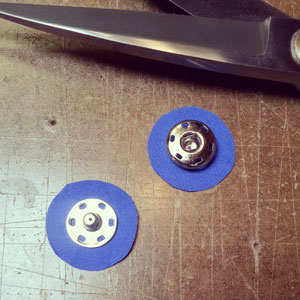
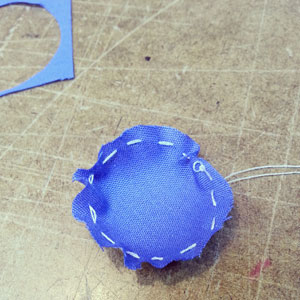
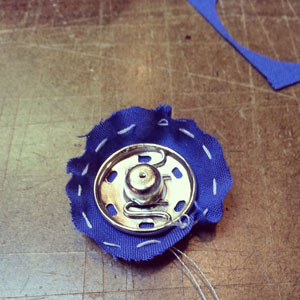
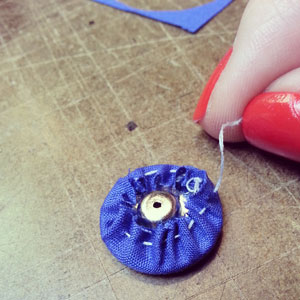
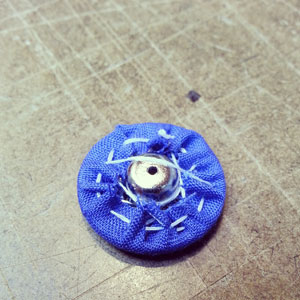
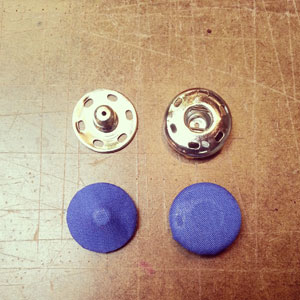
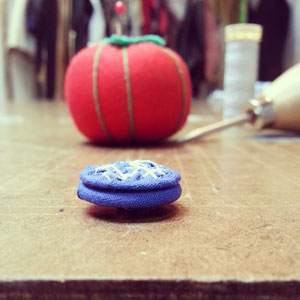
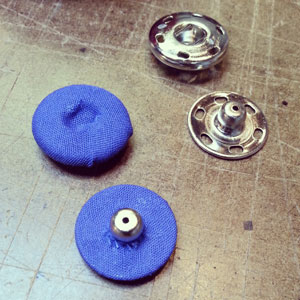
Elevate the quality of a garment with fabric covered snaps. Often seen on pricier apparel, these snaps only take a few minutes to sew. But, can change the look dramatically. Before I start, here are a few tips to help in the process. I have found that light weight fabric works the best as it lets the snaps, actually 'snap'. When choosing the size of snaps, consider where in the garment the snaps will be placed. I suggest not using a size any smaller than 18mm, or you will have a great deal of difficulty covering the snap in fabric. MaterialsStep 1Cut out a fabric circle 1/4" larger than snap. Step 2Hand sew a running stitch approximately 1/8" away from circle raw edge. Step 3Completing one snap at a time, place right side of snap facing down. Gently pull the end of the running stitch with loose threads until fabric circle is sitting snug around snap. For extra security, feel free to run a few stitches through the back layers. Tie a knot once you are satisfied. Step 4Repeat step 3 to the corresponding snap. Covered snaps should look like the bottom set shown in the photo below. All four snaps displayed are right sides facing up, once the fabric is covered its difficult to see what the snap looks like. So I have placed 'naked' snaps above to help you. Step 5Snap your snaps together. This process will break the fabric on the male side of the snap. If you find you are getting alot of frays, simply run a small amount of clear nail polish along the raw edge. Just a heads up, when you are trying to snap the set together, the first time will be difficult due to the extra fabric in the way. Once the fabric breaks away, your snaps will snap away normally. You can now proceed with hand sewing snaps onto your garment.
Happy Sewing! Photographed and written by Sheila Wong Studios
2 Comments
Jen
1/30/2019 06:24:10 pm
Thank you for sharing this tip! I has worked out beautifully on the snaps for my coat! Many thanks!
Reply
Leave a Reply. |
Archives
November 2022
|
Copyright © 2024 Sheila Wong Fashion Design Studio Ltd. All rights reserved.

 RSS Feed
