|
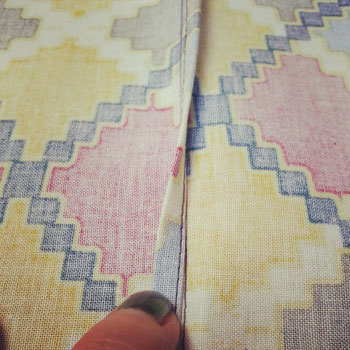
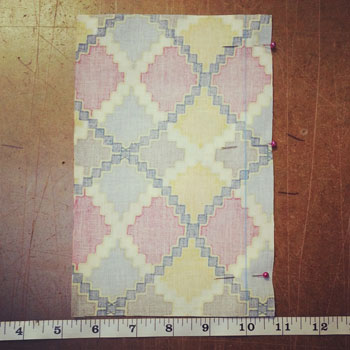
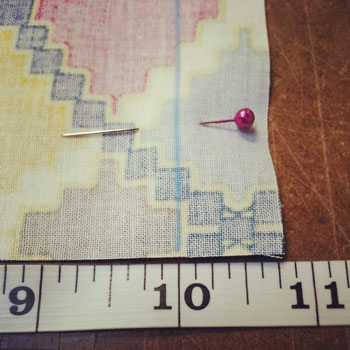
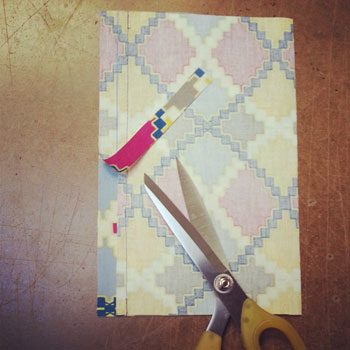
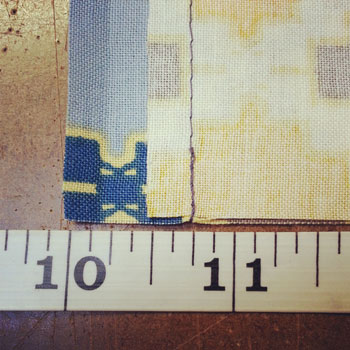
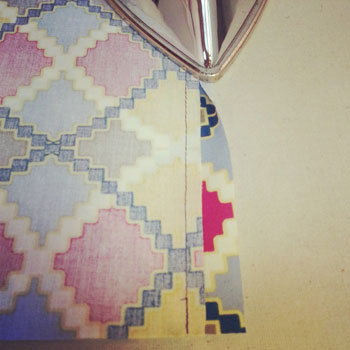
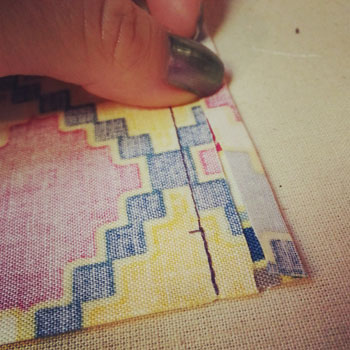
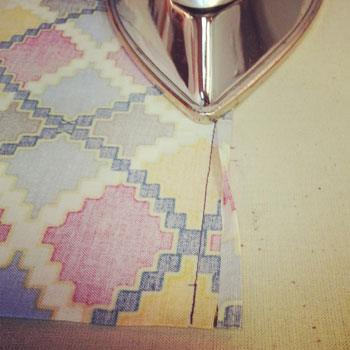
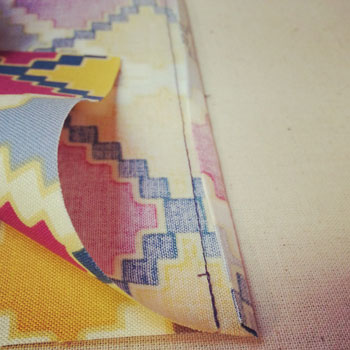
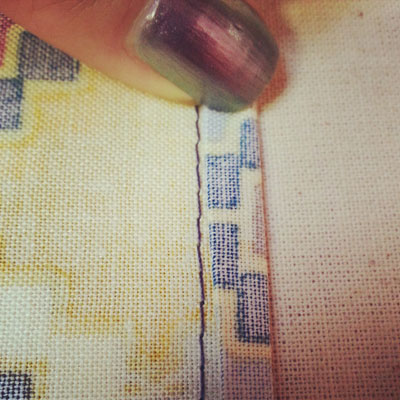
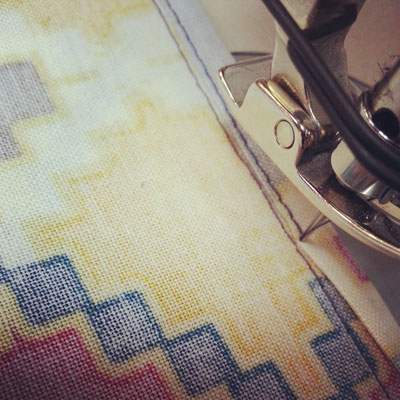
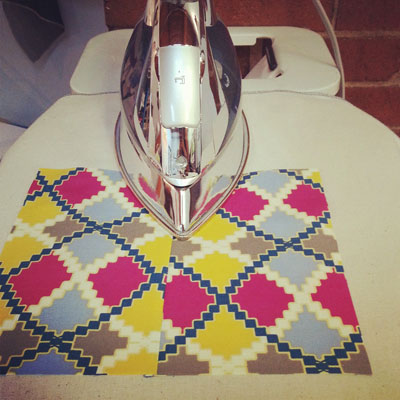
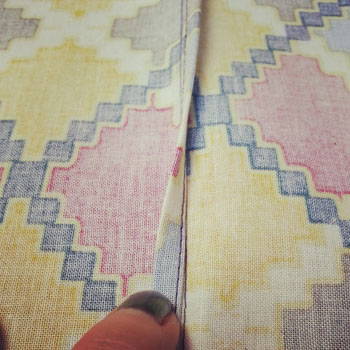
A self bound seam finish is a variation on a bound seam finish. But it does not require you to prepare an extra piece of bias/straight tape to enclose the raw edges of your seam allowance. Its best used when you want to bind both seam allowances together and for light to medium weight fabrics. Also works better on straight to slight curved seams only. For a step by step sewing tutorial on a bound seam finish click HERE. Step 1If you are familiar with a regular bound seam finish, you know that either bias or straight tape is used to bind the raw edges of the seam allowance. In a self bound seam finish we need to allow for extra seam allowance to self bind. A 3/4" seam allowance is required to have a 1/4" finished self bound seam. Sew at a 3/4" seam allowance. Step 2Trim one of your seam allowances down to 1/4". Step 3Press the raw edges of the longer seam allowance in to line up with the raw edge of the shorter one. Step 4Press the folded edge in to meet up with the original sew line. Leave a 1/16" or smaller space in between the edge and the sew line to ensure the seam lays flat. Step 5Edge stitch down your pressed seam allowance as shown in photo above. Edge stitch is approximately 1/6" away from the folded edge. Step 6On the right side, press seam allowance to one side. Completed SeamHappy Sewing! Photographed and written by Sheila Wong Studios
0 Comments
Leave a Reply. |
Archives
November 2022
|
Copyright © 2024 Sheila Wong Fashion Design Studio Ltd. All rights reserved.

 RSS Feed
