|
Used typically for decorative purposes either with the same fabric or contrasting fabric. A piped seam is an easy addition to your next garment. Step 1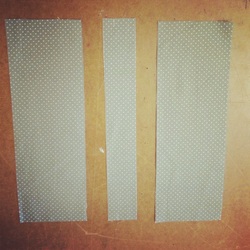 For this tutorial, I am just creating a small sample, thus why there are two rectangles in the photo. If you where creating this for a seam you would have your two pieces that make up the seam then an additional strip of fabric that makes up the piping. To figure out the width of your piping strip you need to first decide the width of the exposed piping you desire. For example, if I wanted 1/4 inch to be exposed in my finished seam I would calculate as follows: 1/4" + 1/4" + 1/2" (Seam Allowance) + (1/2" Seam Allowance) = 1 1/2" TOTAL WIDTH If you are sewing a straight seam, you can cut the strip on grain. If it is a shaped or curved seam you will need to cut strip on bias. Step 2 Time to prepare the piping strip. Wrong sides facing, press in half the strip lengthwise. Step 3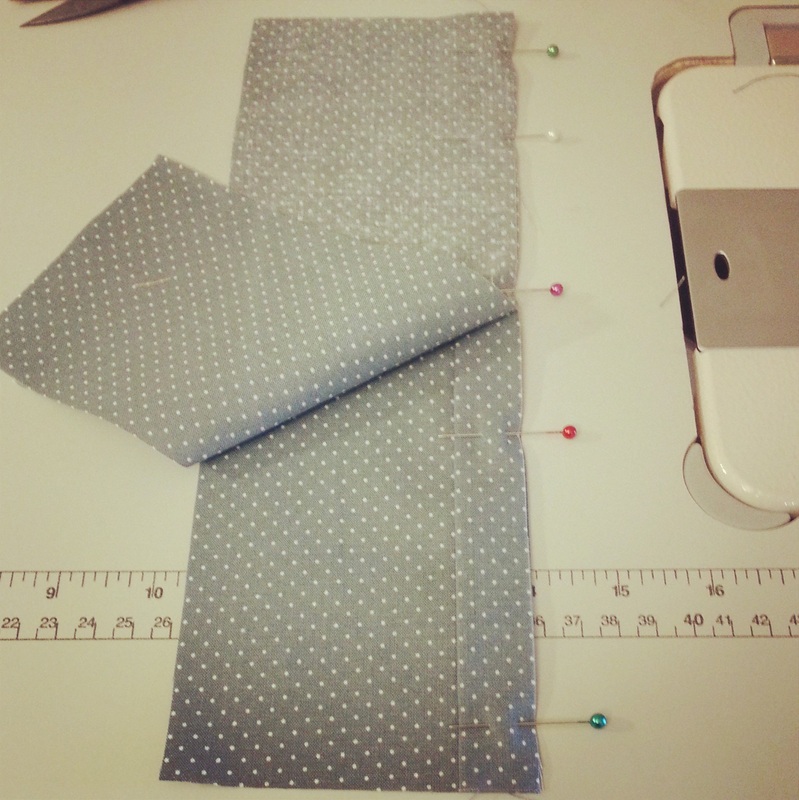 Time to sew. Right sides facing sandwich the piping strip in between the front and back piece. Line up all the raw edges and sew at 1/2" seam allowance (or whatever seam allowance you have decided). Step 4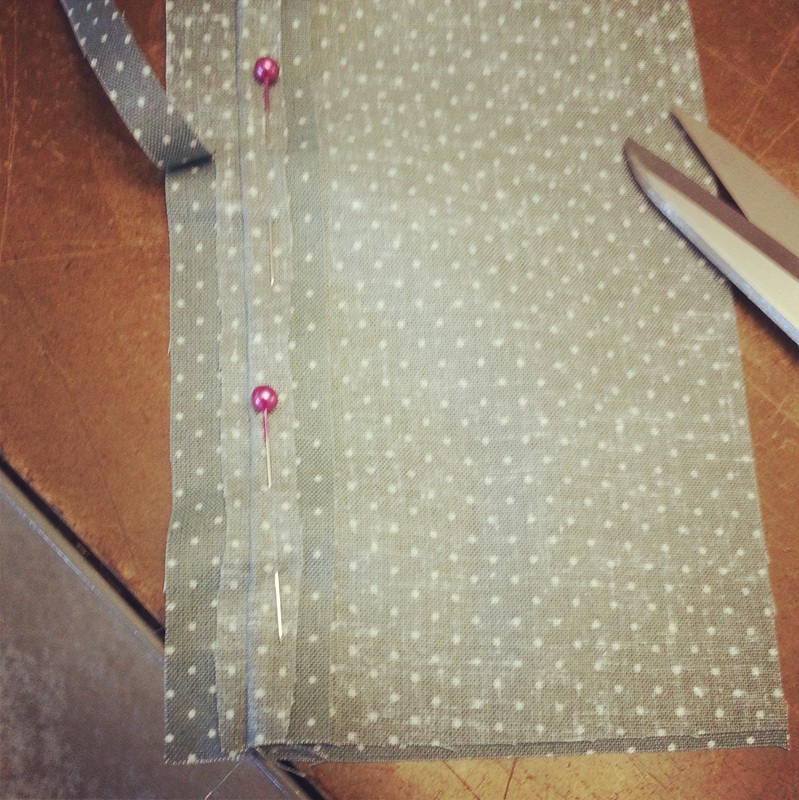 Time to trim away excess bulk in the seam allowance. We will only trim the following to the piping seam allowances:
The staggering of seam allowance width will allow the seam to lay flat easier. You will notice in the photo, I pin the regular seam allowance out of the way while trimming to avoid cutting any unnecessary fabric away. Step 5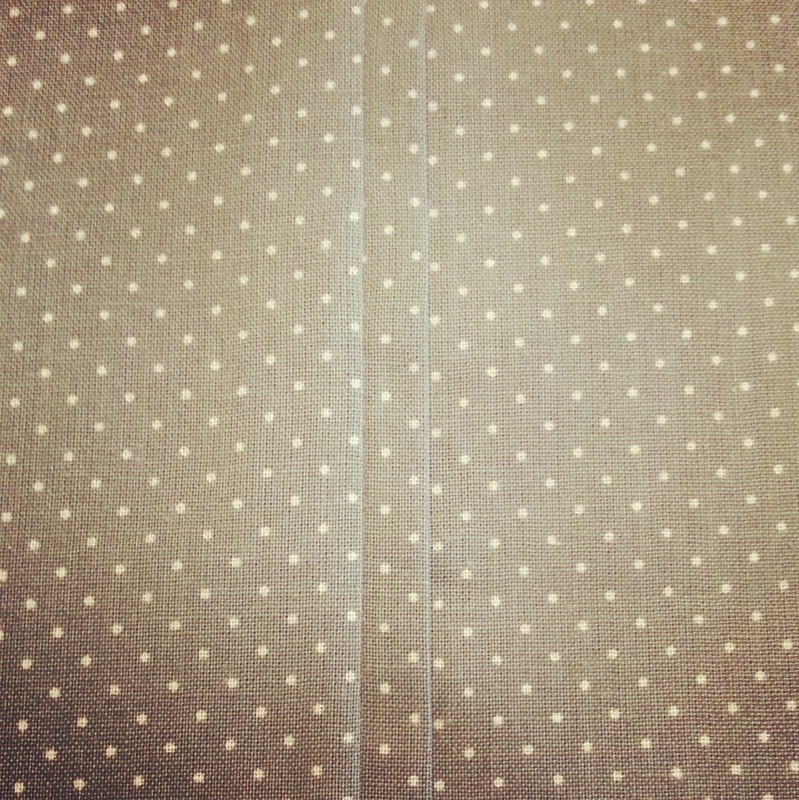 Time to press. Press all seam allowance to one side. Iron should be facing the right side of your seam. Your finished piped seam should look like this! Hope you have enjoyed this extremely easy tutorial on sewing piped seams. Send me a photo next time you decide to add a piped seam into a garment, would love to see it.
Happy Sewing! Photographed and written by Sheila Wong Studios
0 Comments
Leave a Reply. |
Archives
November 2022
|
 RSS Feed
|
|
Copyright © 2024 Sheila Wong Fashion Design Studio Ltd. All rights reserved.