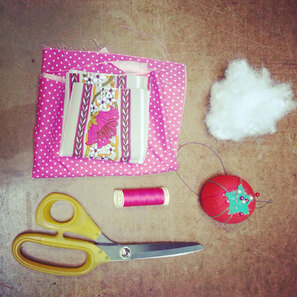
 A great way to use up scrap fabric, sew your own mini pin cushion. Here is a step by step sewing tutorial on how to sew one. Materials & Supplies
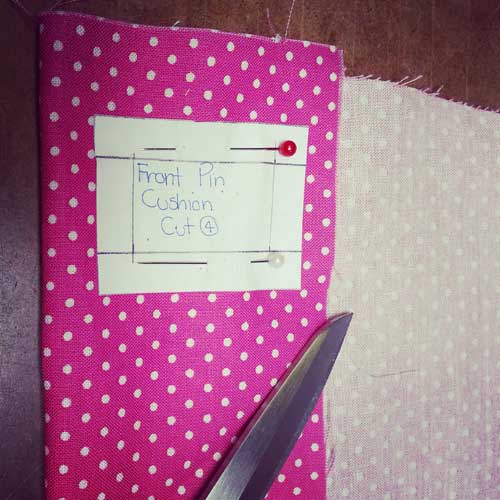
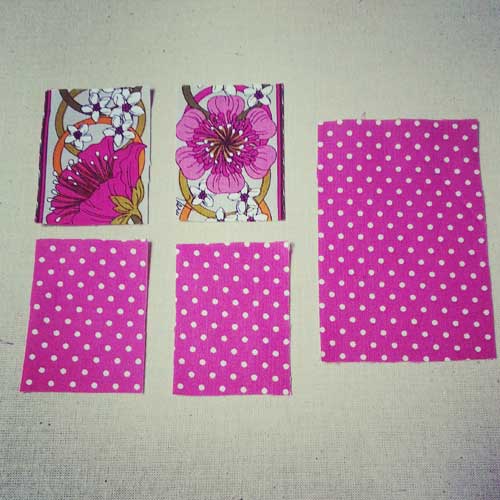
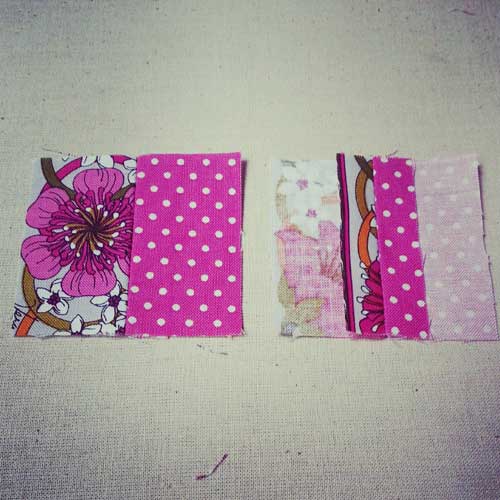
Step 1To make the same style of pin cushion shown in this tutorial, create pattern pieces as shown below. You can experiment with other shapes then a rectangle if you like. just ensure the finished shape when all top pieces are sewn together match your bottom piece. Complete pin cushion dimensions are 2 1/2" x 1 3/4". 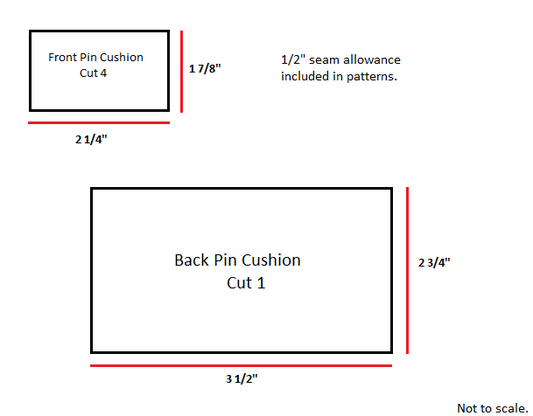 Step 2Cut out fabric as per pattern pieces. Before you start sewing, you should have 4 small rectangles that make up the front and 1 large rectangle that makes up the back.
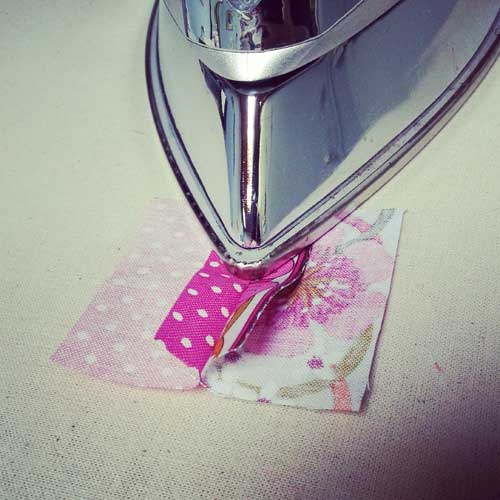
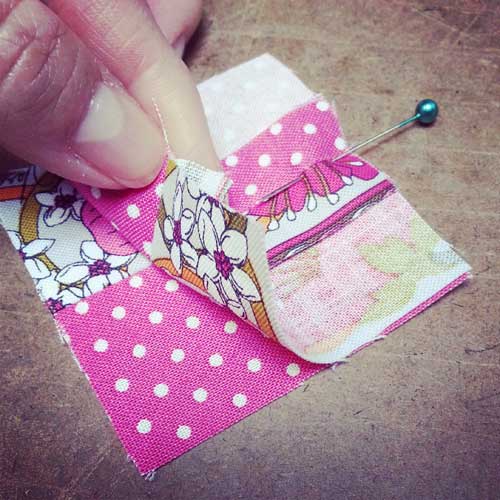
Step 3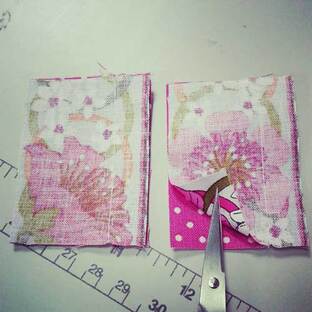 Right sides facing sew two Front small rectangles together on its length at 1/2" seam allowance. Repeat for other two rectangles. Step 4Press Step 3 sewn seams open.
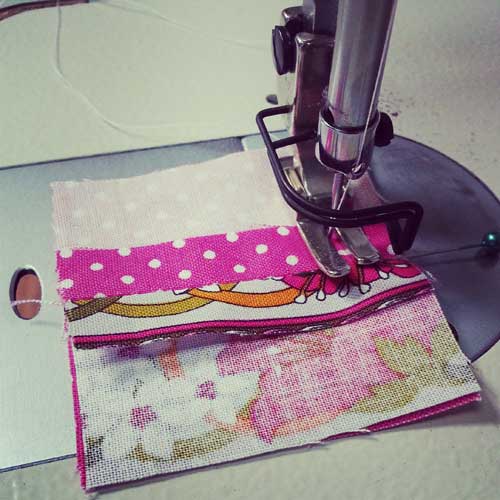
Step 5Right sides of fabric facing each other, bring together the 2 half's of the Front and sew at 1/2" seam allowance.
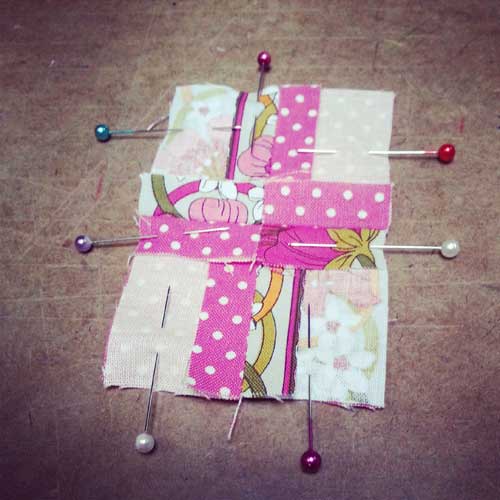
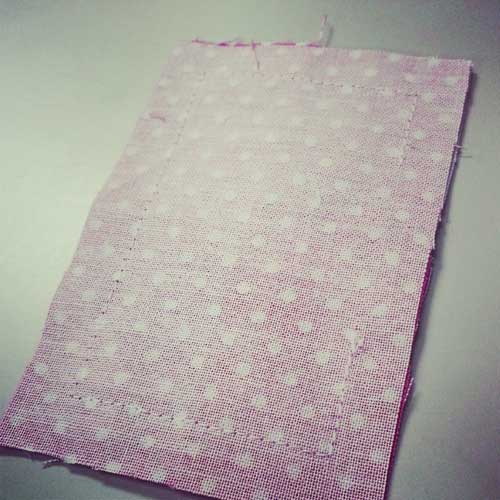
Step 6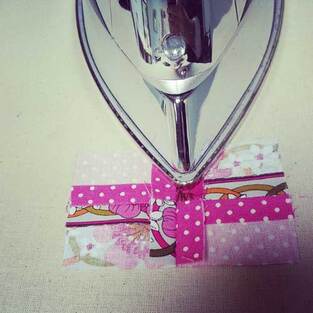 Press Step 5 sewn seam open. 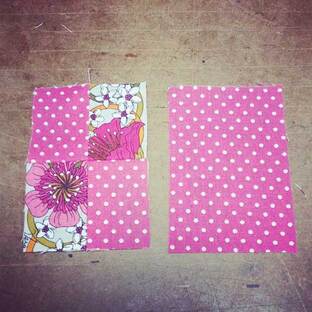 You should now have your front pin cushion complete and ready to sew the Front to Back. Step 7Right sides facing, line up the Front and Back. Pin and sew all the way around rectangle leaving a 1-1.5 inch opening to flip. Follow red sew line below.
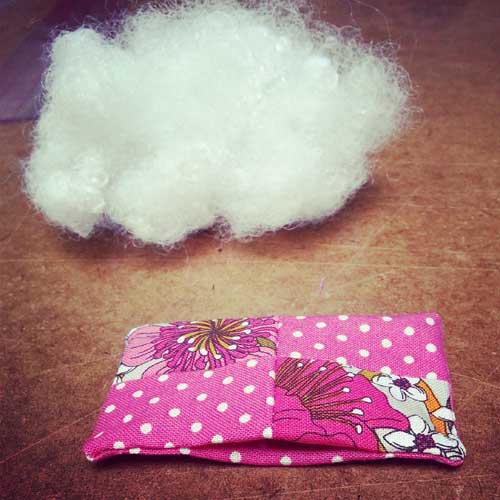
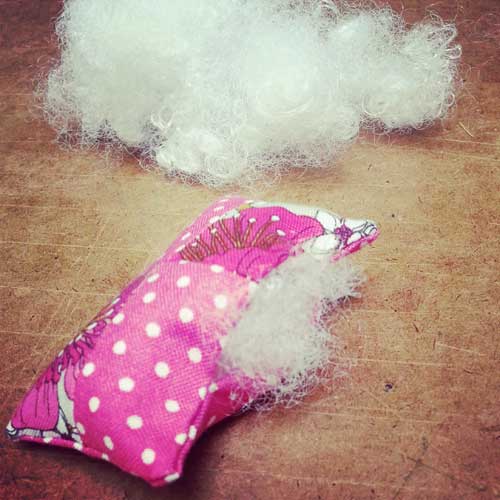
 Step 8Trim excess bulk in seam allowance at corners as per sketch. Keep 1/8" away from sewn corners. 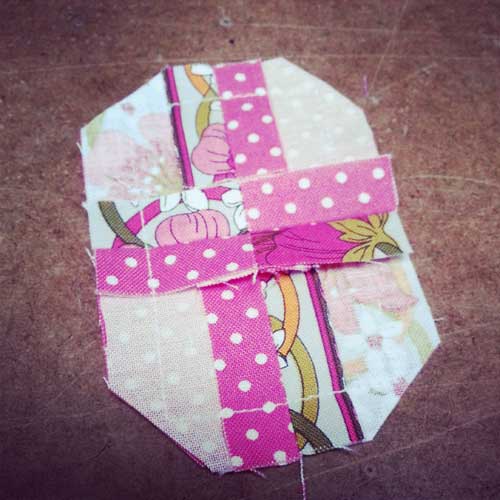 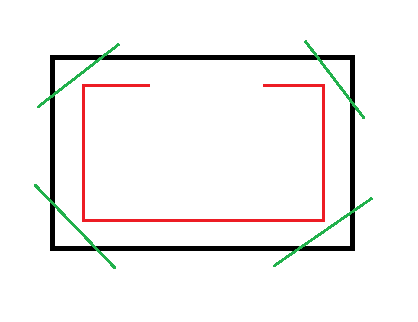 Step 9Flip inside out, and at stuff opening as full as you can.
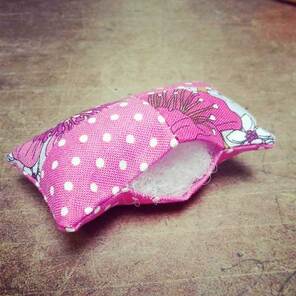
Step 10Slip-stitch opening shut. For a video tutorial on slip-stitching, click HERE.
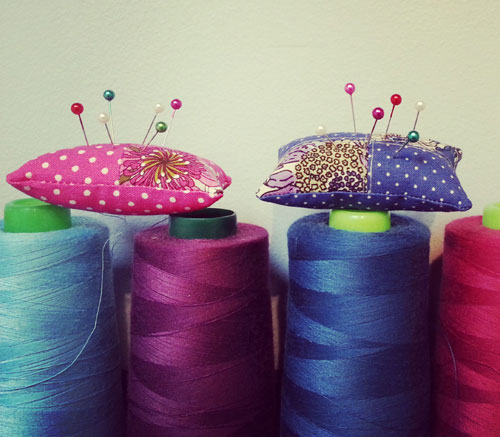
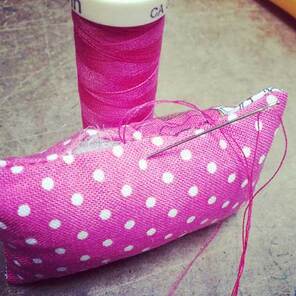
Final Design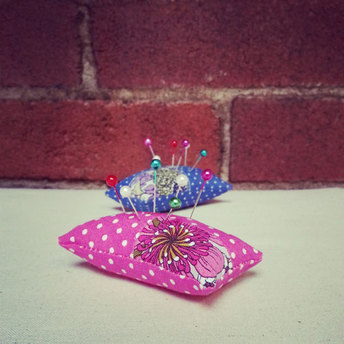 Happy Sewing!
Designed, photographed and written by Sheila Wong Studios
0 Comments
Leave a Reply. |
Archives
November 2022
|
 RSS Feed
|
|
Copyright © 2024 Sheila Wong Fashion Design Studio Ltd. All rights reserved.