|
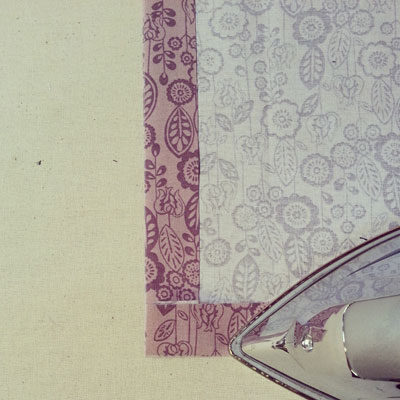
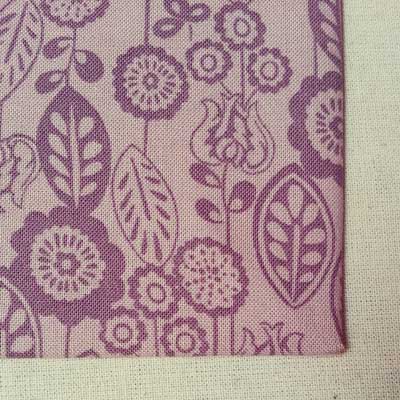
Corners in sewing are tricky, they can look clean and professional if you put the effort into them. Here is a step by step sewing tutorial on how to sew a mitered corner. A mitered corner can be sewn in a variety of areas in a garment. Commonly seen at the hem intersecting with the center front opening of a garment or perhaps at the hem at the back opening vent.  Step 1On the right side of your garment, mark your hem seam allowance or your fold in line. It is OK if the two are not the exact same measurement. Most likely your hem is larger in measurement. Please refer to your pattern for hem seam allowance. In this example, I am using 1". 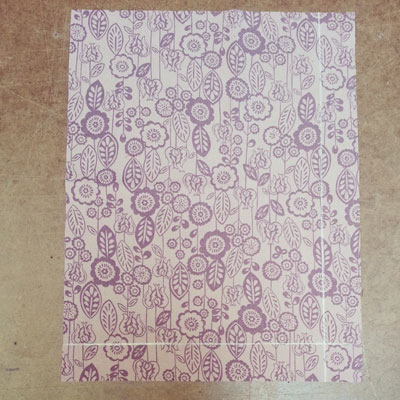 Step 2Press your marked hem seam allowance back, one at a time. Once pressed, you will get an intersecting point or what will become the corner of the garment.
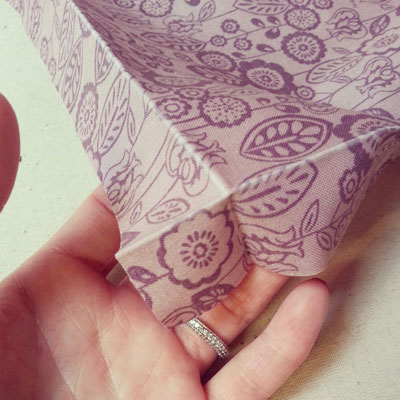
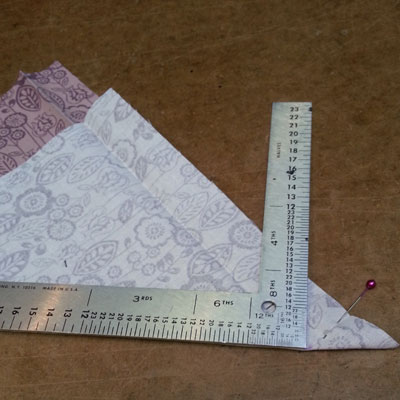
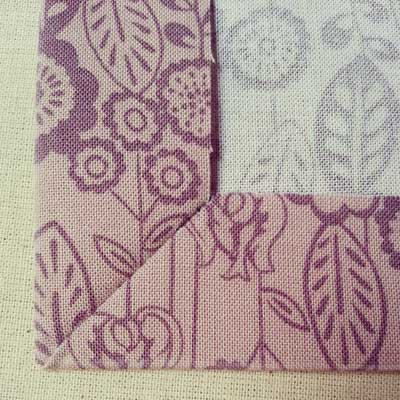
Step 3Right sides of fabric facing each other, line up pressed lines as shown below. 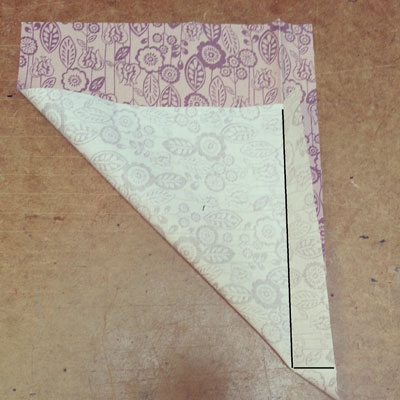 Pin pressed lines in place, and mark where the intersecting point is exactly. 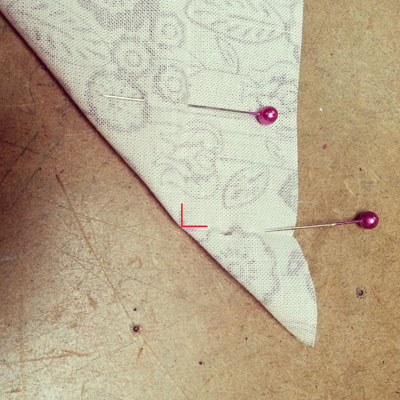 Step 4With an L ruler or anything that will give you a right angle, line up 90 degree corner to intersecting point as shown below and mark sew line.
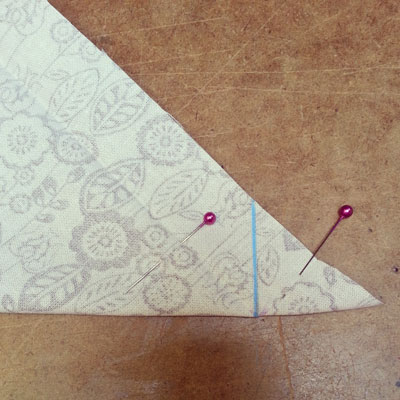
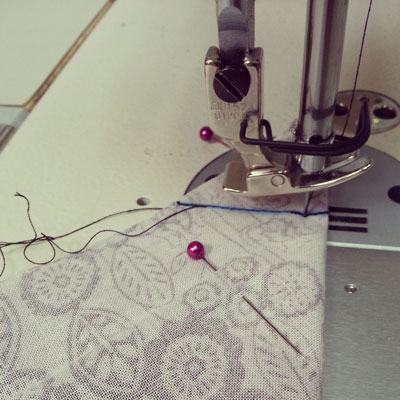
Step 5Sew marked line at 1.5 stitch length. Ensure you sew all the way to the intersection point exactly.
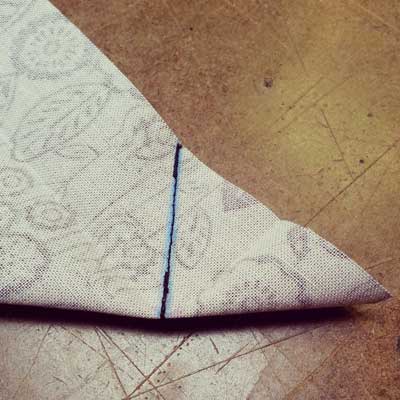
Step 6Trim seam allowance down to 1/8". 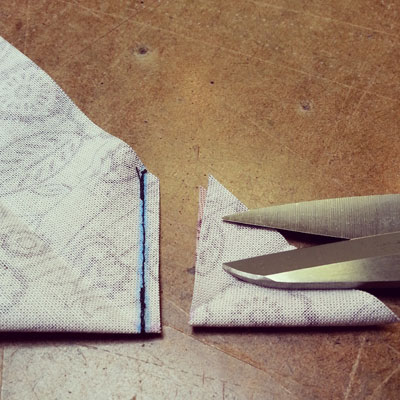 Step 7Flip corner inside-out and poke corner until it looks as close to a right angle as possible. If it is looking bulky, go back and trim off more seam allowance from step 6.  To create a super clean look to easy fray fabric, finish the raw edges prior to completing any of these steps. An easy way to finish the raw edges would be to serge.
Happy Sewing! Photographed and written by Sheila Wong Studios
2 Comments
Annette adam
12/26/2013 11:26:32 pm
This is great when I finish an embroidery project I like to sew a frame for my work to display it and accentuate some of the color in my project will try next time. 12/27/2013 01:48:53 am
I look forward to seeing you apply a mitered corner to your next embroidery project. Good luck! Leave a Reply. |
Archives
November 2022
|
 RSS Feed
|
|
Copyright © 2024 Sheila Wong Fashion Design Studio Ltd. All rights reserved.