|
A bound seam finish is not often seen in mass produced garments. Its a beautiful way to finish off raw edges inside of a garment. It is typically used to finish unlined garments in which the fabric has a high fray rate. Follow this step by step tutorial on how to apply a bound seam finish. 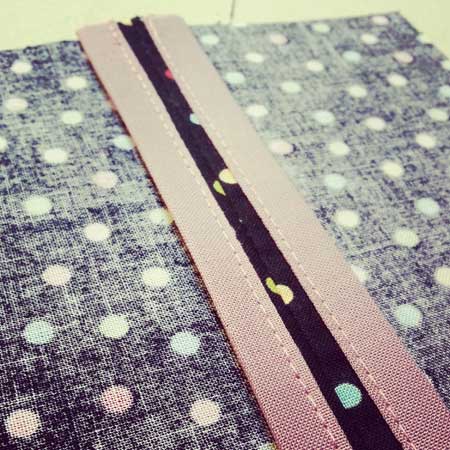 Step 1
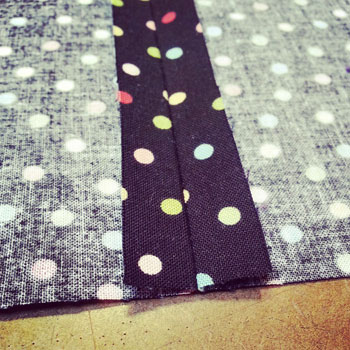
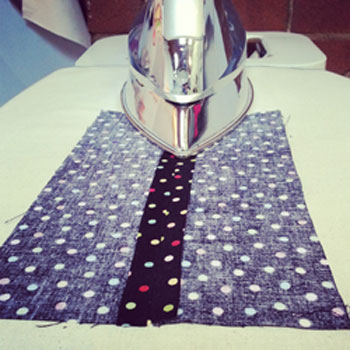
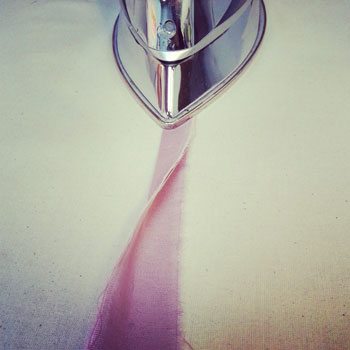
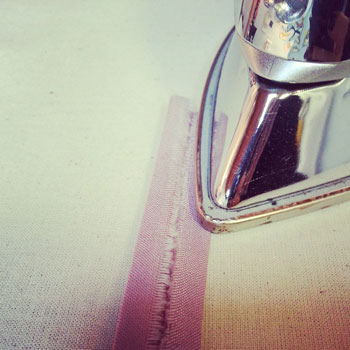
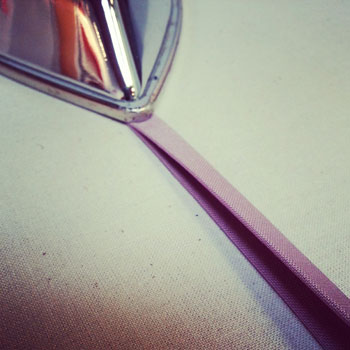
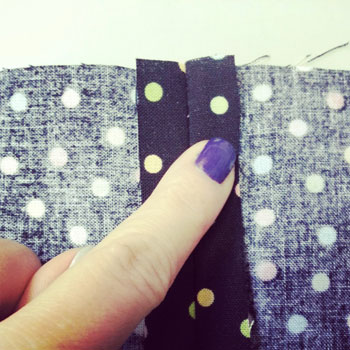
Right sides facing sew your seam at 1/2" seam allowance and press seam open. Please note for this tutorial I will be using a 1/2" seam allowance, please check your pattern prior to sewing to see what the allocated seam allowance is. You have the choice to bind the seam allowances together, or bind them separately. Consider the thickness of your fabric, where the seam is located in the garment, and what style you desire. For this tutorial, I will demonstrate how to sew them separately. Step 2Now its time to create the binding tape. For a straight seam, cut a strip of fabric on grain or on the crossgrain as per sketch below. If you are applying a bound finish to a curved seam, cut your strip on bias. If you are unfamiliar with the terms: grain-line, crossgrain and bias please click HERE to learn. Its best to use light to medium weight 100% cotton for the binding tape. 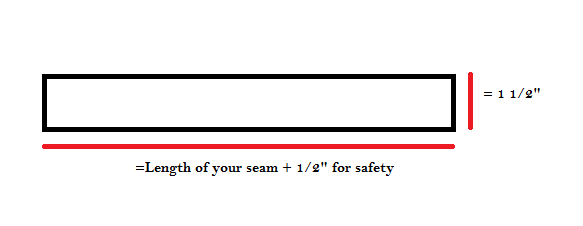 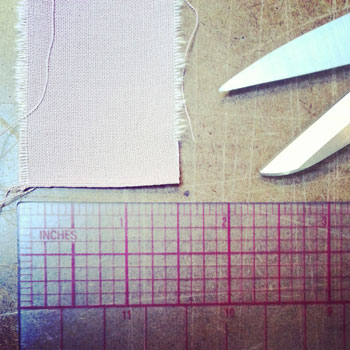 Step 3This is a 3 part pressing process to create the binding tape. Follow photos from left to right.
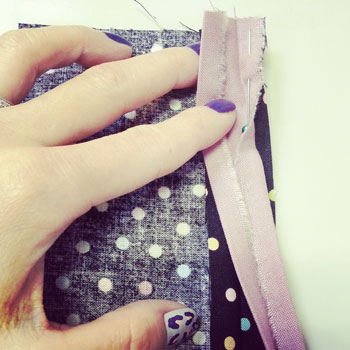
Once the 3 part pressing steps are complete, you will have 4 sections measuring 3/8" each. This fits the original 1/2" seam allowance from step 1. 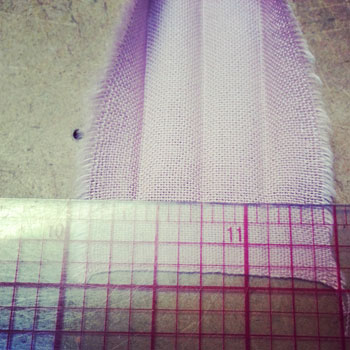 Step 4Pick one side of your seam allowance, right sides facing pin the binding tape to seam allowance.
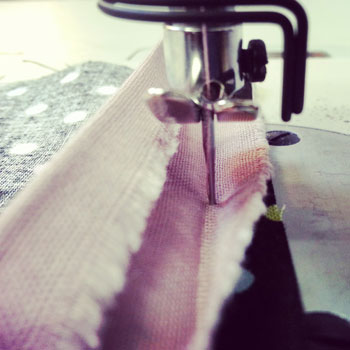
Sew binding tape to seam allowance on first fold line.
Step 5Wrap binding tape around seam allowance to the back, lay flat and edge stitch (approx 1/16") tape down. This sew line should capture the back of the binding tape too. Click on my video link below to see the TOP and BOTTOM views.  YoutubeHere is a clip I took on what the Bound Seam Finish should look like from the top and bottom view of the seam allowance. Happy Sewing!
Photographed and written by Sheila Wong Studios
1 Comment
12/28/2023 03:10:50 am
I wanted to express my gratitude for your insightful and engaging article. Your writing is clear and easy to follow, and I appreciated the way you presented your ideas in a thoughtful and organized manner. Your analysis was both thought-provoking and well-researched, and I enjoyed the real-life examples you used to illustrate your points. Your article has provided me with a fresh perspective on the subject matter and has inspired me to think more deeply about this topic. Leave a Reply. |
Archives
November 2022
|

 RSS Feed
|
|
Copyright © 2024 Sheila Wong Fashion Design Studio Ltd. All rights reserved.