|
A sewing/design area needs an organized space. The best way in my opinion, is to create a wall organizer to keep things in their proper places. This really should not surprise you, but I am fairly handy in my wood working skills. Follow this step by step non-sewing tutorial to build yourself a sewing wall organizer.  Materials
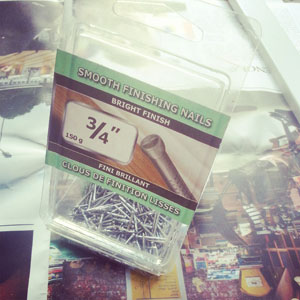
 Step 1Decide the dimensions of your wall organizer. Consider what items you would like to hang and how much space each on will take up. If you have the necessary wall space, I found 30" x 30" works well in organizing almost all design supplies. If provides a good space to hang drafting rulers. I have made this pegboard several times so have decided to create a smaller one to hold small spools. Once you have confirmed desired dimensions, its time to head to your local lumber store. I went to Home Depot, as I find they are helpful and provide complimentary straight cuts.  Step 2At Home Depot, there are two options for pegboards. You can purchase the 4 x 8 feet pegboard and have that trimmed down or purchase the 2 x 4 feet pegboard and have that trimmed down (Click on THIS to see options on-line). 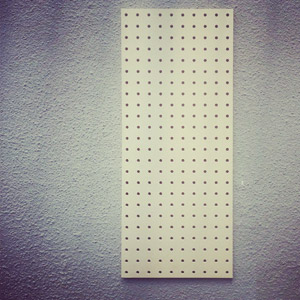 Step 3Now comes in my opinion the most strenuous part. But if you know any construction people perhaps they can assist in this step. Its time to pick out the frame for the organizer. I just use baseboards, which can be purchase by the foot for this. Each end needs to be cut on a 45 degree angle. Unfortunately Home Depot does not offer this cut complimentary. But they do provide a DIY cutting area to complete this step, in which I made use of. The outer edge of your baseboards should match the dimensions of your pegboard. 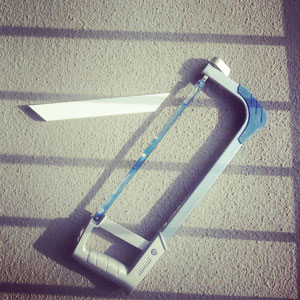 Step 4Time to put everything together! Place a thin layer of wood glue behind one baseboard and place in appropriate edge on pegboard. Have someone hold baseboard in place while you nail in wood nails. I suggest nails close to the ends and a nail every 5 inches to hold in place. Wipe away any excess glue that has peeked through the edges.
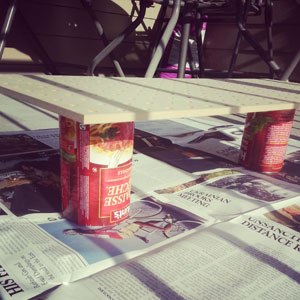
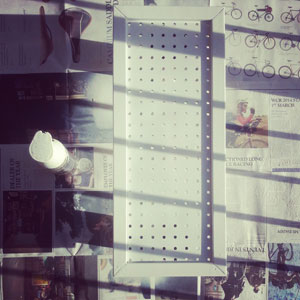
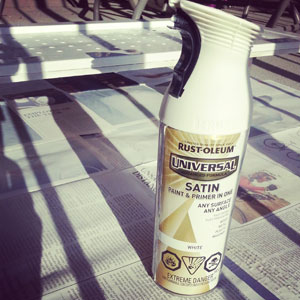
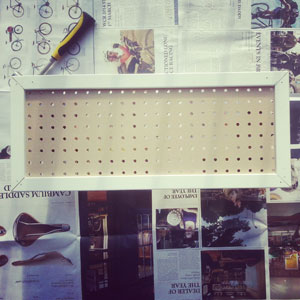 Complete the same steps above for the remaining baseboards. Before painting organizer, give time for the glue to set. Step 5Pegboard only comes in a natural light brown color. I decided to paint mine white to make the items pop! I have used a matte white spray paint to match the already white baseboards for the frame. Make sure you paint in a well ventilated area and use a mask if possible. Lay down newspaper and balance a few empty food cans under the board to create a raised level. This ensures as the paint dries it does not stick to the newspaper. Depending on your paint, give at least 24 hours for paint to set.
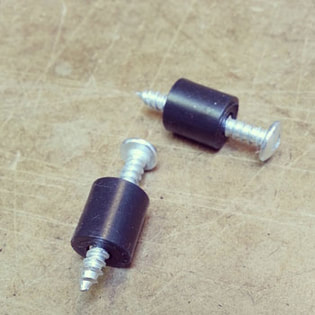
 Step 6Time to hang the organizer. A few suggestions for this step:
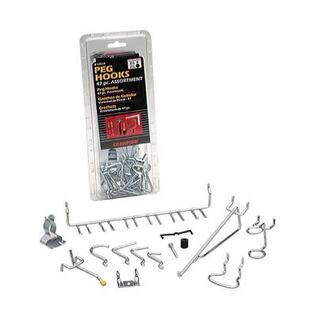
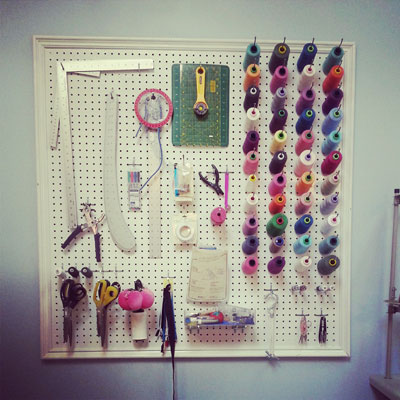
Step 7It is time to get organized! Place hooks in desired spots. 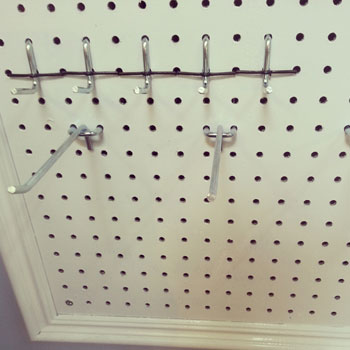 Organizers Made by MeOK...so created by me but with help from my husband. Just thought I would clear that up. No way I could lift some of these and screw them to the wall straight. 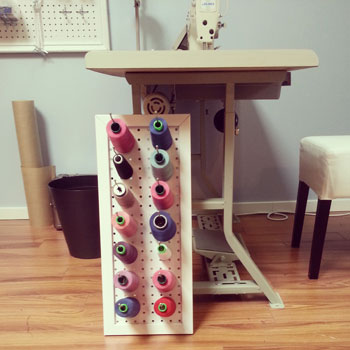 Above is the blog demo organizer. Below are two organizers currently in the studio.
Happy wood working...then sewing!
Photographed, created and written by Sheila Wong Studios
4 Comments
12/31/2014 12:13:54 am
This really should not surprise you, but I am fairly handy in my wood working skills. Follow this step by step non-sewing tutorial to build yourself a sewing wall organizer. 3/22/2018 04:43:15 am
stacking thread is very difficult...and you share an awesome way to keep them clean and at place so that they don't get mess up... 7/16/2024 09:27:54 am
We are excited to announce the launch of the Talk to Giant Food survey, exclusively for our loyal customers. By participating in this survey, you have the opportunity to win a substantial reward from Giant - a $500 gift card. We value your feedback, and this survey is designed to gather your opinions and experience regarding our stores. Your input will help us improve our services and products to meet your needs better. Visit https://talktogiantfood.com.co/ to take the official survey and be entered for a chance to win this generous prize. Thank you for your continued support, and we look forward to hearing from you. Leave a Reply. |
Archives
November 2022
|


 RSS Feed
|
|
Copyright © 2024 Sheila Wong Fashion Design Studio Ltd. All rights reserved.