|
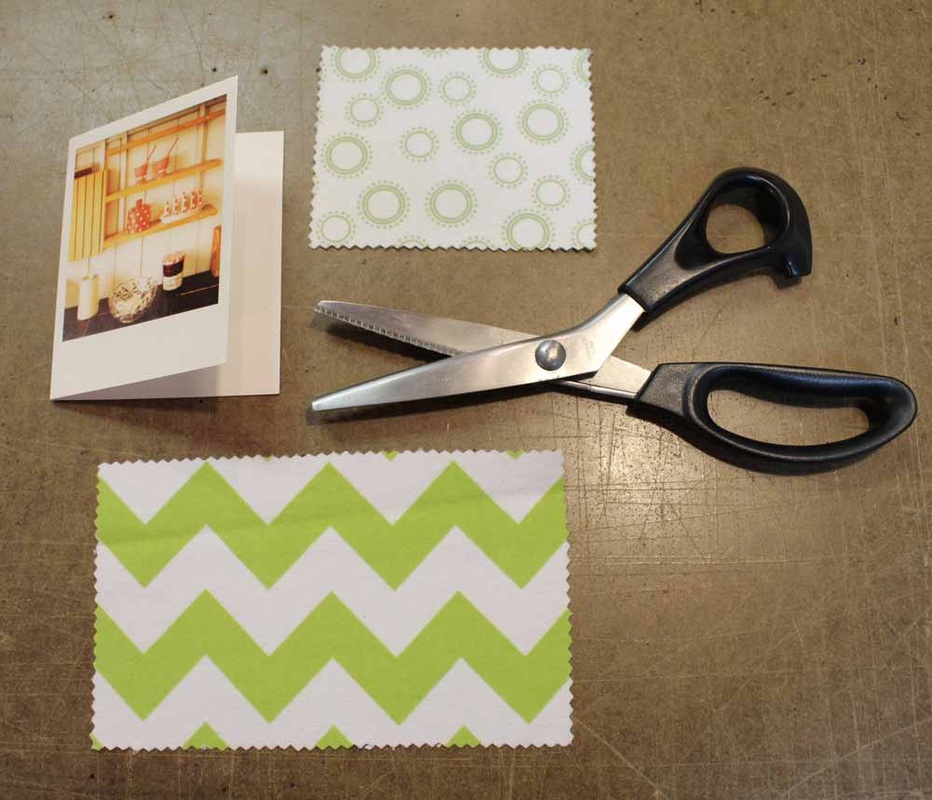
Holiday season is approaching and as usual I try to create most of my gifts. This particular gift is perfect for anyone who hand sews. It uses materials that can be found at home or in my case the studio. Follow along in this step by step tutorial on how to make a needle book. Materials & Supplies
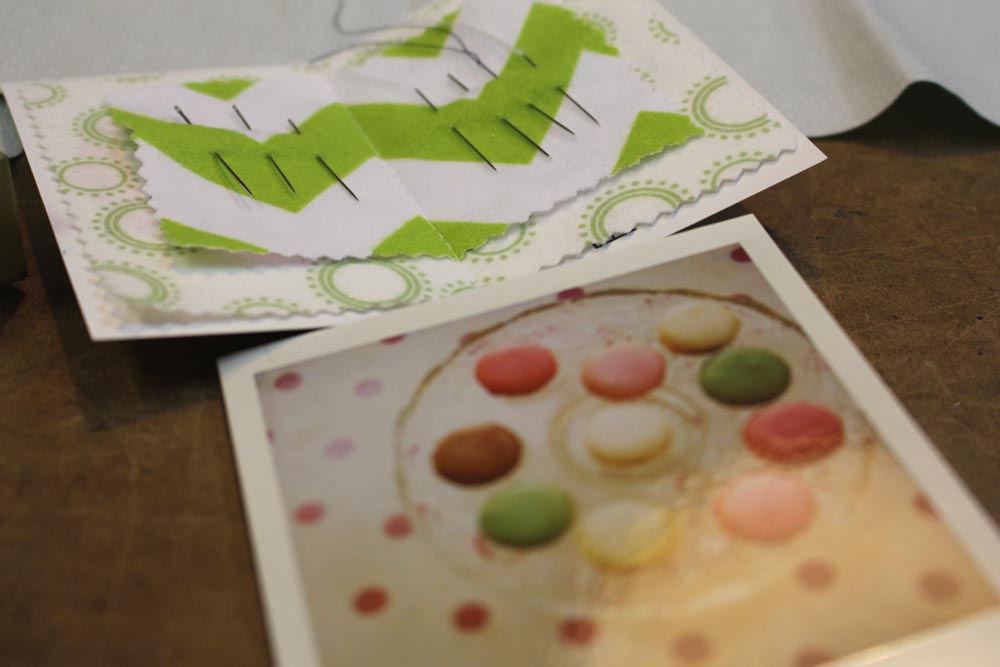
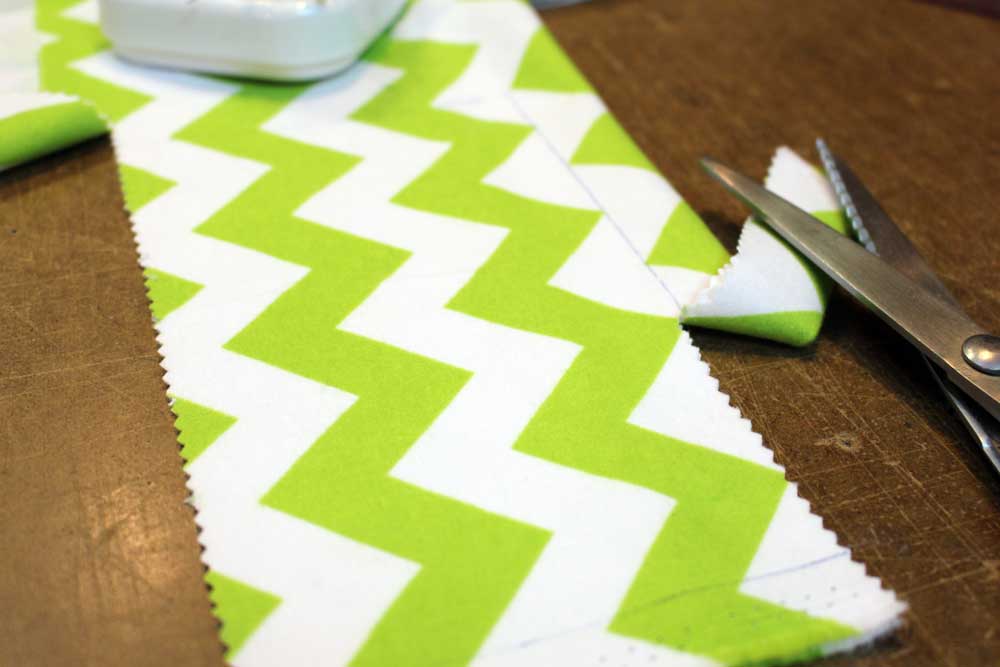
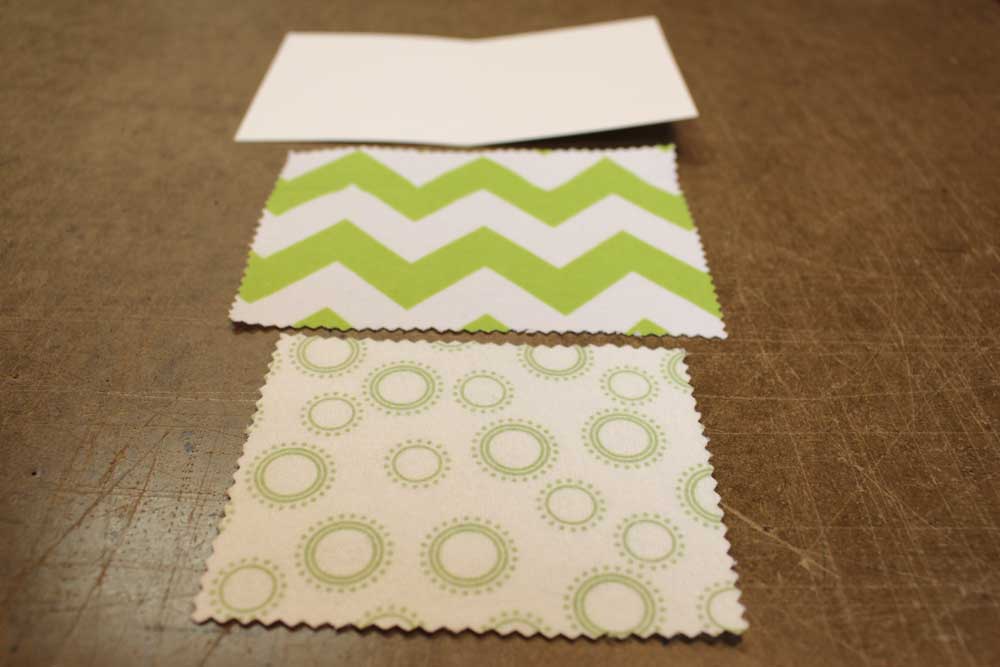
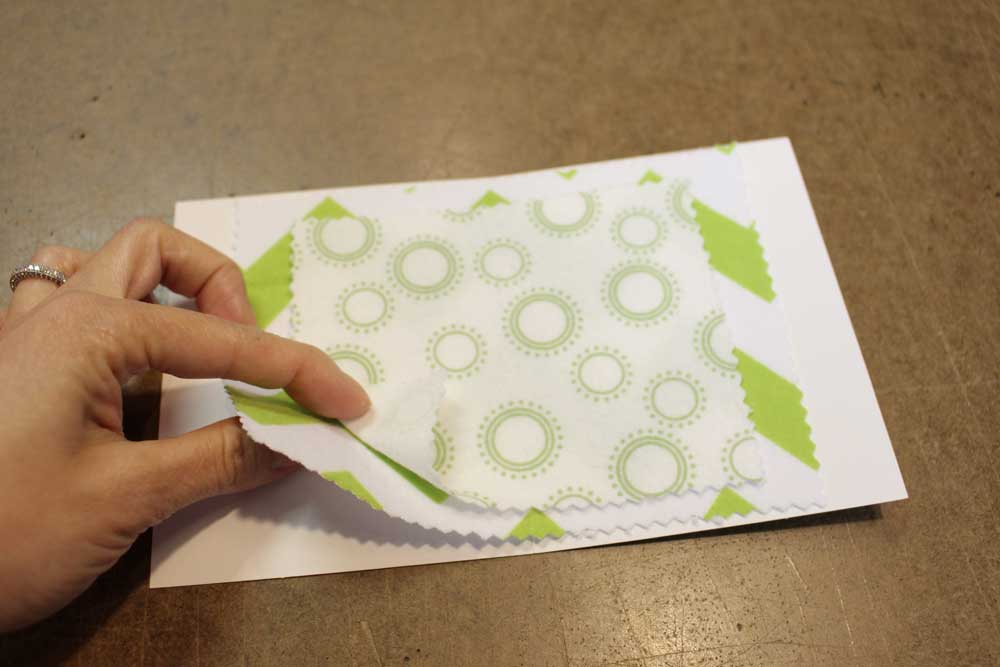
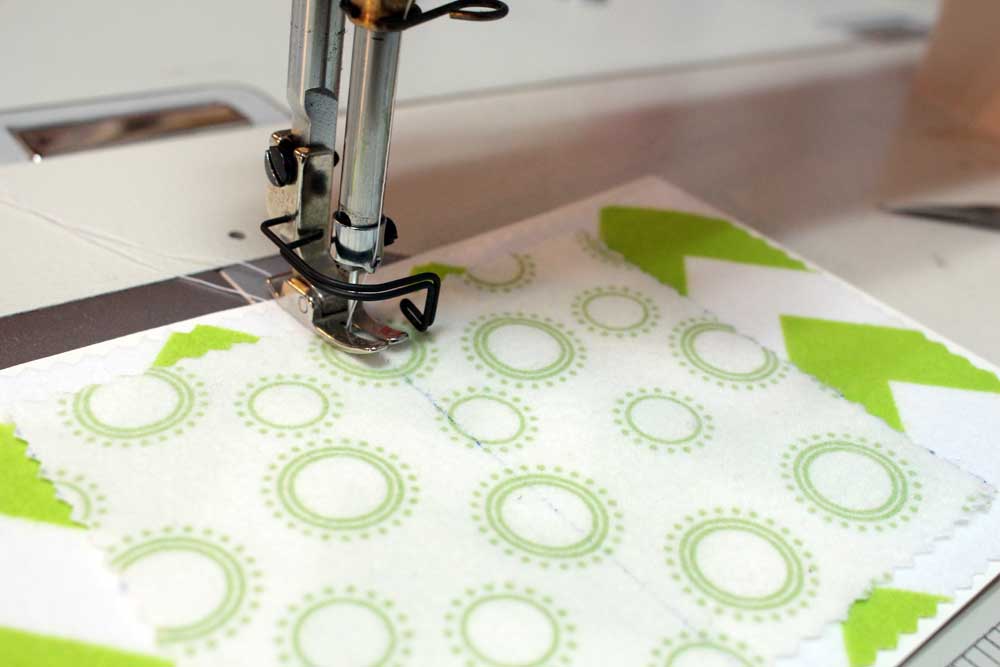
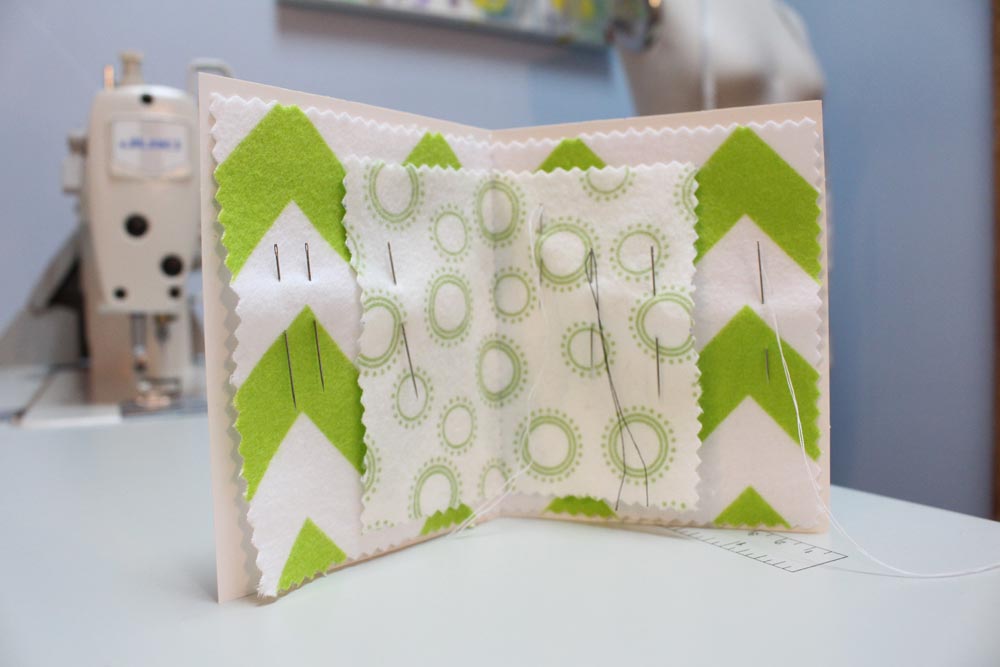
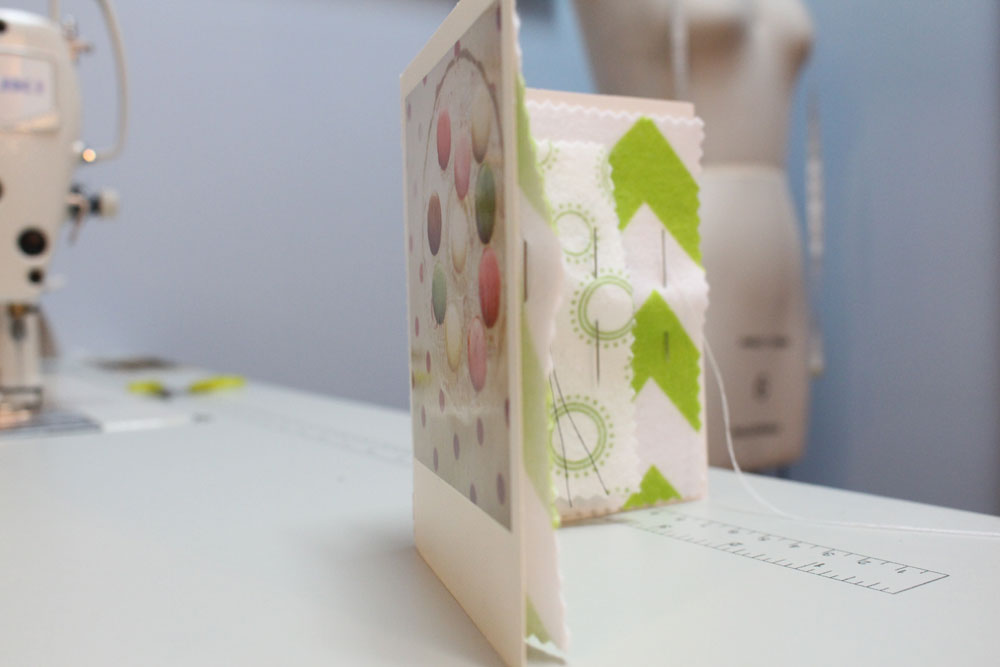
Step 1To begin cut out a series of rectangle fabric pieces that are smaller than the greeting card interior dimensions. You can add as many layers of fabric as you wish. I kept this example simple with only two layers of fabric. The raw edges are finished with pinking scissors to avoid fraying, so you really can use any fabric in your stash bins. I used 100% cotton flannelette. Felt would work fabulous too! Step 2Layer your pages ( fabric pieces) on the inside of the greeting card. Try to center pages down the fold of the card. Step 3Sew right down the book spine, remember to back stitch. If you wish to mark the sew line, go ahead. I recommend keep a dull machine needle kicking around to do projects like this. The cardboard of the greeting card will dull any new machine needle. Complete Needle BookInsert your hand sewing needles and voilà the needle book is ready to use. It is just too adorable! Written & created by Sheila Wong,
Happy Sewing!
2 Comments
MOM
2/9/2015 10:53:28 pm
very good idea for the young girls we are showing small project on saturday
Reply
Leave a Reply. |
Archives
November 2022
|
Copyright © 2024 Sheila Wong Fashion Design Studio Ltd. All rights reserved.

 RSS Feed
