|
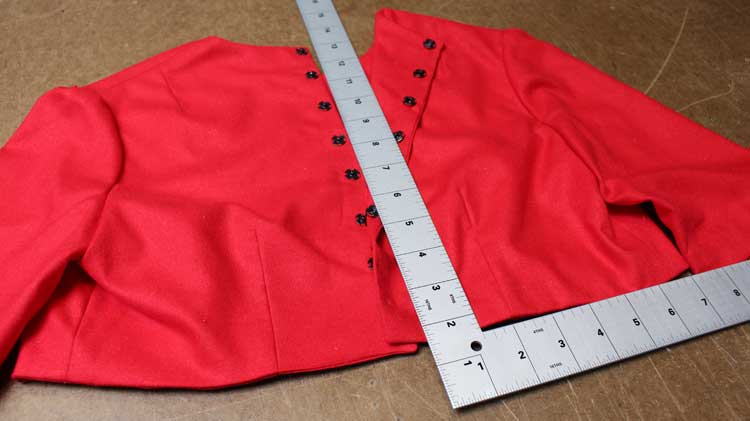
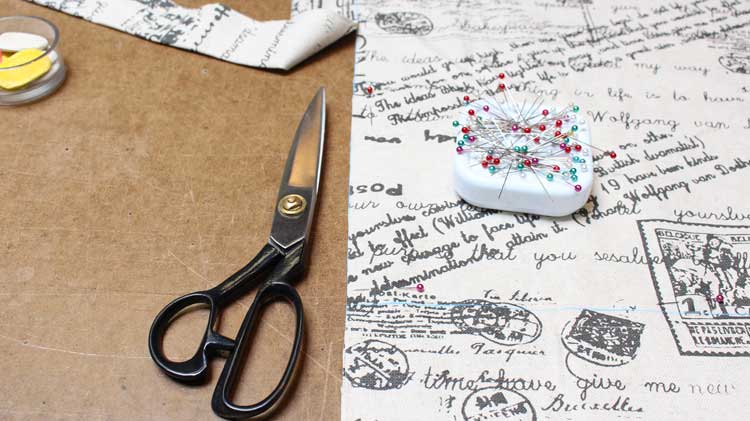
Several days ago, I needed to bring home a top I recently made. But I could not just shove it in a bag- I needed a garment bag. Just my luck, no garment bag in sight! So, of course I made one (was there really any other option?). In this tutorial I will show you how to make an easy and good looking garment bag that can be custom fit to any garment. 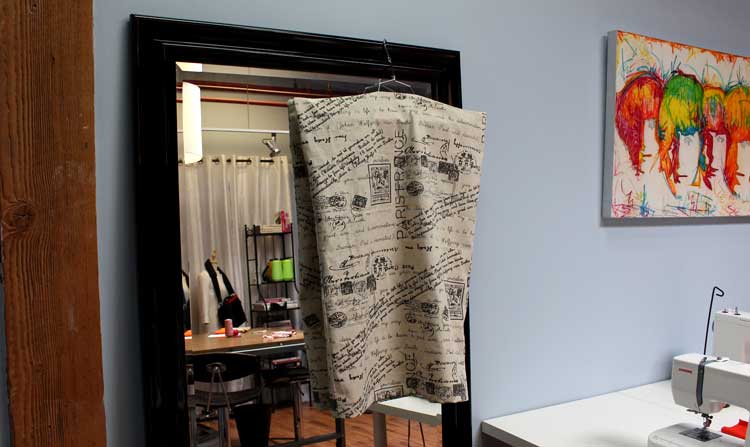 Materials & Supplies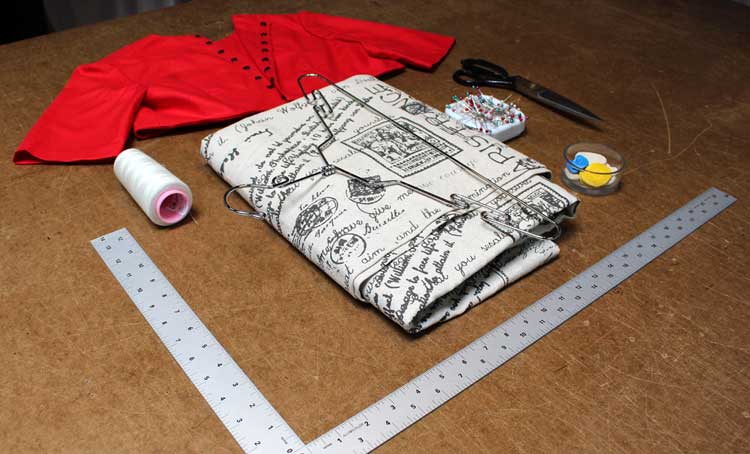
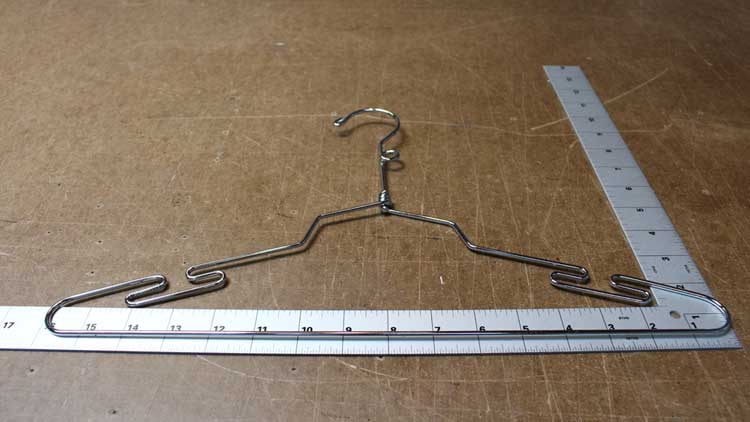
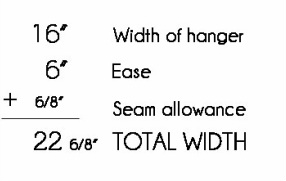
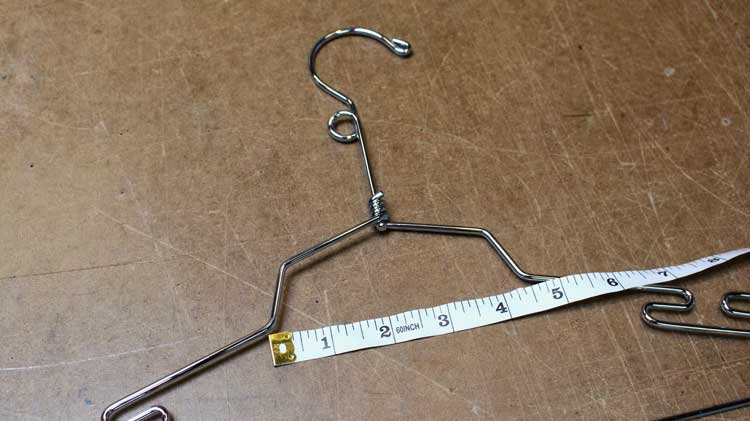
Step 1To begin, we need to gather several measurements to make a custom fit garment bag. If you would like to make a standard size garment bag, just measure the height and width of one in your closet. Add seam allowance accordingly. Measurement 1: The width of a hanger. The average adult hanger has a width of 16". We need to add an additional 3" to the sides to make room for sleeves and the bulk of a garment. Seam allowance of 3/8" will be used. This brings our TOTAL WIDTH= 22 6/8"
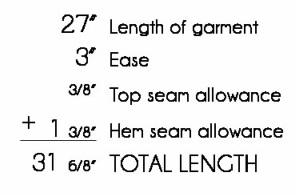
Measurement 2: Length of garment. Length will vary depending on garment. In my example the crop top length is 13.5". I want to re-use the garment bag for regular length garments so I just doubled the length (13.5" x 2= 27"). It is important to add at least 3" of ease so garment hem is not exposed while in transit. Standard 3/8" seam allowance to be added at the top of bag and 1 3/8" to be added to hem to allow for a double fold finish.
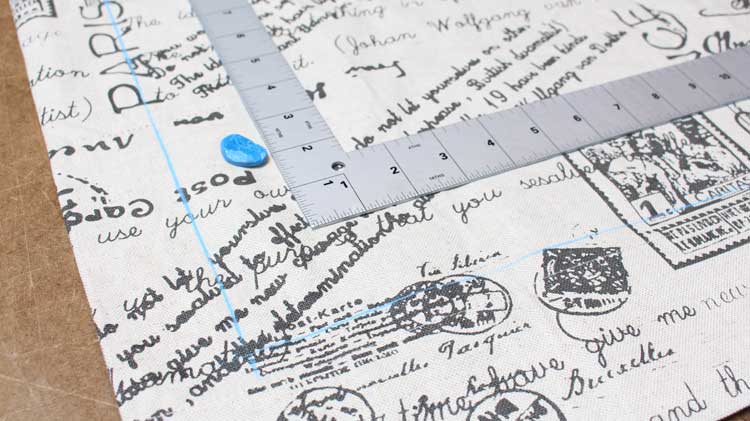
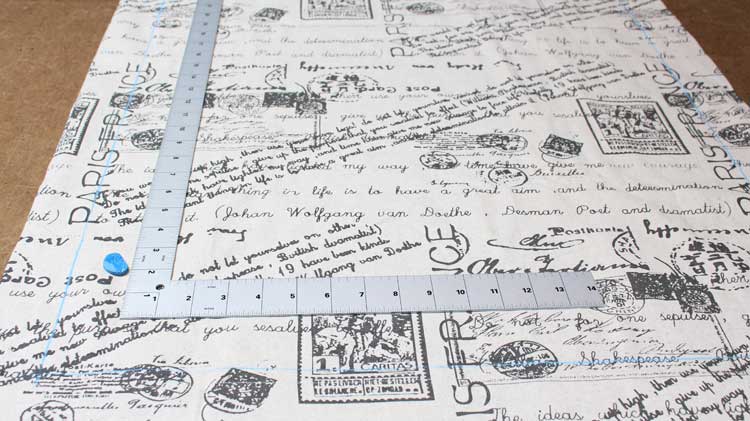
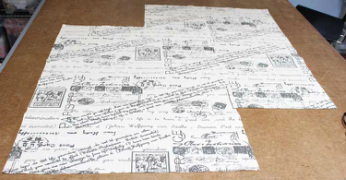
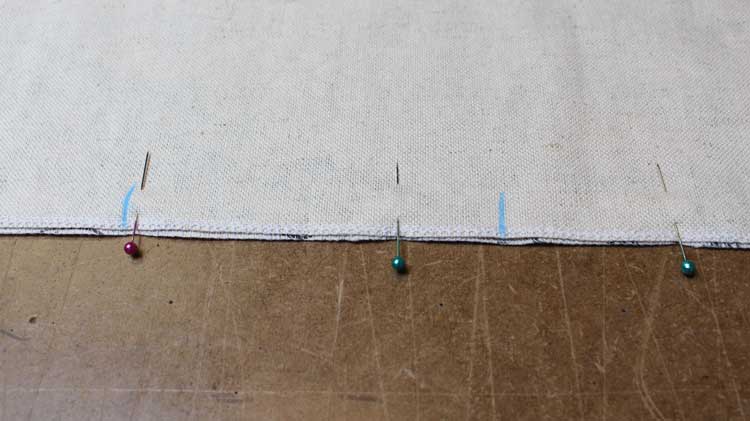
Step 2Place your fabric right sides facing and chalk out a rectangle with measurements calculated in step 1. It is best to use an L ruler to ensure right angle corners.
Step 3Pin and cut out rectangle. You should have two pieces - Front and Back.
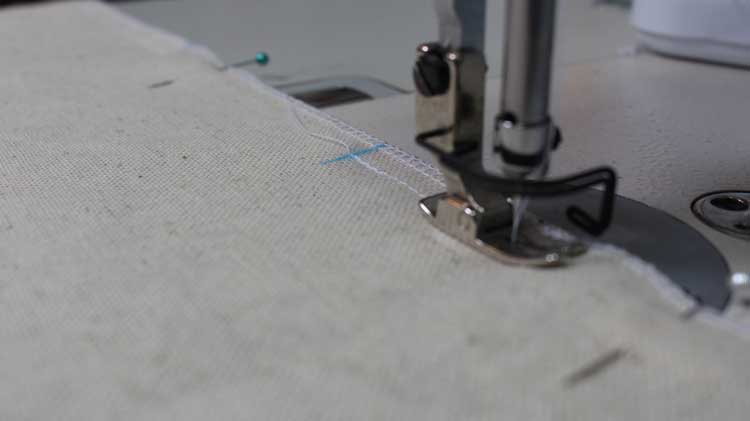
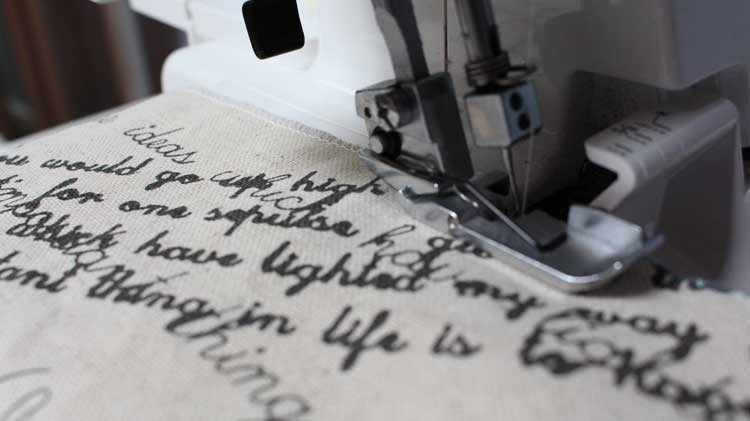
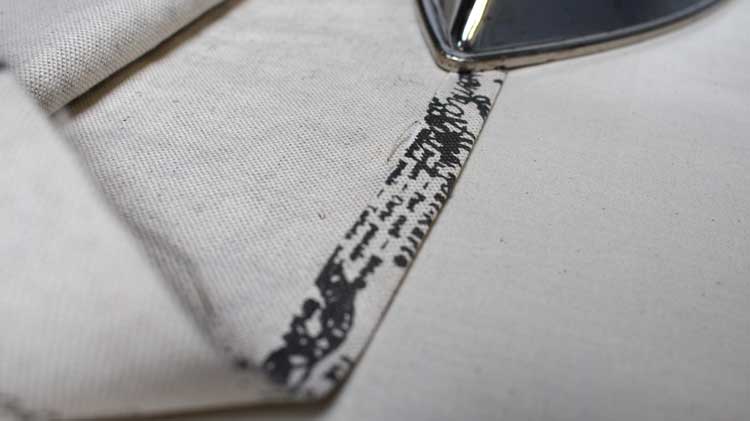
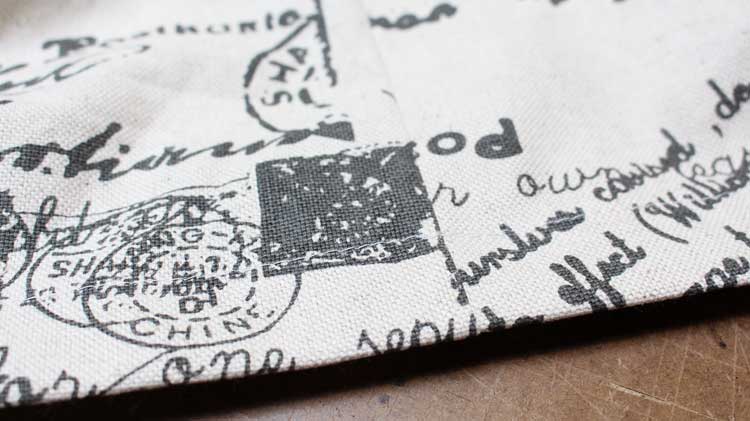
Step 4Sewing will begin at the top seam of the garment bag. To avoid fraying fabric edges, I have serged the raw edges separately prior to sewing.
Right sides facing, sew the top seam at 3/8" seam allowance. Leave a 4 1/2" opening in the center to allow for hanger to sit nice. Remember to back-stitch at all start and end point.
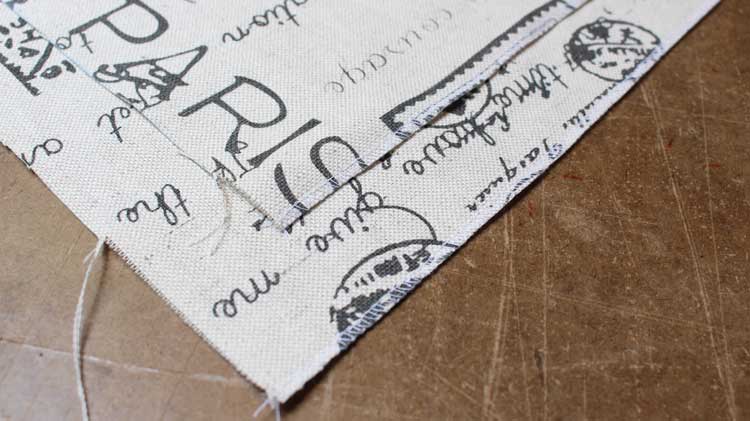
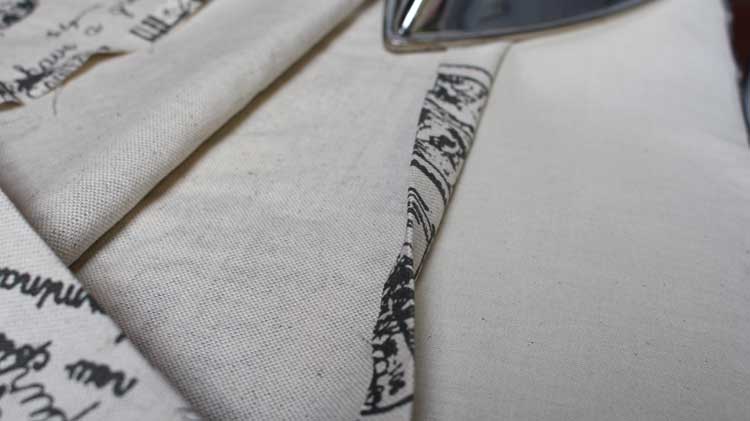
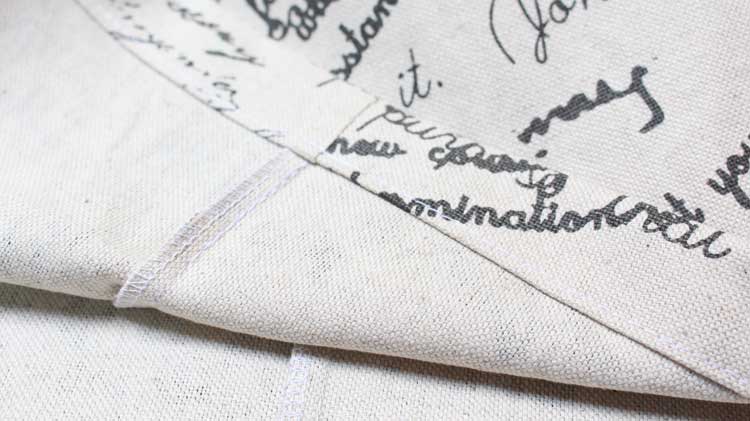
 Step 5Right sides facing, pin and sew side seams at 3/8" seam allowance. I have serged the raw edges together to avoid fraying edges. 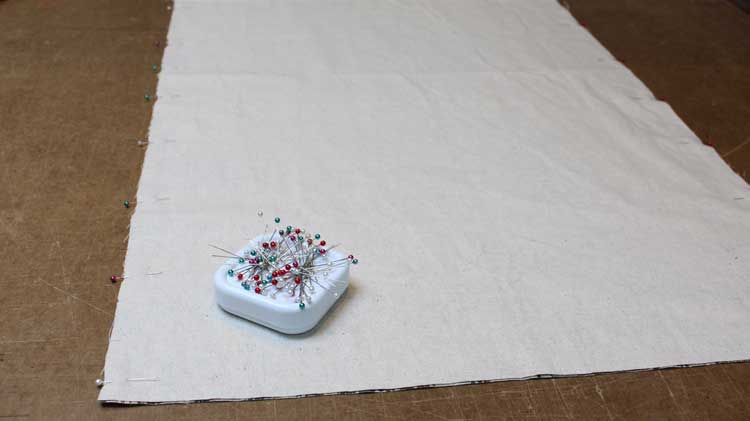 Step 6Press all seams flat. 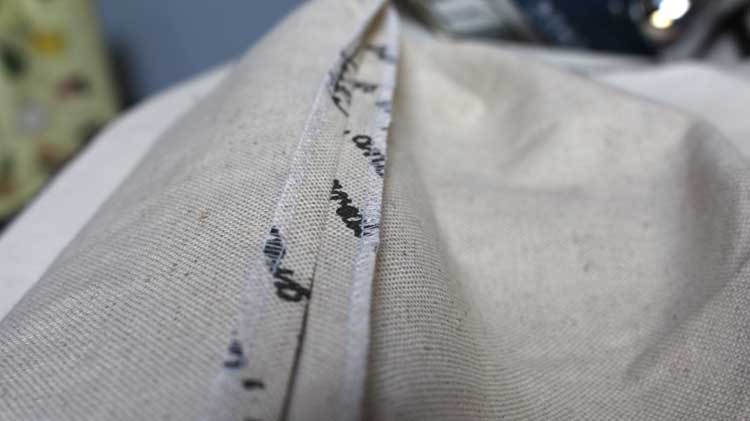 Step 7Prepare hem for top-stitching by pressing hem up 3/8" then 1". Apply a top-stitch 6/8-7/8" from hem.
You may wish to add a button, zipper, snaps or ribbon ties to keep hem shut. I was in a hurry so I kept mine open.
Finished Garment Bag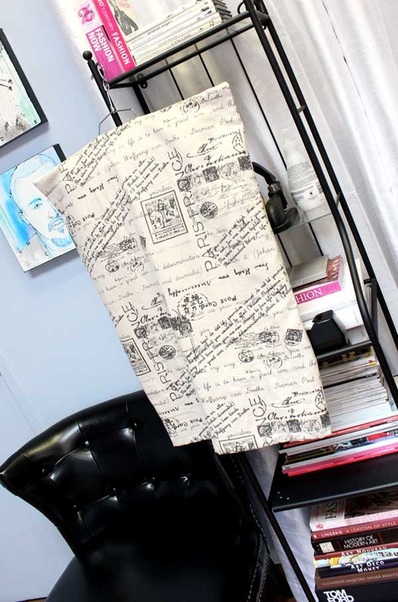 Hope you have enjoyed this quick sewing tutorial. It is a lovely way to re-cycle old items like drapes. Now what do I do with the rest of drapes?
Happy Sewing! Written & created by Sheila Wong
0 Comments
Leave a Reply. |
Archives
November 2022
|
 RSS Feed
|
|
Copyright © 2024 Sheila Wong Fashion Design Studio Ltd. All rights reserved.