|
I always tell my clients that taking the time to press a garment along the ways of construction is essential. Why? Because it sets your designs apart in a more professional manner. I guarantee if you incorporate the following basic pressing techniques to your next design, you will not be disappointed! Before we get started...did you know that I have gone through 8 irons in the last 3 years. I press almost every day! Basic Pressing Tips Ever wonder why you iron feels so heavy? Well the natural weight of the iron is just the right amount to press a garment. So please refrain from pushing down like hulk in the thoughts that it will assist in flattening a seam or a wrinkle. Also, no need to wiggle the iron while pressing. Steady heat in one continuous motion is plenty.  In my experience, I have found not all irons have the same heat levels. It is extremely important to test with a scrap of your intended fabric which level of heat to set your iron to. With a scrap, place your iron at a setting you think might be right and leave your iron on for 10 seconds. If there was any burning or shine created, your setting is too high. Pressing Seams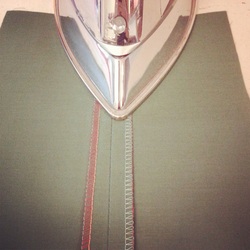 When pressing a seam that needs the seam allowances to be fully open, press from the wrong side of garment. This ensures a flat laying seam. 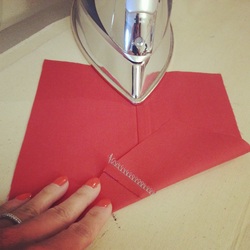 When pressing a seam that needs the seam allowances to be sitting to one side, press from the right side of garment. This lets you press the seam flat. Iron Maintenance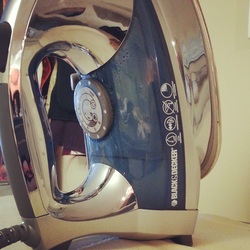 Always be aware of the water level in your iron. Do not let it get too low or else you will not receive a clean press. Also the steam function that assistants in giving that flat appearance will not work.  This one is really simple, yet I am still guilty of it. Turn off your iron when not in use. It extends the life of your iron. Keep an eye out for future blog posts on pressing difficult fabrics and attaching fusible interfacing with ease.
Happy Sewing! Photographed and written by Sheila Wong Studios
1 Comment
|
Archives
November 2022
|
Copyright © 2024 Sheila Wong Fashion Design Studio Ltd. All rights reserved.

 RSS Feed
