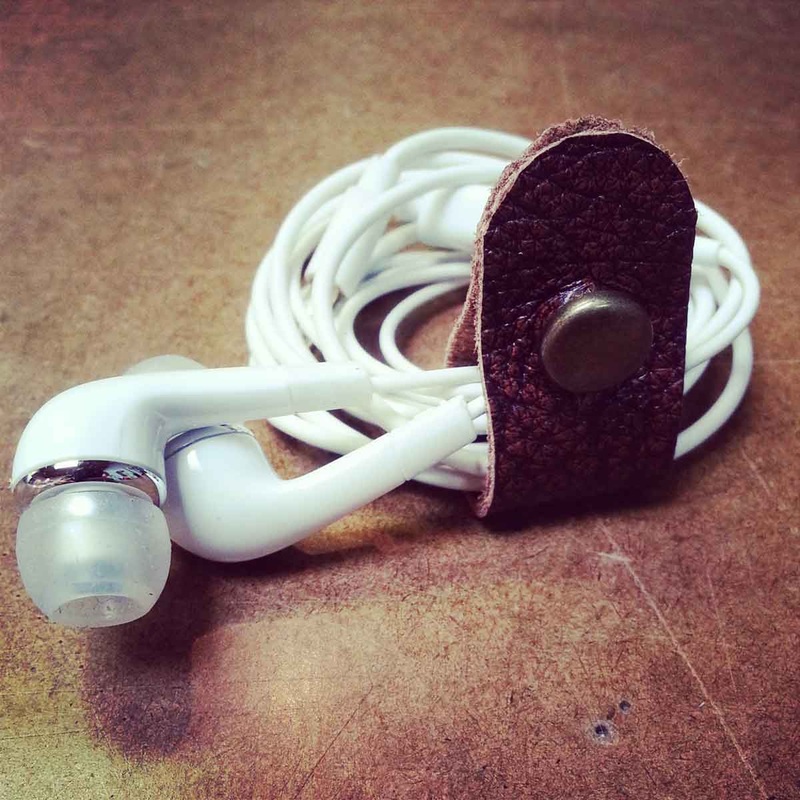
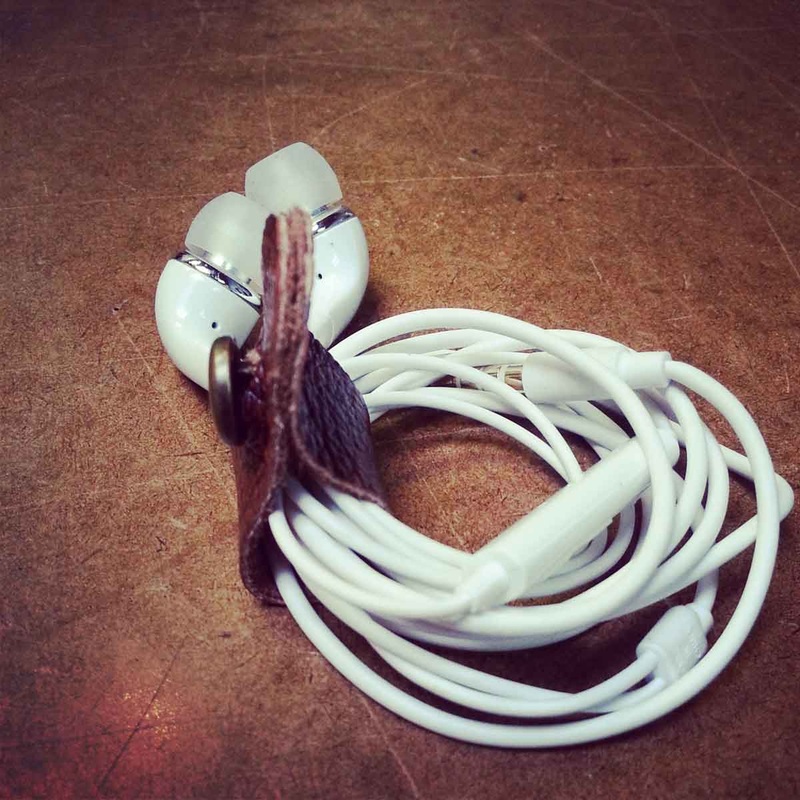
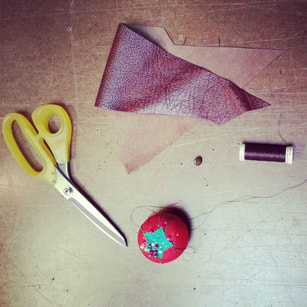
Loose cords drive me nuts, especially headphone cords at the bottom of my bag. Practical and simple to make, here is your step by step tutorial on how to sew a headphone cord organizer. Materials & Supplies
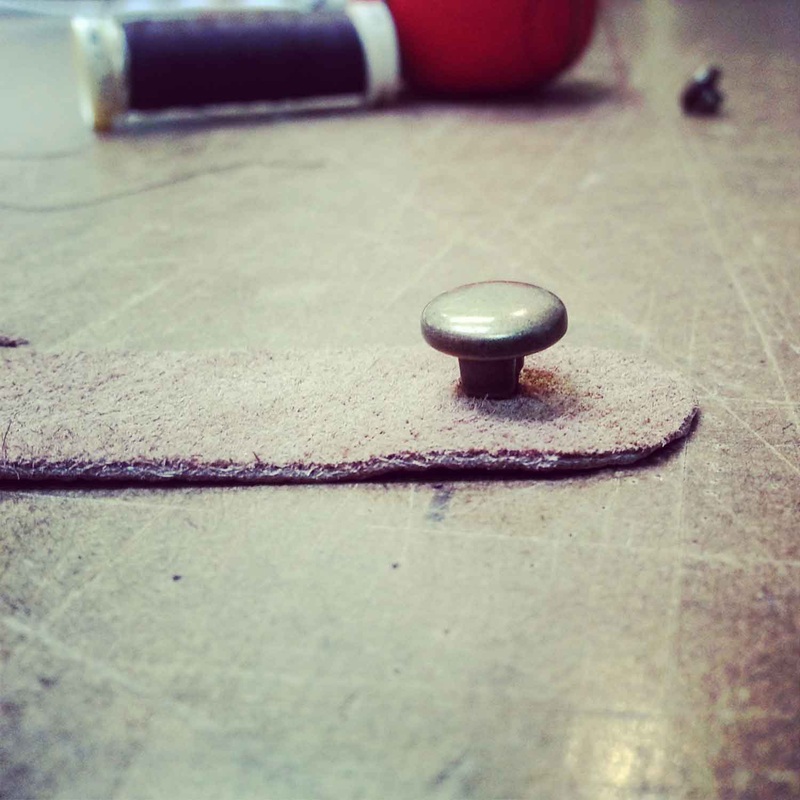
Step 1Create a paper pattern using dimensions below. You can round off the corners too. 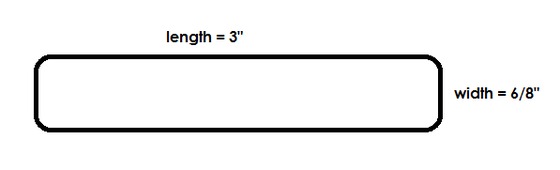 Step 2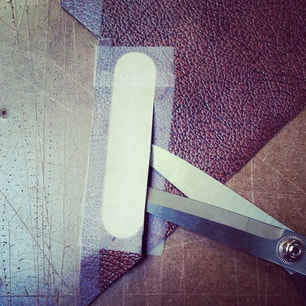 It is best not to pin leather as permanent little holes can be left behind. I suggest taping the boarder of the pattern to the leather. Then you can cut out leather. Step 3Hand sew a shank style button onto the back side of leather. Center the button 1/2"-3/4" away from edge.
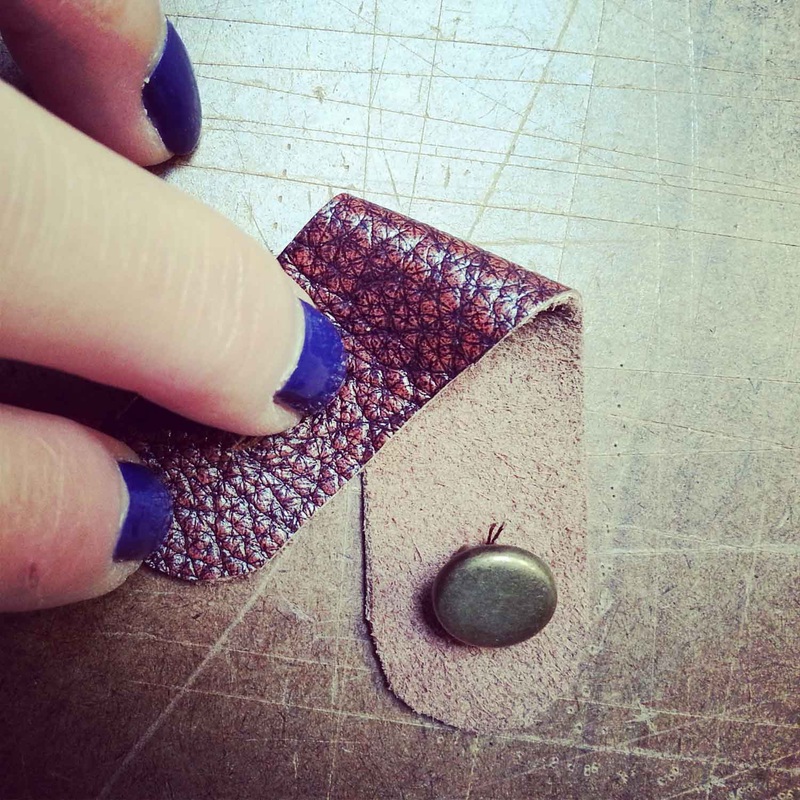
Step 4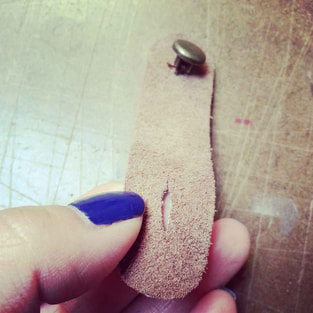 On the other side of leather tab, cut a slit down the center starting 1/2" away from the edge. Button width + shank height = Slit length 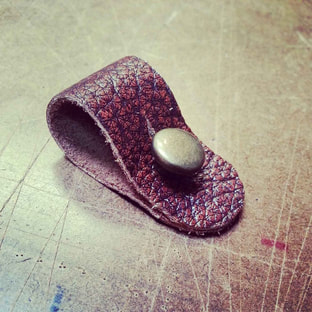 Button up your leather tab, you are done! Final DesignYou can use your leather organizer for keeping your measuring tape in tact too. 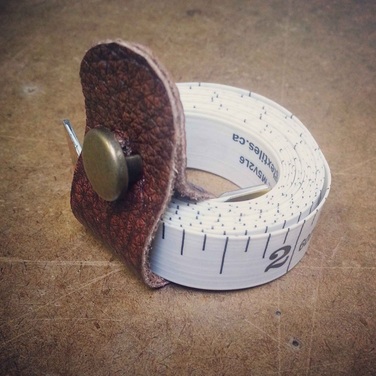 Happy Sewing!
Designed, photographed and written by Sheila Wong Studios
2 Comments
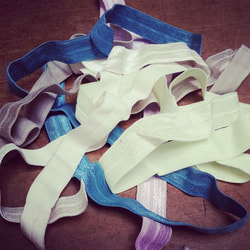
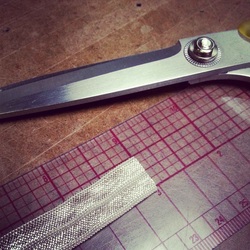
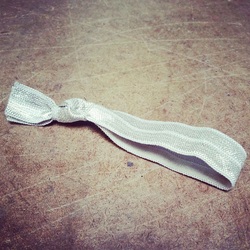
OK, first off I want to apologize for lying to you in the title, there is absolutely no sewing involved in this tutorial. This is all about how to make your own hair ties. I am posting this tutorial because it is simple enough for anyone to do and because it does not cost very much either! Materials
Step 1
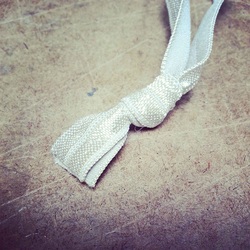
Step 2
Step 3
Give-AwayWant to win a package of handmade hair ties? Here's how:Winner will be announced on Oct 30 2013 at 3pm. 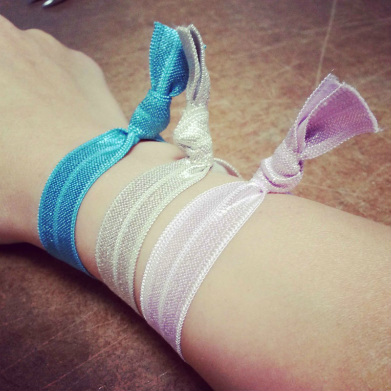 These will make fantastic gifts and/or colourful arm candy.
Happy Sewing! Designed, photographed and written by Sheila Wong Studios |
Archives
November 2022
|
 RSS Feed
|
|
Copyright © 2024 Sheila Wong Fashion Design Studio Ltd. All rights reserved.